
Editing guide
Should You Straighten iPhone Photos Before Adding a Film Look?
Decide when a tilted iPhone photo needs straightening, choose a reliable reference line, and protect faces and framing before finishing a natural film edit.
Settle the angle before the film finish
Usually, straighten the photo before adding the final film look. Rotation changes which parts of the picture fit inside the frame, so it helps to settle the composition before judging grain, darkened corners, or a date stamp. Keep the original and work on a copy so you can compare the corrected version with the moment you actually captured.
A level picture is not automatically a better picture. A slight tilt can suit friends laughing at a table or a quick street snapshot. Correct it when the angle distracts from the subject, not simply because the photo is meant to resemble film. Film style does not require a crooked frame.
Choose a reference that should actually be level
Look for a trustworthy reference before rotating: a distant sea horizon, a central doorframe, or a clearly upright post can help. A mountain ridge, sloping pavement, or the diagonal edge of a table is not necessarily horizontal in the scene. Trying to level one of those may make the rest of the photograph feel wrong.
For a street picture, start with a vertical line near the center and inspect the people afterward. Buildings photographed from below can lean toward each other because of perspective. Rotation alone cannot make every building edge parallel, and you do not need to fix every converging line for a casual travel photograph.
Compare a small correction with the original
In a photo editor with a straighten control, make a small rotation and look at the whole image again. Do the people feel more naturally placed? Does your eye move toward the subject more easily? Compare at the same viewing size so a larger preview does not win simply by making the subject easier to see.
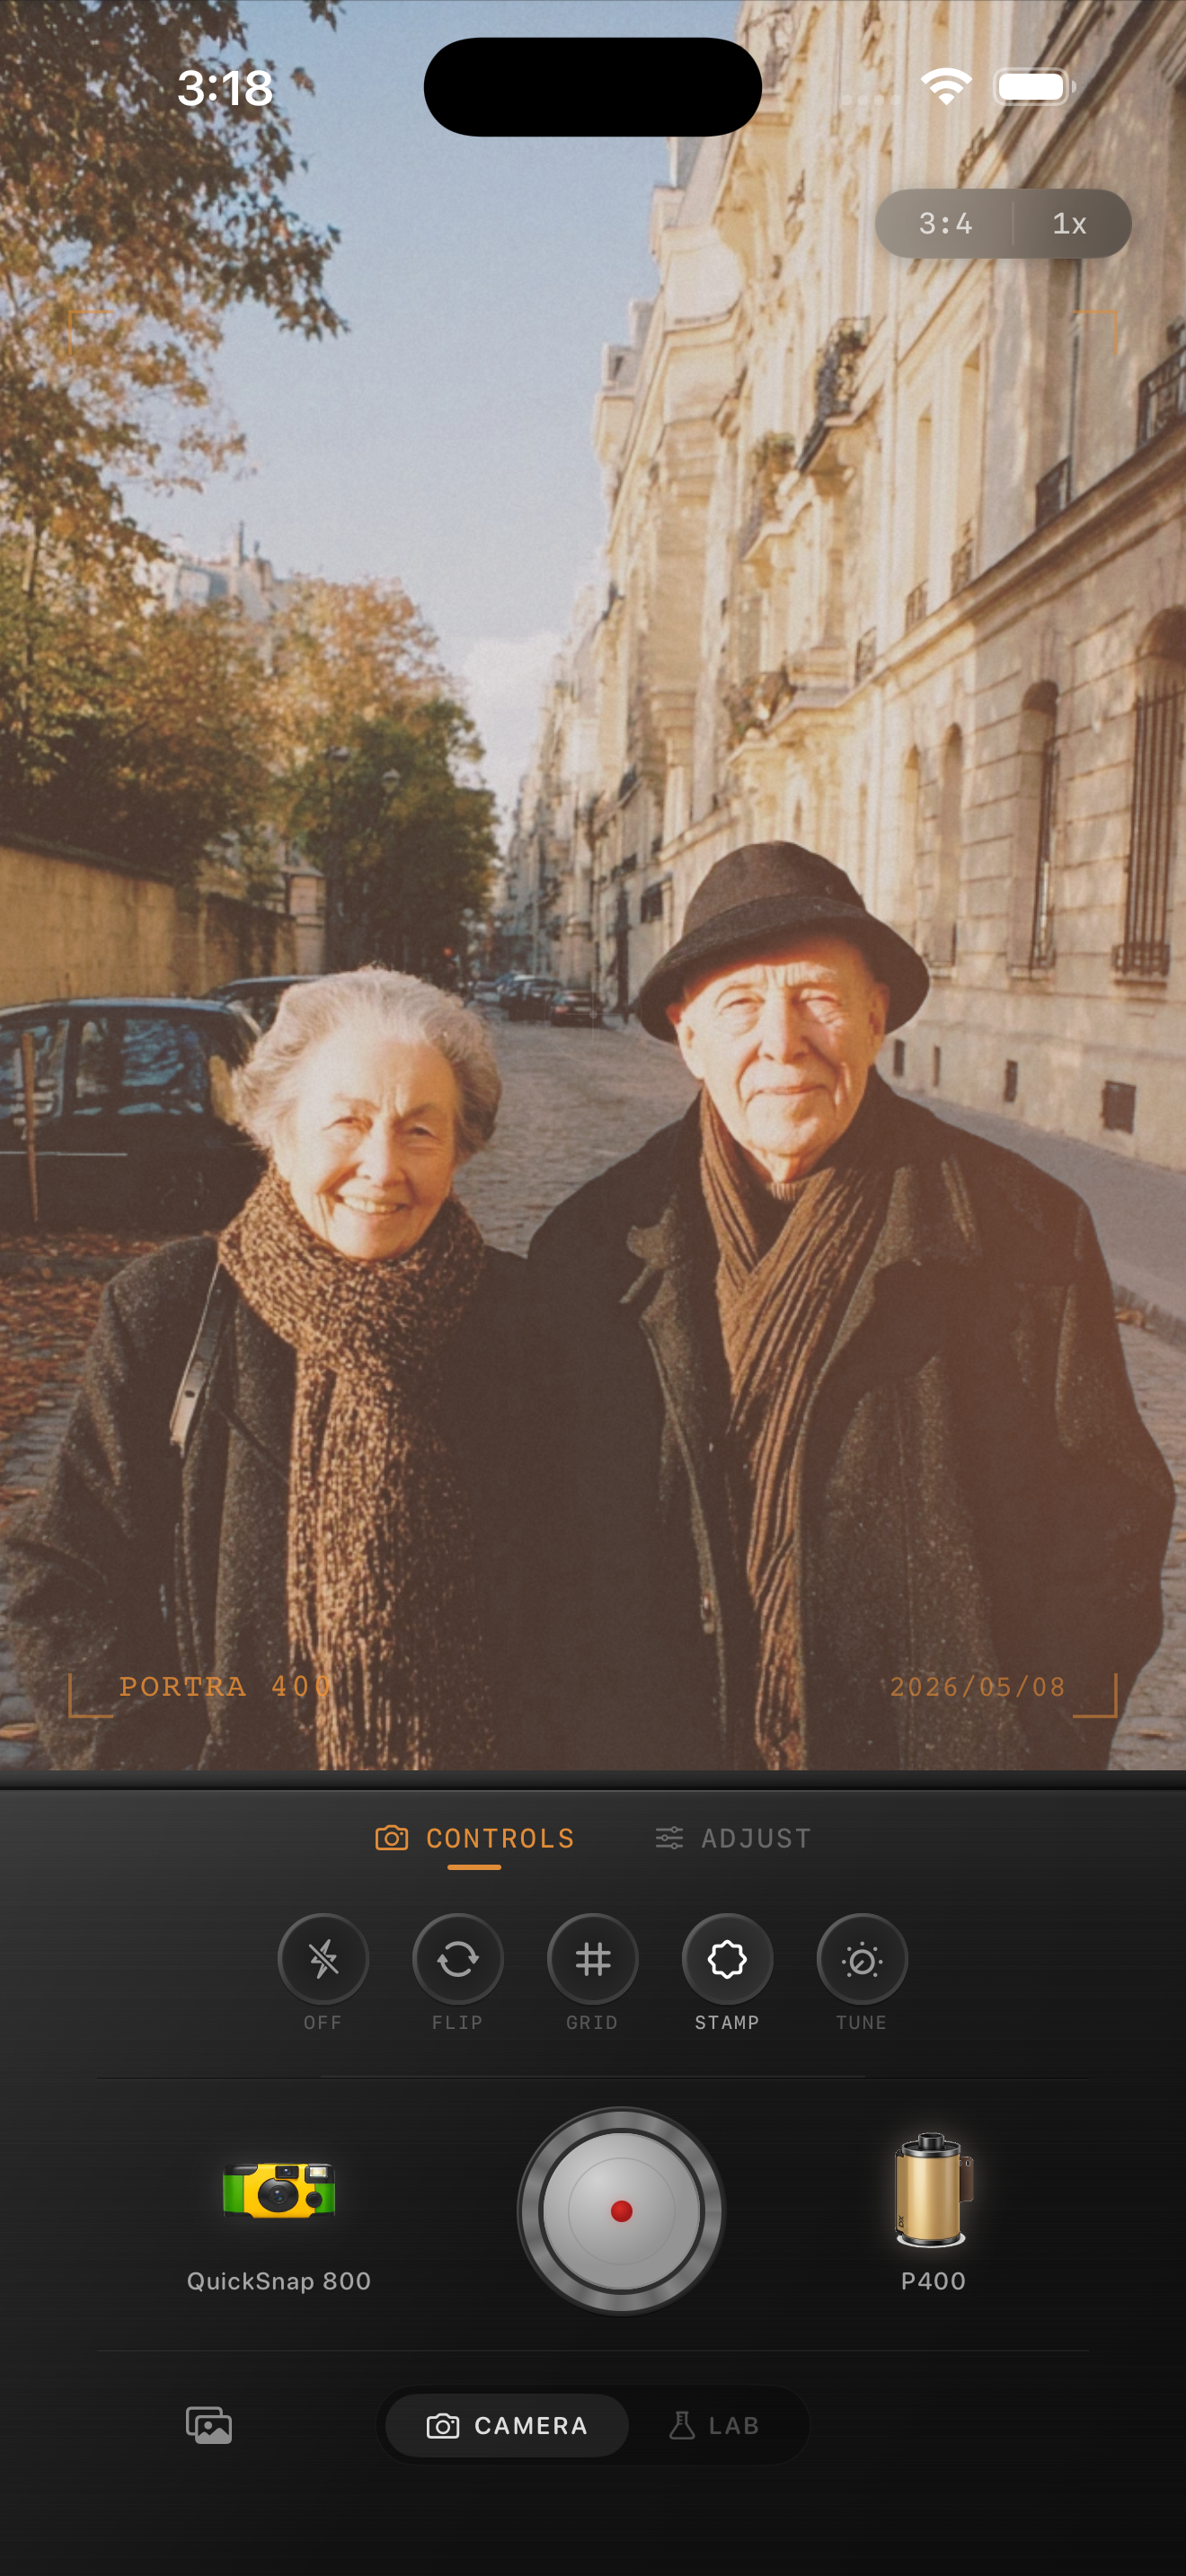
Try this with a travel portrait like the Paris example: judge the couple first, then use the street details as supporting references. Stop when the picture feels settled. If the correction makes a lively scene feel stiff, keep more of the original angle.
- Version A: the original angle with no extra crop.
- Version B: the smallest correction that removes the distraction.
- Compare expression, balance, and edge space before choosing.
Inspect the space lost around the edges
When a rotated image fills a rectangular frame without empty corners, some edge content gets cropped away. Check shoes, hands, hair, and the space above heads before accepting the change. A technically level horizon is a poor trade if it clips the detail that made the photo work.
If your subject was already close to an edge, reduce the correction or keep the original. For a square and a portrait version, check each crop separately. An angle that fits a wide scene may leave too little room around the same people in a narrow frame.
Add the film look to the chosen composition
Once the angle and crop are settled, import that version into the Nostalgia Cam Lab and choose a camera body and film look. Start with restrained texture so you can still judge expressions and architectural detail. Revisit grain and vignette after the crop, because the subject and corners now occupy different parts of the frame.
Leave decorative borders or date stamps until after geometry changes in whichever editor you use. A stamp already saved into the pixels rotates with the image; it cannot stay level independently through a normal straighten adjustment. An unstamped source gives you more freedom to finish the composition.
Review the exported picture as a complete photo
Open the finished export and check it at the size you expect to share. Look first at the subject, then at the horizon or central vertical, and finally at all four edges. If you notice the correction more than the moment, compare the original angle once more.
The useful stopping point is a composition that feels intentional and keeps the important details. A quiet landscape may benefit from careful leveling; a spontaneous portrait may benefit from a little lean. Let the scene decide how precise the finish should be.
Give your chosen frame a film finish
Prepare the angle and crop you like, then bring the photo into the Nostalgia Cam Lab. Choose a camera body and film look, add gentle texture, and keep the people or place at the center of the memory.
FAQ
Do film-style iPhone photos need perfectly straight horizons?
No. Level a horizon when its tilt distracts from the subject. A slight lean can work in a candid scene, especially when correcting it would crop out an important hand, face, or detail.
Why does straightening my photo cut off the edges?
Rotating a picture leaves empty corners inside its original rectangular frame. Filling the frame usually requires cropping some edge content. Use a smaller correction if the resulting crop removes something important.
Can I straighten a photo after adding film grain?
Yes, but check the result at your final viewing size because rotation and cropping change the composition. Working from an original and finishing grain afterward makes it easier to assess the texture, vignette, and any date stamp in the final frame.