
Editing guide
How to Keep Freckles Visible in iPhone Film Portraits
Keep freckles and natural skin detail in an iPhone film edit with a clean source photo, gentle color, restrained grain, and a simple side-by-side check.
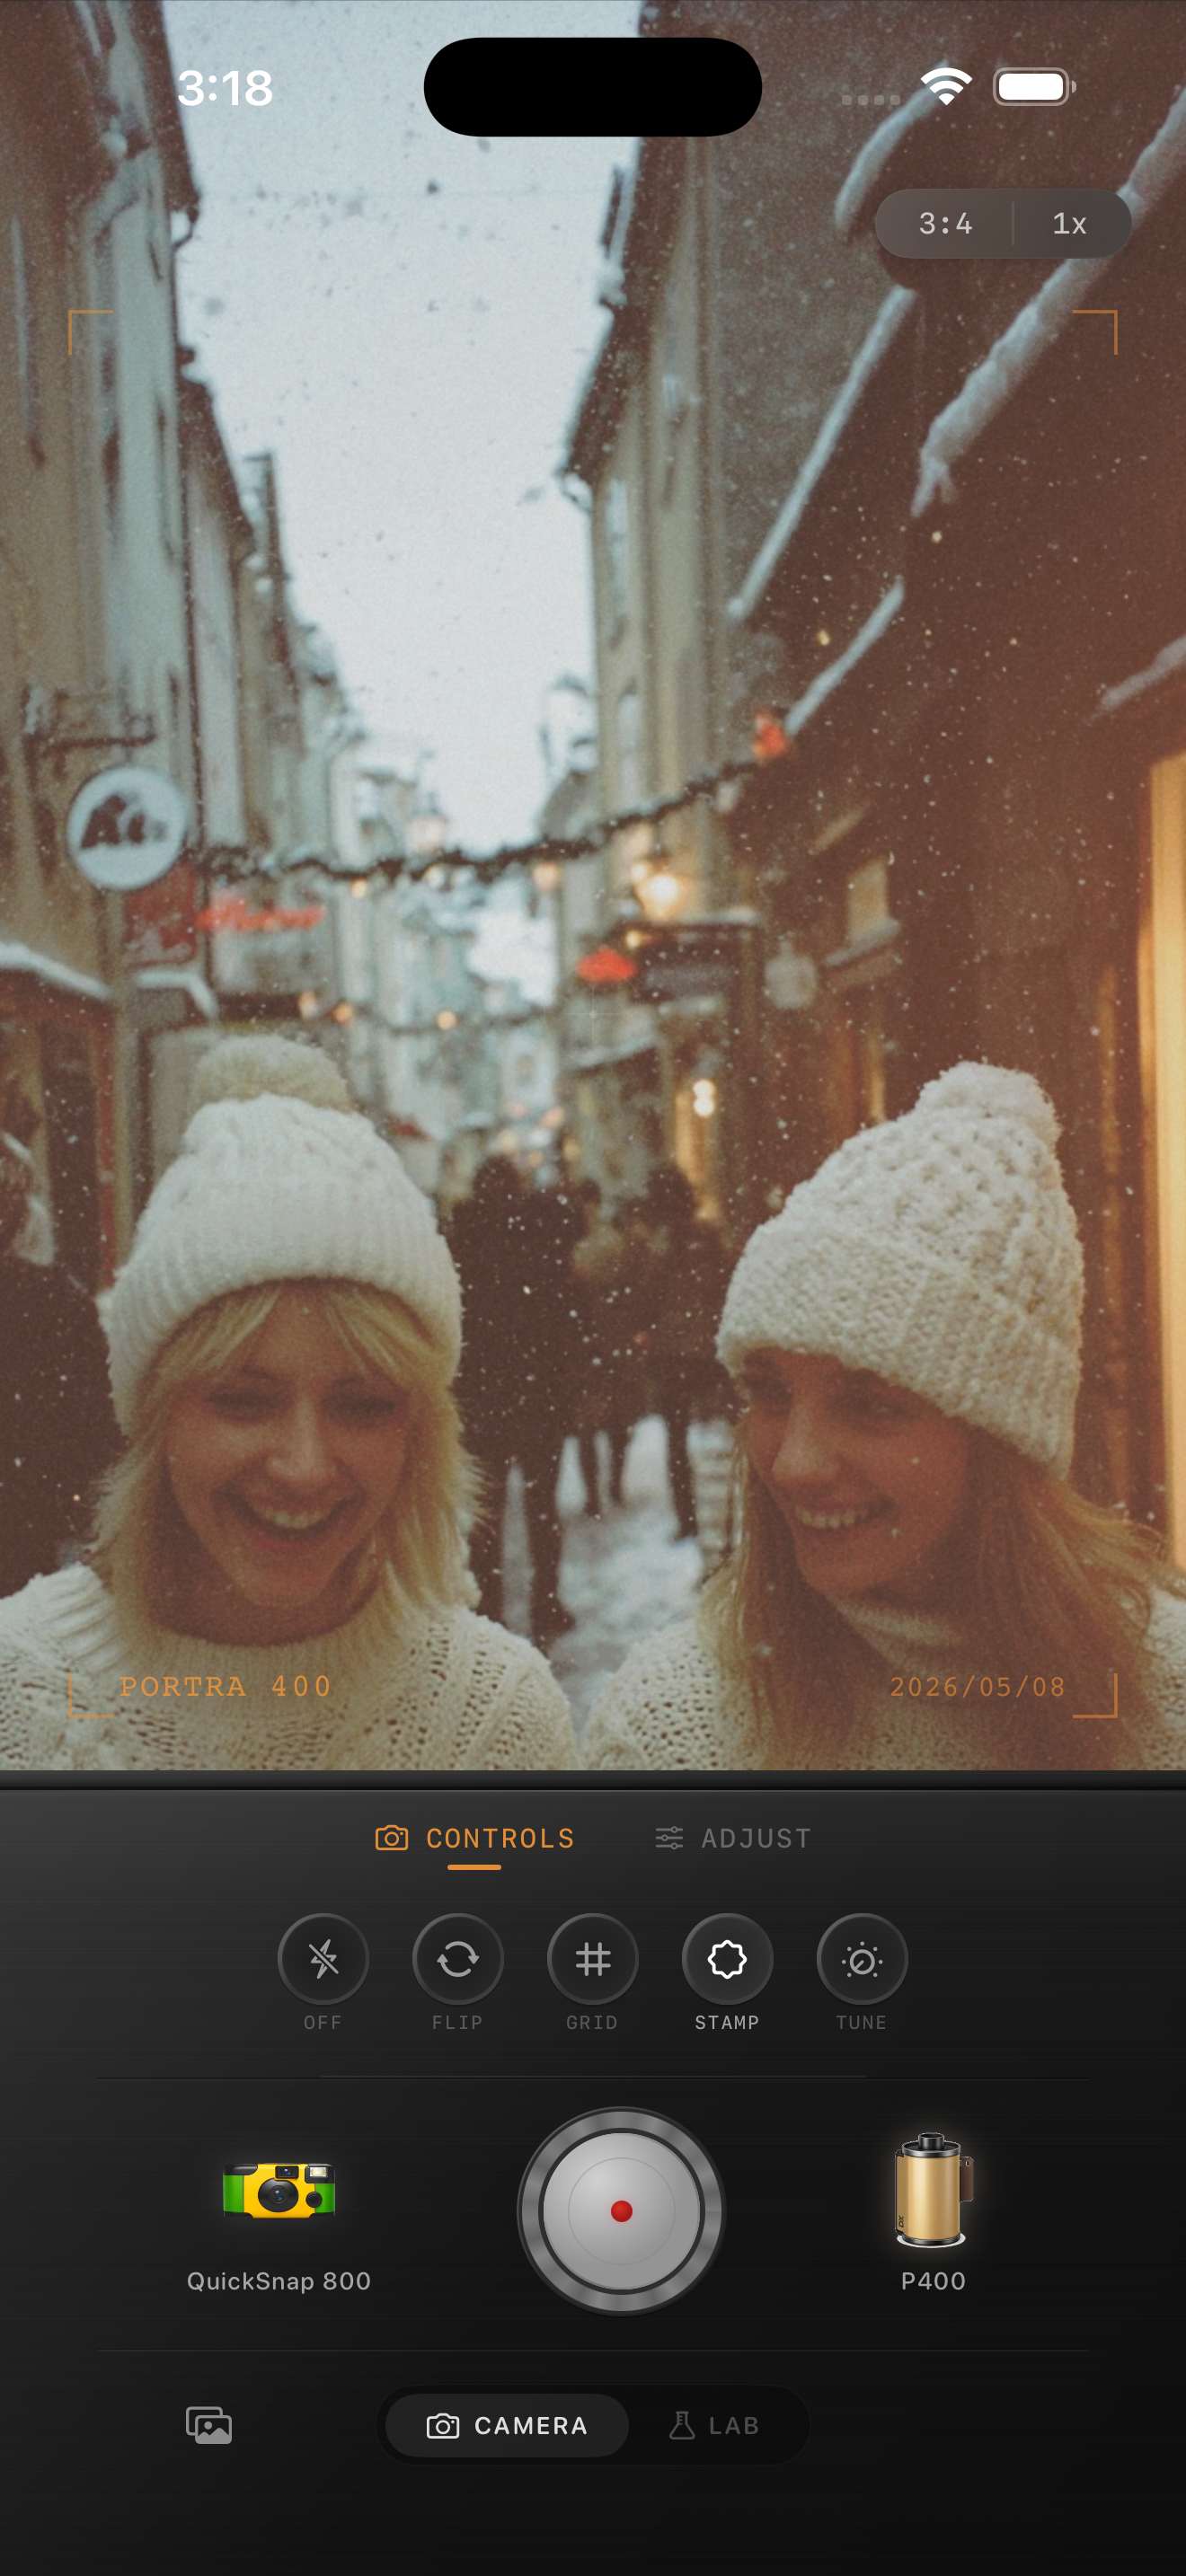
Start with the freckles in the original
A soft film portrait can still show the small details that make a face familiar. If freckles disappear after editing, compare the result with the original before adding more sharpness or grain. The useful question is which part of the edit made those details harder to see.
Choose a photo where the eyes are in focus and the freckles you want to keep are already visible. Check a small area on one cheek and the bridge of the nose. If those areas are blurred or featureless in the source, an added texture will not restore the original freckles. Try another frame when you have one.
Set the crop before judging skin texture
A tight face crop and a full-body picture ask different things of an edit. In a wider scene, freckles may simply be too small to read at normal viewing size. That is not a reason to make every patch of skin more contrasty.
Choose the framing you actually want to share, then compare the original and edit at the same size. Use a closer view briefly to check detail, and return to the complete portrait to judge the expression. Avoid treating a magnified cheek as the whole photograph.
Build the color with grain kept low
In the Nostalgia Cam Lab, start with a camera body and film look while keeping added grain restrained. Compare a gentler look with the stronger one you first liked. Look for a version that gives the scene its mood while leaving the cheek and nose easy to read.
If freckles blend into an overall orange or brown cast, reduce the added warmth or film intensity a little. If the entire face becomes pale and flat, compare with less fade. Change one control at a time so you can see whether it helps. There is no single warmth value that suits every skin tone and lighting condition.
- Use the same cheek as a reference through the edit.
- Check lips, eyes, and shaded skin as well as freckles.
- Keep the original available for a quick comparison.
Separate a soft mood from lost detail
A portrait can feel gentle through color and light without making the face blurry. If the chosen camera character makes small features difficult to distinguish, compare another body with a cleaner appearance before trying to compensate with stronger contrast.
Keep enough separation between freckles and the skin around them, but stop if pores and shadows start looking harsh. When using exposure or contrast controls in your editing workflow, make small adjustments and watch the whole face. The goal is to preserve existing detail, not make each freckle darker than it was in the source.
Add grain while watching two areas
Now bring in a little grain. Watch both the freckled cheek and a smoother area such as the forehead. If the new texture starts to compete with the freckles, lower it until you can tell the face detail from the finish.
Try two versions: one with barely noticeable grain and one with the texture you initially wanted. View both at your intended sharing size. Choose the lighter version if the stronger finish draws attention away from the eyes or turns the skin into a busy pattern. Grain does not need to be obvious everywhere to support the image.
Review the saved portrait before sharing
Open the saved image and compare it with the source at matching sizes. Check the same cheek, the eyes, and the shadow under the chin. Keep the version where the person still looks like themselves and the film treatment feels like part of the picture.
For a simple practice edit, use one daylight portrait and make just three decisions: which film color suits the face, how much intensity it needs, and how little grain you can use while keeping the mood. Save the original alongside the finished image so a later revision does not have to start from an already textured copy.
Keep the face familiar in Nostalgia Cam
Bring a favorite portrait into the Nostalgia Cam Lab, compare camera bodies and film looks, and ease in grain after the color feels right. Let the expression and natural skin detail guide the final edit.
FAQ
Does adding film grain bring freckles back?
No. Added grain creates texture; it does not recover freckles missing from a blurred or heavily smoothed source. Start with a photo that already shows the face detail you want to preserve.
Why do my freckles disappear after applying a film look?
Compare the edit with the original at the same size. Added softness, a strong color cast, reduced tonal separation, or grain competing with small details may make freckles harder to see. Adjust one part of the look at a time to identify what changed.
Can a soft film portrait still have natural skin texture?
Yes. Choose gentle color and restrained texture while keeping the original facial detail visible. Check both a close view and the complete portrait; a soft mood does not require blurring the face.