
Editing guide
Should You Crop iPhone Photos Before Adding Film Grain?
A practical crop-first workflow for iPhone film edits: frame the subject, judge grain at the final size, and keep vignette from crowding faces.
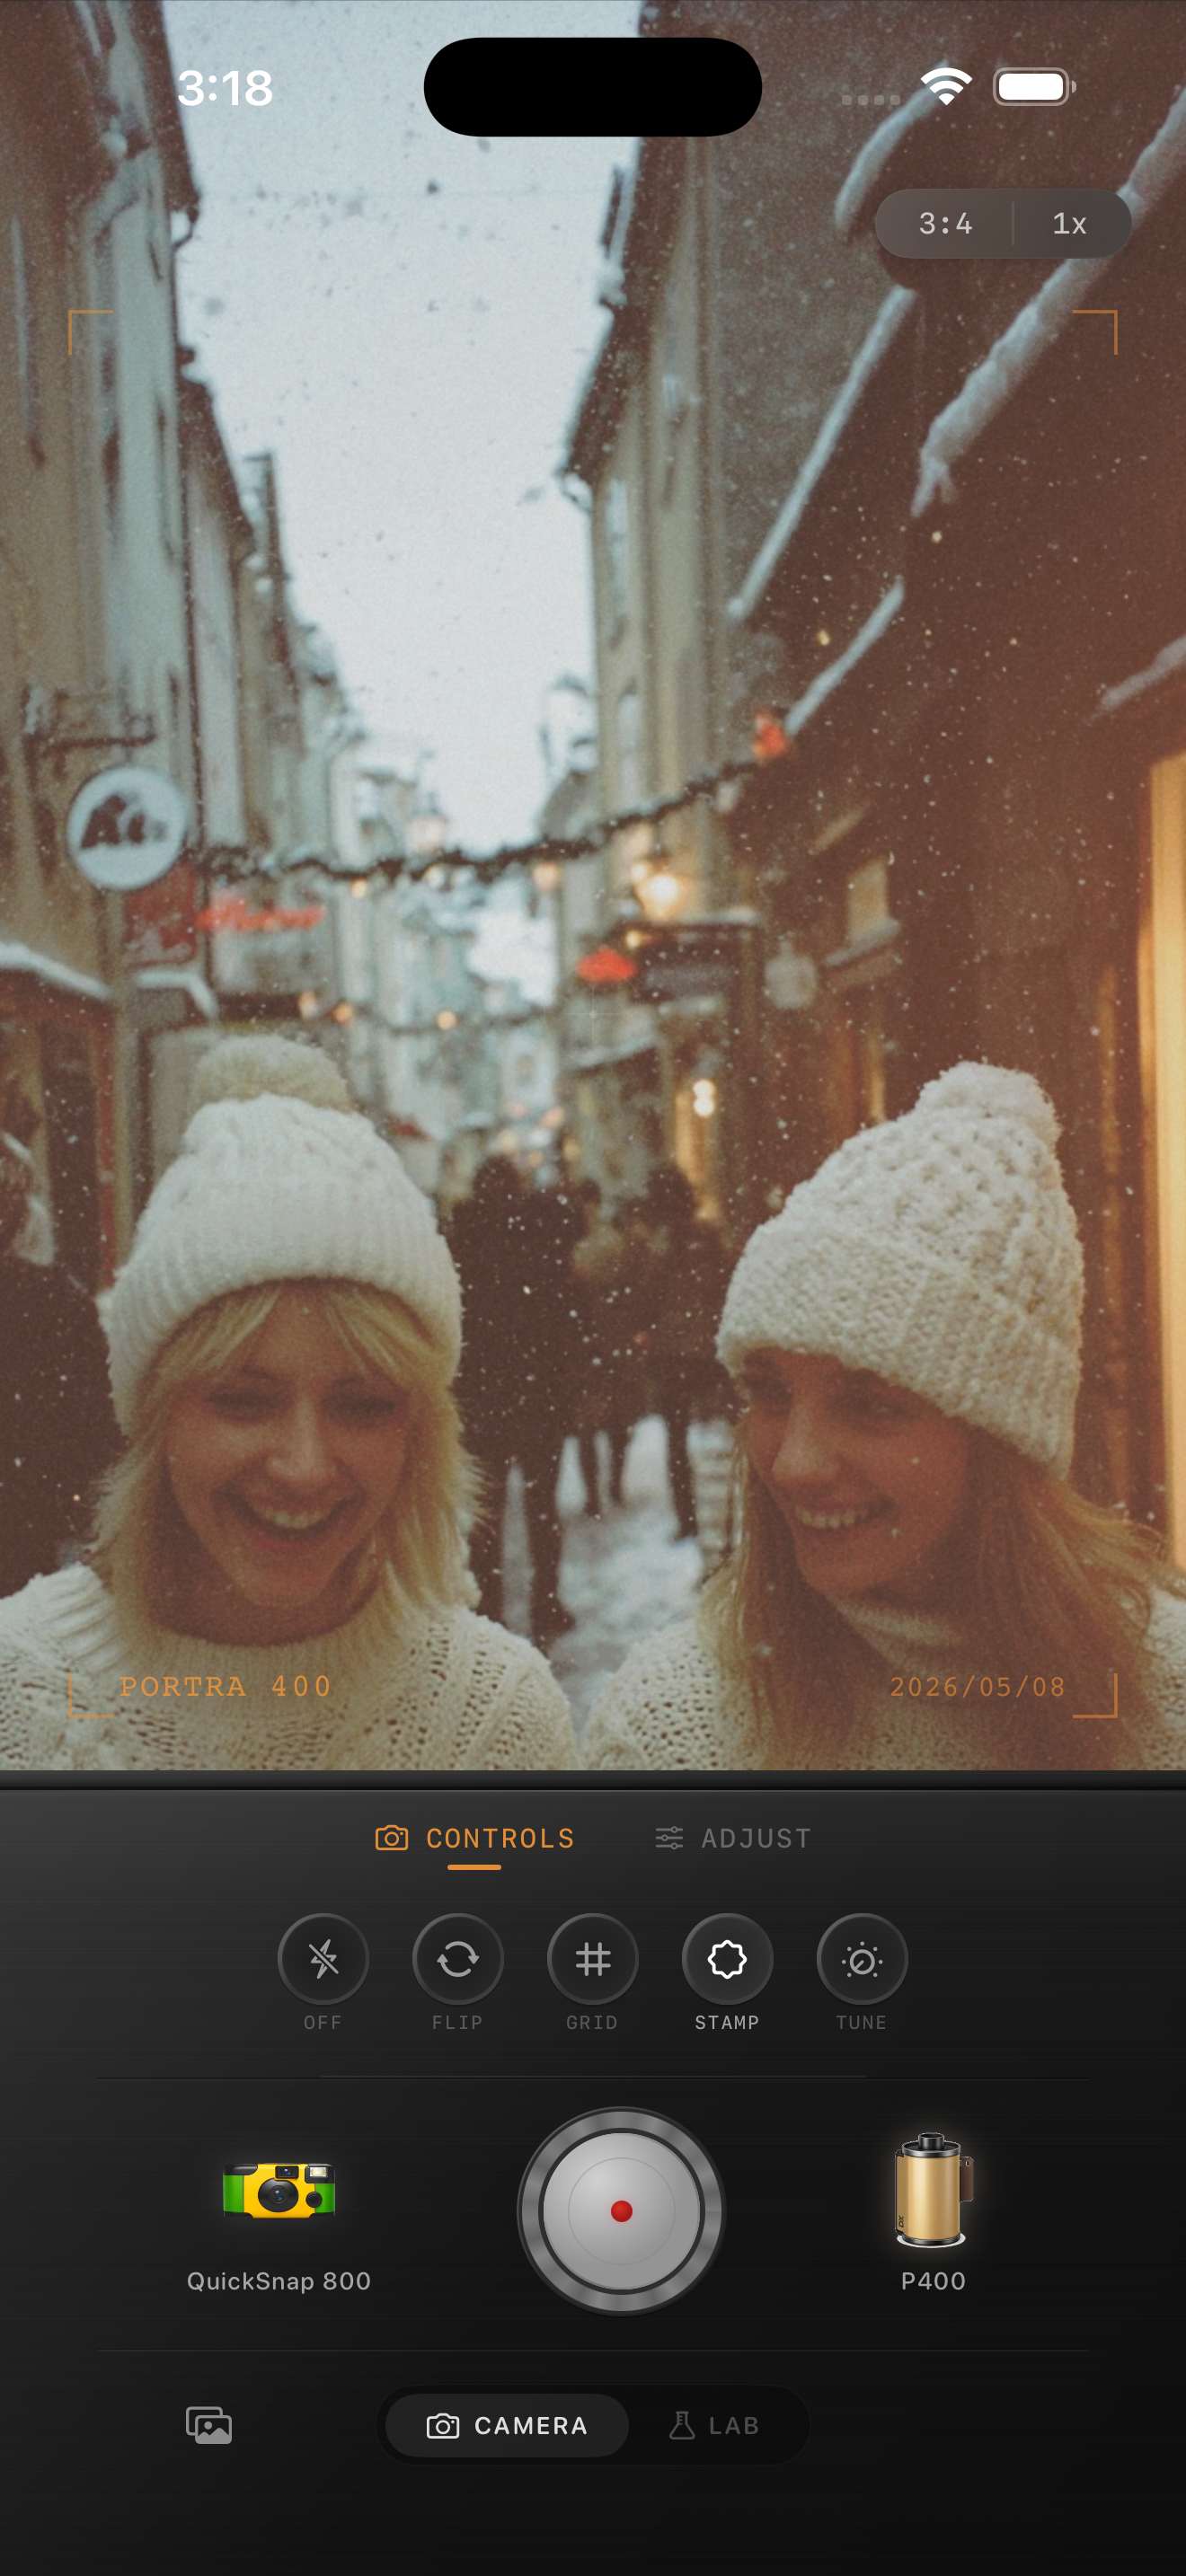
Decide the frame before judging the texture
For a repeatable film editing workflow, choose your crop before making the final grain and vignette adjustments. The frame determines how large the subject appears and how much empty sky, wall, or shadow surrounds it. Those choices change where you notice texture and whether darkened corners help the picture.
This is a workflow preference, not a rule that every editor processes effects in the same order. An editable project may redraw effects when its crop changes. A finished exported image already contains its texture and corner shading. If you crop that finished file tightly and display it at the same size as the original composition, the remaining details, including visible grain, appear larger.
Make a composition copy from the original
Keep the original available, then prepare a cropped copy in your photo editor before bringing it into the Lab. Start with the shape you actually need: a square for a square layout, a taller frame for a portrait, or the original proportions if the surroundings matter. No aspect ratio creates a film look by itself.
For a photograph of two friends on a snowy street, first decide whether the subject is their expressions or the shared walk. A closer frame emphasizes faces; more space above them keeps the street part of the story. Neither needs heavier grain to justify the composition. The preview above illustrates that framing decision; it is not a before-and-after crop comparison.
- Leave enough space around both people that one face does not feel squeezed against an edge.
- Check hands, hats, and shoulders before committing to a tight portrait crop.
- Remove a bright distraction only if the smaller frame still tells the story.
- Save a separate composition copy for each shape you plan to use.
Apply the film look to the chosen composition
Import the prepared image into Nostalgia Cam and choose a camera body and film look. Adjust exposure and warmth until the subject reads comfortably, then decide how strong the overall treatment should be. Keep grain restrained while you establish color so it does not distract you from a face that has become too dark or too warm.
Now compare the photo fitted to the screen with a closer view. Use the fitted view to judge mood and the closer view to inspect texture. Do not compare one version zoomed into a face with another showing the entire street. If you are comparing two crops, display each as a complete image at the intended viewing size and accept that the tighter one may need different grain.
Check vignette against the new edges
A crop can place a face much closer to a corner than it was in the original. Begin with little or no vignette and add it only if it helps direct attention. If a hat, cheek, or hand becomes noticeably darker, reduce the vignette before trying to brighten the entire picture.
Cropping an exported edit off-center can also leave uneven portions of its original corner shading. If one side feels inexplicably heavy, compare with the unfiltered source. Rebuilding from the cropped original is usually easier than compensating for shading already baked into the exported file.
Make separate finishes for square and portrait versions
When you need two shapes, prepare both from the original and use the same film look as their starting point. Match the overall color and brightness, then check texture and corner shading separately. A square with two large faces and a tall frame containing open sky do not have to use identical slider values to feel related.
Export the finished versions and inspect them where they will be viewed. If the tight version looks rough, go back to its prepared source and use less grain. If it looks cramped, revisit the composition. Extra fade or softness will not create missing space around a subject.
- Subject check: expressions remain readable at normal size.
- Texture check: grain supports the image without dominating faces.
- Edge check: no important detail is lost in darkened corners.
- Version check: each exported file has the shape you intended.
If you already edited the uncropped image
Try the crop on a copy first. A small trim may look perfectly good without rebuilding anything. If the result still has balanced edges and quiet texture at its final size, keep it. Return to the original only when the crop makes existing grain too prominent, removes useful context, or exposes awkward corner shading.
The example preview includes film-inspired names. Those labels describe stylistic inspiration; Nostalgia Cam is not affiliated with or endorsed by Kodak or Fujifilm.
Finish your chosen frame in Nostalgia Cam
Prepare your crop, import it into the Lab, and choose a camera body and film look. Fine-tune exposure, warmth, grain, fade, and vignette while judging the composition you actually plan to share.
FAQ
Should I crop before or after applying a film filter?
Choose the composition first when possible, then judge the final grain and vignette on that frame. A minor trim after editing can still work well; check the exported result before deciding to rebuild it.
Why does grain look larger after I crop a finished photo?
A tight crop shows a smaller portion of the exported image. When that portion fills the same display area, its existing details and grain appear larger. Compare the two complete images at the intended viewing size.
Does cropping create more film grain?
Cropping a finished image does not add new grain by itself. It changes the framing and may change the apparent scale of existing texture when the image is displayed. An editable project may also recalculate effects, depending on the editor.