
Editing guide
How to Fix Dark Corners in iPhone Film Edits
Keep the film mood without heavy dark corners. Learn when to reduce vignette, compare camera looks, and protect faces near the edge of an iPhone photo.
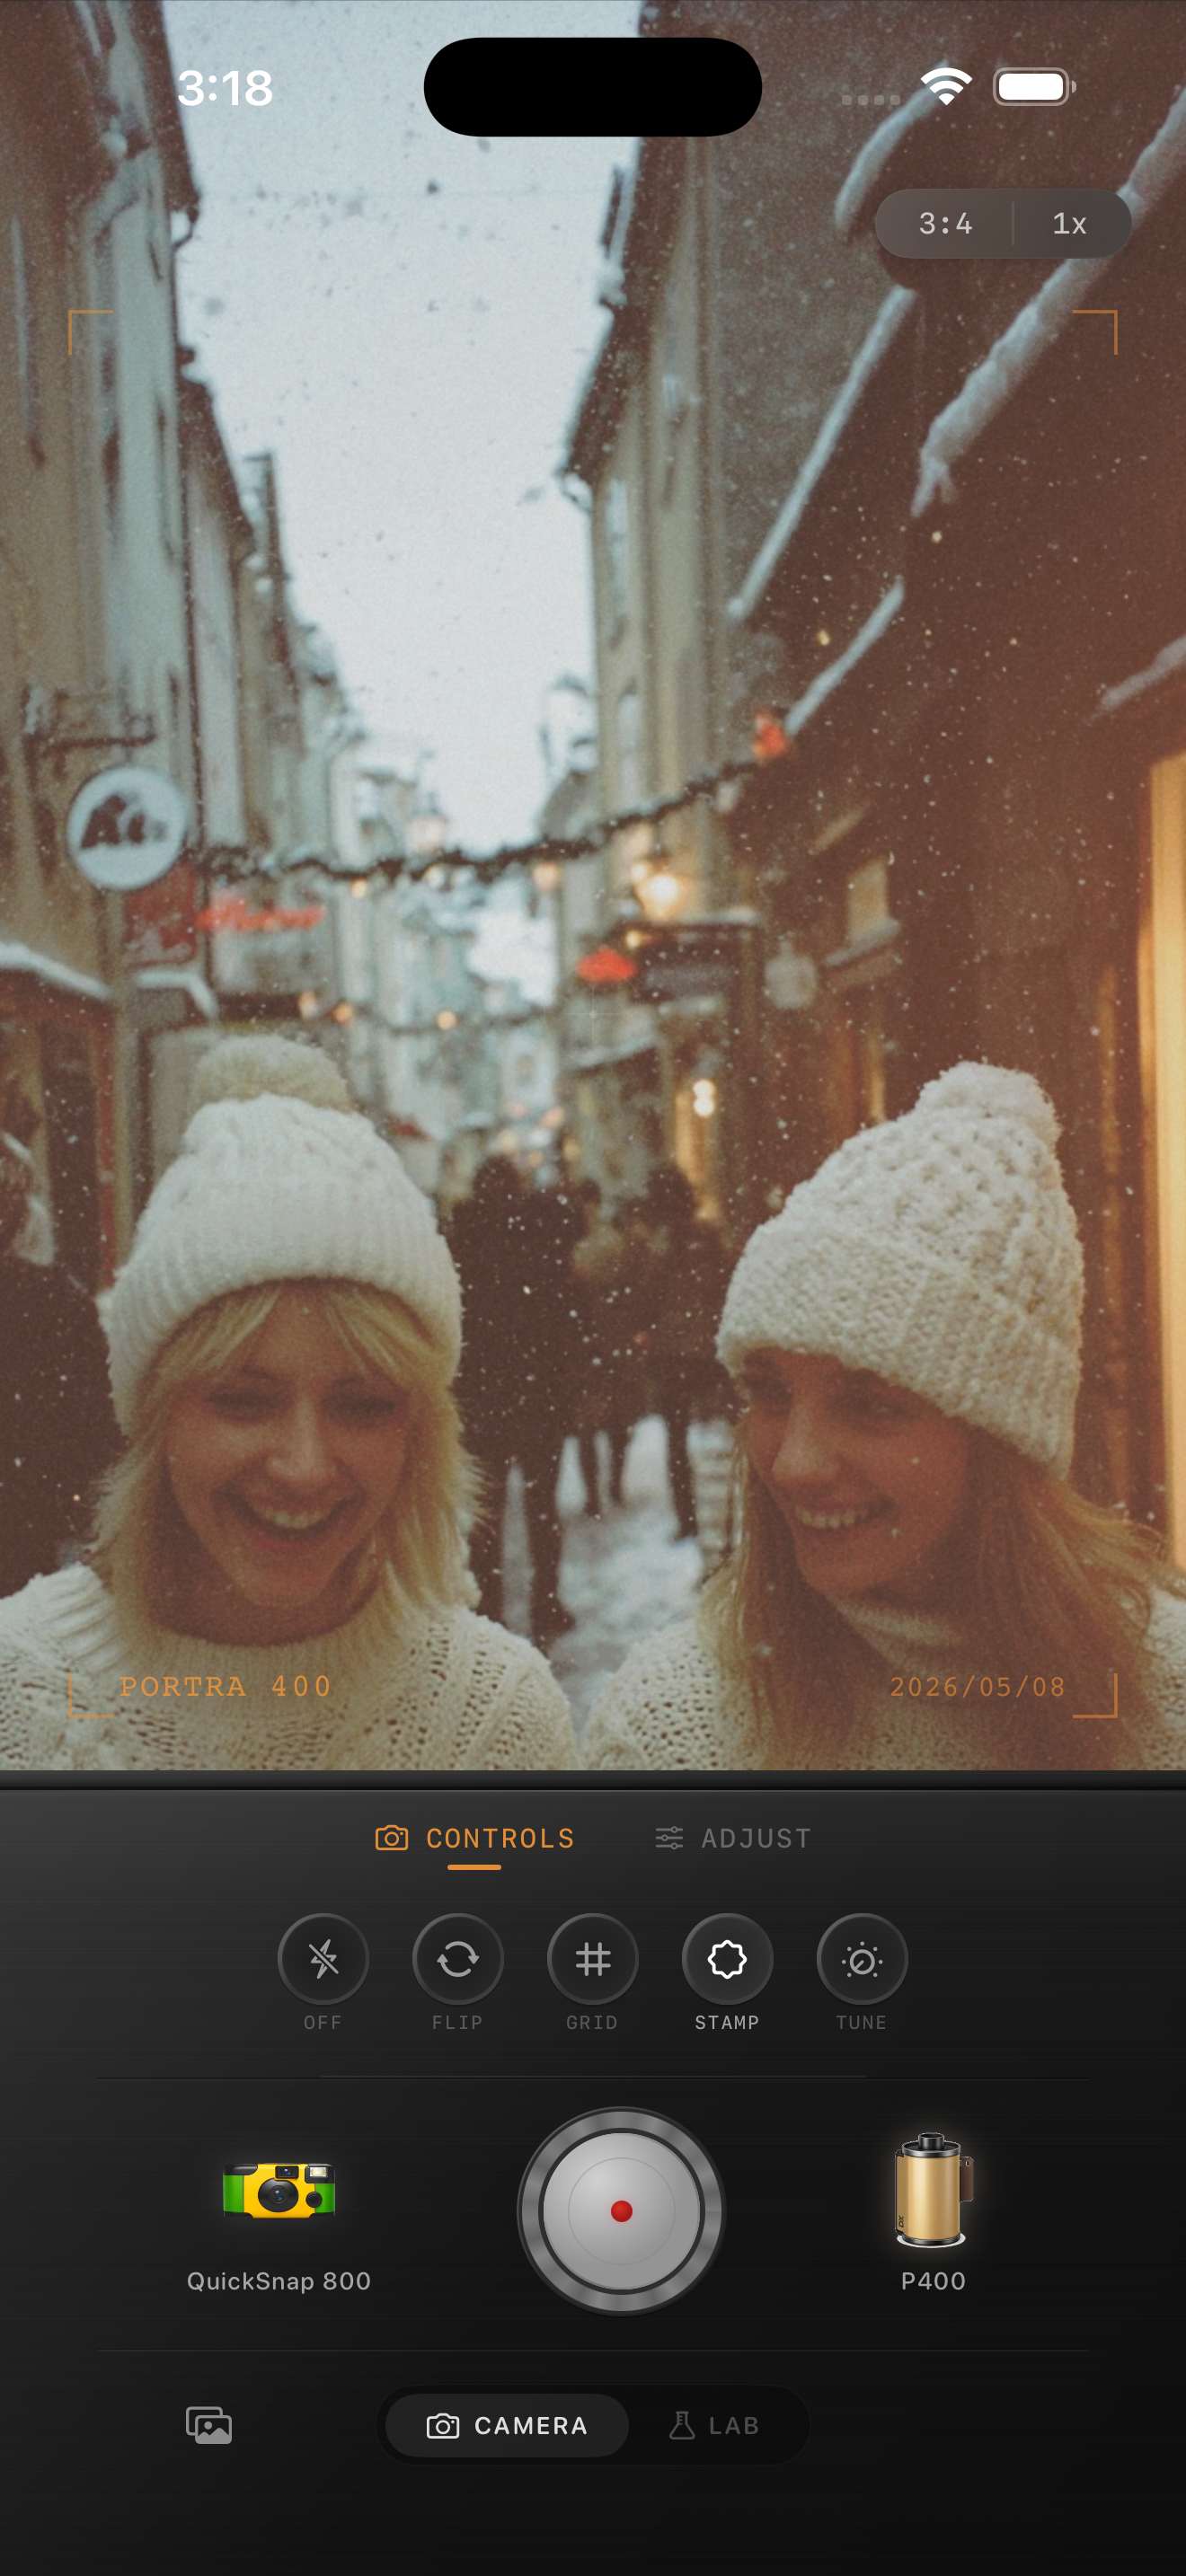
Check whether the dark corners belong to the original
If a film edit has heavy dark corners, start by comparing it with the original at the same size. A little edge darkening can draw attention toward the middle, but it becomes distracting when a friend at the edge looks underexposed or a pale sky turns into a dark border.
Look at each corner separately. If the original already has a shadow from a doorway, a dark coat, or an unlit wall, that area may need no extra darkening. If the border only appears after applying the look, begin with the vignette or camera style before changing the overall brightness.
- Compare the original and edit with the full frame visible.
- Check faces, pale walls, and sky near the edges.
- Keep a copy of the original so you can rebuild an overdone edit.
Lower the vignette before brightening everything
Bring the vignette toward its minimum while keeping the other adjustments steady. Watch the outside of the frame rather than the center. Stop when the corners feel connected to the scene and the people or objects there remain easy to see.
Raising exposure across the whole image can make an already bright central face or window too bright while leaving the border distracting. Use the whole image to judge exposure; use the edges to judge vignette. If both the center and corners are too dark, settle the overall brightness first, then reassess the border.
There is no single useful vignette percentage for every portrait. A centered subject against a busy background might suit some edge darkening. Two friends spread across a snowy frame may look better with almost none.
Compare camera character if the border remains
A look can contain more than the adjustment you are currently moving. If reducing the vignette does not give you the frame you want, compare another camera body or a gentler film look. Keep the scene and framing the same so you can judge what changed.
In Nostalgia Cam, choose the camera body and film look before fine-tuning the finish. Treat the preview as the deciding factor: if one combination makes edge faces too dark, try another combination instead of compensating with stronger fade or excessive brightness.
For a photo that has already been exported with a heavy border, return to the original if you have it. Adding another film look to that finished file can make it harder to separate the effect you want from the darkening you want to remove.
Protect the people at the edge of a group photo
Review every face in a group portrait, especially anyone near a lower corner. Ask whether their face becomes noticeably darker when you switch from the original to the edit. The person in the middle looking good is only part of the check.
Let grain and color carry the nostalgic mood when the composition is wide or off-center. You do not need a visible vignette for an image to feel like a casual print. Keep a naturally dark background if it belongs to the scene, but avoid making someone disappear into it.
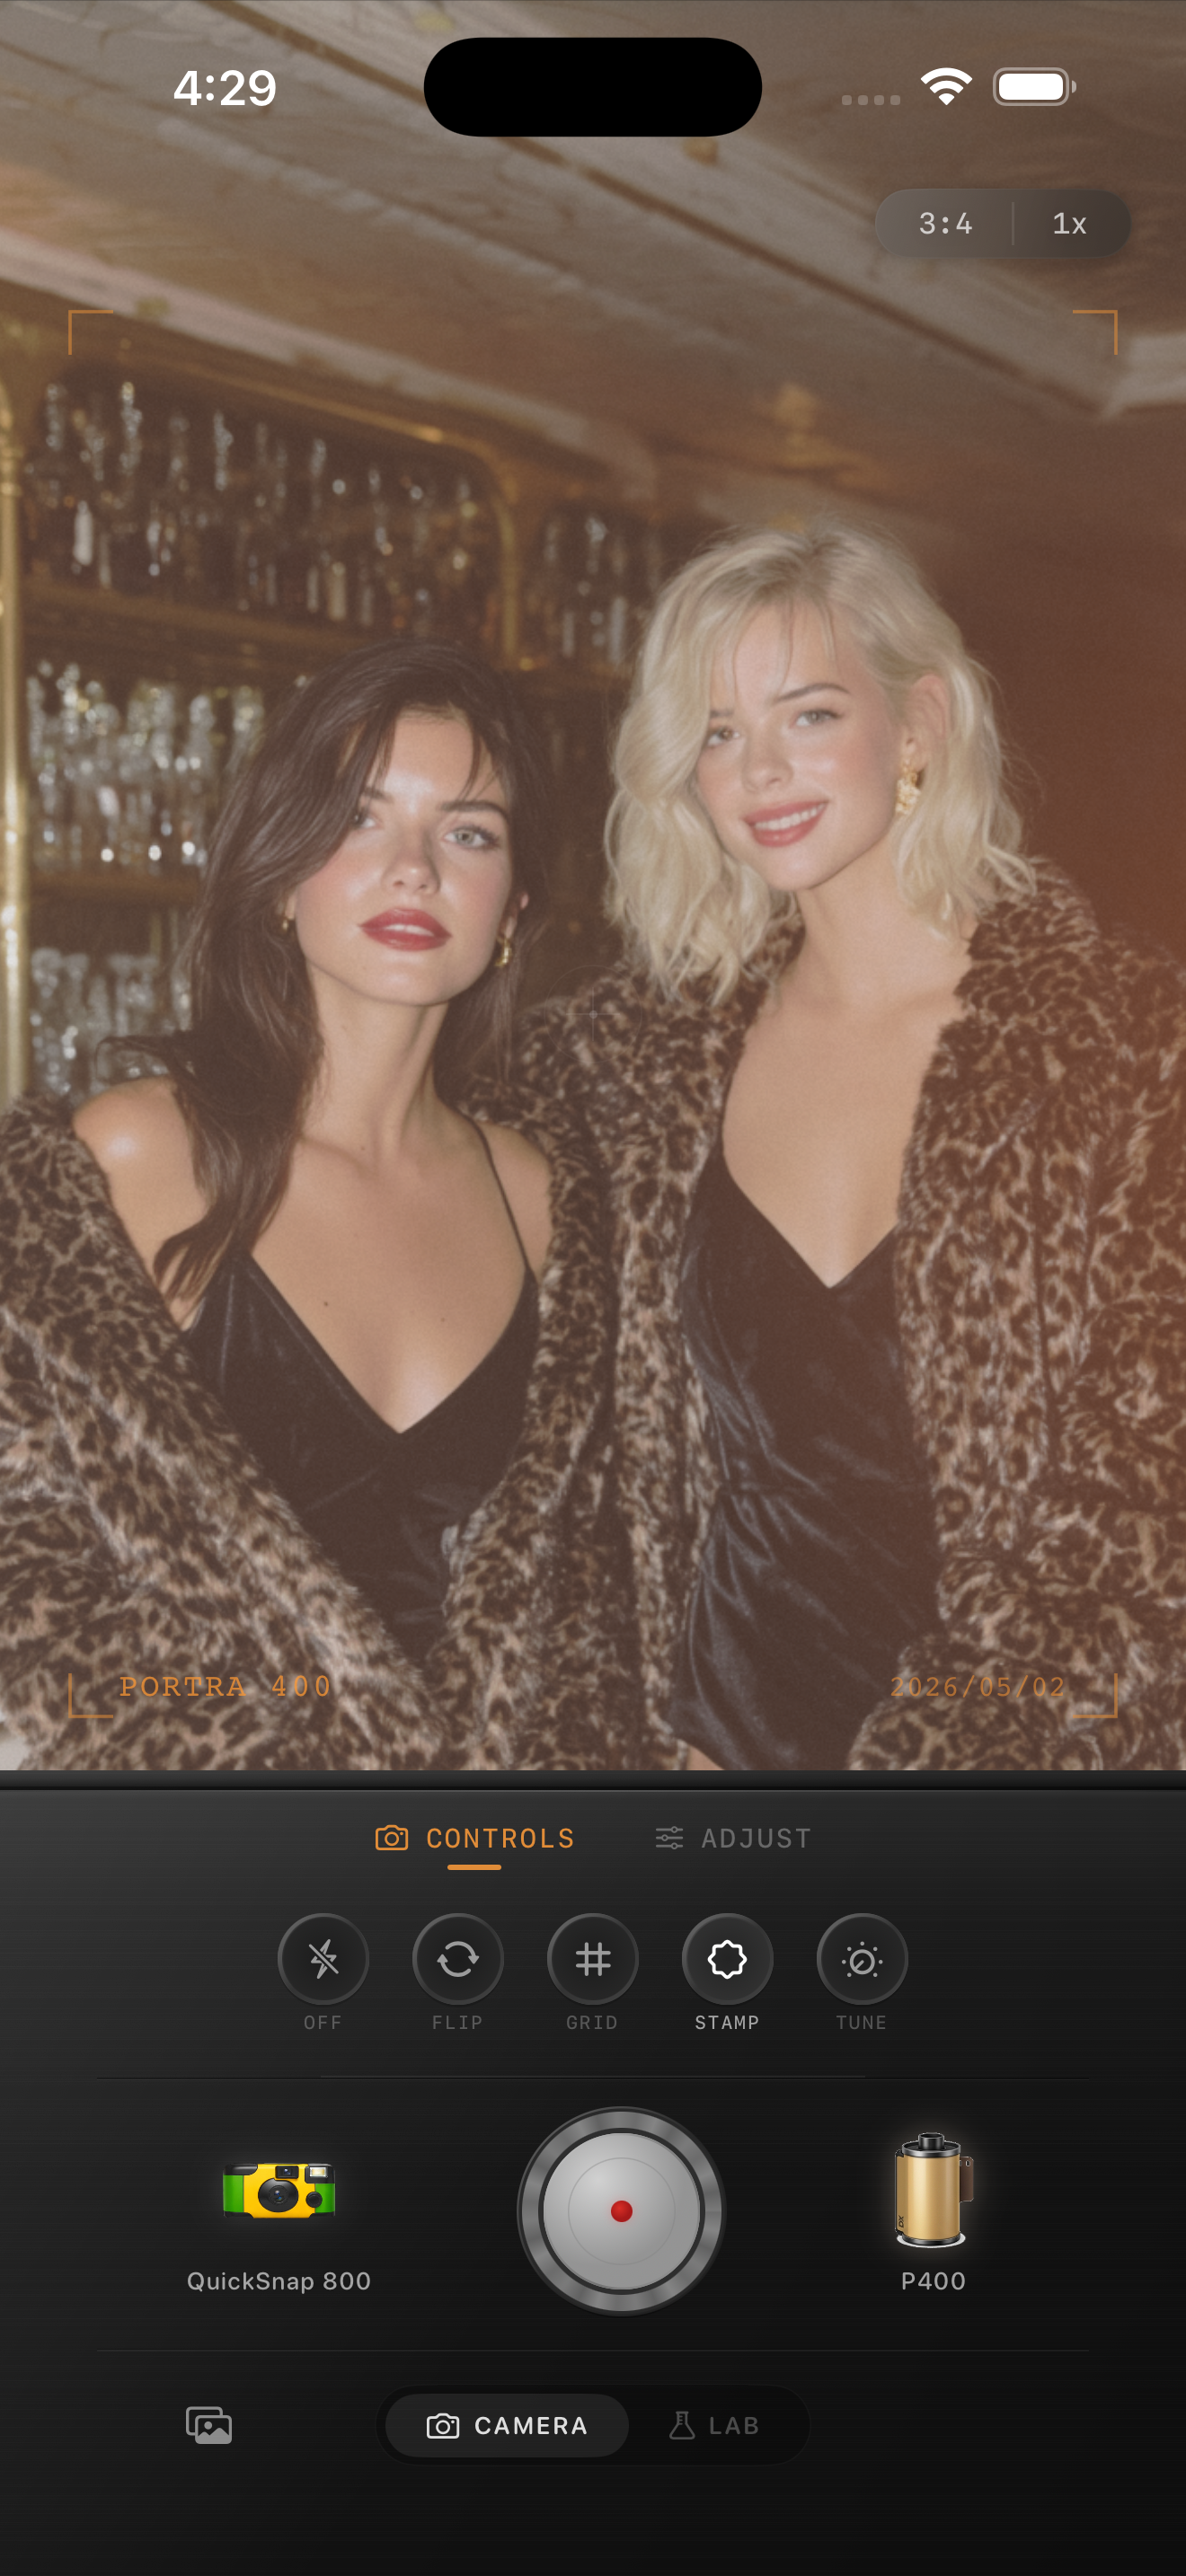
Make a simple two-version comparison
Save one version with minimal vignette and one with the amount you first preferred. Compare them at the size you plan to share, with the same crop and screen brightness. Look at the subject first, then deliberately check the corners.
Choose the stronger version only if the edge darkening helps the composition without hiding a face or drawing attention to the border. If you keep noticing the corners before the photograph, use the gentler version. Recheck the finish whenever you make a different crop.
- Center: does the main subject still have comfortable brightness?
- Edges: can you see every important face and detail?
- Whole frame: does the photograph hold your attention before the effect does?
Find a gentler film finish in Nostalgia Cam
Import your original into the Lab, compare camera bodies and film looks, then refine grain, warmth, fade, and vignette. Judge the whole frame so the people at the edges matter as much as the subject in the middle.
FAQ
Why does my film filter make the corners dark?
The selected look may add vignette or other edge darkening, or it may emphasize shadows already in the original. Compare the original with the edit, then lower vignette and compare camera looks to identify the source.
Do film-style iPhone photos need a vignette?
No. Color, grain, and the scene itself can create a nostalgic mood. Minimal vignette often works well for group photos and off-center subjects.
Can I remove a dark vignette from an exported photo?
If you still have the original, start from that file for the cleanest control. A finished export contains the applied darkening, so simply setting vignette to zero in a new edit will not undo the earlier effect.