
Editing guide
How to Prepare iPhone Film Photos for 4×6 Prints
Turn an iPhone film edit into a small photo print with a deliberate 4×6 crop, a clean export, restrained grain, and a simple test-print workflow.
Start with the print you want to hold
A film edit that looks inviting on your phone is a good starting point for a small physical print. Before ordering a whole album, prepare one photograph for the exact paper size. For a 4×6-inch print, the main decisions are framing, visible detail, and how much texture you want at that small size.
Keep your original photo and make a separate print version. Choose a picture with a readable expression or a clear subject, then decide whether the photograph should fill the paper or sit inside a border. That choice affects the crop before it affects the film finish.
Choose a 3:2 crop before finishing the grain
A 6-inch-wide by 4-inch-high print has a 3:2 shape; turn it vertically for a 4-inch-wide by 6-inch-high portrait. If your image has a different shape, filling the paper will require trimming part of the picture. Use your usual crop tool to compose that version deliberately instead of leaving the decision to the order preview.
Check faces, hands, hats, and any date stamp near the edges. In a two-person portrait, center the crop around both people rather than one face. If the necessary crop removes someone or loses the setting, look for a printing option that fits the whole image with borders. Do not stretch the photograph to fill the space.
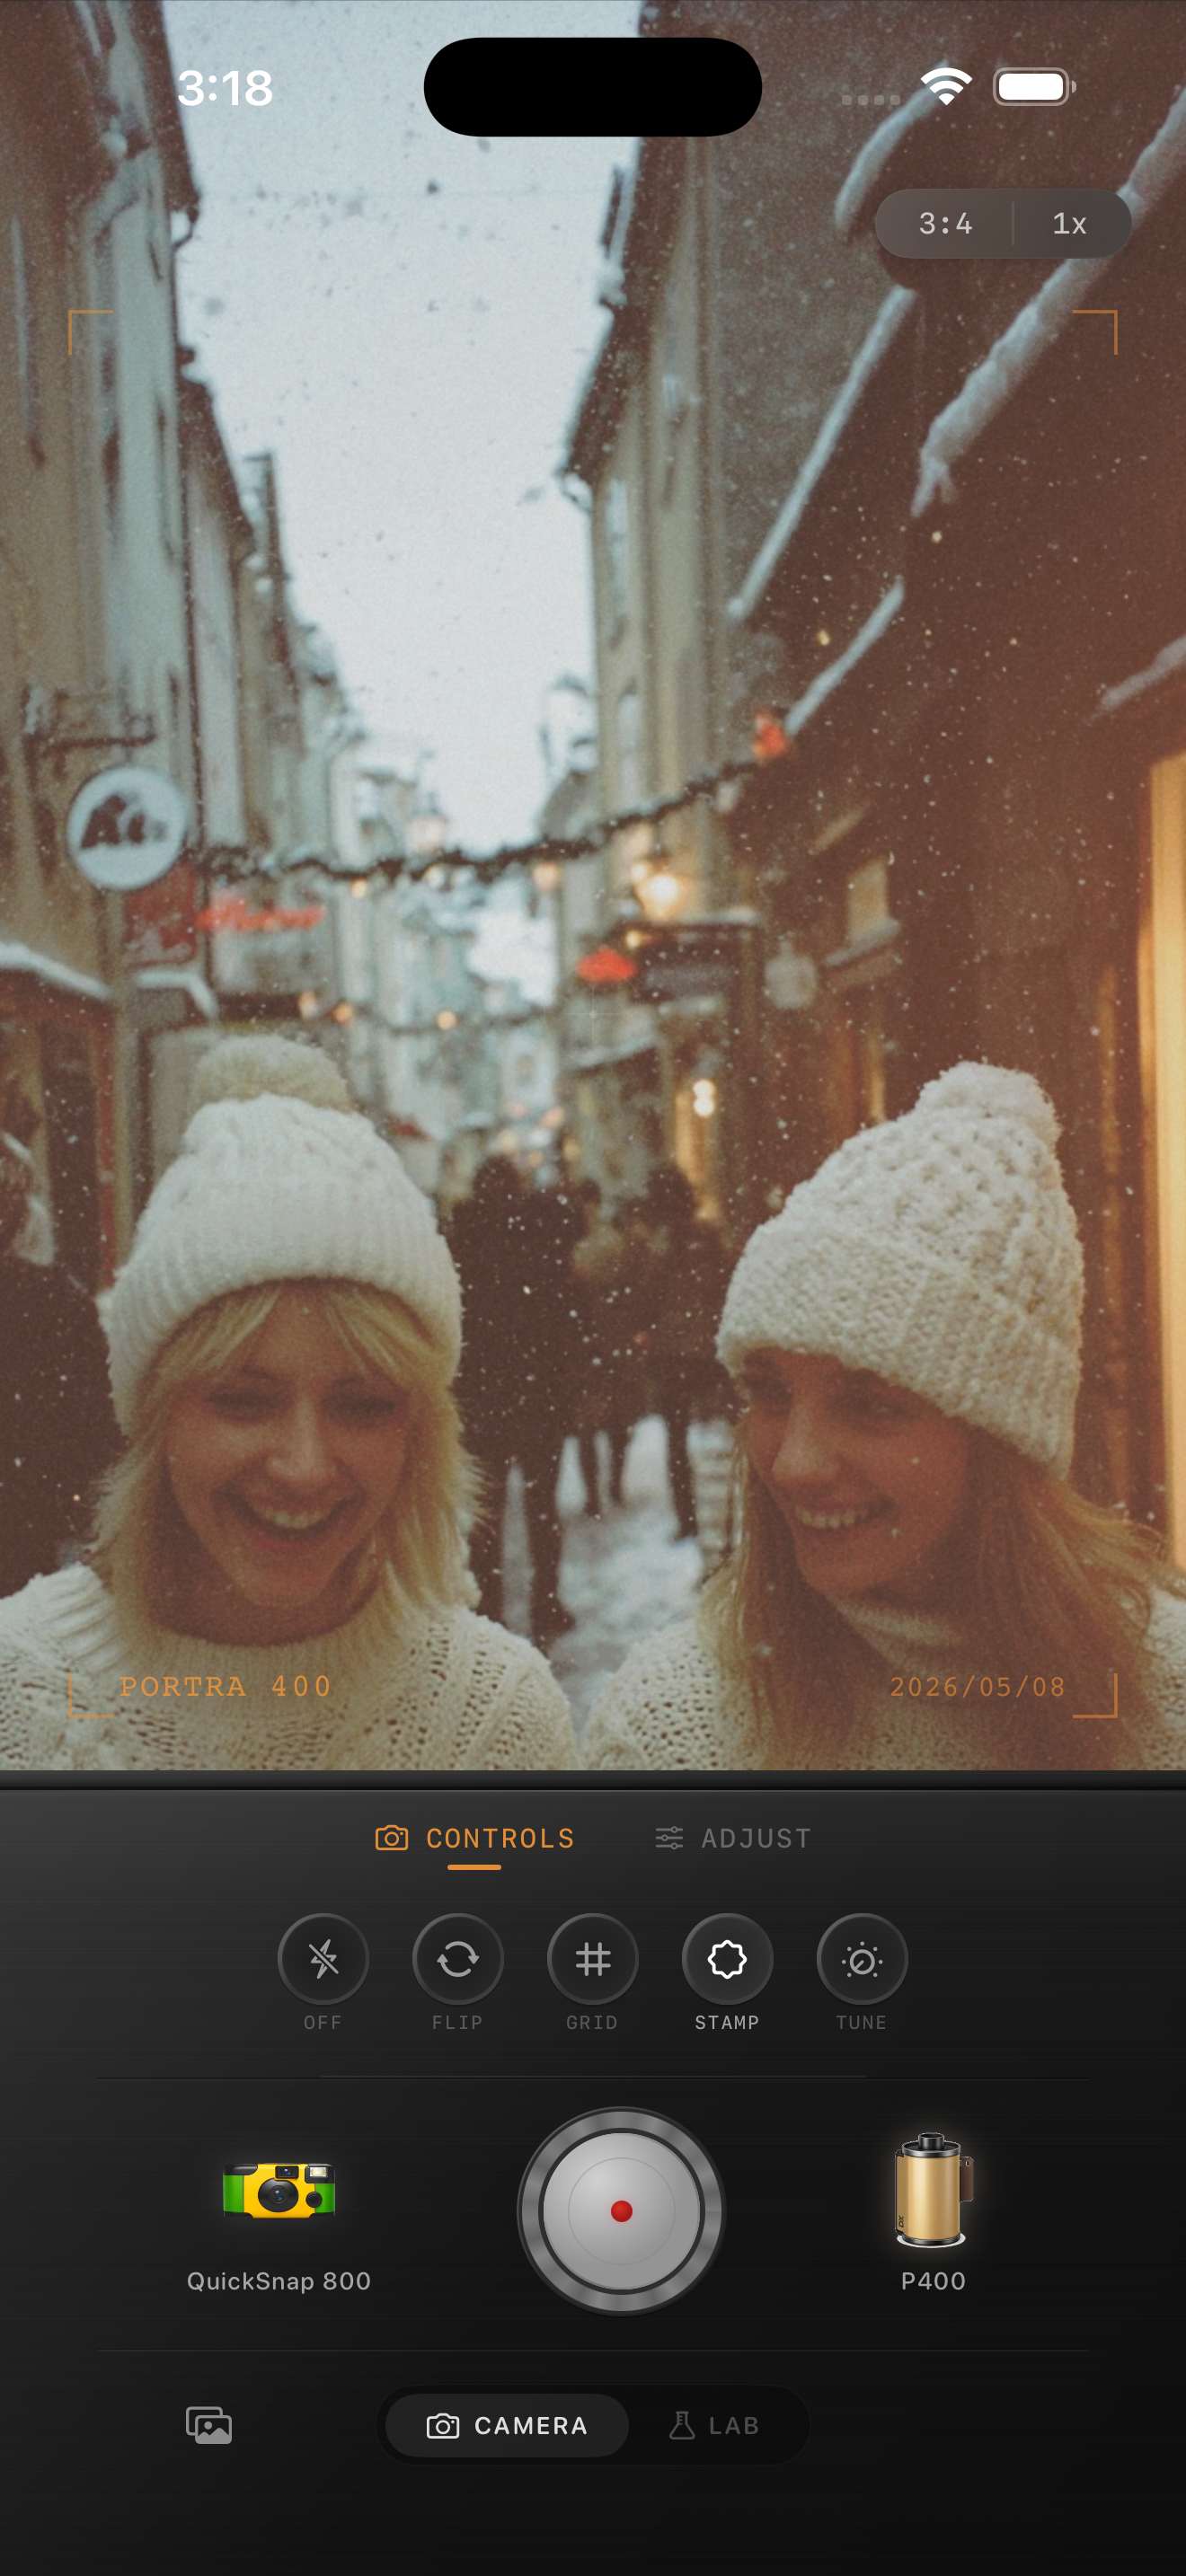
The snowy-friends image on this page is an app preview and composition reference, not a photographed print or a print-quality sample. Film names visible in the interface describe stylistic inspiration; Nostalgia Cam is not affiliated with or endorsed by those film brands.
Keep a clean path from the original to the print file
Import the original into the Nostalgia Cam Lab and build the film finish there. Send the saved photo export to the printing service rather than taking a screenshot of the editor or downloading a copy from a social feed. Inspect the actual file you upload, since that is what the service receives.
Check the service’s requirements for file type and pixel dimensions at your chosen print size. If it flags low resolution, first confirm that you selected the full export and did not crop more tightly than necessary. A larger file made from a small preview does not automatically contain more original detail.
For example, a service requesting 300 pixels per inch for a 4×6 print is asking for 1200×1800 pixels. Treat that as an example calculation, not a guarantee of sharpness or a universal requirement. Follow the requirements of the service you actually use.
Make texture support the small picture
With the framing settled, compare film looks while watching one face, one pale area, and one dark area. In a winter portrait those might be a cheek, a knitted hat, and a coat. Adjust intensity and warmth until the scene feels cohesive, then check whether fade or vignette is hiding useful detail.
Add grain gradually. Avoid judging the whole finish only while zoomed into a tiny patch of skin. Look at the complete composition as well: can you still read the expression and separate the people from the background? A phone preview helps you choose candidates, but a print is the useful check for how the texture feels on paper.
Export two versions with the same framing and color, one with your preferred grain and one with a little less. Keep their filenames distinct so you know which test print belongs to which edit. Changing only grain makes the comparison easier to interpret.
Review the order preview and make a small test
Upload the two versions and inspect the crop preview for each. Recheck the selected size, orientation, border, and paper finish. If the service offers automatic image enhancement, note whether it is enabled; an extra adjustment may change the color or contrast you chose. Use the same setting for both test versions.
Order one of each before printing a larger set. Compare the finished prints in the same comfortable light, at the distance you would normally hold an album. Look for a readable face, useful shadow detail, and texture that complements the scene. A glowing phone screen is not a substitute for this paper comparison.
- Confirm that both people and any date stamp survive the order preview.
- Use the same size, paper finish, and enhancement setting for the pair.
- Choose the grain version that makes the photograph pleasant to view.
- Keep the winning file and order settings together for the next batch.
Revise one problem before ordering the album
If the print feels too dark, compare it with the saved export under ordinary viewing conditions before changing everything. Try a modest exposure adjustment on a copy and check that pale fabric or sky still has useful detail. If faces are clear but texture is distracting, reduce grain instead of brightening the whole photograph.
When the test works, use it as a reference for similar pictures. A candlelit dinner and a snowy street may still need different edits. Review each crop individually, keep your originals, and order a small mixed batch before committing to a full album.
Make a film edit worth printing
Open a favorite photo in the Nostalgia Cam Lab, compare camera bodies and film looks, and refine intensity, warmth, fade, vignette, and grain. Save a print version, check its 4×6 framing, and start with a small test before building your album.
FAQ
Do I need to crop an iPhone photo for a 4×6 print?
Only if its shape differs from 3:2 and you want it to fill the paper. Compose a separate crop, or choose a service option that fits the complete image with borders. Always inspect the order preview.
Should I add more film grain before printing?
Do not increase grain automatically. Export two otherwise identical versions with different grain amounts and test them at the actual print size. Choose the one that preserves the expression and detail you care about.
Can I print a screenshot of my film edit?
Use the saved photo export instead. A screenshot may include the app interface and is limited to the screen capture’s pixel dimensions. Check the exported file against the printing service’s requirements before ordering.