
Editing guide
How to Edit iPhone Mirror Selfies to Look Like Film Without Flash
Give window-lit mirror selfies a film-inspired finish with deliberate framing, balanced skin color, gentle contrast, and grain that keeps the reflection clear.
Start with the reflection you want to keep
A mirror selfie without flash can feel like a quiet frame from a roll of film. Start with a reflection where the face or outfit already reads clearly, settle the crop, then add film color with restrained grain. The useful goal is to preserve the room and the gesture without letting the mirror, phone, or texture take over.
Choose the subject before opening the editor. For an outfit photo, keep the clothing outline and enough room around the shoes. For a portrait, choose a frame where the phone leaves the expression visible. A film look cannot reveal a face hidden behind the phone, so selecting another frame can help more than adjusting the filter.
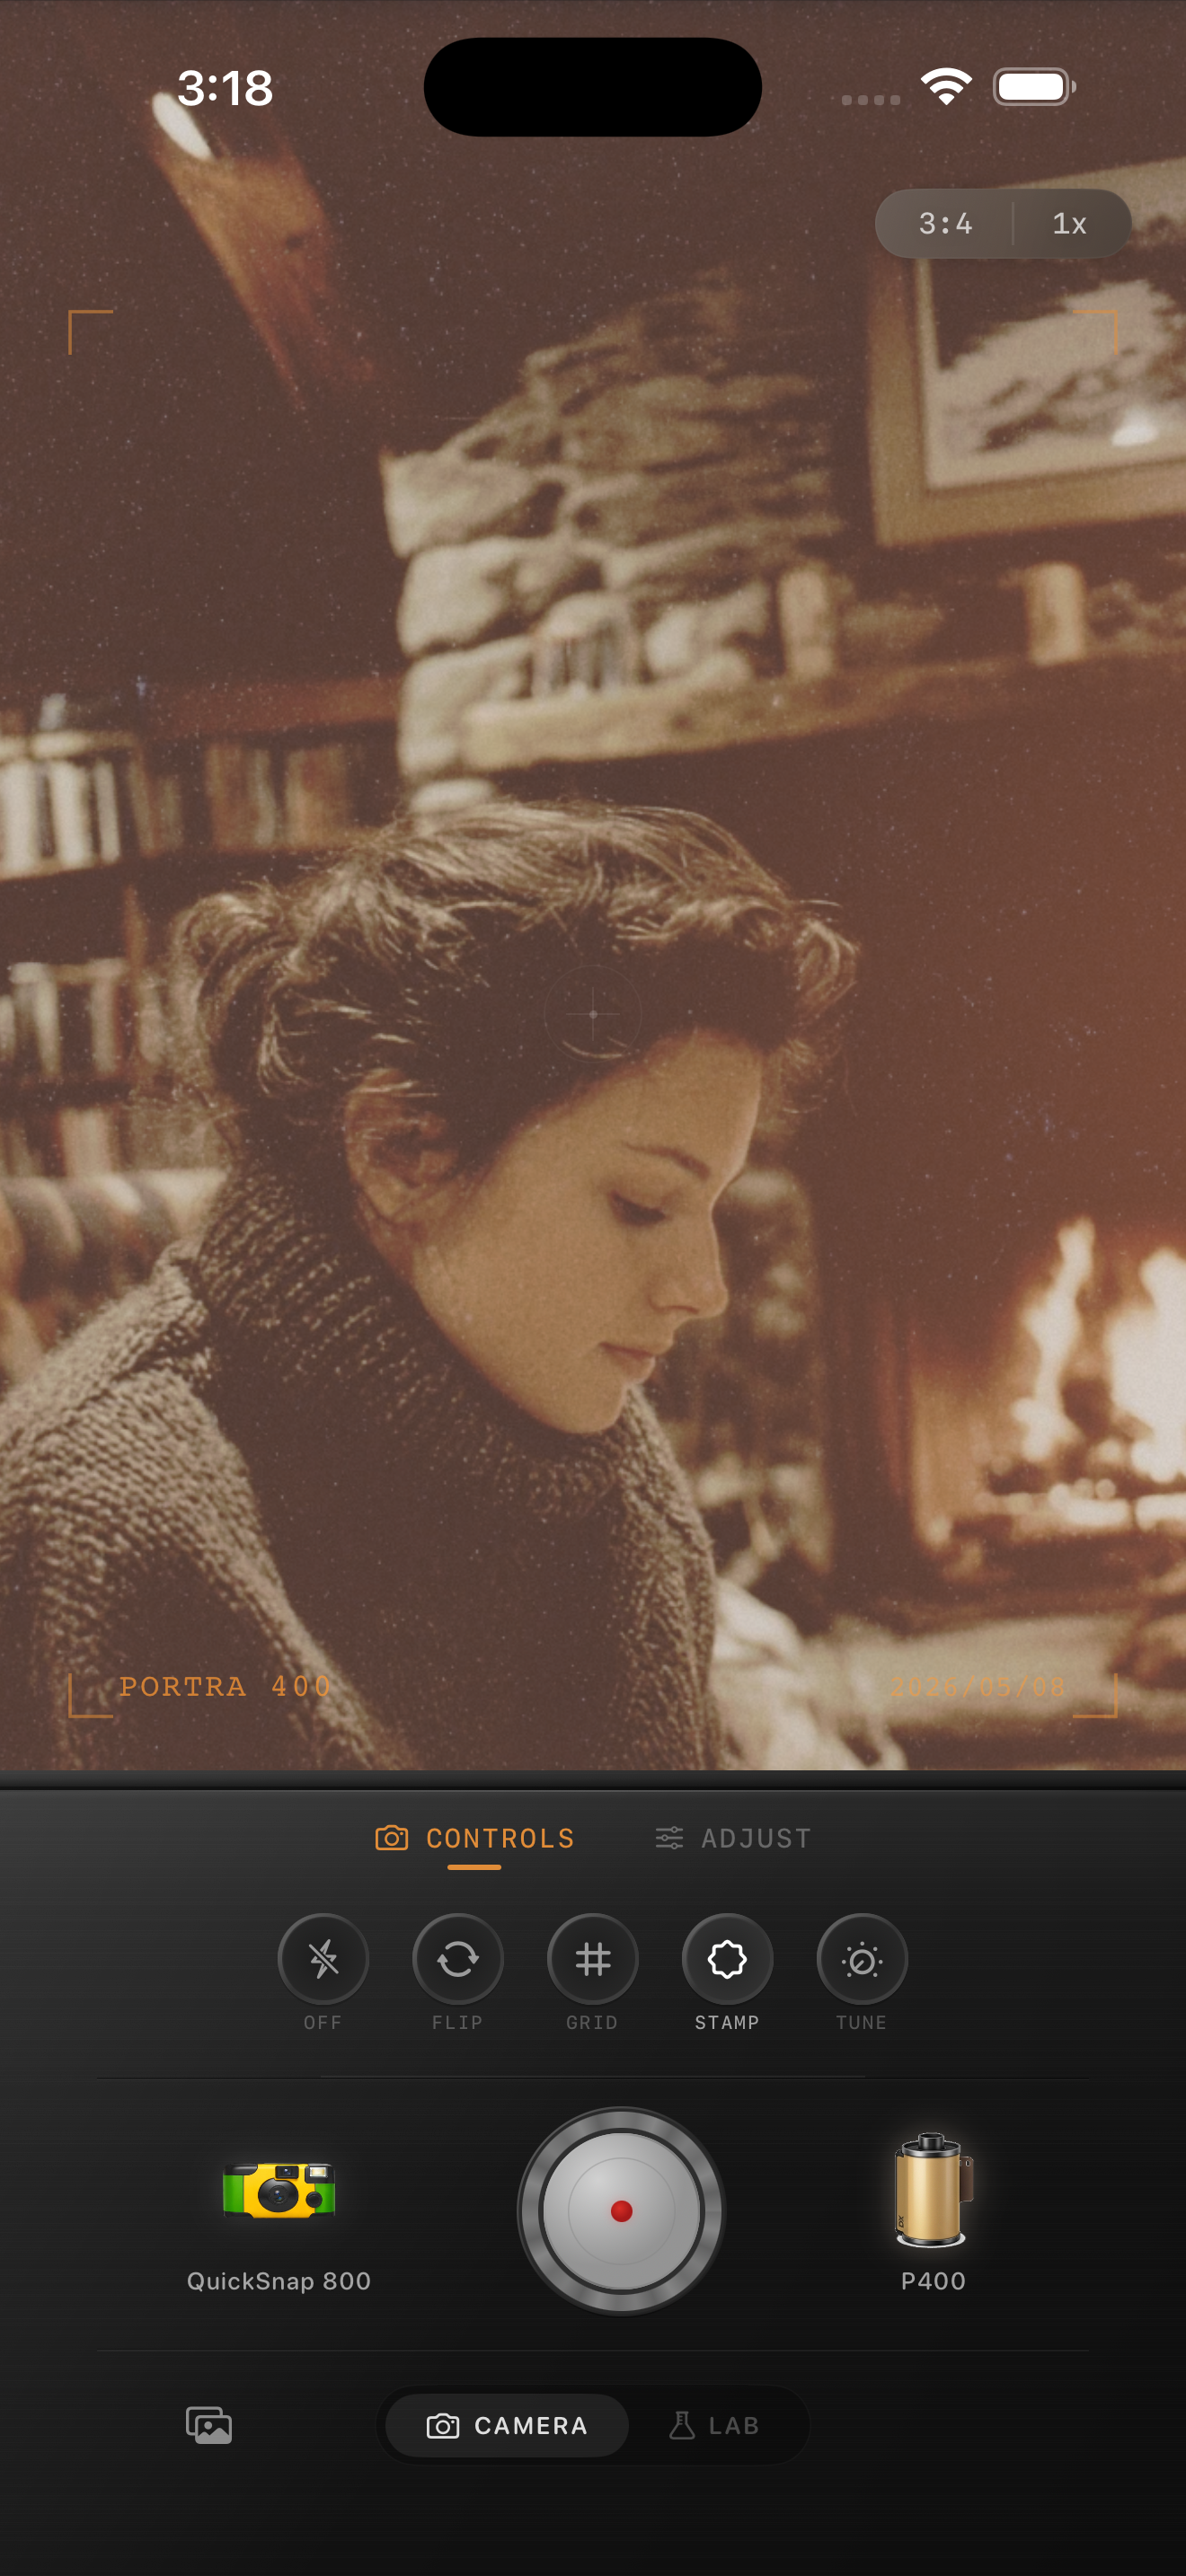
The image above is an existing indoor color reference, not a mirror-selfie demonstration. Film names visible in the preview describe stylistic inspiration; Nostalgia Cam is not affiliated with or endorsed by Kodak or Fujifilm.
Separate mirror haze from soft light
Compare the original before adding fade. A broad pale patch across the reflection may already be part of the capture. Extra fade can make that patch more distracting, especially if it runs through the face. Try a lower-fade finish first instead of treating every soft area as an invitation to add more atmosphere.
If you can retake the photo, clean the mirror and phone lens, then try a small change in position. Watch whether a reflected window or lamp overlaps your face. Turn toward the available window light and compare a few positions with flash off. Pick the frame with the clearest expression, even if the room behind you stays a little dark.
Frame the person and the mirror together
Prepare your crop in your usual photo editor before importing it into the Nostalgia Cam Lab. Keep an intentional amount of the mirror frame: a complete edge can explain the reflection, while a thin accidental sliver may distract. Check the hand holding the phone and the elbow as carefully as the face.
Use a mirror edge as a straightening reference only when it makes sense for the viewpoint. An angled mirror can have slanting edges even in a deliberate composition. Compare the corrected version with the original and stop if the adjustment crops away the pose or makes the room feel less natural.
- For a full-length outfit, check the shoes and the space beneath them.
- For a close portrait, leave a little breathing room around the head and phone.
- Keep the final orientation consistent while comparing edits; flipping a reflection changes visible lettering too.
Balance skin before warming the room
Choose a camera body and film look in the Lab, then compare the face with the original at a moderate film intensity. Watch a cheek that has clear light rather than judging color from a bright window reflection. If the room becomes pleasantly warm but the face turns orange, reduce warmth or try another film look.
Window light and indoor lamps can create different colors within the same reflection. A global warmth adjustment affects both. Prioritize the face and accept some difference between the room and the window side; forcing every surface toward one color can make the portrait less believable. For a retake, compare the scene with an unnecessary nearby lamp switched off.
Keep gentle contrast around the outfit
Adjust exposure only as far as the subject needs. You do not have to make a dim hallway as bright as the person beside the window. Check pale sleeves and the lit cheek while brightening; if those areas lose useful shape, back off and keep some depth in the room.
Add fade sparingly, looking at where dark hair or a dark jacket meets the background. Reduce it if those boundaries disappear. Check vignette separately: mirror selfies often place a hand, shoe, or shoulder near the frame edge, so a strong vignette can darken something you intended to show.
Give your mirror portrait a quiet film finish
Import your chosen photo into the Nostalgia Cam Lab, compare camera bodies and film looks, then refine exposure, warmth, intensity, fade, vignette, and grain. Save a gentle version first and let the reflection keep its everyday character.
FAQ
Do mirror selfies need flash to look like film?
No. A window-lit reflection can work well with film-inspired color, gentle contrast, and restrained grain. Choose a frame where the subject is clear, then build the finish around the existing light.
Can a film filter remove glare from a mirror selfie?
Do not rely on it to remove glare. Compare a lower-fade edit, but use another frame or change your position for a retake if a bright reflection obscures the face. An overall film look cannot reveal features hidden by the phone or glare.
Should I flip a mirror selfie before adding a film look?
Choose the orientation you prefer before comparing film edits, and check any visible lettering. Flipping changes the direction of the entire image; it does not change the lighting or restore anything hidden in the reflection.