Editing guide
How to Make HDR iPhone Photos Look Like Film
A practical fix for glossy HDR iPhone photos: softer highlights, calmer shadows, natural color, and film-style grain that makes bright scenes feel scanned instead of processed.
Why HDR breaks the film illusion
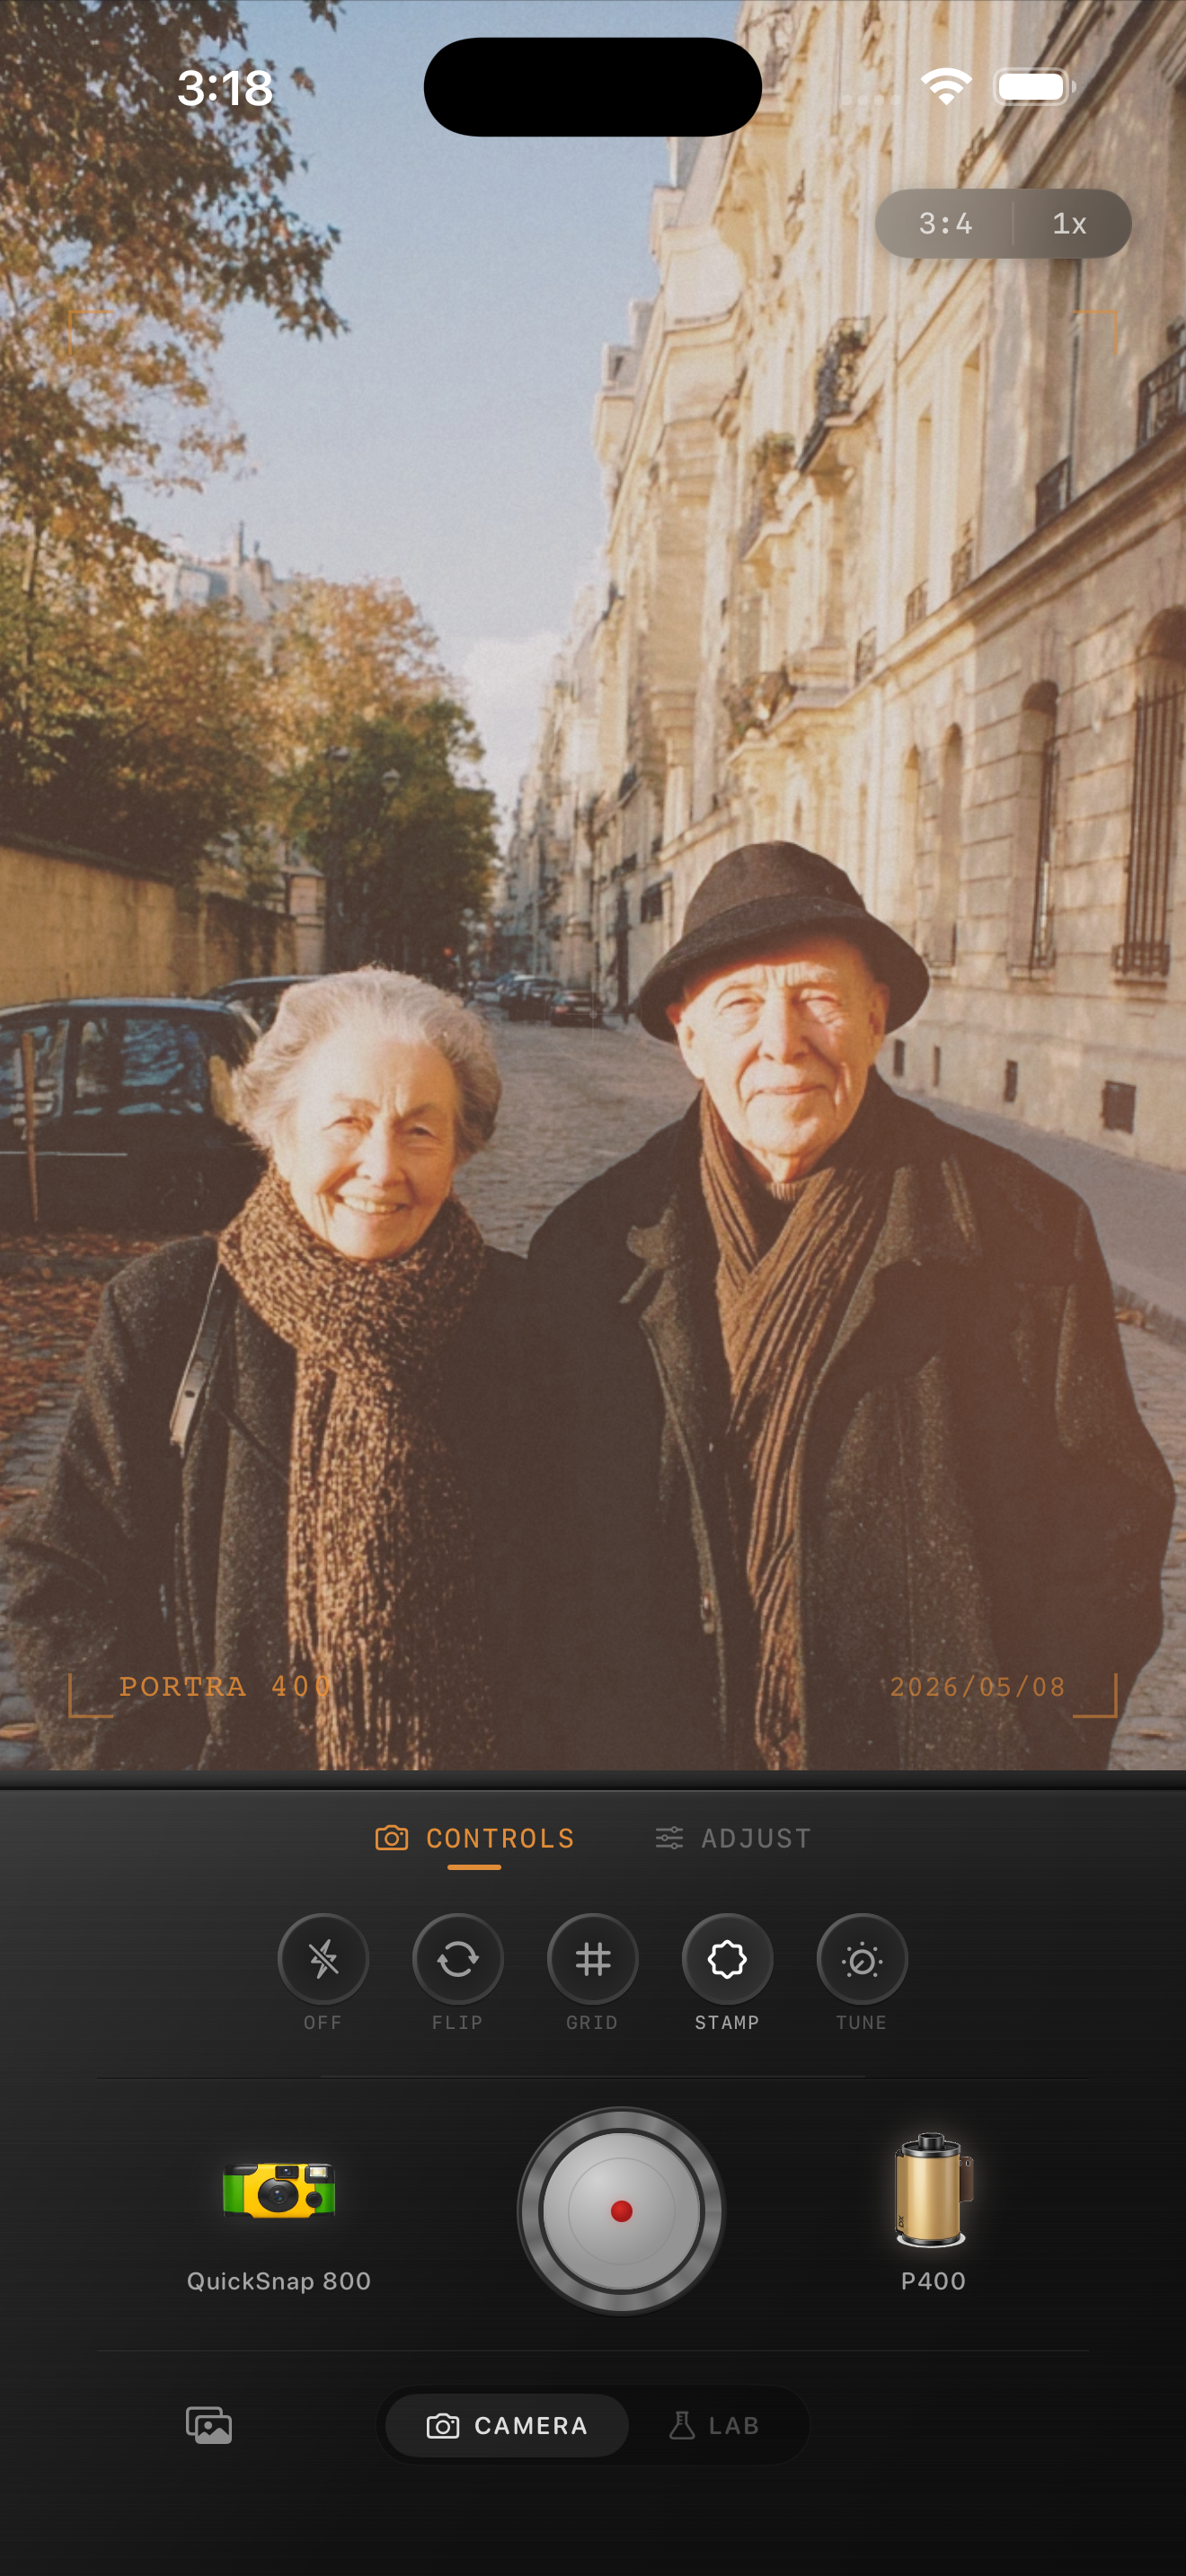
When people say an iPhone photo looks too digital, they are often reacting to HDR more than to sharpness alone. Bright skies hold too much detail, shadows open too evenly, and everything feels flattened into the same polished exposure.
Film usually does the opposite. Highlights roll off sooner, deep areas stay a little mysterious, and the image feels more selective about what it shows. A good film-style edit does not destroy dynamic range. It just stops the file from looking clinically balanced.
- Lower the glossy highlight feeling before adding grain.
- Let some shadows stay quieter instead of forcing every detail open.
- Use warmth and fade gently so the image does not turn muddy.
- Choose grain that supports the photo instead of covering the whole frame.
- Judge the edit at phone-screen size, not only while zoomed in.
A strong starting recipe for bright HDR photos
Start around film intensity 68-82%, grain 18-30%, warmth +3 to +9, fade 3-7%, and vignette 2-6%. That range usually softens the overprocessed iPhone finish without making a daylight photo feel dull.
If the photo still feels too HDR-heavy, lower highlight intensity with a calmer film look and slightly more softness before you raise grain. Grain alone cannot fix the plastic shine that usually gives HDR away.
Protect color while you soften the file
HDR edits can fall apart when you flatten the exposure but leave color untouched. Blue skies stay electric, stone turns too crisp, and skin or clothing can feel disconnected from the softer tonal treatment.
After you calm highlights and shadows, check whether the color still feels a little too clean. Often a small warmth move and gentler film palette will do more than a heavier matte effect.
Use a cleaner camera mood than you think
Most HDR-heavy photos work best with a compact or 35mm-inspired body rather than a rough disposable treatment. The file already has plenty of processing baked in, so too much extra damage can make the edit feel stacked instead of photographic.
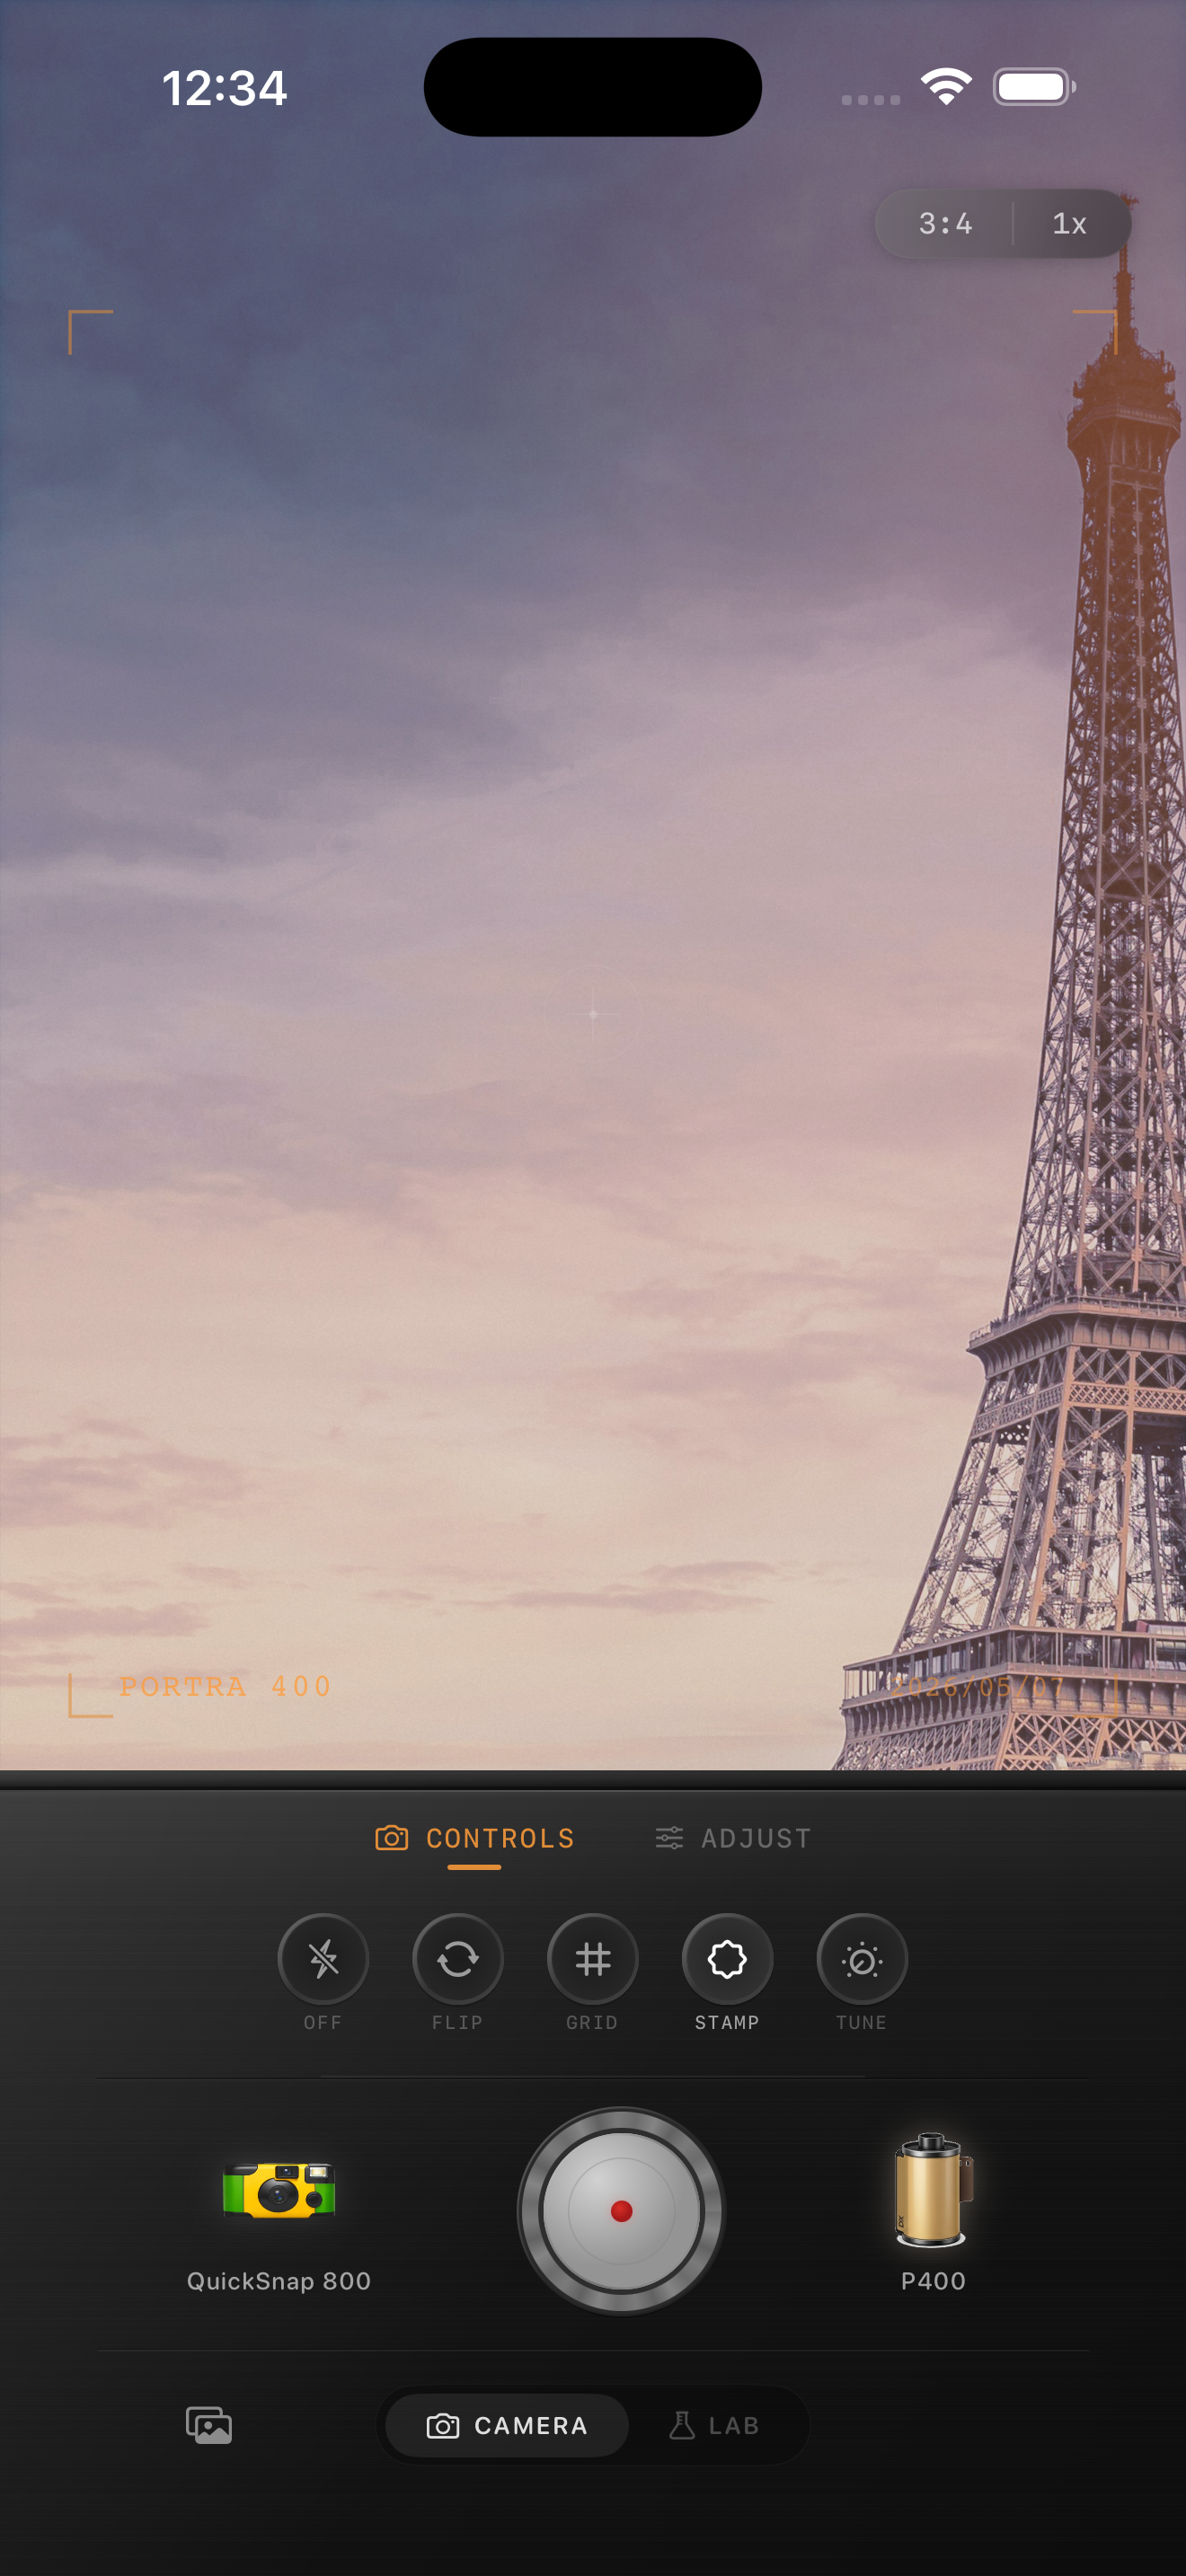
In Nostalgia Cam, start with the calmer camera body, then tune grain, warmth, fade, and vignette until the photo feels like a scanned print from a bright day instead of a hyper-detailed phone capture.
Calm the HDR look inside Nostalgia Cam
Use Nostalgia Cam to soften highlights, add believable grain, and tune camera mood so bright iPhone photos feel more like film prints and less like overprocessed HDR files.
FAQ
Can you make an HDR iPhone photo look like film after it is already taken?
Yes. The key is to soften highlight rolloff, stop opening every shadow equally, and add restrained grain and film color instead of trying to hide the HDR look with a heavy preset.
Should I use a lot of fade to reduce the HDR look?
Usually no. Too much fade can make a bright photo look gray. It is better to use modest fade, gentler highlights, and a calmer film palette first.