Editing guide
Best Film Settings for Mixed Lighting Photos on iPhone
A practical film-style recipe for mixed lighting on iPhone: balanced skin tones, controlled warm and cool areas, realistic grain, and enough softness to keep the scene cohesive.
Mixed lighting looks bad when the edit chooses the wrong winner
Mixed lighting usually means the frame contains two or more color stories at once: a warm lamp, cool window light, neon in the background, or flash against ambient room tone. The iPhone captures all of it, but the default file can make the scene feel tense instead of atmospheric.
A film-style edit works when you decide which light should lead the mood. That does not mean neutralizing everything. It means letting one color family feel intentional while the other supports it without turning skin, plates, walls, or shirts strange.
- Start by fixing skin or the main subject, not the background.
- Keep one dominant light mood instead of equalizing every color cast.
- Use moderate grain so texture unifies the frame.
- Avoid heavy warmth if a cool light source is part of the scene’s appeal.
- Check whites and neutrals before exporting.
A reliable starting range
Start around film intensity 70-84%, grain 20-34%, warmth +3 to +8, fade 4-8%, and vignette 3-7%. That range usually gives mixed-light photos enough analog softness to feel cohesive without erasing the contrast between warm and cool zones.
If orange light is taking over the frame, lower warmth before lowering film intensity. If the cool side feels too clinical, add a touch more film character or softness instead of forcing everything warmer.
Let the scene keep some contrast between light sources
Many mixed-light photos get overedited because the goal becomes perfect color consistency. Film rarely feels that sterile. A little difference between tungsten, daylight, neon, or flash is part of what makes a room feel real.
Instead of chasing neutrality, aim for coherence. If faces look believable and the warmer and cooler areas still make spatial sense, the photo will usually feel more photographic than a technically perfect correction.
Pick a camera mood that supports the room
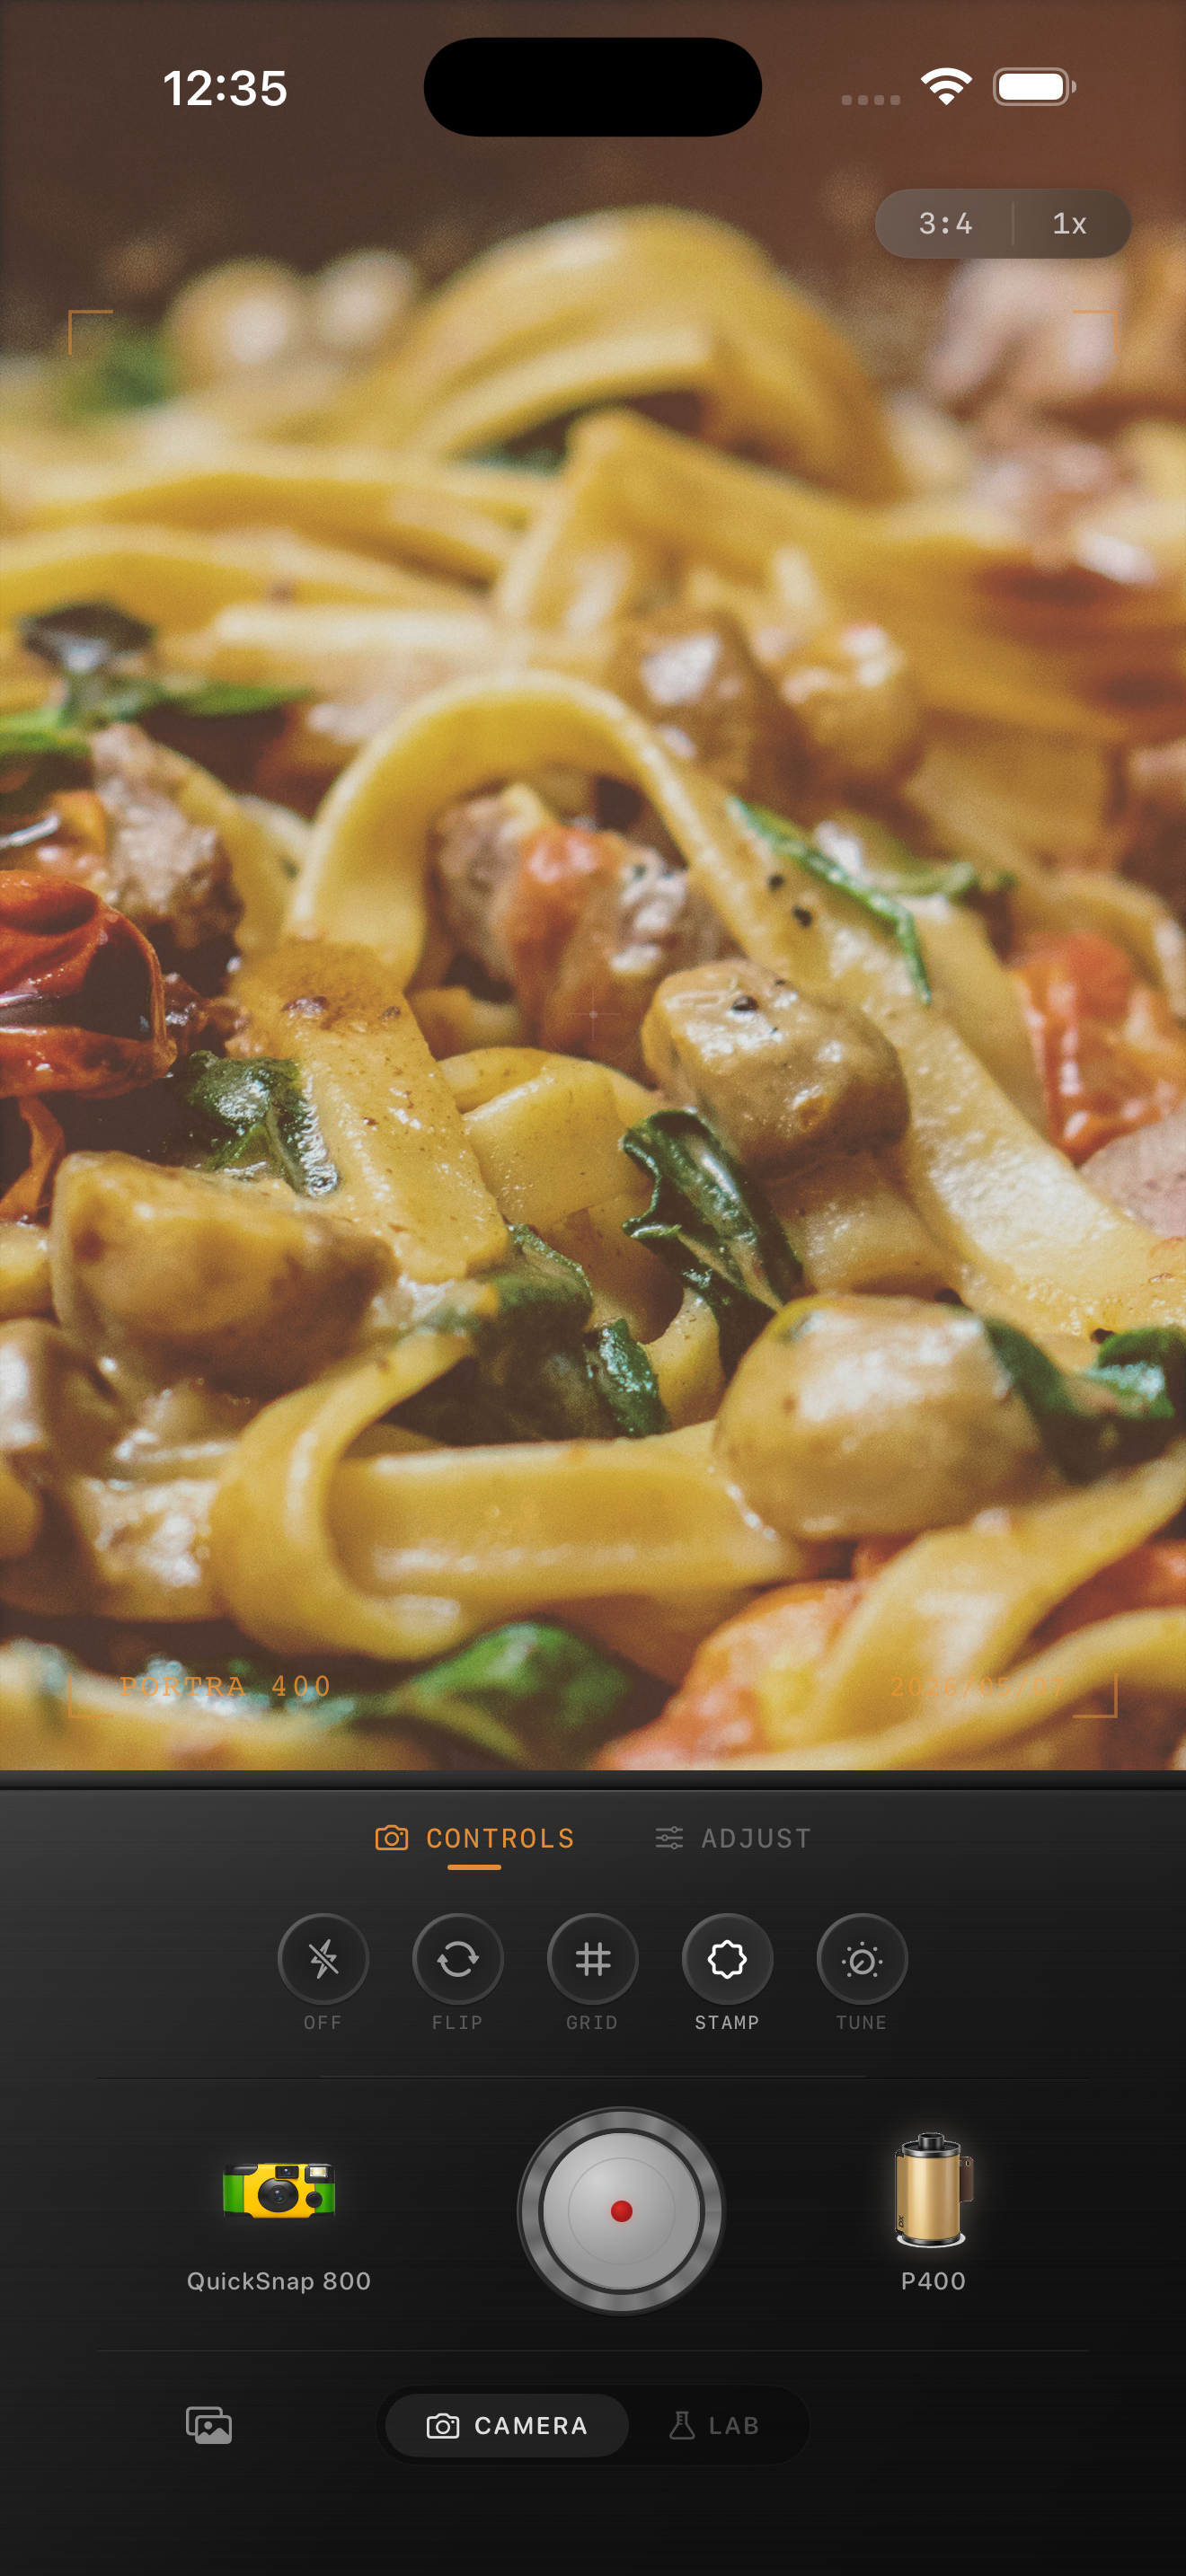
Most mixed-light photos work better with a balanced compact or 35mm-inspired body than with a rough disposable treatment. The scene already has enough energy from competing light sources, so the camera personality usually needs restraint.
In Nostalgia Cam, choose the body first, then use grain, warmth, fade, and vignette to make the frame feel like a cohesive print rather than a stack of different white-balance corrections.
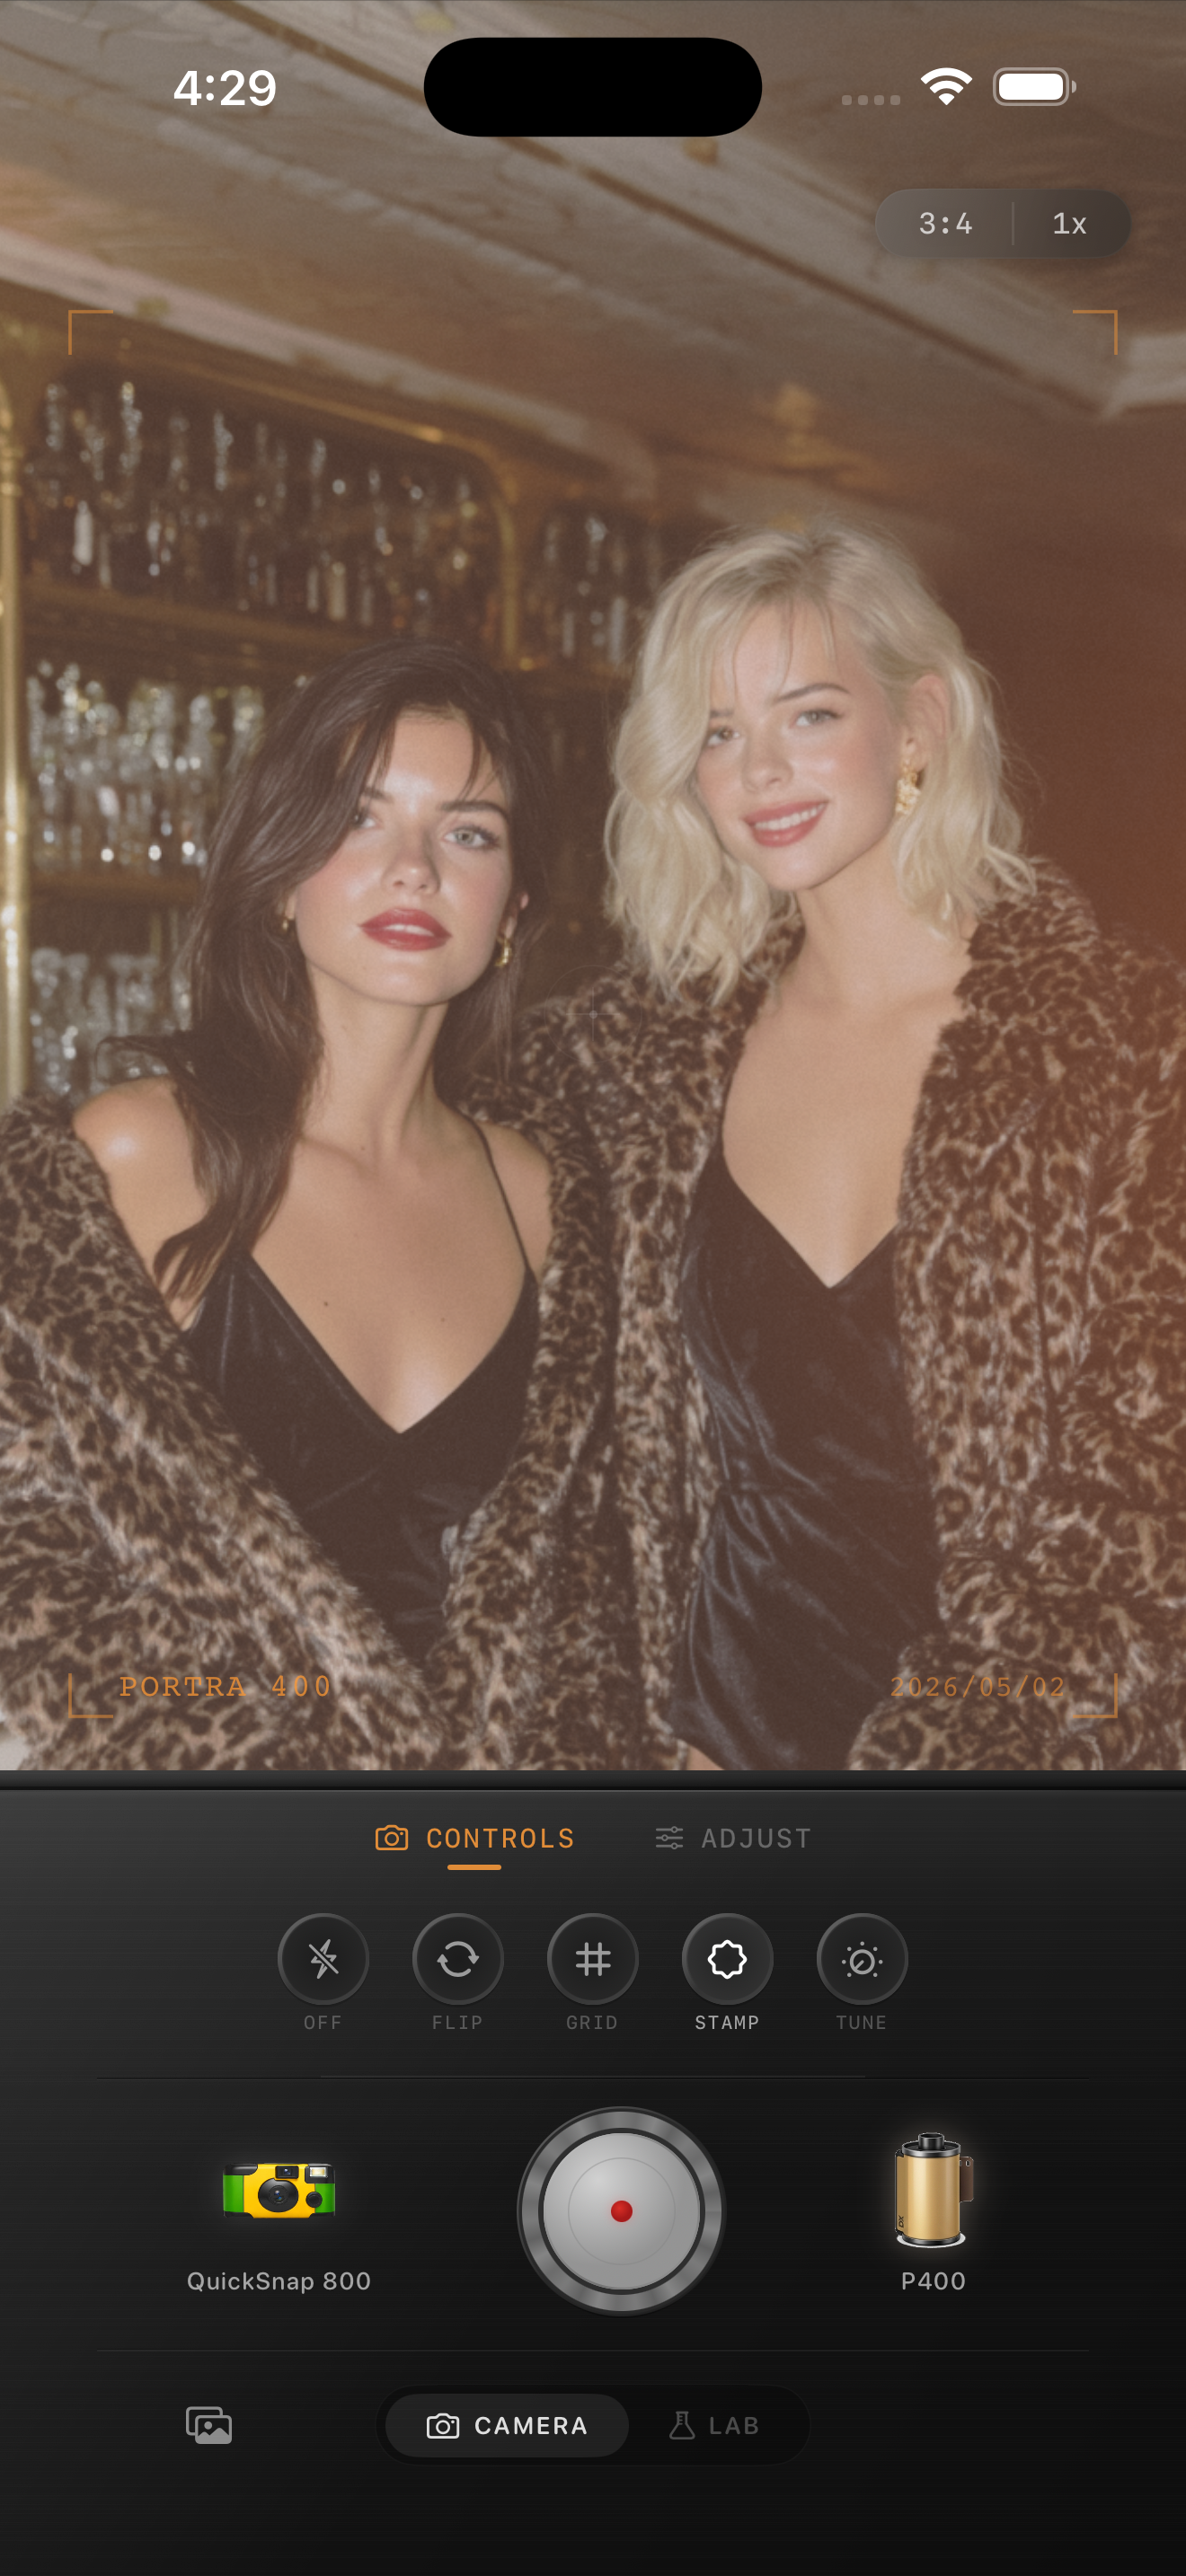
Tame tricky light without flattening the mood
Use Nostalgia Cam to balance mixed lighting, keep skin natural, and add film-style texture so indoor iPhone photos feel cohesive, atmospheric, and believable.
FAQ
What grain amount works best for mixed lighting photos on iPhone?
A medium amount, usually around 20-34%, is a strong starting point. It helps unify the frame without making warm shadows and cool highlights look dirty.
Should mixed lighting photos be edited warm to look like film?
Not always. Many mixed-light scenes work best when one side stays a little cool and the warmer side carries the nostalgic feeling. The goal is balance, not blanket warmth.