
Editing guide
How to Keep Portrait Mode Background Blur Natural in iPhone Film Edits
Give Portrait mode photos a film-inspired finish without making cutout edges, hair, background lights, or simulated blur look more artificial.
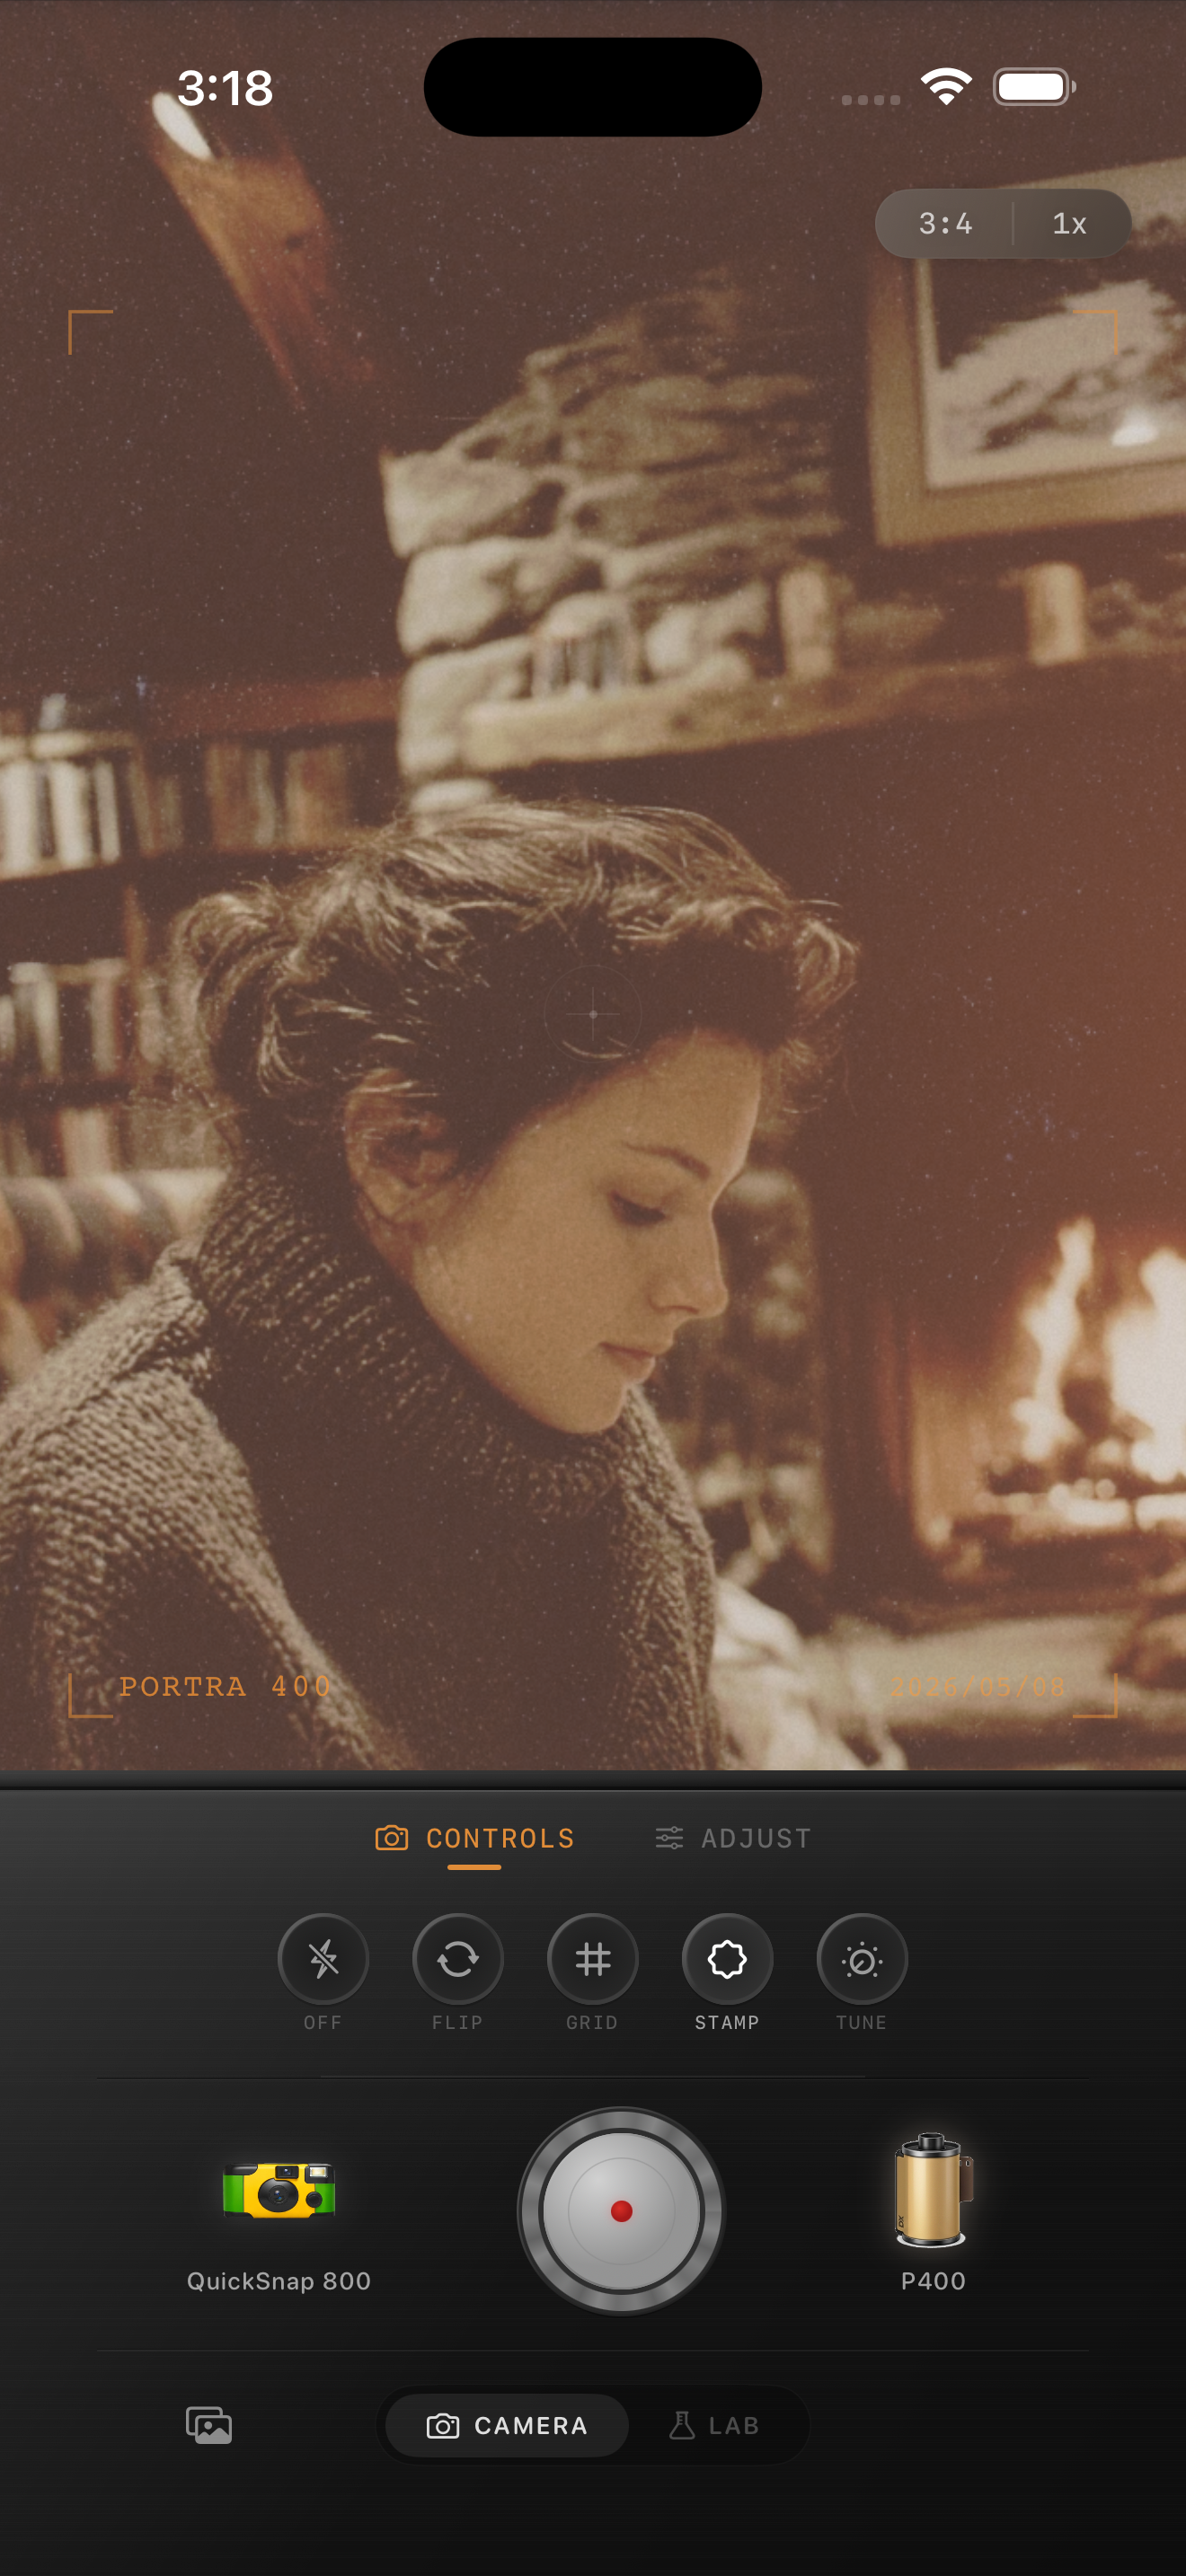
Start with the cleanest edge in the original
Before adding a film-inspired finish, compare the nearby Portrait mode frames at normal phone size. Choose the photo where hair, glasses, hands, and shoulders already separate cleanly from the background. A film look can soften the digital feel, but it cannot repair a background that is cutting through a curl, a sleeve, or part of a face.
Keep the original beside your edit and pay attention to the transition around the subject, not only to the amount of blur behind them. If the edge feels distracting before you edit, choose a different frame or reduce the Portrait mode depth in the iPhone Photos app first. The existing indoor preview above is a style reference, not a Portrait mode example.
Make the subject your first reference
Pick two small areas on the person to check as you compare film looks: a detailed edge such as hair, glasses, or a shoulder, and a natural-skin area such as a lit cheek or hand. The subject should remain readable before the blurred background becomes part of the mood. If a strong fade or soft film look makes the person look hazy while the background stays perfectly smooth, lower the intensity and compare again.
Use a moderate film treatment before adding warmth or grain. Portrait mode already separates the subject from the scene, so it rarely needs a heavy vignette or a dramatic color shift to create focus.
- Judge the edge at normal sharing size, then check it once closer up.
- Keep eyelashes, hair, and glasses from looking pasted onto the background.
- Reduce film intensity before using a stronger vignette for focus.
- Let the background stay quieter than the person without making it gray or muddy.
Do not add texture equally to a soft background
A blurred wall, sky, or group of lights has large smooth areas, so aggressive grain is especially obvious there. Set your color and brightness first, then add a small amount of texture while watching both the subject and one clean background area. If the blur starts to look sandy or noisy before the portrait feels less digital, reduce the grain.
The goal is not to make artificial blur look like real lens blur through texture. It is to keep the entire photo feeling coherent. A restrained grain setting can help the subject and background belong in the same image; a heavy setting makes their different detail levels more noticeable.
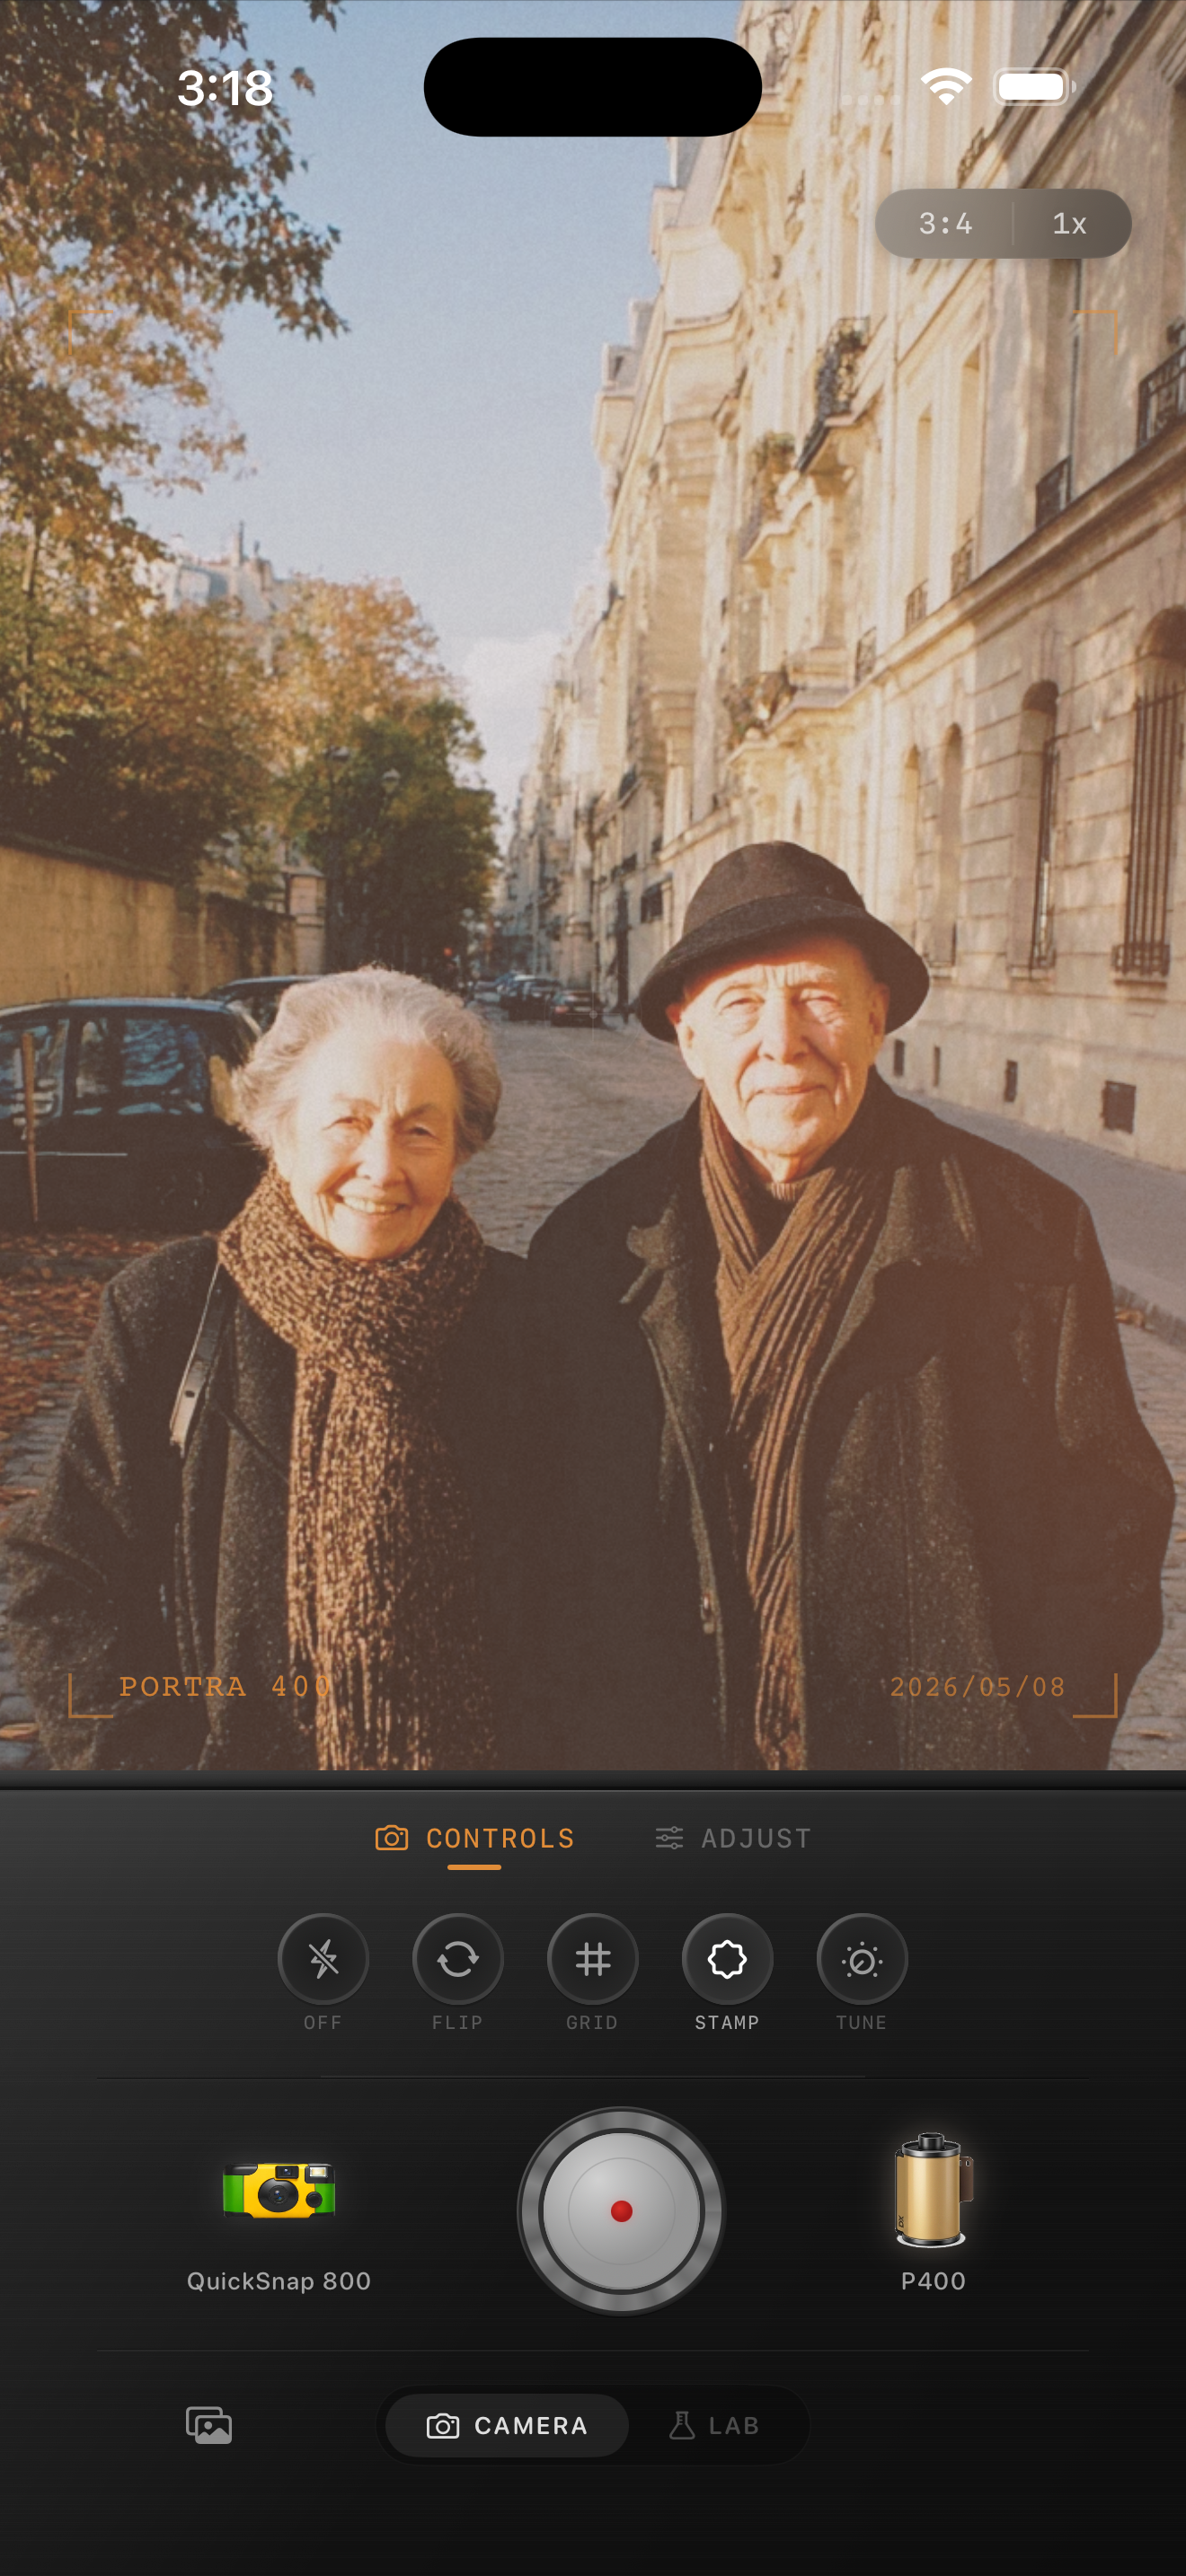
Keep background lights shaped
Portrait mode can turn small lights into soft discs, especially in indoor or evening photos. That can be appealing, but a strong film treatment may make every light bloom into the same large, hazy shape. Use one lamp, window, or bright reflection as a reference while you compare versions. It should remain soft without spreading so far that it competes with the face.
If the background feels too busy, lower the film intensity or vignette before making the person brighter. Broad brightness changes can make smooth blur look washed out and can erase the small contrast that keeps the setting believable.
Use fade and vignette sparingly
A little fade can take the polished edge off an iPhone portrait, but too much makes the person and background merge into the same gray layer. Start with less fade than you would use for a sharp daylight scene. Then compare two exports at the size you plan to share, watching whether clothing, hair, and the blur still feel distinct.
A subtle vignette can direct attention toward the face, but Portrait mode already provides visual separation. If the corners turn heavy or the background appears to fall away too abruptly, reduce the vignette instead of adding more texture. The strongest result usually looks like one photograph, not a sharp cutout in front of an effect.
Finish with a whole-photo comparison
Before sharing, zoom out and ask what you see first: the person, then the setting, then the film character. If you notice a halo around hair, gritty blur, or an overly dark border before the expression, return to the gentler version. Keep the original file so you can revisit the treatment without stacking a second filter on top of an export.
In the Nostalgia Cam Lab, compare camera bodies and film looks at moderate intensity before fine-tuning warmth, fade, vignette, and grain. Film names describe stylistic inspiration only; Nostalgia Cam is not affiliated with or endorsed by Kodak, Fujifilm, or other camera or film manufacturers.
Let the person stay real and the background stay quiet
Open a favorite Portrait mode photo in the Nostalgia Cam Lab, compare camera bodies and film looks at moderate intensity, then refine warmth, fade, vignette, and grain. Check one subject edge and one smooth background area before saving the version that feels like a photograph rather than a cutout.
FAQ
Why does Portrait mode blur look fake after I add a film filter?
A strong edit can make the difference between a detailed subject and a smooth background more obvious. Start with a lower film intensity, then check hair or glasses and one clean background area before adding grain, fade, or vignette.
Should I add grain to the blurred background of an iPhone portrait?
Use only a restrained amount after color and brightness are settled. Smooth blurred areas reveal texture quickly, so reduce grain if the background turns sandy before the portrait feels more natural.
Can a film edit fix bad Portrait mode edges?
No. A film-inspired finish can soften the overall image, but it cannot restore an edge where the original blur cuts through hair, hands, or clothing. Choose the cleanest frame or adjust Portrait mode depth before applying the finish.