
Editing guide
How to Edit iPhone Halloween Party Photos to Look Like Film Without Red Eyes
Give iPhone Halloween party photos a film-inspired finish while keeping flash-lit eyes, faces, costumes, and dark rooms believable.
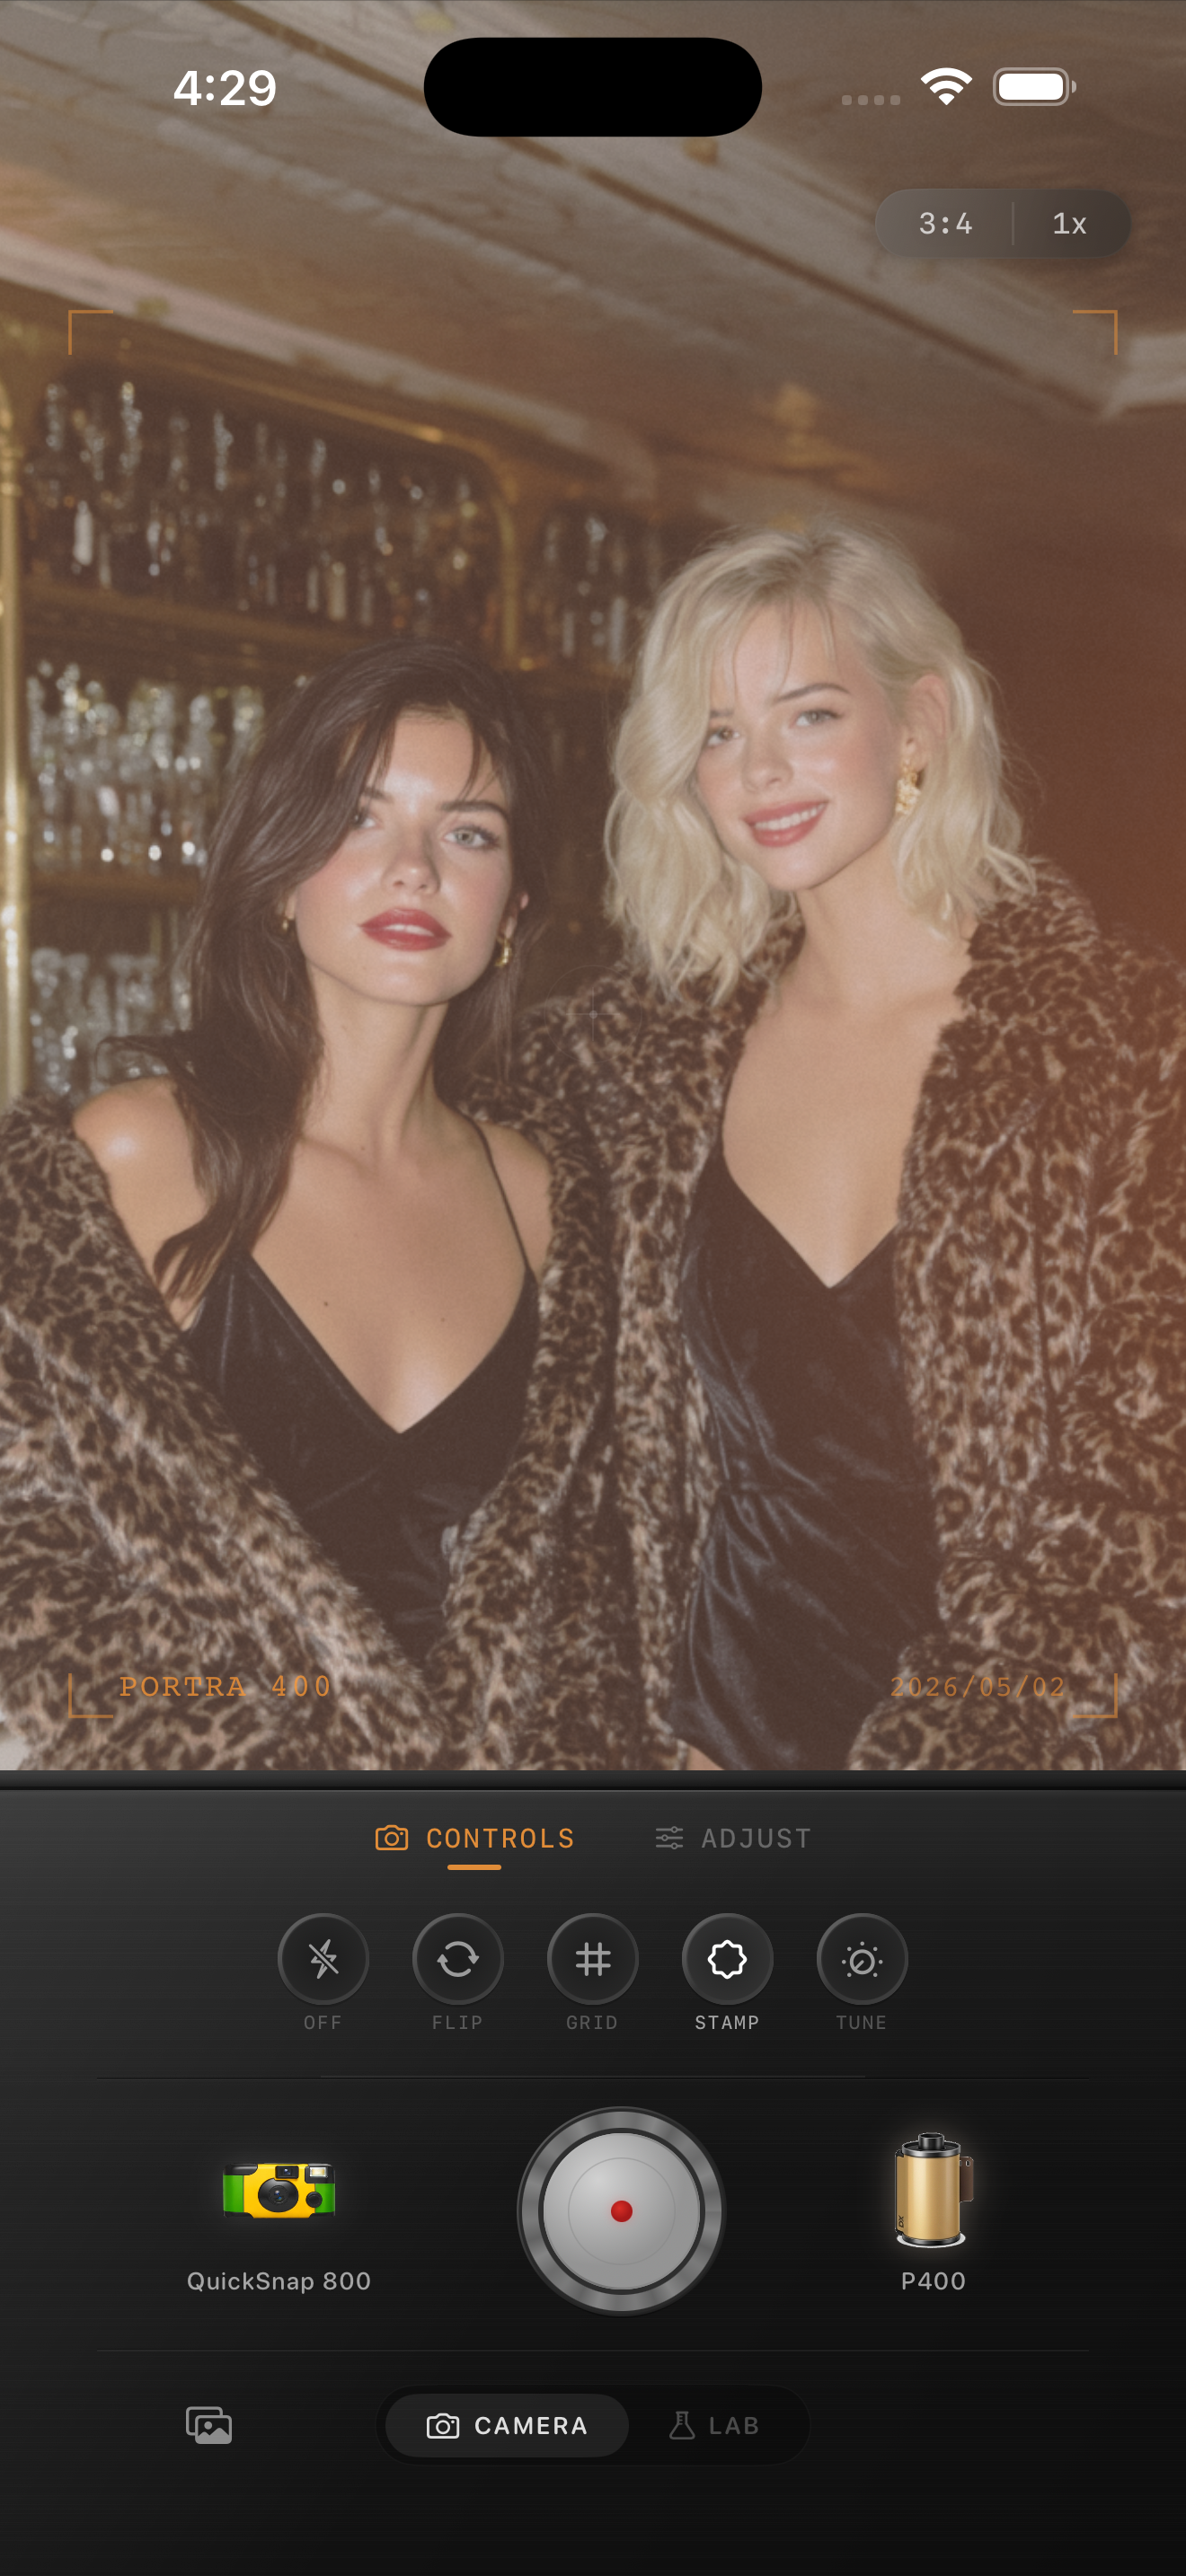
Choose the frame where the people still feel present
At a Halloween party, the best frame is rarely the one with the most decorations. Compare the nearby shots at normal phone size and start with a photo where the expression, costume, or gesture is easy to read. A film-inspired edit can make the room feel warmer and less digital, but it cannot recover eyes hidden behind a blink, a mask, or motion blur.
Keep the original alongside your edit. That comparison makes it easier to notice when a treatment is changing the mood versus simply making faces too dark or too orange. The party image above is an existing style reference, not a Halloween example.
Fix obvious red eyes before choosing the film look
If direct flash has created red or brightly reflective pupils, correct that small distraction before judging color and grain. Zoom in only long enough to check the eyes, then return to normal viewing size. The goal is a natural-looking eye area, not a heavily retouched face.
If the eye still looks unusually bright after a correction, lower the film intensity or switch to a quieter camera body before adding more fade. Strong color shifts and lifted shadows can make a small eye issue more noticeable than it was in the original.
- Check both eyes; one may catch more flash than the other.
- Preserve catchlights and the natural outline of the iris.
- Review the face at sharing size after every correction.
- Avoid adding grain until eyes and skin read clearly.
Keep flash energy without bleaching the face
Direct flash is often what makes a party snapshot feel spontaneous. Keep a little of that bright, close-camera energy instead of fading every highlight into gray. Use a moderate film look first, then compare the forehead, nose, cheek, and a pale costume detail. If all of them turn into one flat light patch, pull back the effect rather than trying to rescue the photo with extra grain.
A darker room can stay dark. Let the face be the brightest part of the frame when the flash actually lit it, while retaining enough background color to show where the party happened.
Separate costume colors from skin color
Costume makeup, red lights, purple LEDs, and warm lamps can all land in the same frame. Choose one face and one less-saturated detail, such as a white collar, wall, or cup, as reference areas while comparing film looks. This helps you keep a colored costume expressive without making every face match it.
Avoid solving a red cast by pushing the whole image cool. That can make black costumes look lifeless and turn warm decorations gray. A restrained finish should leave distinct colors distinct: skin should read like skin, fabric should hold its color, and the room should keep its own atmosphere.
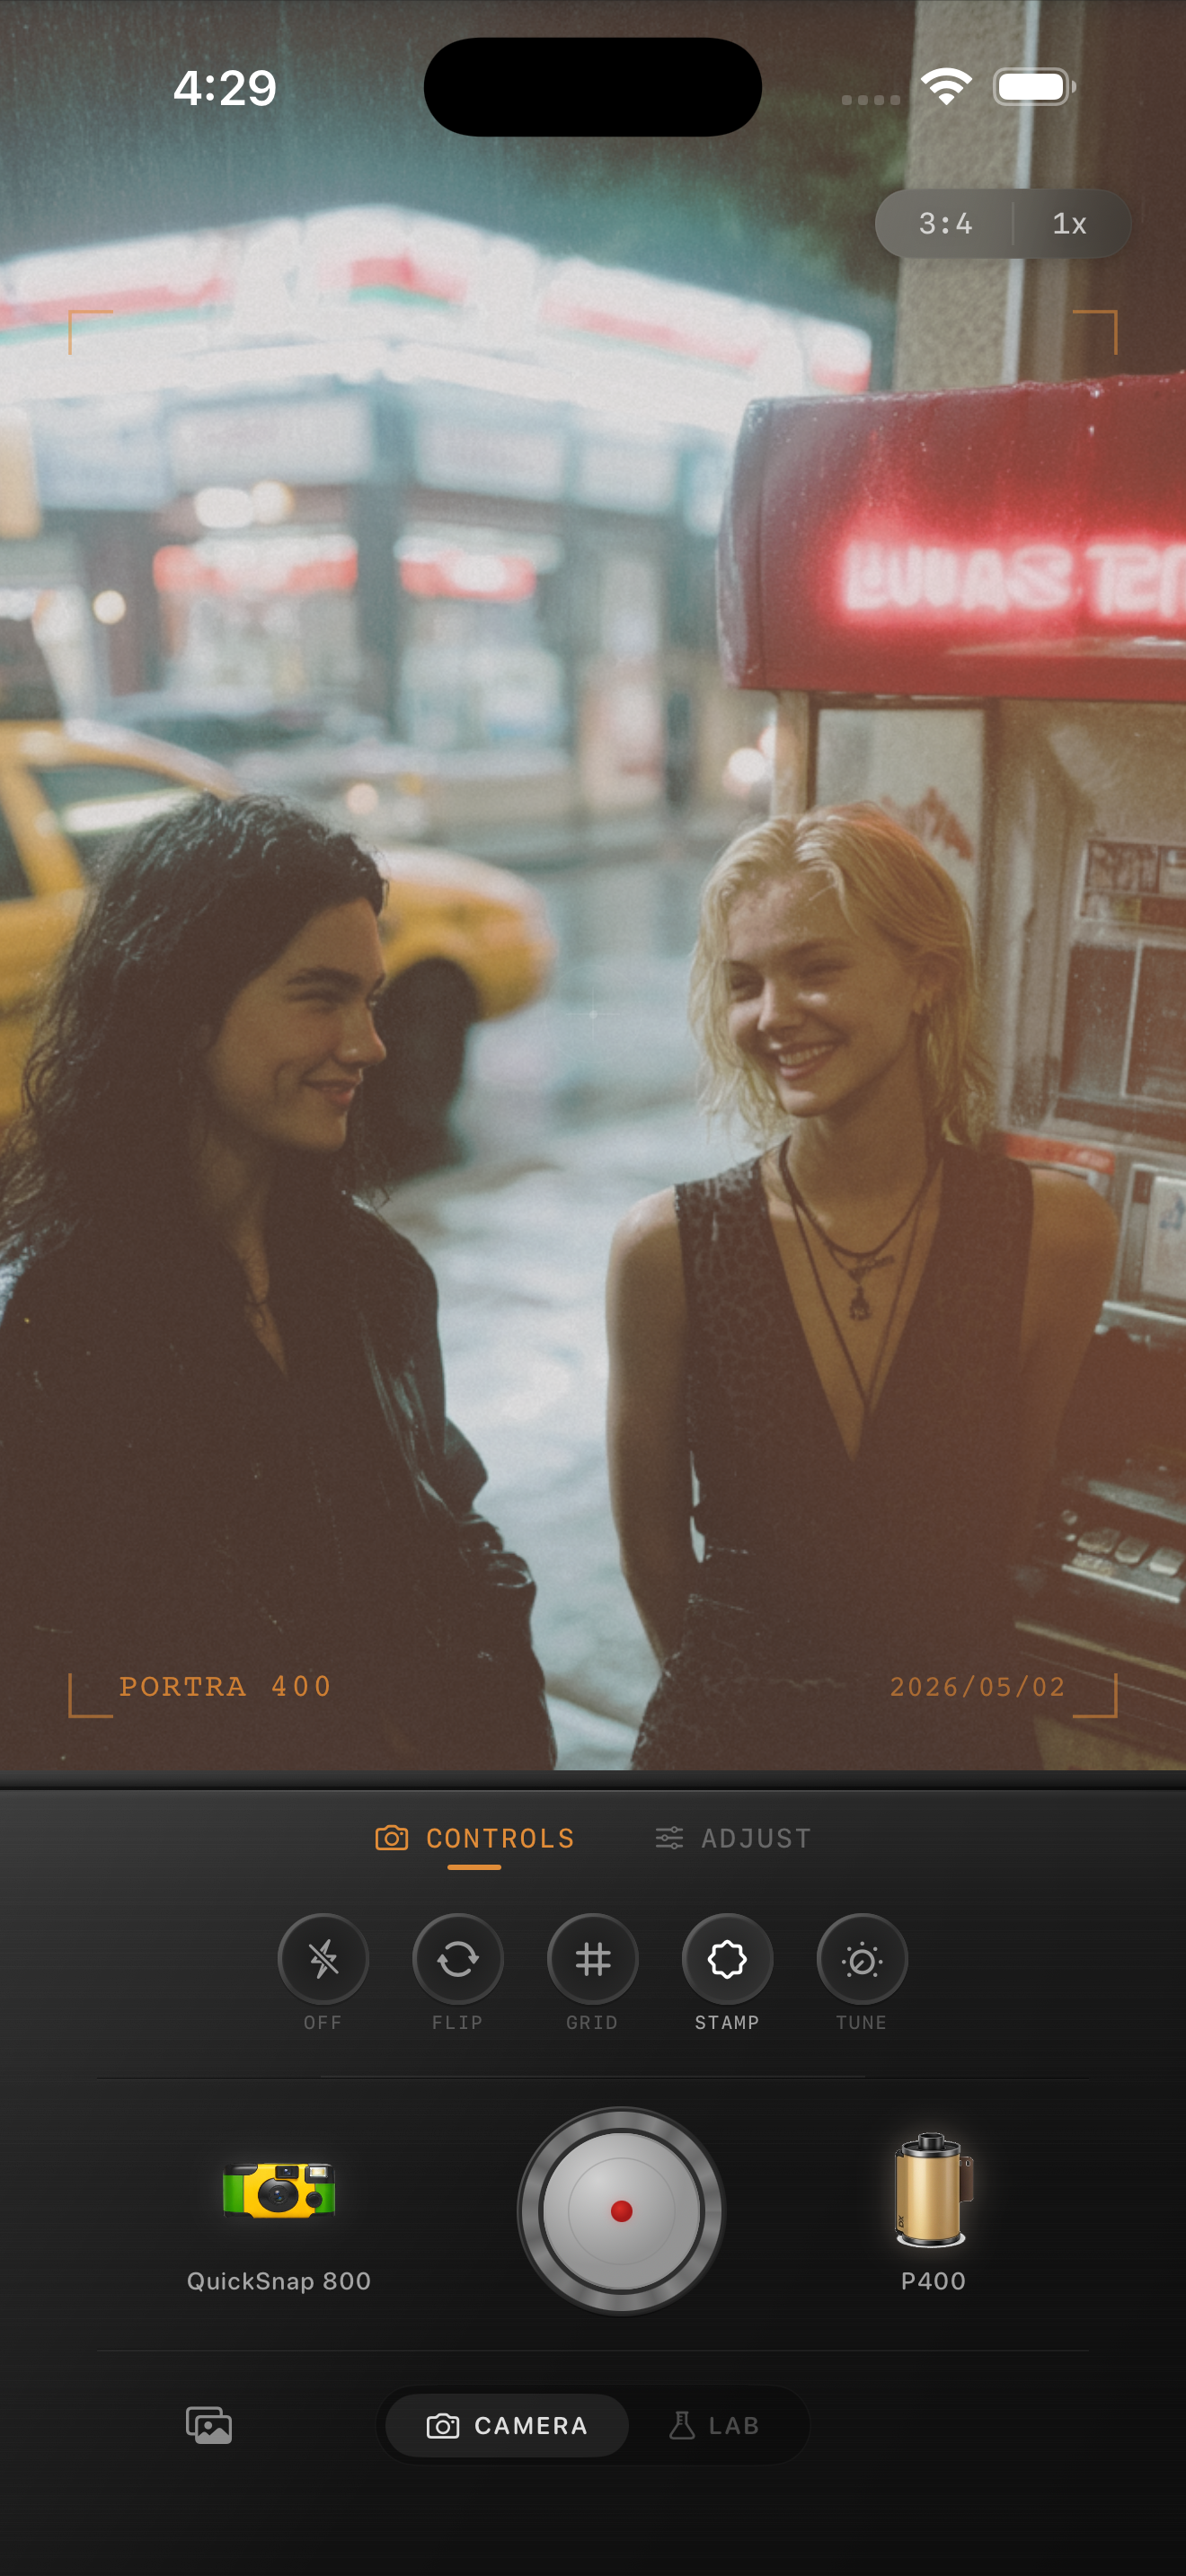
Add texture after the flash balance feels right
Party photos may already have low-light noise in dark walls and corners. Once the face, eyes, and brightest flash areas look balanced, add a small amount of grain to soften the polished iPhone finish. Watch the background and hair as well as the face; if shadows become gritty before the moment feels nostalgic, reduce the added texture.
A little vignette can help direct attention toward the group, but check people standing near the edge of the frame. Do not let a stylistic dark corner erase a costume, hand, or expression that makes the photo worth keeping.
Do one last whole-party check
Before exporting, zoom out and ask what you notice first. Ideally it is the person, costume, or shared moment, followed by the flash energy and film character. If the first thing you see is red eyes, orange skin, noisy shadows, or a heavy border, return to the lighter version.
In the Nostalgia Cam Lab, compare camera bodies and film looks before fine-tuning warmth, fade, vignette, and grain. Save two restrained versions if you are unsure, then choose the one that still feels like the party rather than a filter.
Keep the flash memory, not the distractions
Import a favorite Halloween party photo into the Nostalgia Cam Lab, correct obvious eye distractions, compare camera bodies and film looks at moderate intensity, then refine warmth, fade, vignette, and grain. Check a face, a costume color, and a dark background before saving the version that feels most like the night.
FAQ
Can a film filter remove red eyes from iPhone party photos?
No. Correct obvious red or reflective eyes first, then add a restrained film-inspired finish. A strong color treatment or extra fade can make the eye area look more distracting, so check it again at normal sharing size.
Should I use lots of grain on flash party photos?
Usually no. Flash can make faces very clean while dark backgrounds already contain camera noise. Balance faces and highlights first, then add only enough grain to soften the digital finish without making the room gritty.
How do I keep costume colors from affecting skin tone?
Compare a face with one neutral or less-saturated detail as you test film looks. Keep the real color of lights and costumes when it supports the scene, but reduce the effect if every surface starts to take on the same tint.