
Editing guide
How to Edit iPhone Airplane Window Photos to Look Like Film Without Hazy Reflections
Give iPhone airplane-window photos a calm film-inspired finish while keeping clouds, wing detail, cabin reflections, and sky color believable.
Choose the clearest view before adding a film look
Airplane-window photos often contain three layers at once: the view outside, marks or haze on the window, and faint reflections from the cabin. Compare nearby frames at normal phone size and start with the one where the horizon, clouds, wing, or distant land already has the clearest shape. A film-inspired finish can make the capture feel softer, but it cannot separate a reflection that is covering the subject you wanted.
Decide what the picture is about before editing. If the wing and cloud layers are the memory, let them stay readable. If the frame is mainly an abstract wash of sky, a gentler crop may make more sense than trying to force detail out of a hazy original.
Keep the sky and window haze from becoming the same thing
A bright cloud bank can look dreamy, while a pale veil from the window can make the whole photo look flat. Compare one clean area of sky with one cloud edge or wing edge before changing the color. If both lose definition at the same time, reduce fade or film intensity instead of adding more grain.
Do not try to make every cloud dark for contrast. Air travel scenes naturally have large bright areas. The useful balance is a sky that stays light, clouds that keep some shape when the source captured it, and a horizon or wing that still anchors the frame.
- Use a wing edge, cloud edge, or distant horizon as a detail reference.
- Lower a broad effect before raising contrast across the entire frame.
- Keep cabin reflections subtle rather than turning them gray or overly cool.
- Judge the image at sharing size, not only while zoomed into the window.
Use color to support the time of day
Morning and evening flights can already have pale blue, peach, or rose color in the sky. Start with a moderate film look and compare a bright cloud with a neutral part of the wing or cabin frame. If the wing turns orange or the clouds become yellow, pull back warmth before adding texture.
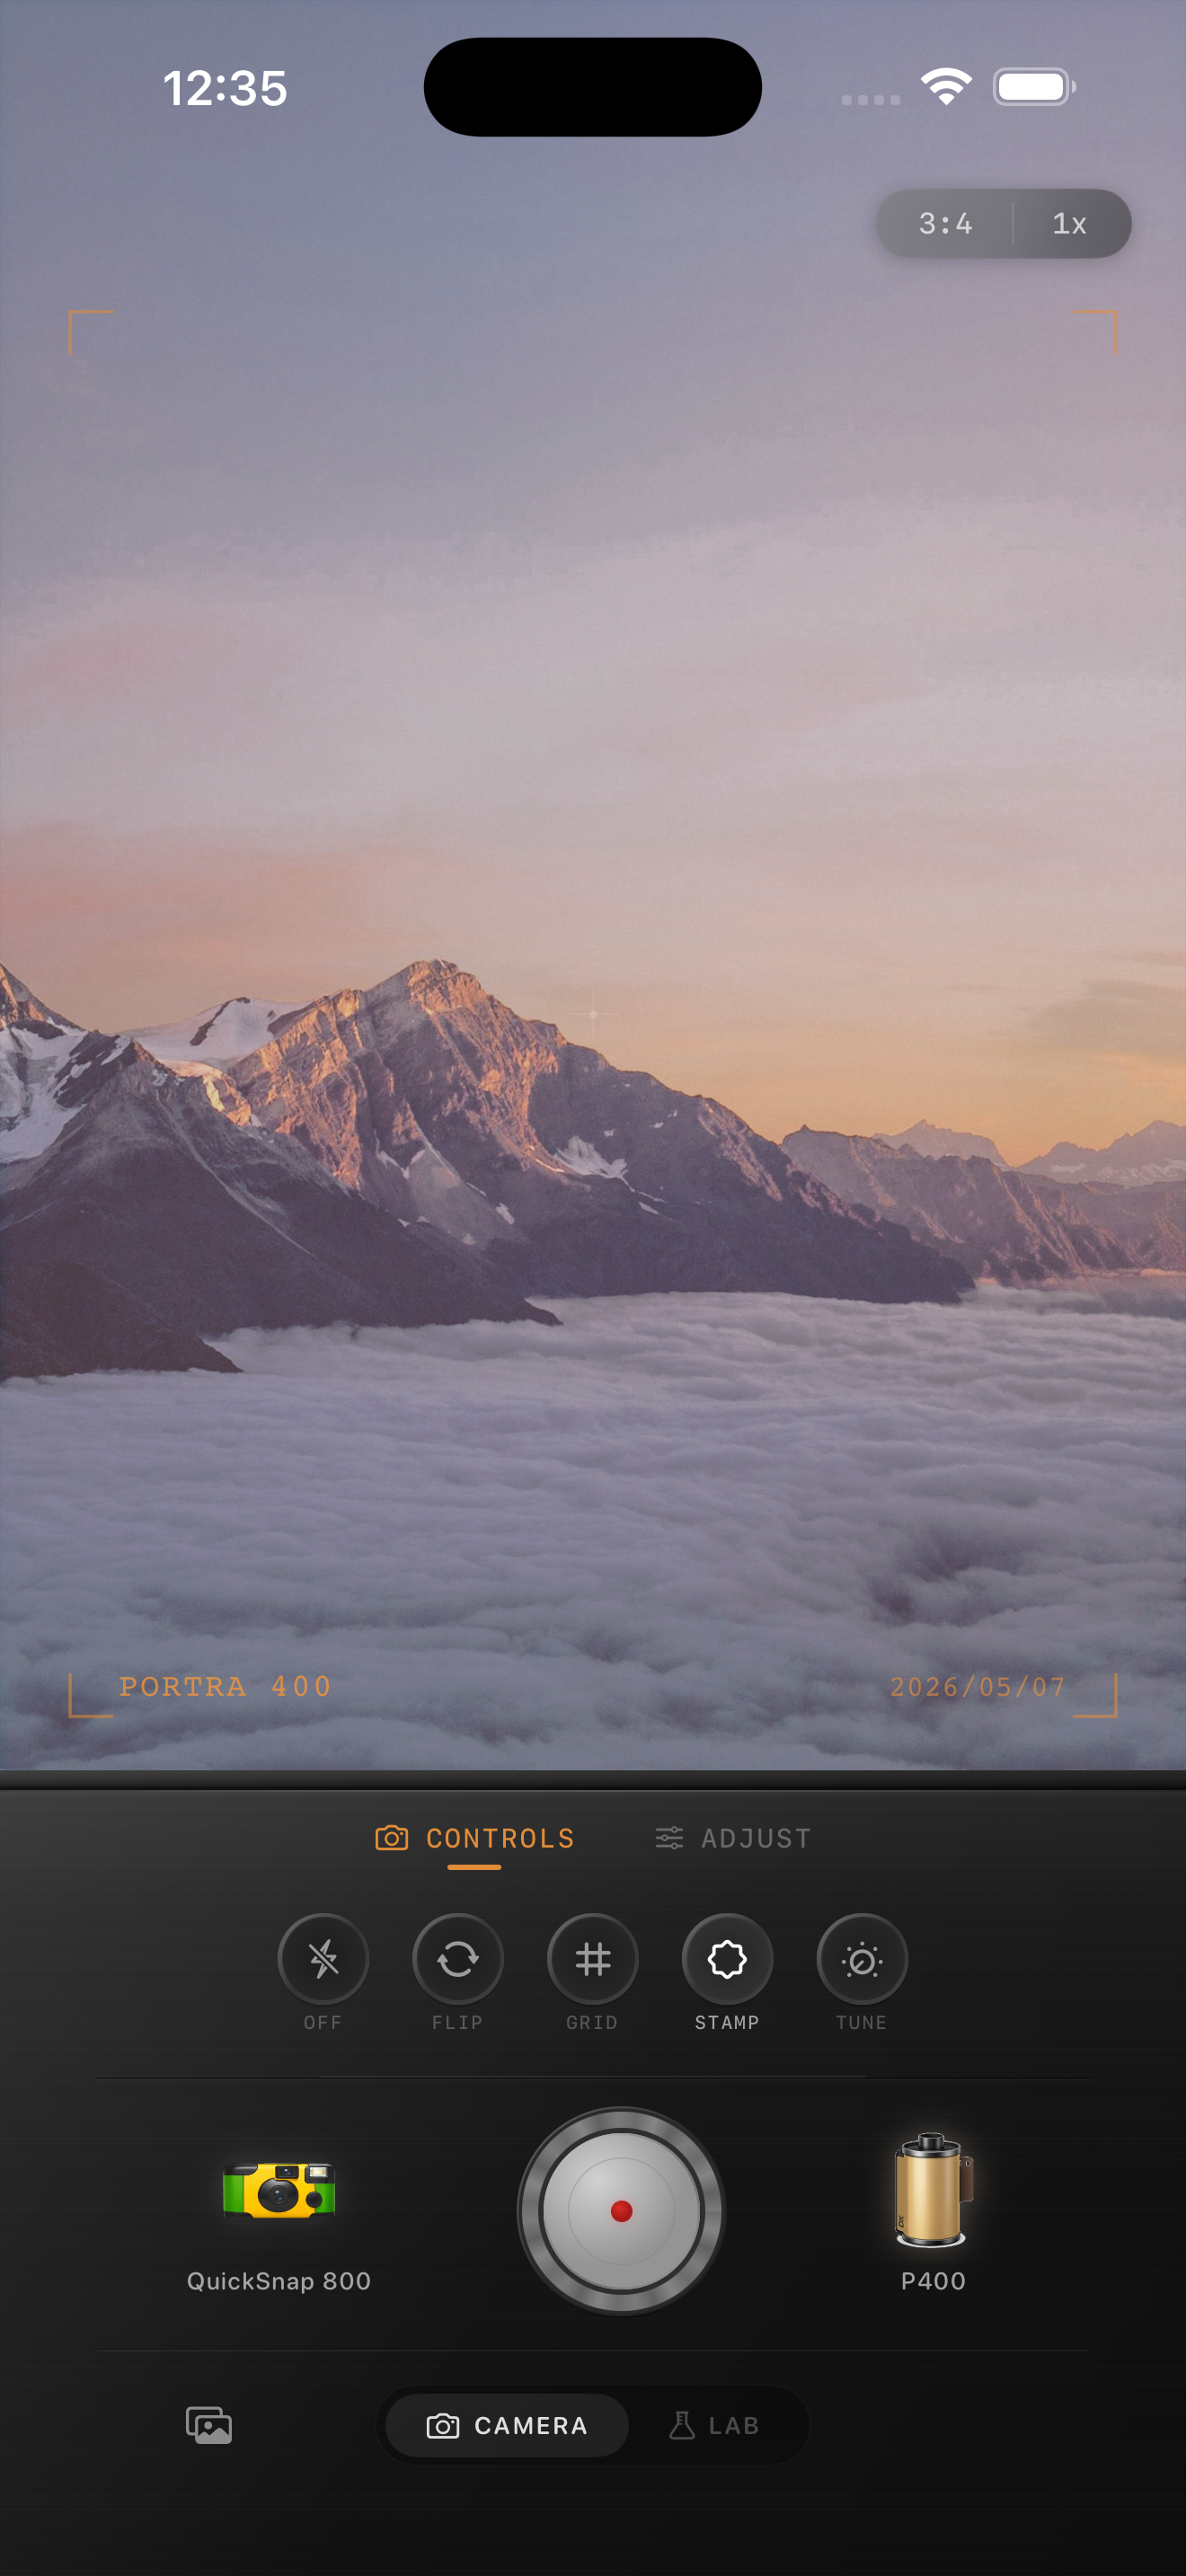
For a midday view, a quieter color treatment often feels more convincing than a dramatic sunset grade. Let the real atmosphere do most of the work. The landscape preview here is an existing color reference, not an airplane-window example.
Add texture after the view feels balanced
Smooth skies make added grain easy to spot, and window haze can already resemble texture. Set crop, brightness, and color first, then add only a restrained amount of grain while watching an open sky area and a sharper edge. If the clean sky becomes sandy before the picture feels less digital, reduce the grain.
Keep vignette equally quiet. An airplane window often creates natural framing already, so a heavy dark border can make the image feel staged. A small amount is enough when it helps the eye stay with the view.
Finish with an honest travel-memory check
Before saving, compare the finished photo with the original at the same size. The edit should make the view feel calmer and more tactile without pretending the window was perfectly clear. If reflections, haze, or noise become the first thing you notice, return to the lower-intensity version.
In the Nostalgia Cam Lab, compare camera bodies and film looks at moderate intensity, then refine warmth, fade, vignette, and grain. Film names describe stylistic inspiration only; Nostalgia Cam is not affiliated with or endorsed by Kodak, Fujifilm, or other camera or film manufacturers.
Keep the view soft, not foggy
Import a favorite airplane-window photo into the Nostalgia Cam Lab, compare camera bodies and film looks at moderate intensity, then refine warmth, fade, vignette, and grain. Use one bright sky area and one clear edge as references before saving the version that feels most like the flight.
FAQ
Can a film filter remove airplane-window reflections?
No. A film-inspired finish can make the overall image feel softer, but it cannot reliably remove cabin reflections or haze that overlaps the view. Start with the clearest frame and use a restrained edit so those artifacts do not become more noticeable.
Should I add grain to an iPhone photo of clouds from a plane?
Use only a small amount after the sky and clouds are balanced. Open sky areas reveal texture quickly, and the window may already add haze, so reduce grain if the view turns sandy before it feels more natural.
How do I keep airplane-window skies from looking washed out?
Compare a bright sky area with a cloud, wing, or horizon edge. If both lose shape, lower fade or film intensity before making a broad contrast change. Keep the sky naturally light while preserving any detail the original captured.