
Editing guide
How to Keep Hands Natural in iPhone Film Portraits
Keep hands and fingers believable in iPhone film portraits by choosing a clear frame, protecting skin tone, and using a restrained finish that preserves gesture and detail.
Choose a frame where the gesture already reads
Hands often carry the story in a portrait: someone holding a cup, reaching for a friend, adjusting a coat, or lifting a glass. Before applying a film look, compare similar frames at the size you plan to share. Pick the one where the gesture is recognizable and the fingers are not lost against the background.
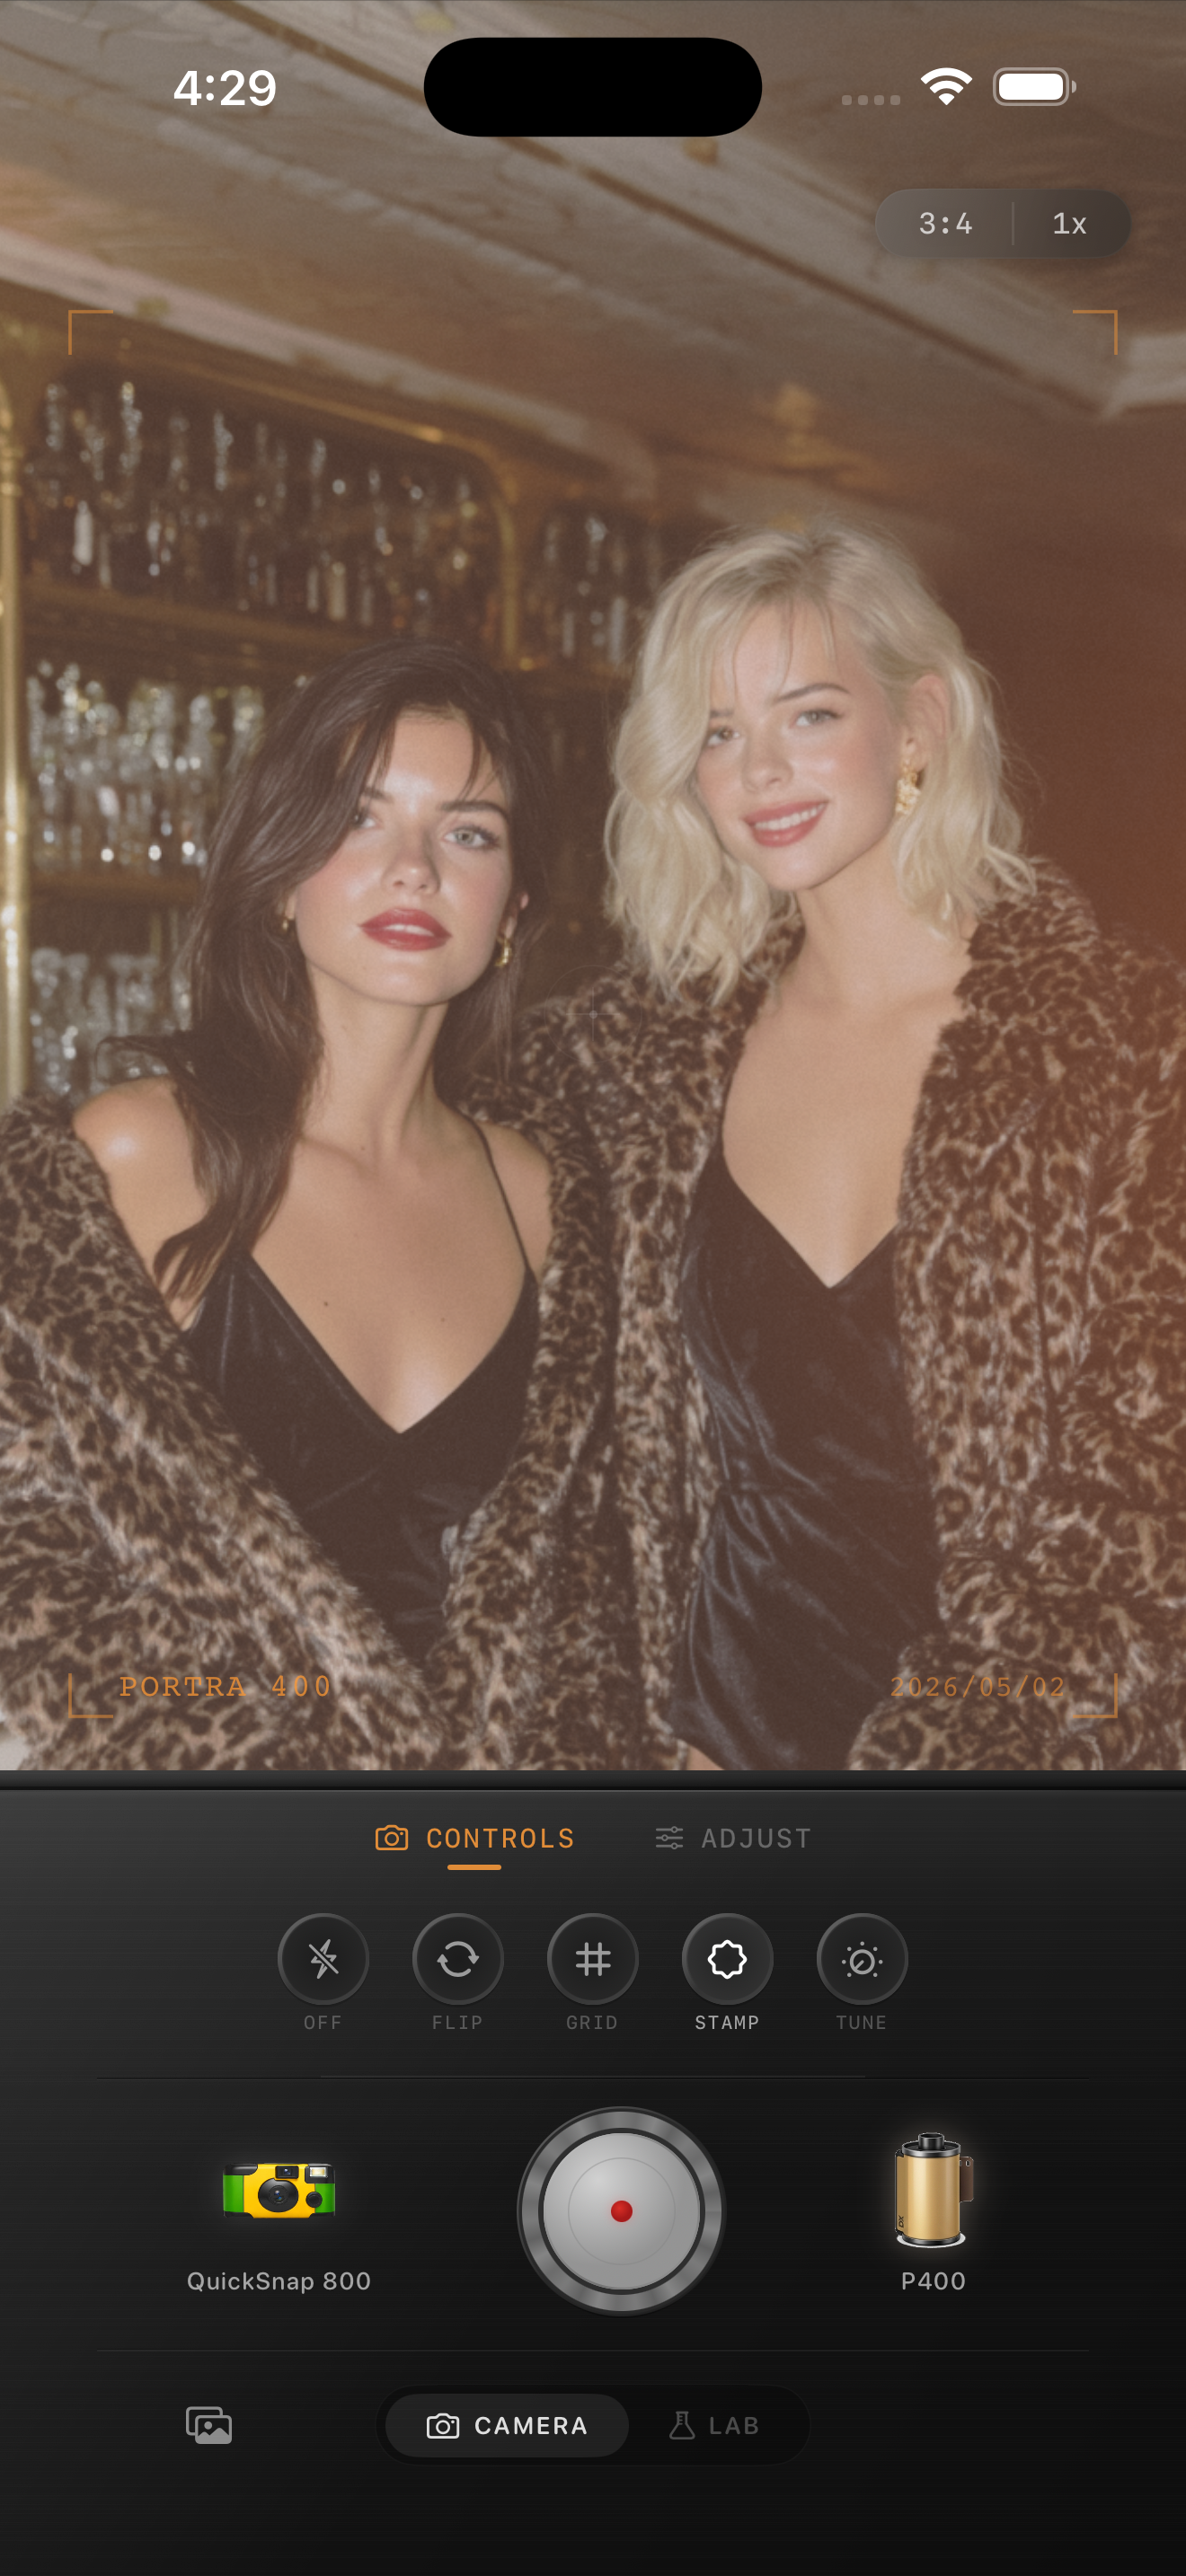
A film treatment can support a relaxed moment, but it cannot recreate finger detail that is blurred, hidden, or clipped in the original. If a hand is important to the picture, keep a version with a little breathing room around it when you crop. The preview above is a style reference, not a before-and-after test.
Use the hand and face as separate color references
Open the original and your edit side by side, then look at a lit part of the hand and a lit part of the face. Mixed indoor light can make them appear different even before editing, so do not chase an identical color everywhere. Instead, look for a result where both still feel plausible in the same scene.
Start with a camera body and film look at a moderate intensity. If the hand turns strongly orange, red, gray, or green, reduce intensity or try another look before adding extra warmth. A global adjustment changes the face, clothing, and room too, which is why a gentler starting point is usually more useful than a large corrective move.
- Check a knuckle or fingertip that has clear light.
- Compare that area with an uncovered cheek or forehead.
- Keep a little natural difference when the scene has mixed light.
- Judge color at normal viewing size before zooming in.
Protect separation between fingers and the background
Film-inspired softness should not make a hand merge into a dark sleeve, table, or wall. Watch the outline between the fingers and the background as you adjust film intensity, fade, and vignette. If that boundary disappears, compare a quieter version before raising overall brightness.
For a new photo, a small change in position can help more than any edit. Turn the hand slightly toward available window light, move it away from a similarly colored surface, or take a second frame with the gesture held naturally. You do not need bright, perfectly sharp fingers; you need enough shape for the action to remain clear.
Keep grain from competing with small details
Add grain after the color and hand outline feel settled. Use one small detail, such as a ring, a sleeve cuff, or the edge of a fingertip, as a reference. Then look at a smoother area like a cheek or wall. If added texture makes those areas equally busy, lower it until the gesture reads before the grain does.
A close portrait may need less grain than a wider candid photo because hands occupy more pixels and reveal texture more easily. Make a restrained version and a stronger version with the same crop. Compare the finished exports at the size you actually use, rather than deciding from a magnified editor preview.
Avoid using fade as a hand-detail rescue tool
Fade can gently lift dark tones, but it does not restore detail that was not captured. If a hand sits in deep shadow, first check whether lower film intensity or a lighter vignette preserves its outline. Raising fade until every finger becomes visible can make skin and clothing look washed out.
If the hand is only a supporting detail, it can remain partly shadowed. Focus on whether its pose supports the expression and composition. A little depth often makes a portrait feel more natural than trying to brighten every corner of the frame.
Make a final full-photo check
Before sharing, view the saved image as a whole. Look first at the expression, then at the hand gesture, then at the surrounding light. Choose the version where all three feel connected, even if the film effect is quieter than the first version you made.
Keep the original alongside the final edit so you can revisit the color or texture later without stacking another filter over a finished export. Film names in Nostalgia Cam describe stylistic inspiration only; Nostalgia Cam is not affiliated with or endorsed by Kodak or Fujifilm.
Keep the gesture in the film finish
Import a favorite portrait into the Nostalgia Cam Lab, compare camera bodies and film looks, then refine intensity, warmth, fade, vignette, and grain. Use the face and one hand detail as references so the finished photo keeps its everyday feeling.
FAQ
Why do hands look orange after I add a film filter?
Warm film color and mixed indoor light can make hands look more saturated than the face. Compare a lit hand and a lit cheek with lower film intensity or a different film look before adding more warmth. Keep some scene-to-scene color variation if it reflects the original light.
Can film grain restore blurry fingers?
No. Grain adds texture but does not recover missing detail. Choose the clearest frame where the gesture matters, then use modest grain so it does not compete with the hand outline.
Should I brighten the whole portrait to show hands in shadow?
Not automatically. Compare lower film intensity or a gentler vignette first. Raising overall brightness can wash out the face and background; a hand can stay partly shadowed if its pose remains readable.