
Editing guide
How to Edit iPhone Concert Photos to Look Like Film Without Purple Skin
Make iPhone concert photos feel film-inspired while keeping performers and friends natural under blue, magenta, and mixed stage light.
Choose the frame with a readable moment
Concert photos can be imperfect and still feel vivid: a singer caught in a spotlight, friends singing along, or a hand raised against the stage. Before editing, compare nearby frames at normal phone size and choose the one where the main person or gesture is recognizable. A film-inspired finish works best when the photograph already has a clear center of attention.
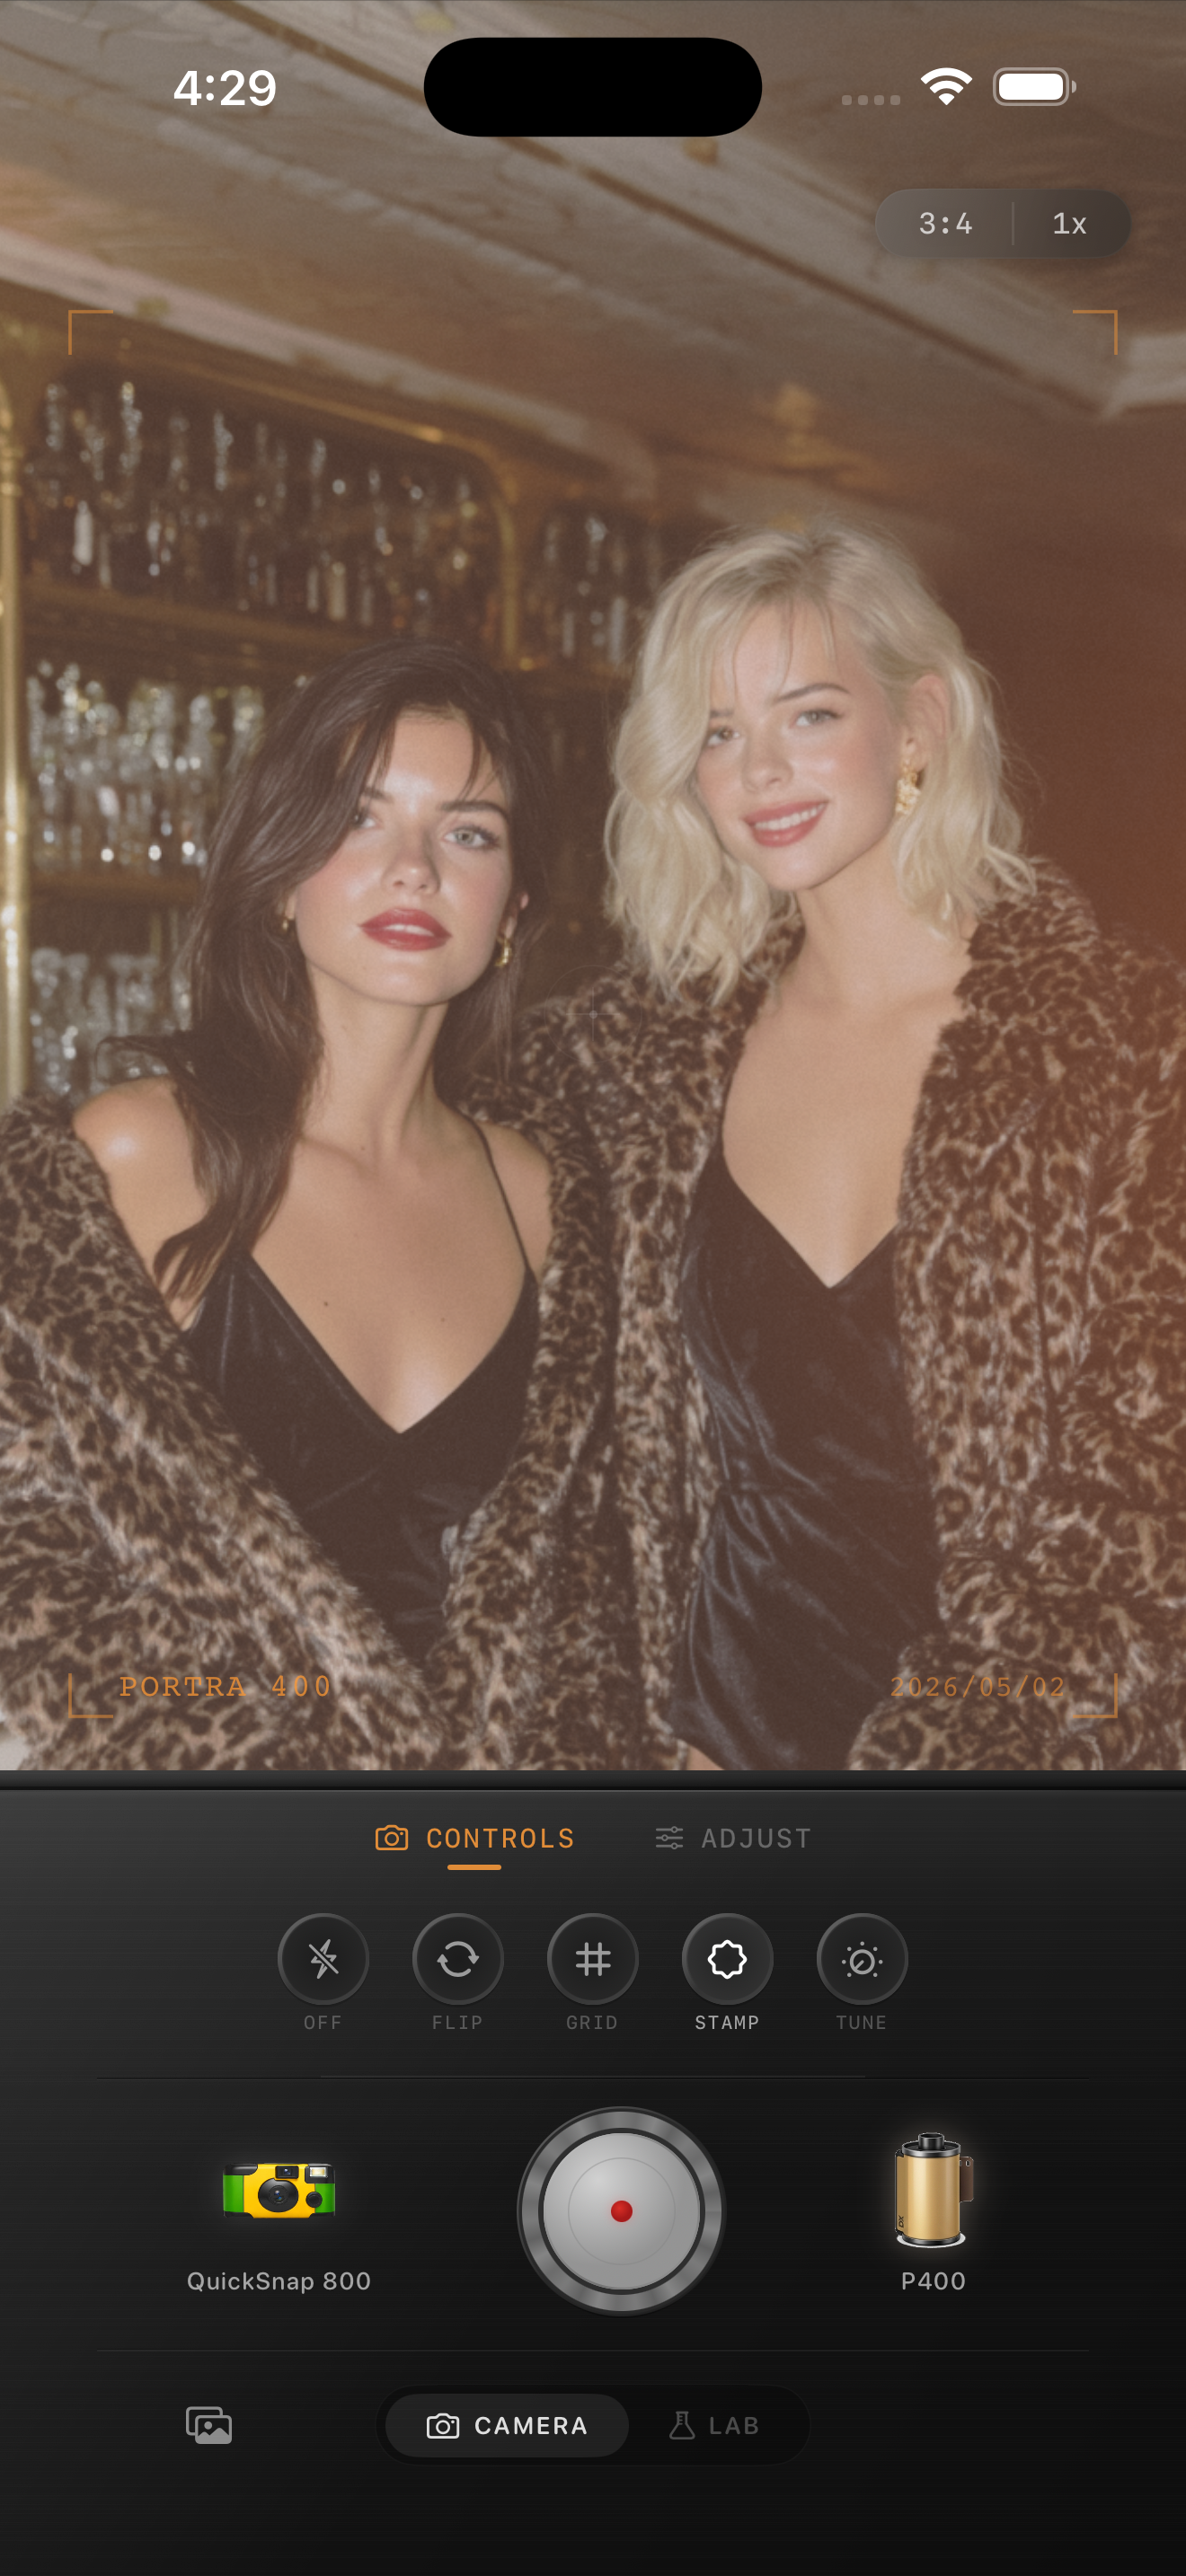
Do not expect an edit to turn a completely blurred face into a sharp portrait. If the person matters, favor a frame with enough definition in the eyes, outline, or expression. If the atmosphere matters more, a silhouette or a wider crowd scene may be the stronger choice. The image above is an existing mixed-light style reference, not a concert before-and-after.
Identify the light before adding warmth
Stage LEDs often mix blue, magenta, red, green, and warm spotlights in one frame. Open the original beside the edit and identify a lit cheek, forehead, or hand that you can use as a color reference. A purple cast may be part of the real light, so the goal is not to make every scene look like daylight; it is to keep people from looking unnaturally saturated or gray.
Start with a moderate film intensity and compare a few film looks before increasing warmth. Extra warmth can turn magenta light into red skin, while a strong cool shift can make faces gray. Choose the version where the scene keeps its concert color but the performer or friend still looks plausible within it.
- Check a lit face instead of judging color from a dark background.
- Keep one recognizable stage color as part of the memory.
- Reduce intensity before trying to correct a dramatic cast with more warmth.
- Compare the full frame at normal viewing size.
Protect bright lights and dark clothing
A bright spotlight, phone screen, or sign can be the visual anchor in a concert picture. As you adjust the finish, check that these highlights still have a shape instead of becoming one large white patch. If the brightest area expands too much, use a gentler look or back off any broad exposure adjustment before changing grain.
Then check a dark jacket, hair, or the space around the stage. A film look can keep those tones moody, but too much fade may erase the boundary between the subject and the room. Keep enough shadow separation for the picture to read without trying to brighten every black area.
Let color variation stay part of the scene
A performer may be lit by blue light on one side and warm light on the other. That difference can make the photograph feel like the moment you saw. Avoid chasing perfectly even skin color with broad global controls, because they also change the crowd, haze, clothing, and lights around the person.
Instead, compare two restrained versions: one that keeps more of the original stage color and one with a quieter film look. Save both with the same crop. The better result is usually the one where the face still feels natural enough while the image keeps the venue's distinctive color.
Add grain only after the color settles
Low light already contains camera noise, especially in dark backgrounds. Add grain slowly after you choose the film look, watching a face, a smooth patch of light, and a dark jacket. If the background becomes gritty before the person reads clearly, reduce the added texture rather than raising brightness.
Concert photos often look better with a softer, quieter grain setting than a daylight street photo. At phone size, texture should support the glow and movement of the scene, not compete with it. Compare the saved exports instead of screenshots of the editor so you can judge the actual photo you will share.
Finish with a simple full-photo review
Before sharing, look at the finished image as a whole. Can you identify the person or moment first, then notice the colored lights and film character? If purple or red skin is the first thing you see, return to a lower-intensity version or a different film look. If the photo feels too flat, restore a little of the original contrast rather than adding more grain.
Keep the original with your final export so you can revisit the edit without layering a second filter on top. Film names visible in Nostalgia Cam describe stylistic inspiration only; Nostalgia Cam is not affiliated with or endorsed by Kodak or Fujifilm.
Keep the live color, soften the digital finish
Open a favorite concert photo in the Nostalgia Cam Lab, compare camera bodies and film looks at moderate intensity, then refine warmth, fade, vignette, and grain. Use a lit face, a bright light, and a dark area as references before saving the version that feels most like the night.
FAQ
Why does skin turn purple in my iPhone concert photos?
Blue and magenta stage LEDs can tint skin strongly in the original capture. Compare a lit cheek with a lower film intensity or a different film look before adding warmth. Keep some of the venue color when it is part of the scene, but avoid a finish where the cast overwhelms the person.
Can a film filter fix a blurry concert photo?
No. A film-inspired finish can support atmosphere, but it cannot restore detail that was not captured. Choose the clearest frame for a portrait, or embrace a wider, more abstract concert moment when motion is part of the image.
Should I add more grain to low-light concert photos?
Usually not automatically. Low-light captures may already have visible noise. Add grain only after color and contrast are settled, then choose the version where the face, gesture, and lights read before the texture does.