
Editing guide
How to Keep Eyes Bright in iPhone Film Portraits
Keep eyes clear and natural in iPhone film portraits by balancing exposure, fade, grain, and contrast without making the whole face look flat.
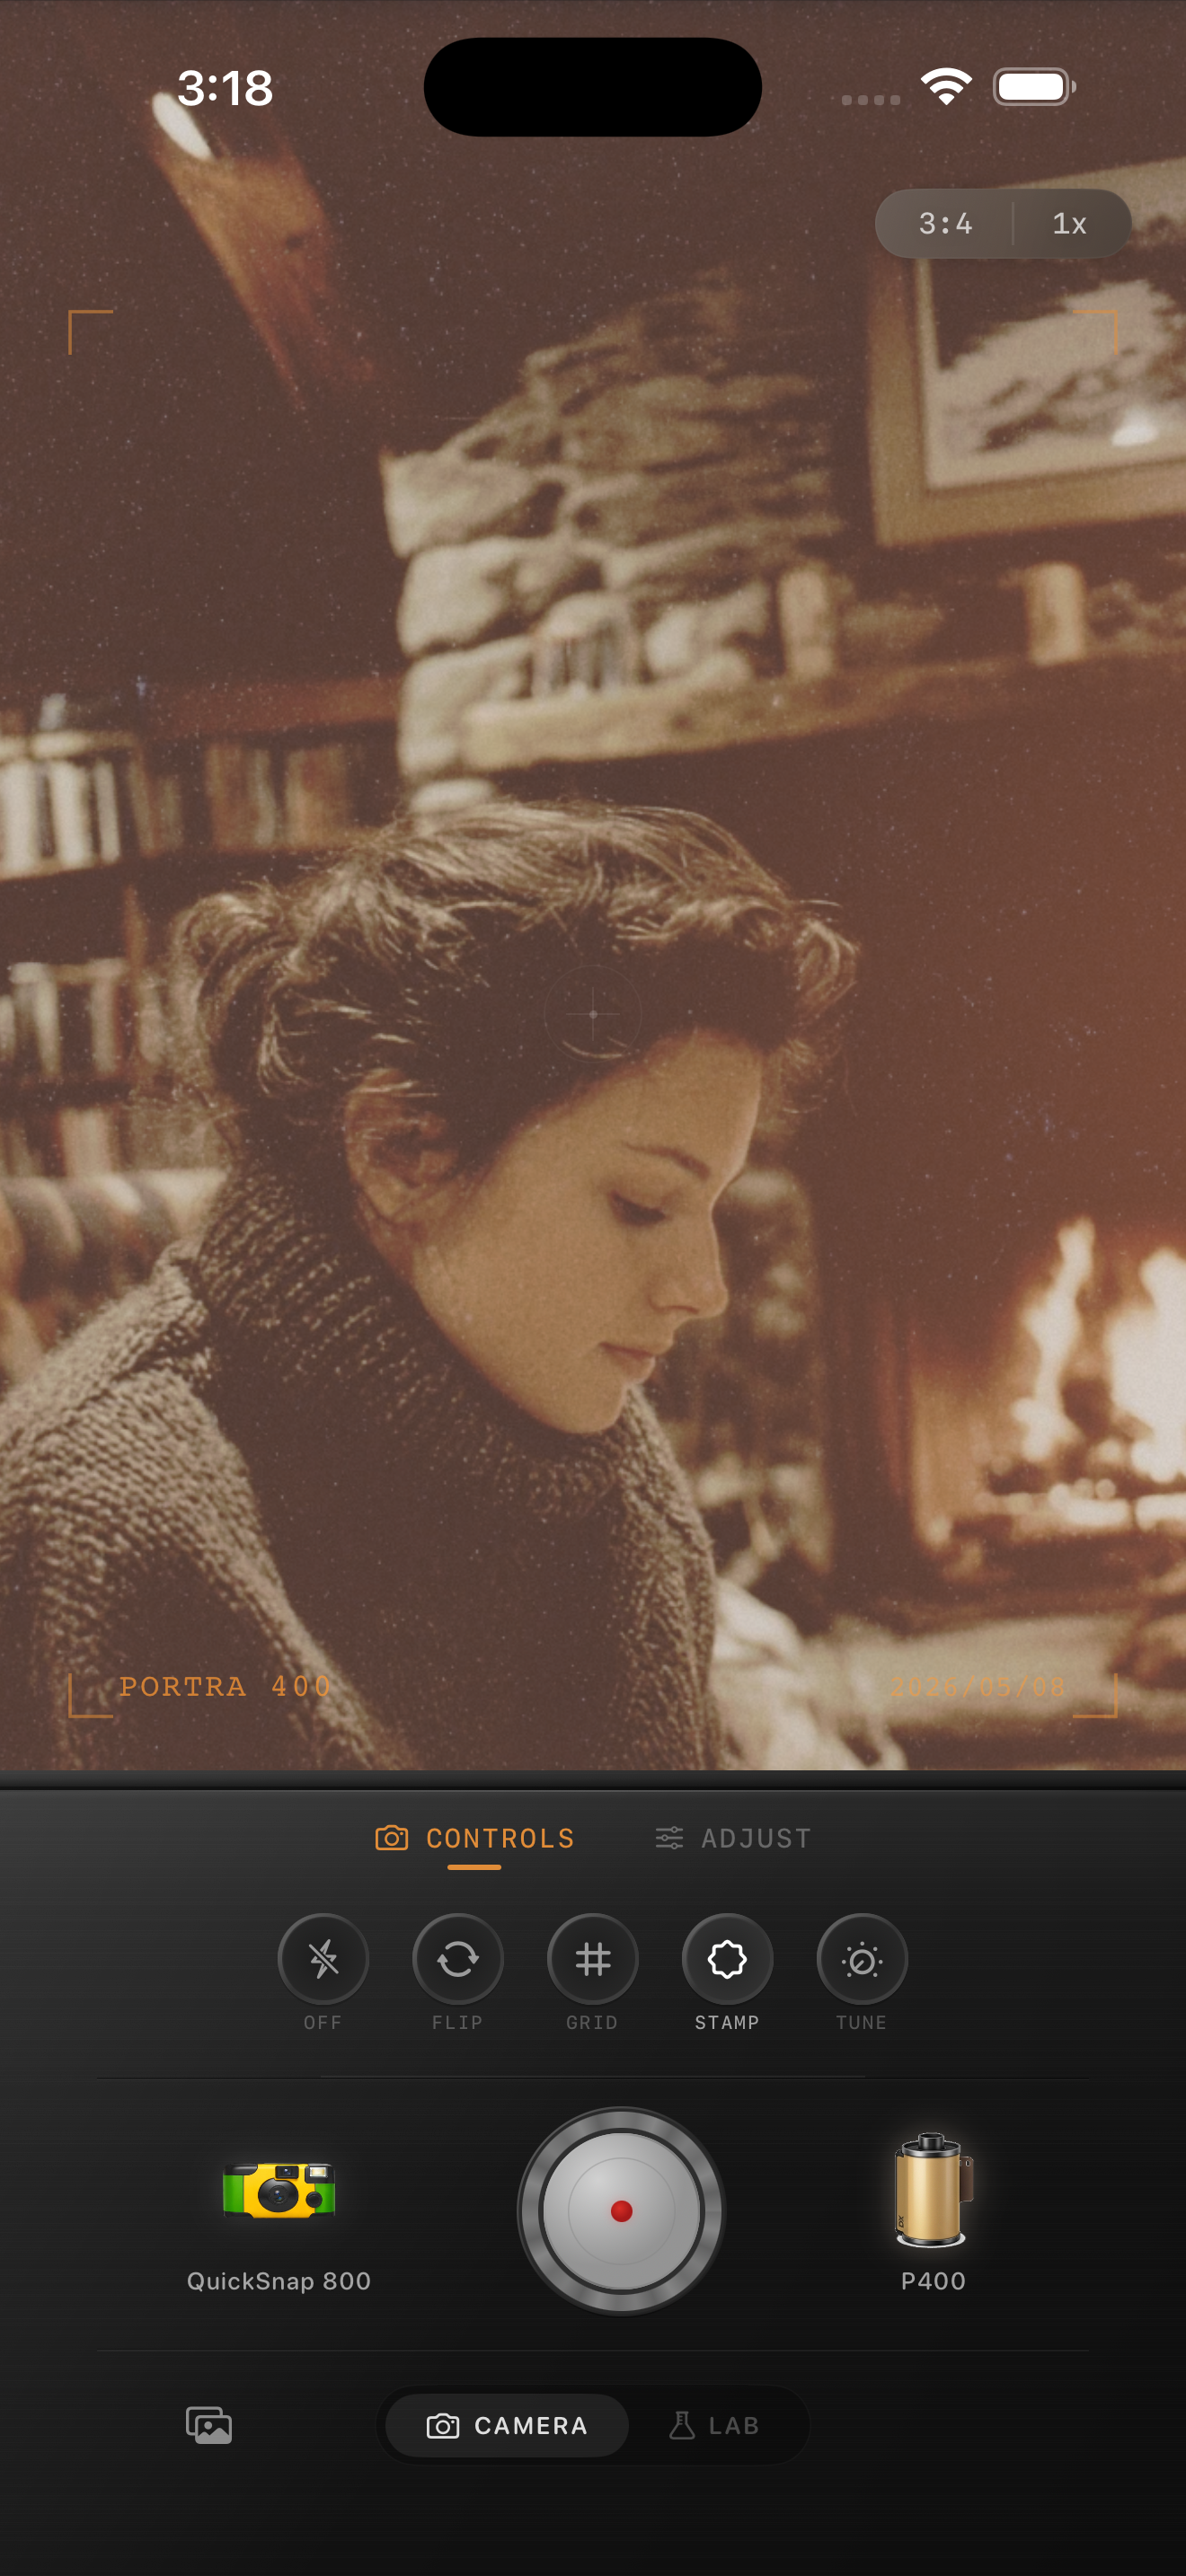
Check the original before brightening the portrait
Start with the unedited photo at normal viewing size. Look for the pupil, eyelid, catchlight, and the shadow under the brow. If those details are visible before the film treatment but disappear afterward, the edit is compressing the eye area too much. If they are already absent in the original, raising brightness cannot recreate them.
Use the better-lit eye as your reference when the face is turned away from the light. The shaded eye does not need to match it exactly. Natural portraits often have uneven light, and forcing both eyes to the same brightness can make the face look flat.
Choose the frame with the clearest expression
When you have several similar frames, compare expressions before you begin editing. A small catchlight, a relaxed eyelid, or a slight turn toward a window can matter more than a technically cleaner background. Pick the frame where the eyes communicate the moment without needing a strong correction.
For the next portrait, move yourself or the subject a little while watching the preview. Window light from slightly in front of the face often creates readable eyes without feeling staged. Avoid asking someone to stare directly into a bright light; comfort and expression matter more than maximum brightness.
Build the film look around three reference areas
In the Nostalgia Cam Lab, keep film intensity restrained at first and compare the eye, the cheek, and the darkest part of the hair. The eye should remain readable, the cheek should keep believable color, and the hair should still have enough separation to describe its shape.
If all three areas become dark together, compare a small exposure change. If the cheek and hair look right but the eyes lose definition, reduce the strength of the film treatment before brightening the whole image. Global exposure changes affect skin and highlights as well as eyes.
Use fade without erasing eye contrast
Fade can lift dark tones and create a softer print-like mood, but more fade does not necessarily reveal more eye detail. It may turn the pupil, iris, lashes, and surrounding skin into similar gray values. Increase it slowly and watch whether those boundaries become easier or harder to read.
Vignette is a separate decision. If a face sits near the edge of the frame, darkened corners can affect one eye more than the other. Compare the portrait with vignette reduced before changing the entire exposure or warmth.
Add grain after the expression is working
Set grain after you are happy with brightness and color. Judge it with the full portrait visible, then inspect the eye area once. Strong texture can crowd lashes and small catchlights, especially in a close portrait or a lower-resolution shared image.
A useful stopping point is when the photo feels less digitally smooth but the eyes still read immediately. You do not need visible grain in every shadow. Keep a cleaner version if the portrait will be displayed small, because fine eye detail and fine grain compete for the same limited space.
Compare a gentle and a stronger finish
Save two versions with the same crop: one with a gentle film treatment and one with the stronger mood you initially wanted. View both at the size you plan to share. Choose the version where you notice the expression before the texture or dark shadows.
Keep the original photo so you can revisit the decision without stacking another edit over the finished image. A convincing film portrait does not require unnaturally bright eyes; it needs enough separation for the expression to remain clear.
- Can you read the expression without zooming in?
- Does at least one natural catchlight remain visible when the source includes it?
- Do the eyes, cheeks, and hair still have distinct tones?
- Does the grain support the portrait instead of crowding the lashes?
Keep the expression at the center of the edit
Import a portrait into the Nostalgia Cam Lab and compare film looks while using the eyes, cheek, and hair as references. Fine-tune intensity, exposure, fade, vignette, and grain until the expression stays clear.
FAQ
Why do eyes look dark after I add a film look?
The treatment may be reducing separation among the pupil, iris, lashes, and nearby shadow. Compare lower film intensity, fade, and vignette one at a time. If the whole portrait is dark, then test a small exposure adjustment while watching skin and highlights.
Should I use more fade to brighten eyes in a film portrait?
Not automatically. Fade lifts dark tones but can also make details blend together. Increase it in small steps and judge whether the eyelid, iris, and catchlight become clearer. Reduce it if the eye area turns flat or gray.
How much grain should I use around eyes?
Use enough to soften the digital finish without competing with lashes or catchlights at the final viewing size. Close portraits and small shared images often need less grain than wider scenes.