
Editing guide
How to Edit iPhone Film Portraits with Glasses
Keep eyes readable in iPhone film portraits with glasses: assess lens reflections, balance frames and skin, and add texture without making glare distracting.
Start with the eyes behind the lenses
A film portrait with glasses works best when the expression remains easy to read. Before choosing a look, inspect the original at normal viewing size and then enlarge the eye area. Check whether a reflection is just a small accent or whether it covers the pupil, eyelid, or most of one lens. Those are different editing problems.
If the eyes are visible in the original but disappear after applying a film look, adjust the treatment. If a solid reflection already hides them in the source, a film filter cannot reveal the missing eye detail. Choose another frame when you have one, or keep the reflection as part of the moment instead of darkening the whole face to disguise it.
For the next photo, compare small changes in angle
Before taking another portrait, ask the person to turn slightly toward and away from the light while you watch the glasses in the preview. You can also move a little to either side. Take a few frames where the eyes are visible and the pose still feels comfortable; there is no single angle that works for every lens and light source.
For a seated window portrait, try moving your position before asking for a very different expression. A small adjustment may move the window reflection toward the edge of the lens. Keep checking both eyes: clearing one lens does not always clear the other. A faint reflection can look natural and does not need to vanish completely.
Choose color while keeping the frames readable
In the Nostalgia Cam Lab, compare film looks with grain kept low at first. Watch three areas together: the eyes, the bridge of the frames, and a cheek outside the lens. Start with a restrained intensity and increase it only while those areas remain distinct.
With dark frames, look for separation between the rim, eyebrow, and nearby shadow. With clear or pale frames, keep the outline visible against skin. Adjust warmth using the uncovered cheek as a reference rather than trying to neutralize every colored reflection in the lens. A global color adjustment affects the rest of the portrait too.
Treat glare and overall brightness as separate decisions
If the whole portrait is too bright, a small exposure reduction may help. If only one lens has a bright patch and the face already looks right, lowering exposure across the entire image can leave you with a dark face and an equally distracting reflection. Compare a gentler film look or a different source frame instead.
Use fade carefully. A lighter shadow tone may soften the mood, but it can also reduce the visual difference between the eyes, rims, and skin. Judge those boundaries rather than assuming that a brighter eye area contains more detail. Leave a little sparkle in the lenses if it helps the portrait feel alive.
Add grain without crowding the eye area
Introduce grain after the expression and color work. Check the lenses and the skin beside them at the size you plan to share. If the eye area starts to feel busy, reduce grain and compare again. For a close portrait, a small amount of texture may be enough; you do not need to see grain in every part of the face.
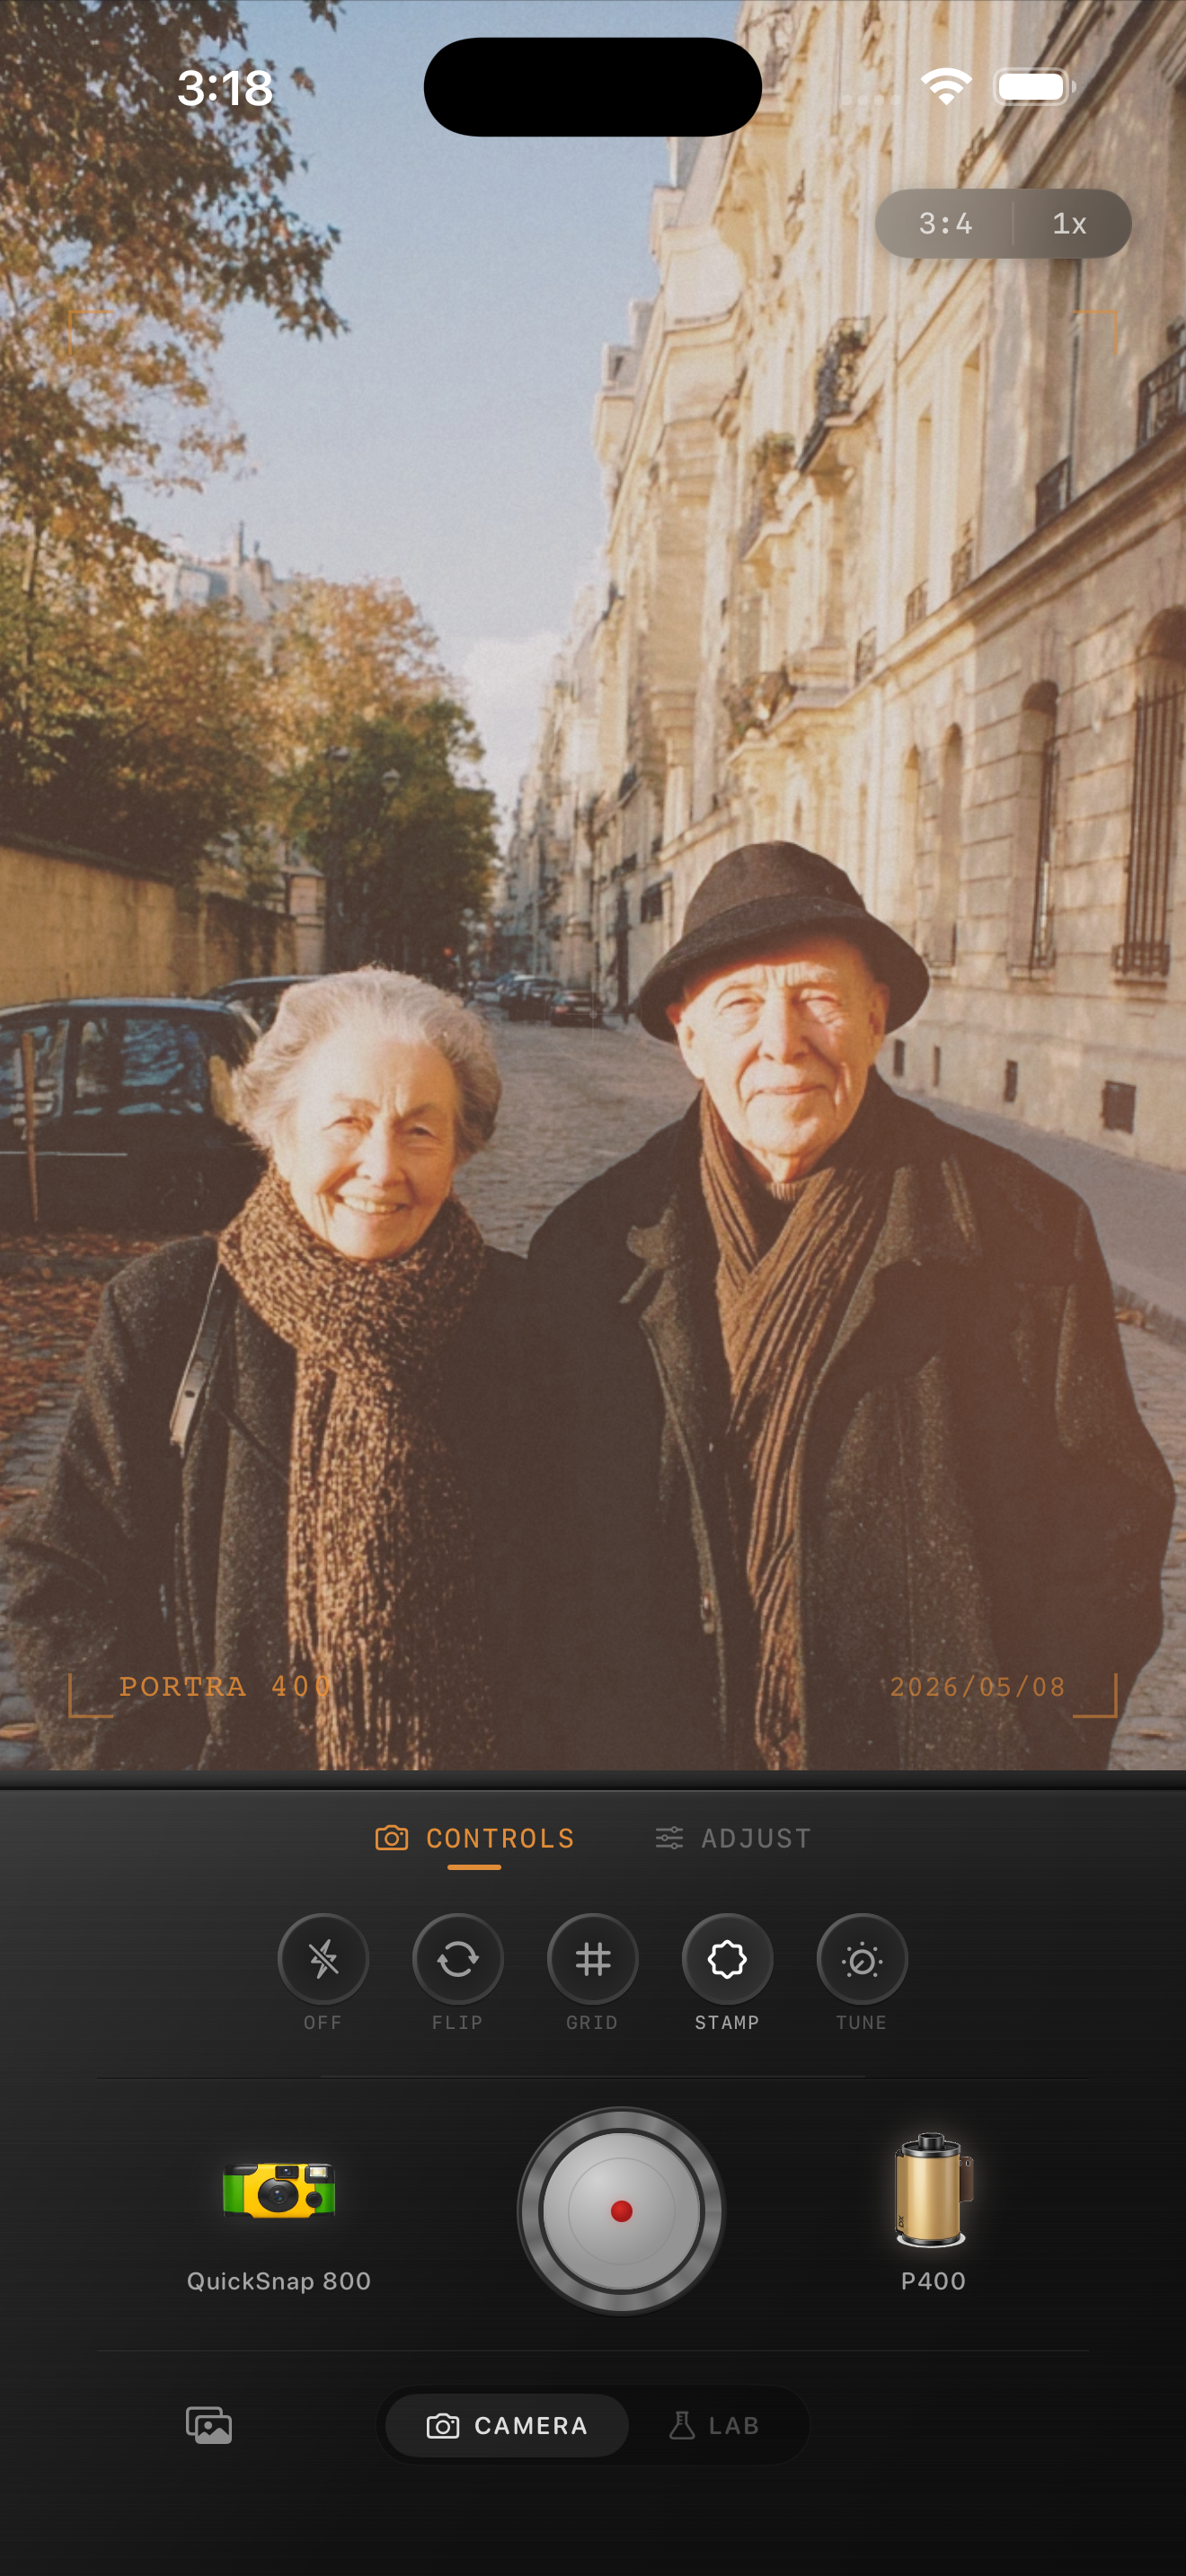
The Paris couple preview on this page is a reference for warm portrait color and readable expressions, not an example of removing reflections from glasses. Film names visible in the app preview describe stylistic inspiration. Nostalgia Cam is not affiliated with or endorsed by the referenced film or camera brands.
Finish with a full-face comparison
Save a gentle version and a stronger version with the same crop, then compare both with the original. Look at the full face before zooming in. Choose the finish where you notice the person first, the glasses second, and the editing last.
Keep the original so you can revisit the portrait without adding another treatment over the finished file. If the stronger version hides an eye or merges the frames into a shadow, use the gentler version even if the background looks less dramatic.
- Can you still read the expression through both lenses?
- Do the frames have a clear outline without becoming the darkest distraction?
- Does skin outside the lenses look believable?
- Does grain add atmosphere without competing with the eyes?
Give glasses a place in your film portrait
Import a portrait into the Nostalgia Cam Lab, compare film looks, and fine-tune intensity, warmth, fade, and grain while watching the eyes and frames. Save the finish that keeps the expression clear.
FAQ
Can a film filter remove glare from glasses?
A film filter changes the appearance of the photo; it does not reconstruct eyes hidden behind an opaque reflection. If the original has visible eyes, a gentler treatment can help keep them readable. If glare already covers them, compare another frame or adjust the shooting angle for the next photo.
Why do my glasses look too dark after a film edit?
The treatment may be making dark frames, eyebrows, and eye shadows blend together. Compare lower film intensity and a gentler look before raising exposure across the whole picture. Keep the uncovered cheek visible as a brightness reference.
Should I remove every reflection for a film-style portrait?
No. A small reflection can help the lenses look natural. Prioritize a readable expression and comfortable pose. Reflections become a practical problem when they conceal the eye detail that matters to the portrait.