
Editing guide
How to Fix Washed Out iPhone Film Edits Without Losing Softness
Bring definition back to a washed out iPhone film edit. Compare fade, exposure, and film intensity while keeping faces readable and shadows gently softened.
Identify what looks washed out before changing the whole edit
A soft film look can still have a clear face, a dark coat, and a bright window. If every part of your iPhone photo seems covered by the same pale veil, start by reducing fade. If the entire frame is too bright, check exposure instead. If the shapes look good but the colors feel weak, compare the film look and its intensity.
Choose three reference areas: your main subject, something that was dark in the original, and a bright area with visible detail. Keep returning to those same spots. This turns a vague feeling that the filter is too much into a specific adjustment you can judge.
Compare with the original under the same viewing conditions
Open the original and the film edit at the same size on the same screen. Keep screen brightness steady during the comparison. Look at the reference areas before deciding that the edit caused the problem: a misty landscape or a portrait facing a bright window may already have gentle contrast.
If you started from a previously faded export, try the untouched source when available. You may be layering a soft film look over an image that already has pale shadows. Keep your existing edit as a reference so you can compare the new version without losing the mood you liked.
Reduce fade until one dark area has weight again
In Nostalgia Cam, lower fade a little at a time while leaving the other controls alone. Watch a dark sweater, hair, or a shaded doorway. Stop when that area helps define the subject again, even if it remains softer than in the original. You do not need to make every shadow black.
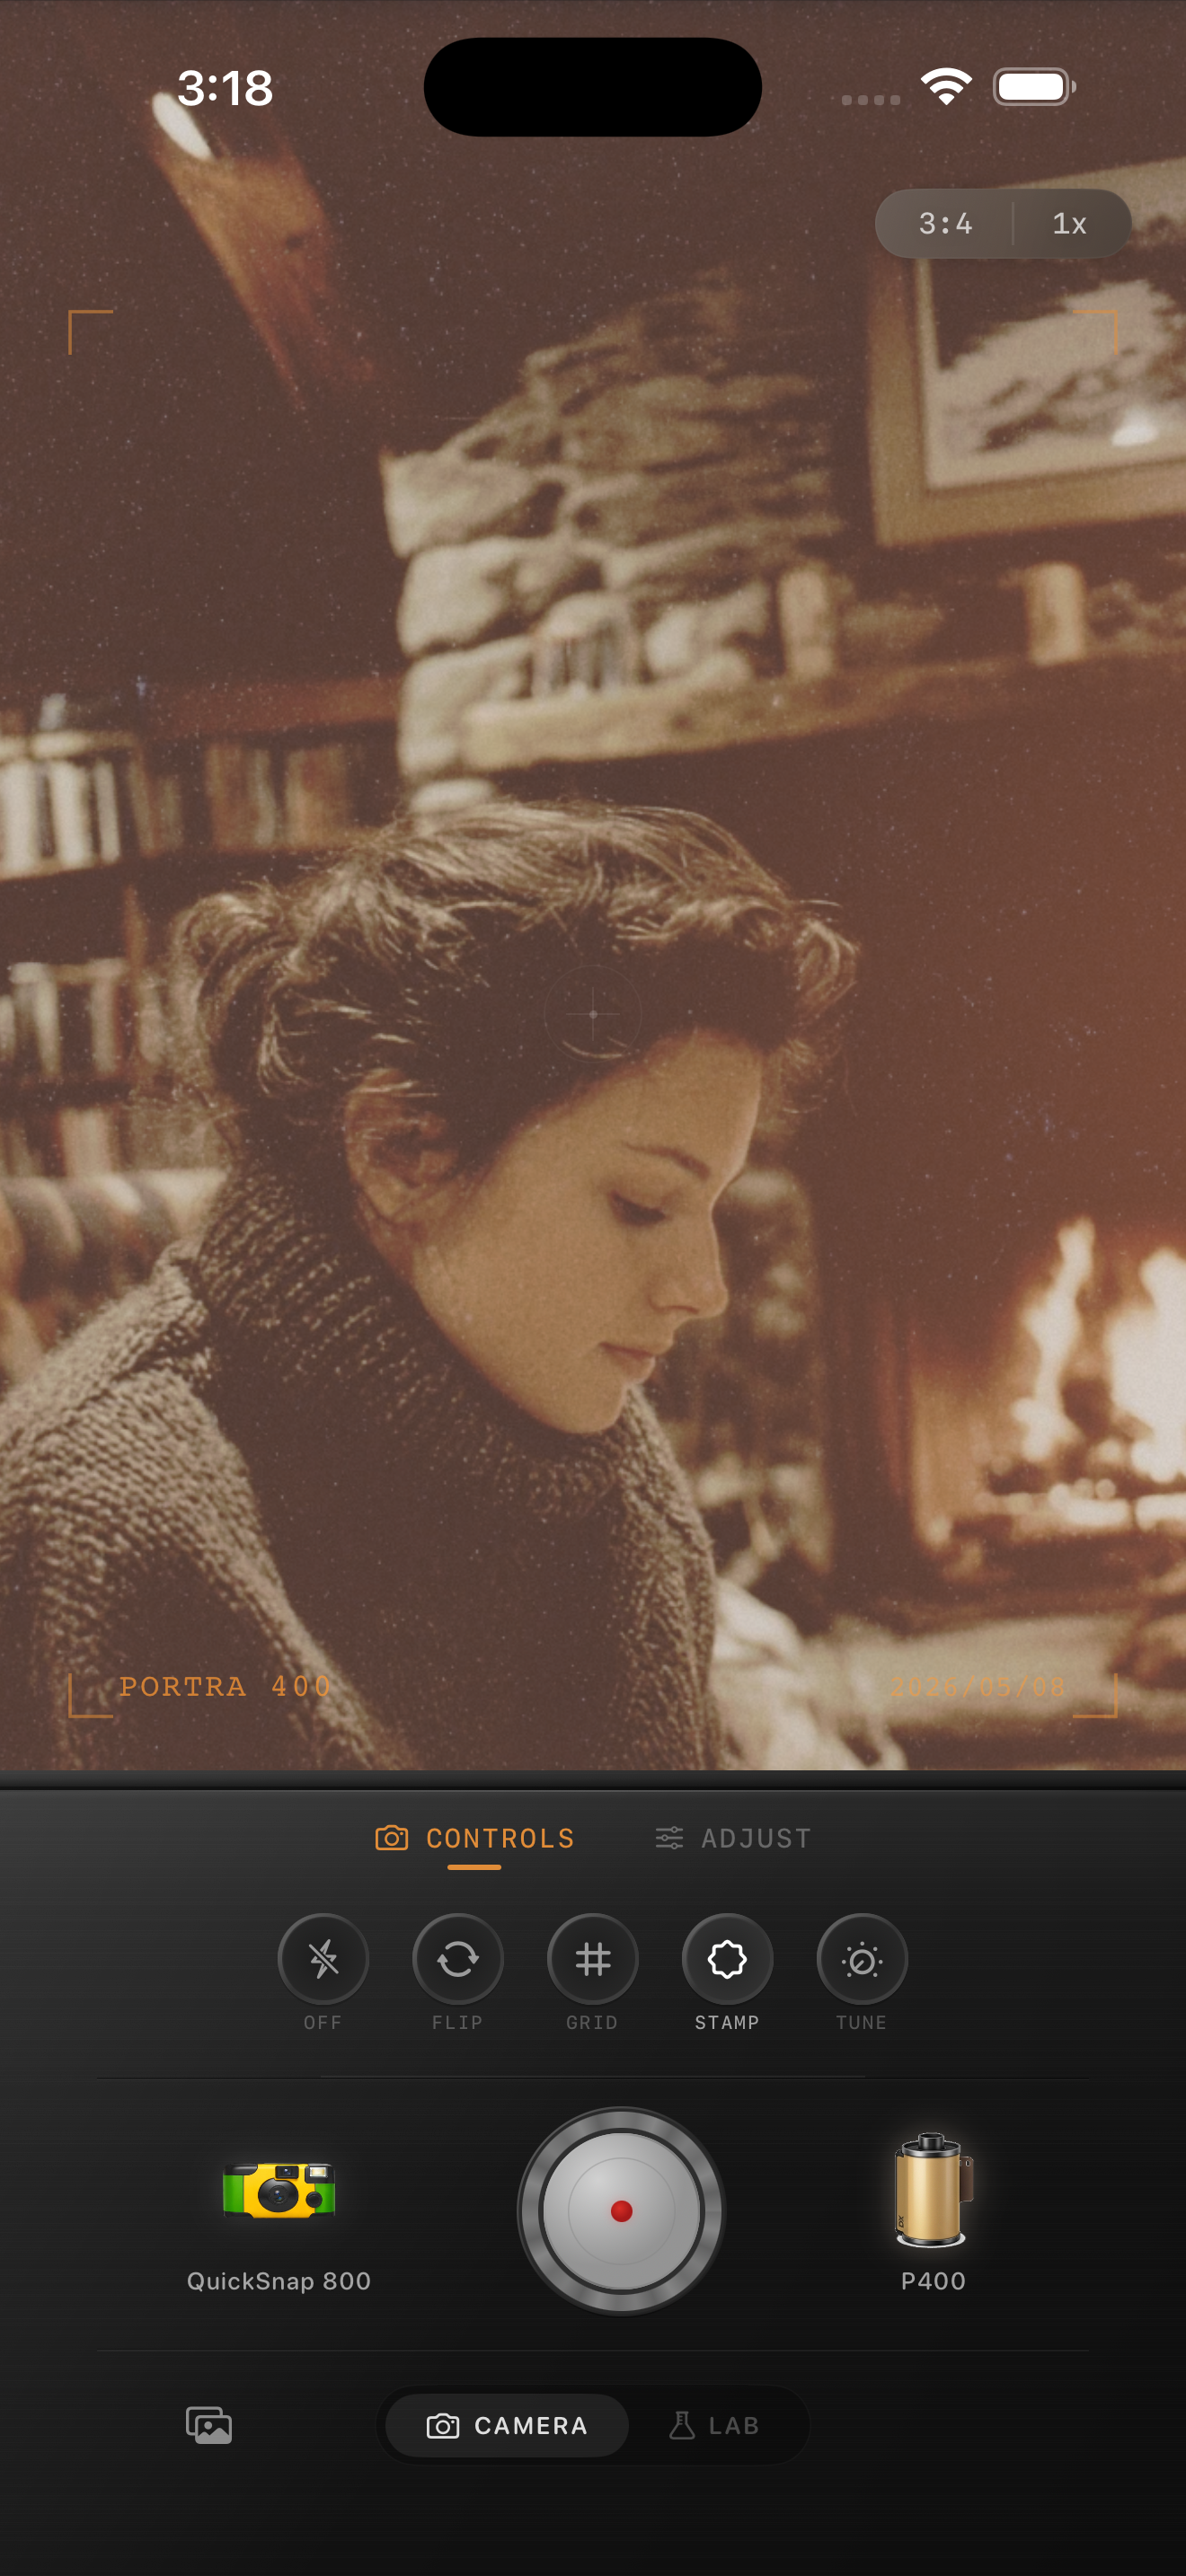
The fireplace preview above gives you useful places to look: the knit clothing, the hair, and the dark space around the fire. Decide how much separation you want between those areas and the face. The image illustrates a warm, faded direction; it is not a before-and-after demonstration of this correction.
Film names visible in the preview describe style inspiration. Nostalgia Cam is not affiliated with Kodak, Fujifilm, or other camera or film manufacturers.
- If the subject becomes clearer as fade decreases, refine that control first.
- If shadows improve but the face remains too bright, check exposure next.
- If the source already looks hazy, keep some atmosphere instead of forcing deep blacks.
Treat excessive brightness separately from pale shadows
Once fade feels right, compare the face and bright reference area with the original. If the whole edit is brighter than you intended, lower exposure slightly and watch both areas together. Stop before the face becomes dull just to make a small highlight less prominent.
For example, a pale book page beside a readable face may be perfectly acceptable in a cozy portrait. Darkening the entire frame to emphasize the page can weaken the person. If the page had texture in the original but loses it with the look applied, also try a lower film intensity. If detail was absent in the source, do not judge success by whether an effect can invent it.
Compare a gentler film treatment before adding stronger effects
If the picture still feels flat, make a second candidate with less film intensity, keeping the crop and camera body the same. Compare the outline of the face, the dark reference area, and a color you care about. Choose the treatment that preserves the mood while keeping those elements distinct.
If the color itself is the problem, preview another film look with similarly restrained fade. More warmth can change the color mood, but it is not a dependable way to restore separation between light and dark. Likewise, heavy grain or a dark vignette may add visual activity without solving the pale center of the picture.
Keep the softness that serves the photograph
Finish with a full-image comparison at the size you expect to share. Look away for a moment, then return to each candidate. The better version should bring your attention to the person or place before you notice the adjustment. Check texture close up afterward, particularly on skin and smooth walls.
Keep the softer version when it supports fog, quiet window light, or a faded-memory mood. Choose the version with firmer dark tones when the subject blends into the room. A useful stopping point is a readable subject, at least one dark area that anchors the frame, and bright areas that do not pull attention away from the moment.
Find your balance in Nostalgia Cam
Import a photo into the Lab, choose a camera body and film look, then compare a lower-fade version with your first edit. Refine exposure and intensity one at a time, and finish with grain and vignette that support the subject.
FAQ
Why does a film filter make my iPhone photo look gray?
The look may lift dark tones or soften contrast more than the scene needs. Compare with the original, reduce fade first, and then compare film intensity. If only the colors seem weak, try another look rather than darkening the whole image.
Should I lower exposure or fade to fix a washed out film edit?
Start with fade when dark areas have become pale but the face is still at a useful brightness. Check exposure when the whole frame is too bright. Change one control at a time and watch the same face, dark area, and highlight.
Can a film edit stay soft without looking flat?
Yes. Keep enough difference between the subject and background to make the scene readable. A little fade can soften the mood while a dark garment or shaded area still gives the photograph definition.