
Editing guide
How to Keep White Clothes White in iPhone Film Edits
Fix yellow or blue clothing in iPhone film edits by comparing the original, balancing warmth against skin tones, and keeping texture in pale fabric.
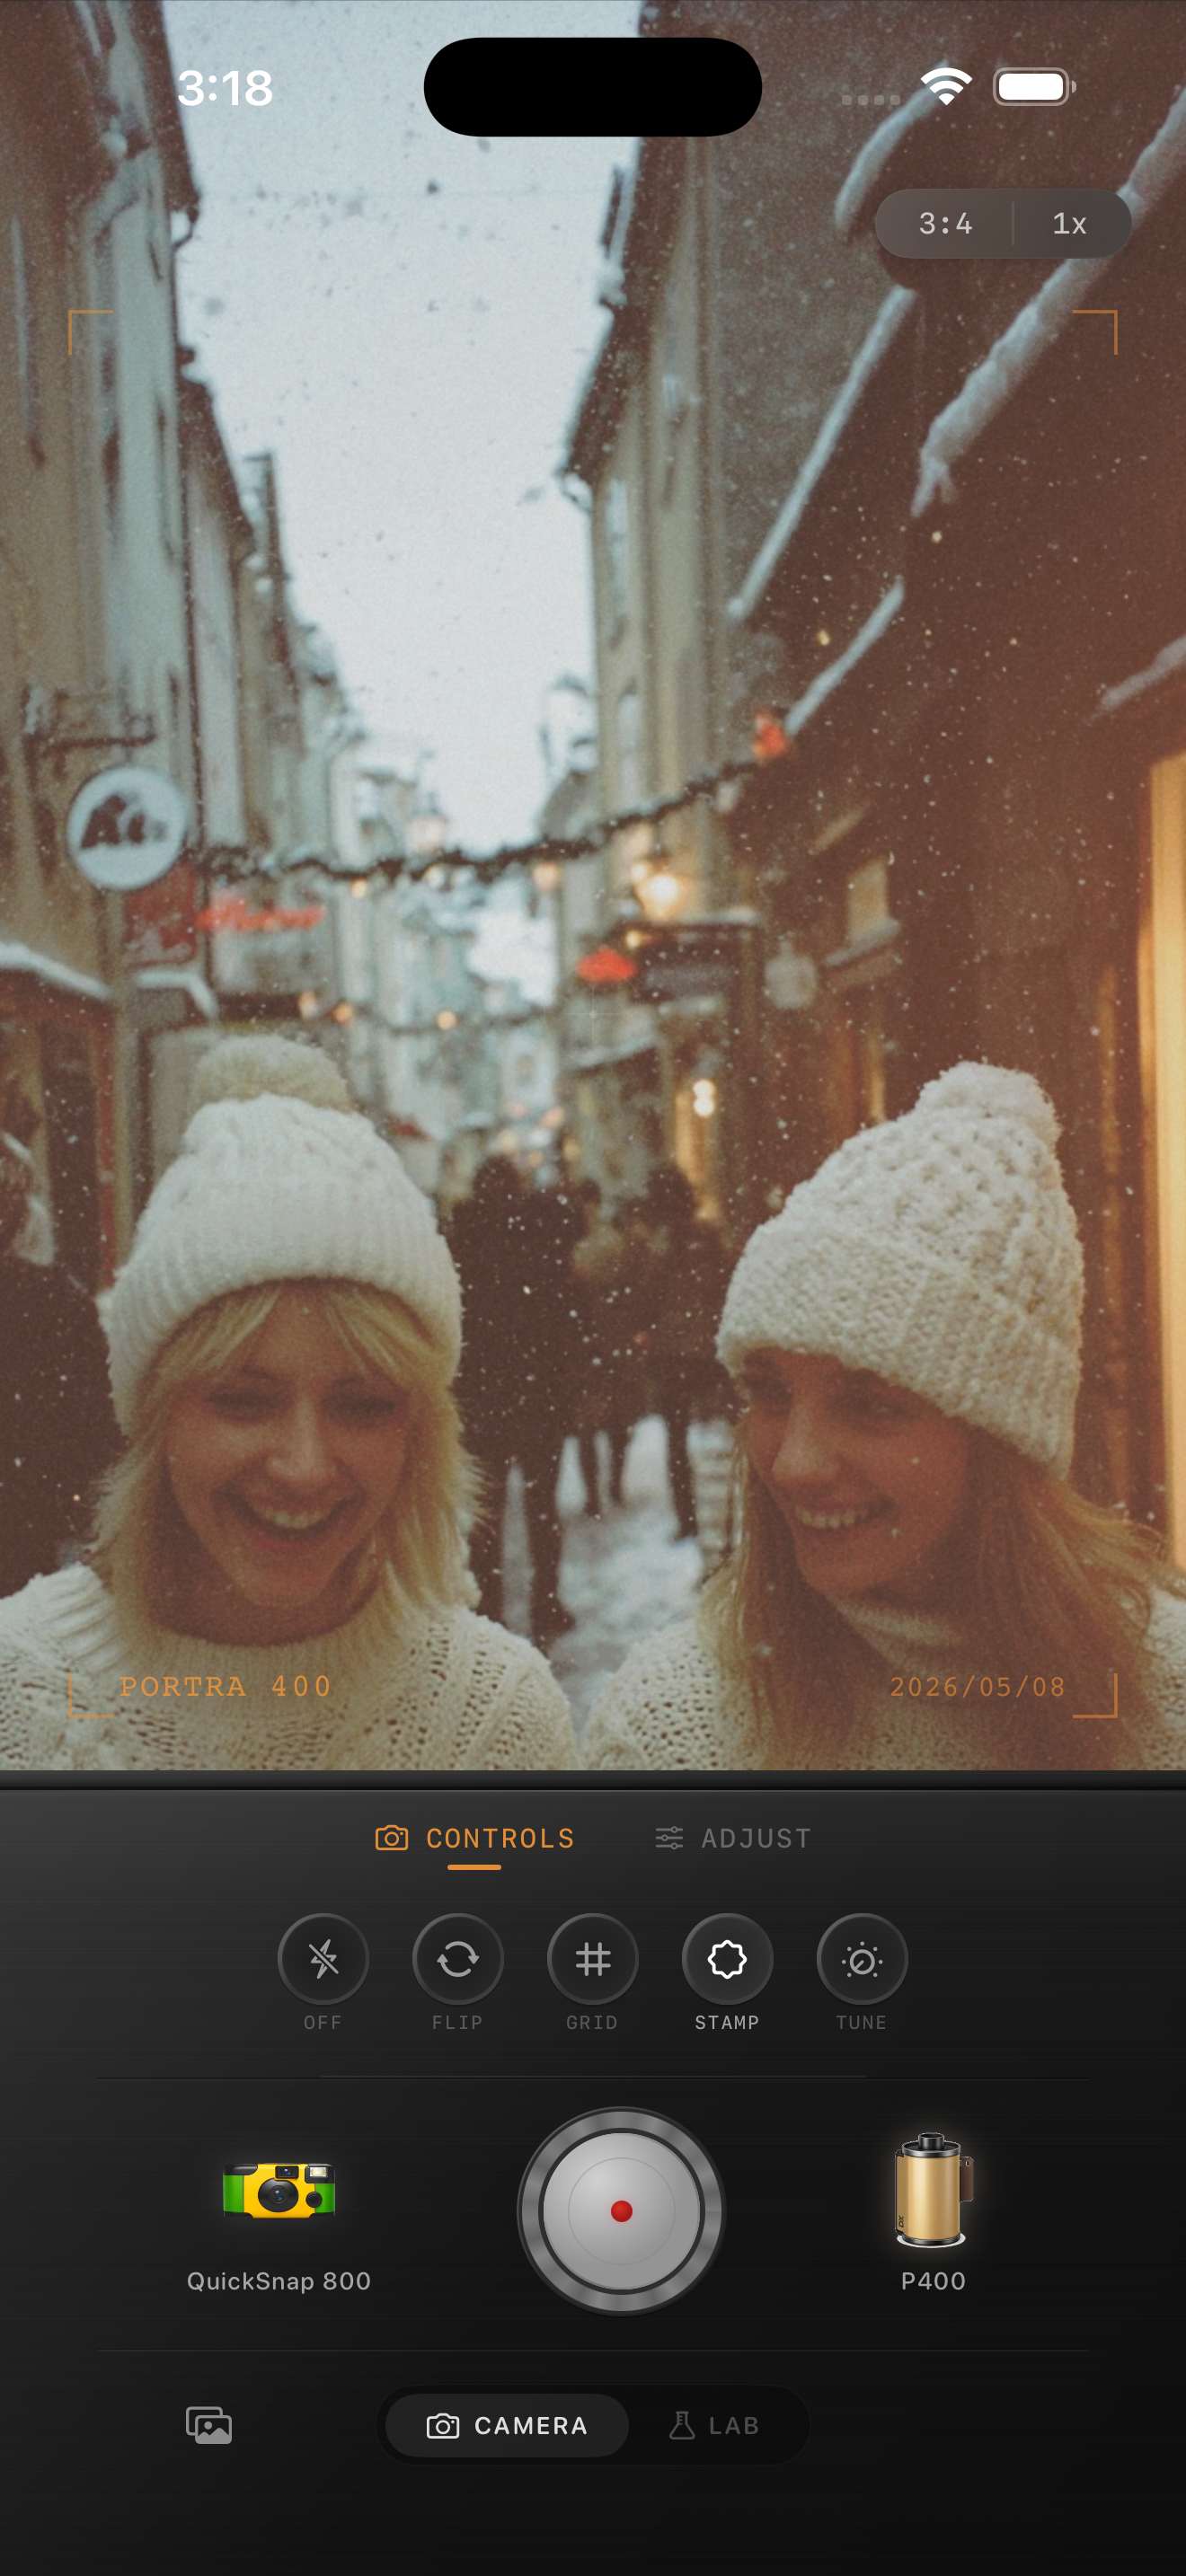
Aim for believable fabric in the scene
A white shirt that turns mustard yellow can make an otherwise gentle film edit feel heavy. Start by comparing the finished image with the original. If the shirt becomes much more yellow only after applying the look, reduce added warmth or try a less strongly tinted film look before changing brightness.
White clothes do not need to appear pure white everywhere. A sleeve beside a warm lamp can look warmer than a sleeve facing a window. Your goal is to keep the fabric believable in that light, with enough separation from skin and the background that the whole scene does not become one color.
Compare one lit fold and one shaded fold
Choose a recognizable area of the garment, such as the shoulder of a shirt or the fold below a collar. Compare that same area in the original and the edit at a similar viewing size. Include both a brighter fold and a shaded fold so you can judge color and shape separately.
If the original already has a warm cast, adding another warm finish may be unnecessary. If only one side of the shirt is colored, check what is nearby: a lamp, a bright wall, or colored signage may be part of the scene. Do not force that one patch to neutral at the expense of every face.
- Yellow across both clothing and faces: try less warmth first.
- Natural faces but strongly tinted clothing: compare a gentler film look.
- White fabric with no visible folds: check the original before adding brightness.
- Blue shadows beside warm highlights: judge the lighting before correcting the whole frame.
Adjust warmth while watching skin
In Nostalgia Cam, import the original into the Lab and choose a camera body and film look. Begin with restrained warmth. Move it in small steps while looking back and forth between the clothing and a face; do not spend the entire edit staring at the shirt.
For a daylight portrait, stop when the white fabric feels clean enough and skin still looks comfortable in the scene. For a dinner photo, allow some amber light to remain. If cooling the shirt makes the face look blue, undo that last adjustment and compare another film look. A single overall setting may not balance two different light sources equally well.
Keep fabric detail separate from the color problem
A yellow shirt and an overly bright shirt need different decisions. Increasing brightness to make yellow fabric look white can also make folds harder to see. Correct the color impression first, then judge whether the garment actually needs an exposure change.
Compare the original at a closer view. If it contains folds that the edit obscures, try a gentler finish or lower exposure slightly and compare again. If the original is already a featureless bright patch, do not expect a film look to invent the missing weave or seams. Choose another frame when those details matter.
Let texture carry some of the nostalgic mood
Once the clothing and skin work together, add a restrained amount of grain and fade. Warmth does not have to provide the entire film feeling. A little texture and softer shadow depth can support a nostalgic portrait while leaving pale fabric relatively neutral.
Judge grain at the size you plan to share. If a smooth shirt becomes the noisiest part of the photograph, reduce the grain and look at the whole image again. Keep enough shadow depth for folds to remain visible instead of using heavy fade to make every pale area look equally light.
Finish with a two-version comparison
Save one version with the balanced color you prefer and a second with slightly less warmth. Keep the other choices the same. Compare the exports side by side, first as full photos and then around the collar, sleeves, and face.
Pick the version in which the clothing belongs to the lighting and the person still looks natural. For a group or an album, repeat the check on another person or another frame from the same light. You are looking for a useful balance, not an identical white value across every photograph.
Build a balanced film look in Nostalgia Cam
Import your photo into the Lab, compare camera bodies and film looks, then adjust warmth while checking both clothing and skin. Finish with gentle grain and fade for a nostalgic photo that still feels like the scene.
FAQ
Why does my white shirt look yellow after a film filter?
The selected look or added warmth may tint pale clothing along with the rest of the scene. Compare with the original, reduce warmth, and try a less strongly tinted look if skin and fabric cannot both look natural.
Should white clothes be pure white in a film-style photo?
No. Warm lamps, cool shade, and nearby colored surfaces can affect their appearance. Preserve believable lighting and visible folds rather than making every part of the garment pure white.
How do I fix a blue shirt shadow without making faces orange?
Compare the shadow with the original and check whether the scene mixes cool and warm light. Avoid a large overall warmth increase just for one shadow. Try a gentler film look and accept some cool color where it fits the lighting.