
Editing guide
How to Edit Snowy Friend Photos to Look Like Film on iPhone Without Cold Skin
A practical snowy-friend-photo film workflow for iPhone: warmer but believable skin, soft snow, restrained grain, and enough contrast control to keep winter candids nostalgic instead of icy and flat.
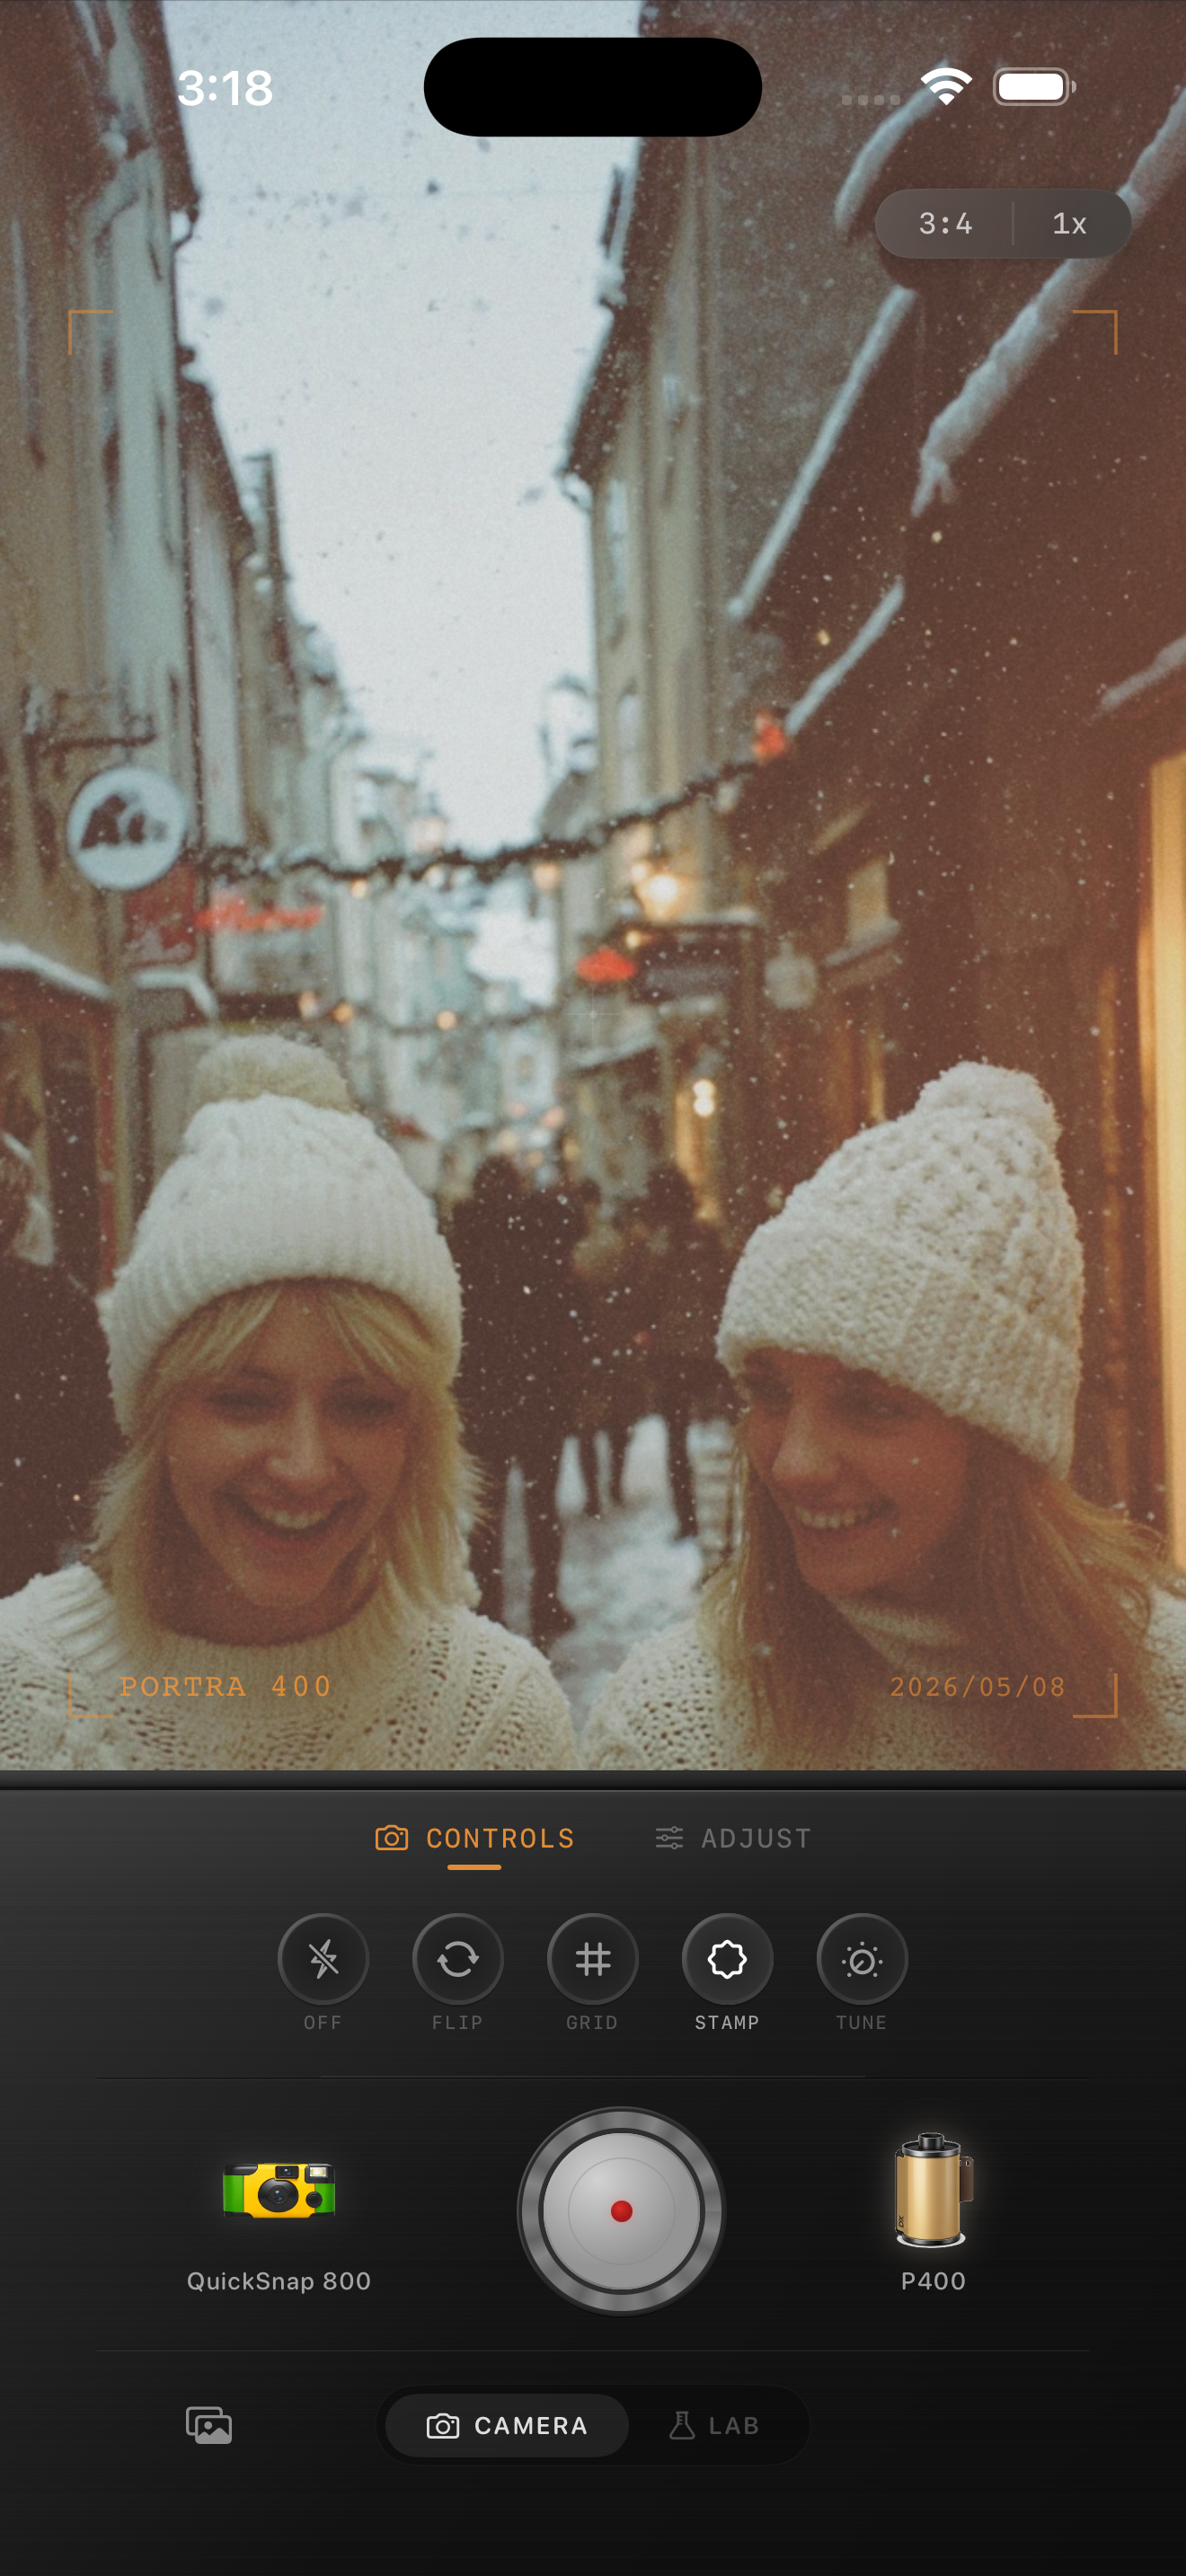
Why snowy friend photos feel icy before they feel nostalgic
Snowy candids already have the ingredients for a good film-style memory photo: layered coats, visible breath, soft daylight, and a lot of atmosphere. What usually goes wrong is that the people end up looking colder than the scene felt in real life.
iPhone processing often preserves the cool cast in snow and shade so aggressively that faces, lips, and hands lose the warmth that makes the image feel human. A good film-inspired winter edit should keep the air cold while letting the people stay alive.
- Judge skin before snow, especially cheeks, lips, and hands.
- Keep grain fine to medium so hats, scarves, and skin stay readable.
- Use only a small warmth lift so snow stays clean.
- Let coats and brick or trees keep their natural separation from the background.
A reliable snowy-candid baseline
Start around film intensity 72-84%, grain 20-30%, warmth +3 to +8, fade 3-6%, and vignette 3-7%. That range usually softens the digital winter finish while keeping enough neutrality that the snow still looks like snow.
If the scene was shot in open shade or under a fully gray sky, you can push warmth a little more. If there is already sunset spill, storefront light, or red brick nearby, use less warmth and let the environment carry some of the color.
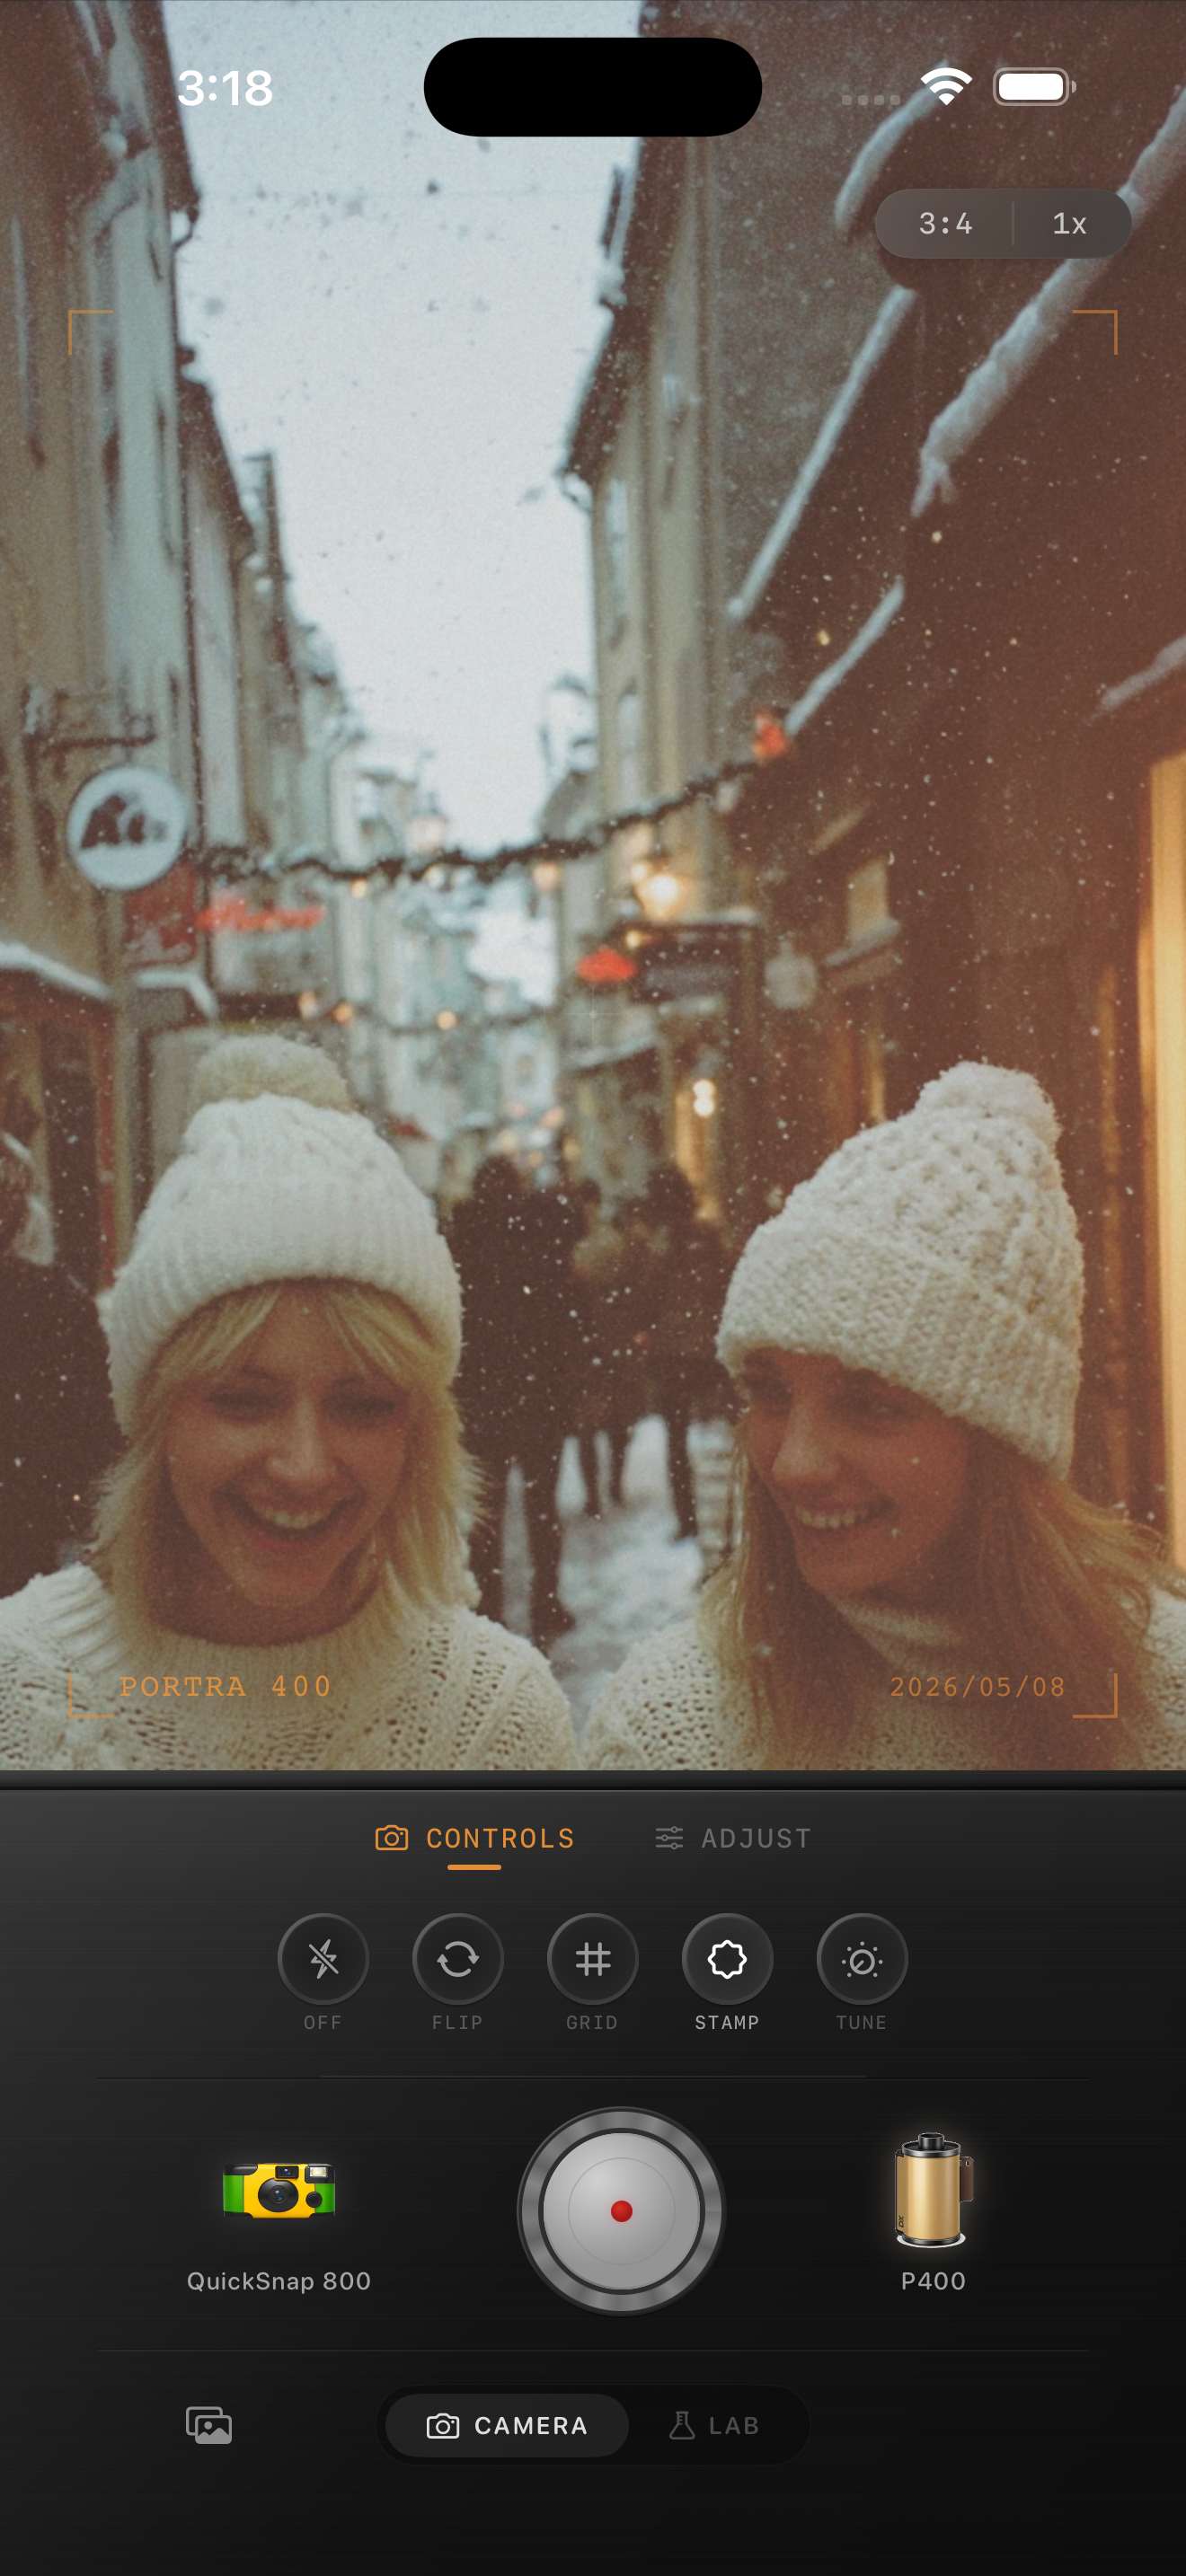
Fix the faces first, then protect the winter atmosphere
The easiest mistake is correcting the whole frame around the snow and forgetting that the people are the subject. Once the faces look natural, small changes to grain and fade usually do more for the analog feeling than extra global warmth does.
Check the whites of hats, the darkest coat, and the pinkest skin area together. If one of those looks off, the edit probably needs a smaller correction instead of another big stylistic move.
Use a calmer camera mood for daylight snow
Most snowy friend photos look better with a cleaner 35mm-inspired or everyday compact-film body than with the roughest disposable option. Winter daylight already has enough texture and contrast; it usually does not need extra chaos.
In Nostalgia Cam, start with the camera body first, then tune warmth, grain, fade, and vignette until the photo feels like a real winter print. If you want Portra-style softness or Fuji-style coolness, keep it as inspiration only and avoid turning the result into a brand imitation claim.
Keep winter friend photos warm where it matters
Use Nostalgia Cam to balance camera body, grain, warmth, fade, and vignette so snowy candids keep their cold-weather mood while faces still feel natural and film-inspired.
FAQ
Why do snowy friend photos make skin look cold so easily?
Because snow and open shade reflect a lot of cool light, and iPhone processing can preserve that blue cast strongly enough that faces lose their natural warmth.
How much warmth should a snowy film edit use?
Usually only a small amount. Enough to bring skin back to life, but not so much that the snow turns yellow or the whole frame loses its winter feeling.