Editing guide
How to Edit Rainy City Photos to Look Like Film on iPhone
A practical rainy-city film recipe for iPhone photos, with reflections, softer contrast, controlled highlights, and grain that supports neon and wet pavement without turning the frame muddy.
Rain already gives you half the mood
Rainy city photos usually come with reflections, glow, umbrellas, headlights, and darker tones that already feel cinematic. The goal is not to force nostalgia onto the frame. It is to keep the wet atmosphere while reducing the overly clean iPhone finish.
Most rainy edits go wrong in one of two ways: the highlights blow out into white blobs, or the whole image gets pushed so warm and grainy that the pavement turns muddy. A believable film look stays moody without losing shape.
A rainy-city film settings baseline
Start around film intensity 74-88%, grain 30-42%, warmth +3 to +10, fade 4-9%, and vignette 6-12%. That gives you enough texture and softness to break the digital look without burying the reflections.
If the scene has strong neon, keep warmth lower and let the existing color carry the mood. If it is a gray rainy afternoon, a slightly warmer film look can stop the photo from feeling flat.
- Protect bright signs and headlights from clipping.
- Use moderate grain so wet pavement still looks smooth.
- Keep contrast soft, not foggy.
- Let blues and reds stay rich without becoming fluorescent.
Treat reflections differently from the sky
Reflections can carry more color and glow than the sky above them. If the whole frame gets the same heavy grain and fade treatment, the image loses separation fast.
Judge the edit zoomed out first. The photo should feel atmospheric before the grain becomes obvious. If puddles and windows still look reflective, you are probably in the right range.
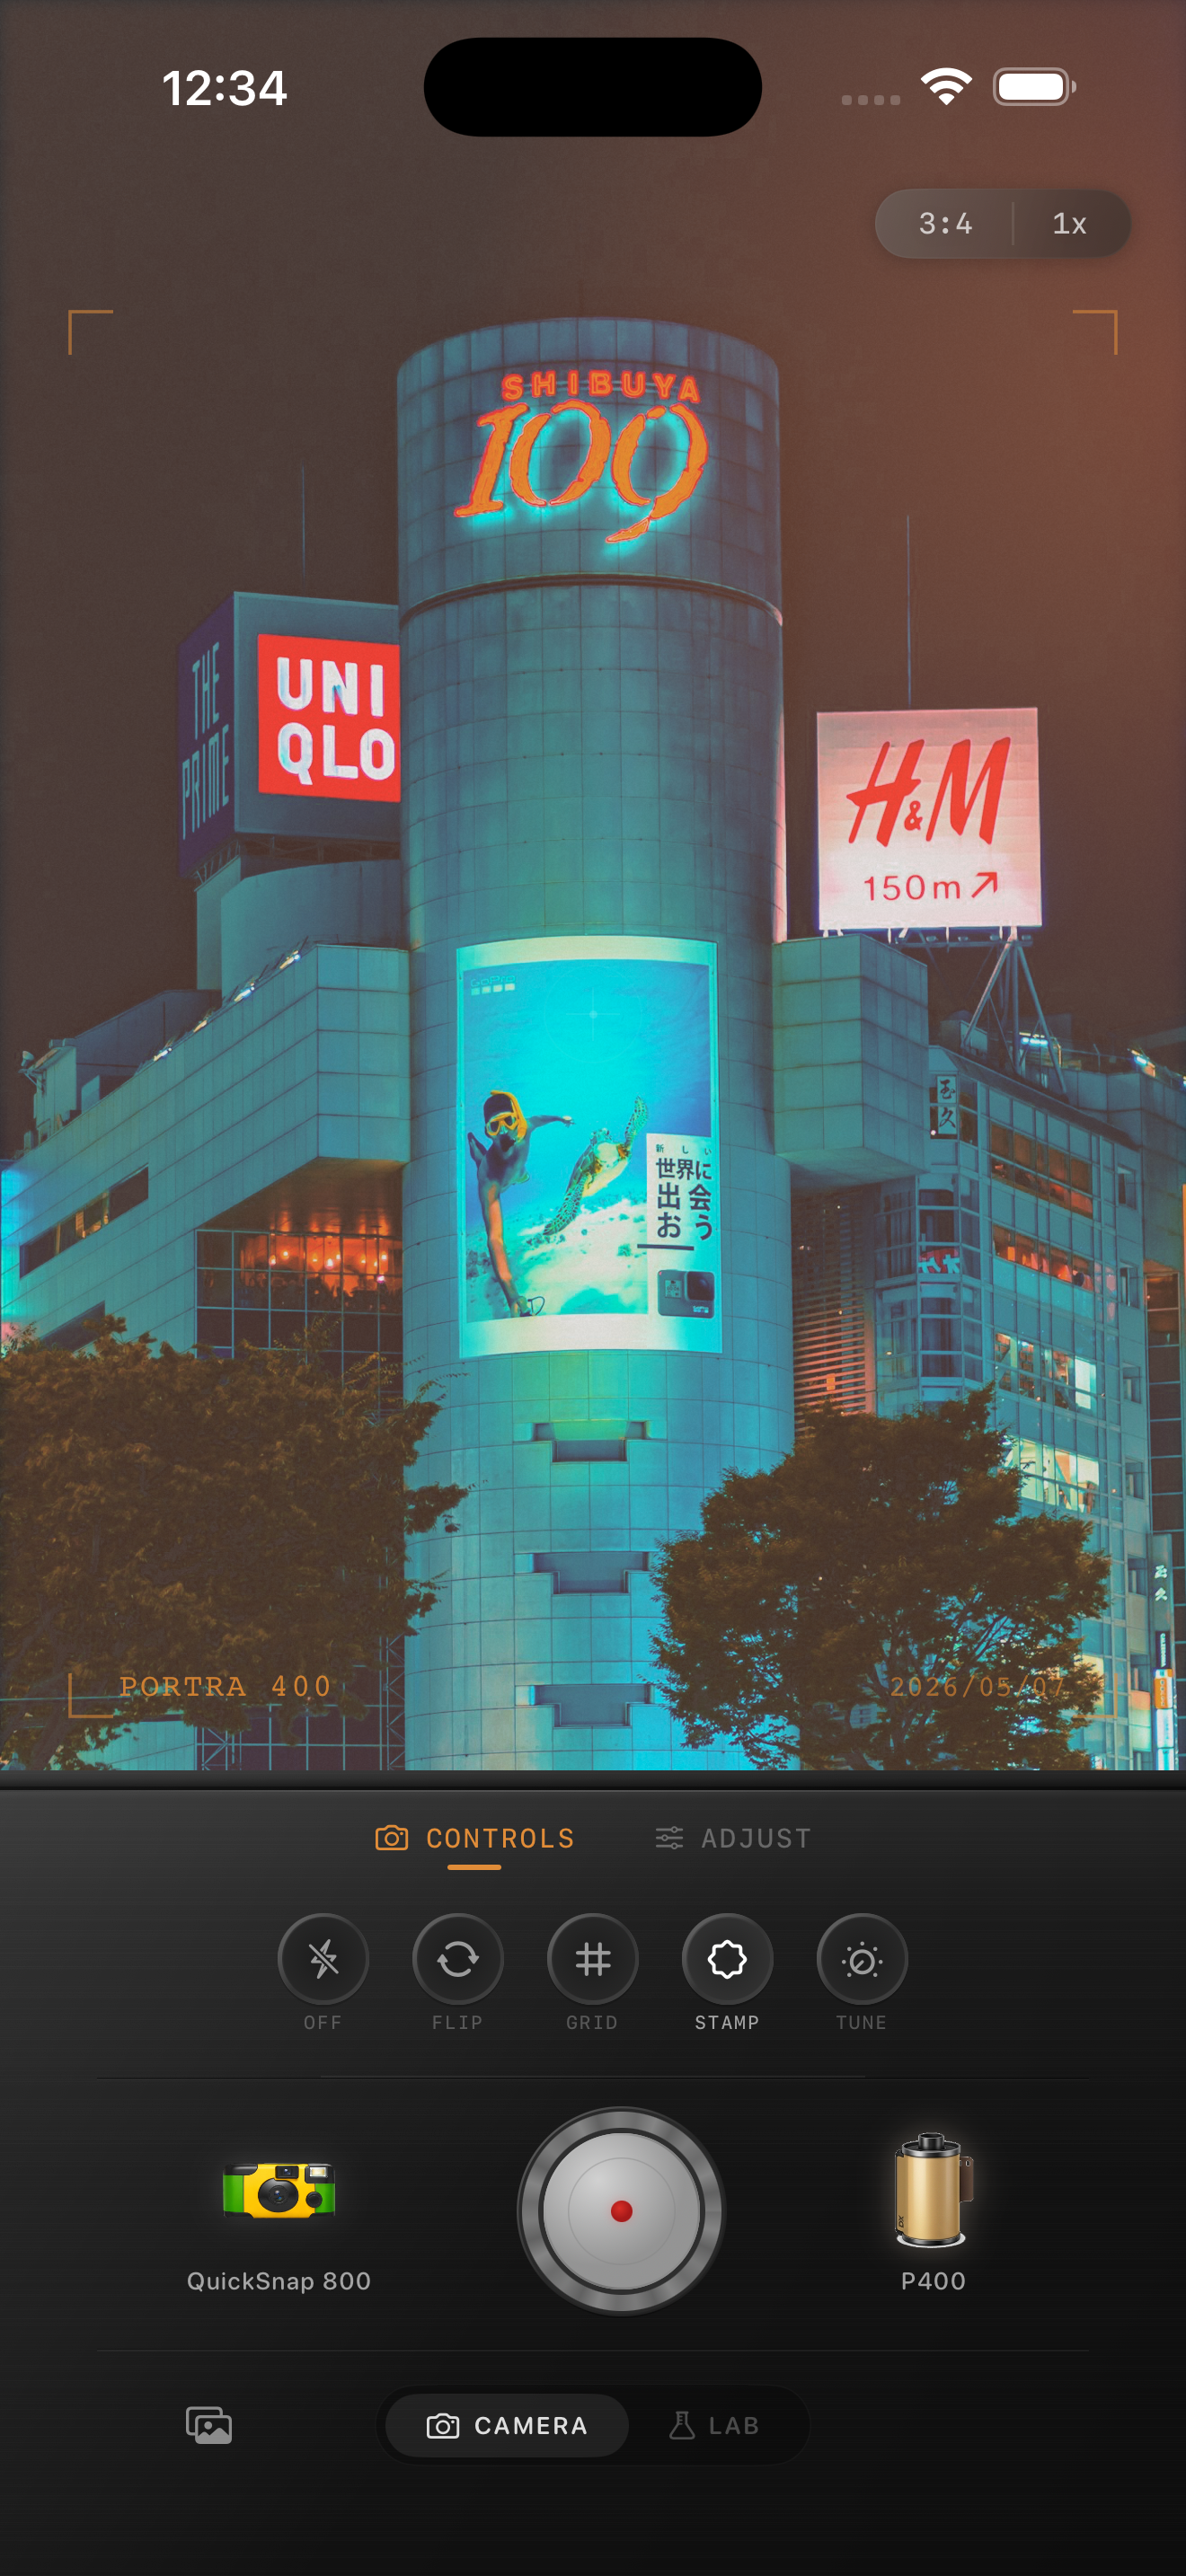
Choose a camera mood that fits the street
A cleaner 35mm-inspired body works well for quiet rainy commutes, crosswalks, and travel streets where you want the mood to feel cinematic. A rougher disposable-style body works better for late-night snapshots, convenience stores, and social scenes in the rain.
In Nostalgia Cam, start with the camera body, then use the film look to decide whether the photo leans calm and reflective or rough and nocturnal.
Keep the rain cinematic, not crunchy
Use Nostalgia Cam to pair a film-style camera body with controlled grain, warmth, fade, and vignette so rainy city photos keep their glow and reflections while losing the polished iPhone finish.
FAQ
Should rainy city photos use heavy grain?
Usually no. Rain scenes already have texture from reflections and low light, so moderate grain tends to look better than a rough noisy overlay.
What matters most in a rainy film edit?
Highlight control matters most. If signs, windows, and headlights keep their shape, the grain and color have room to feel cinematic instead of messy.