Editing guide
Best Film Settings for Daylight Street Photos on iPhone
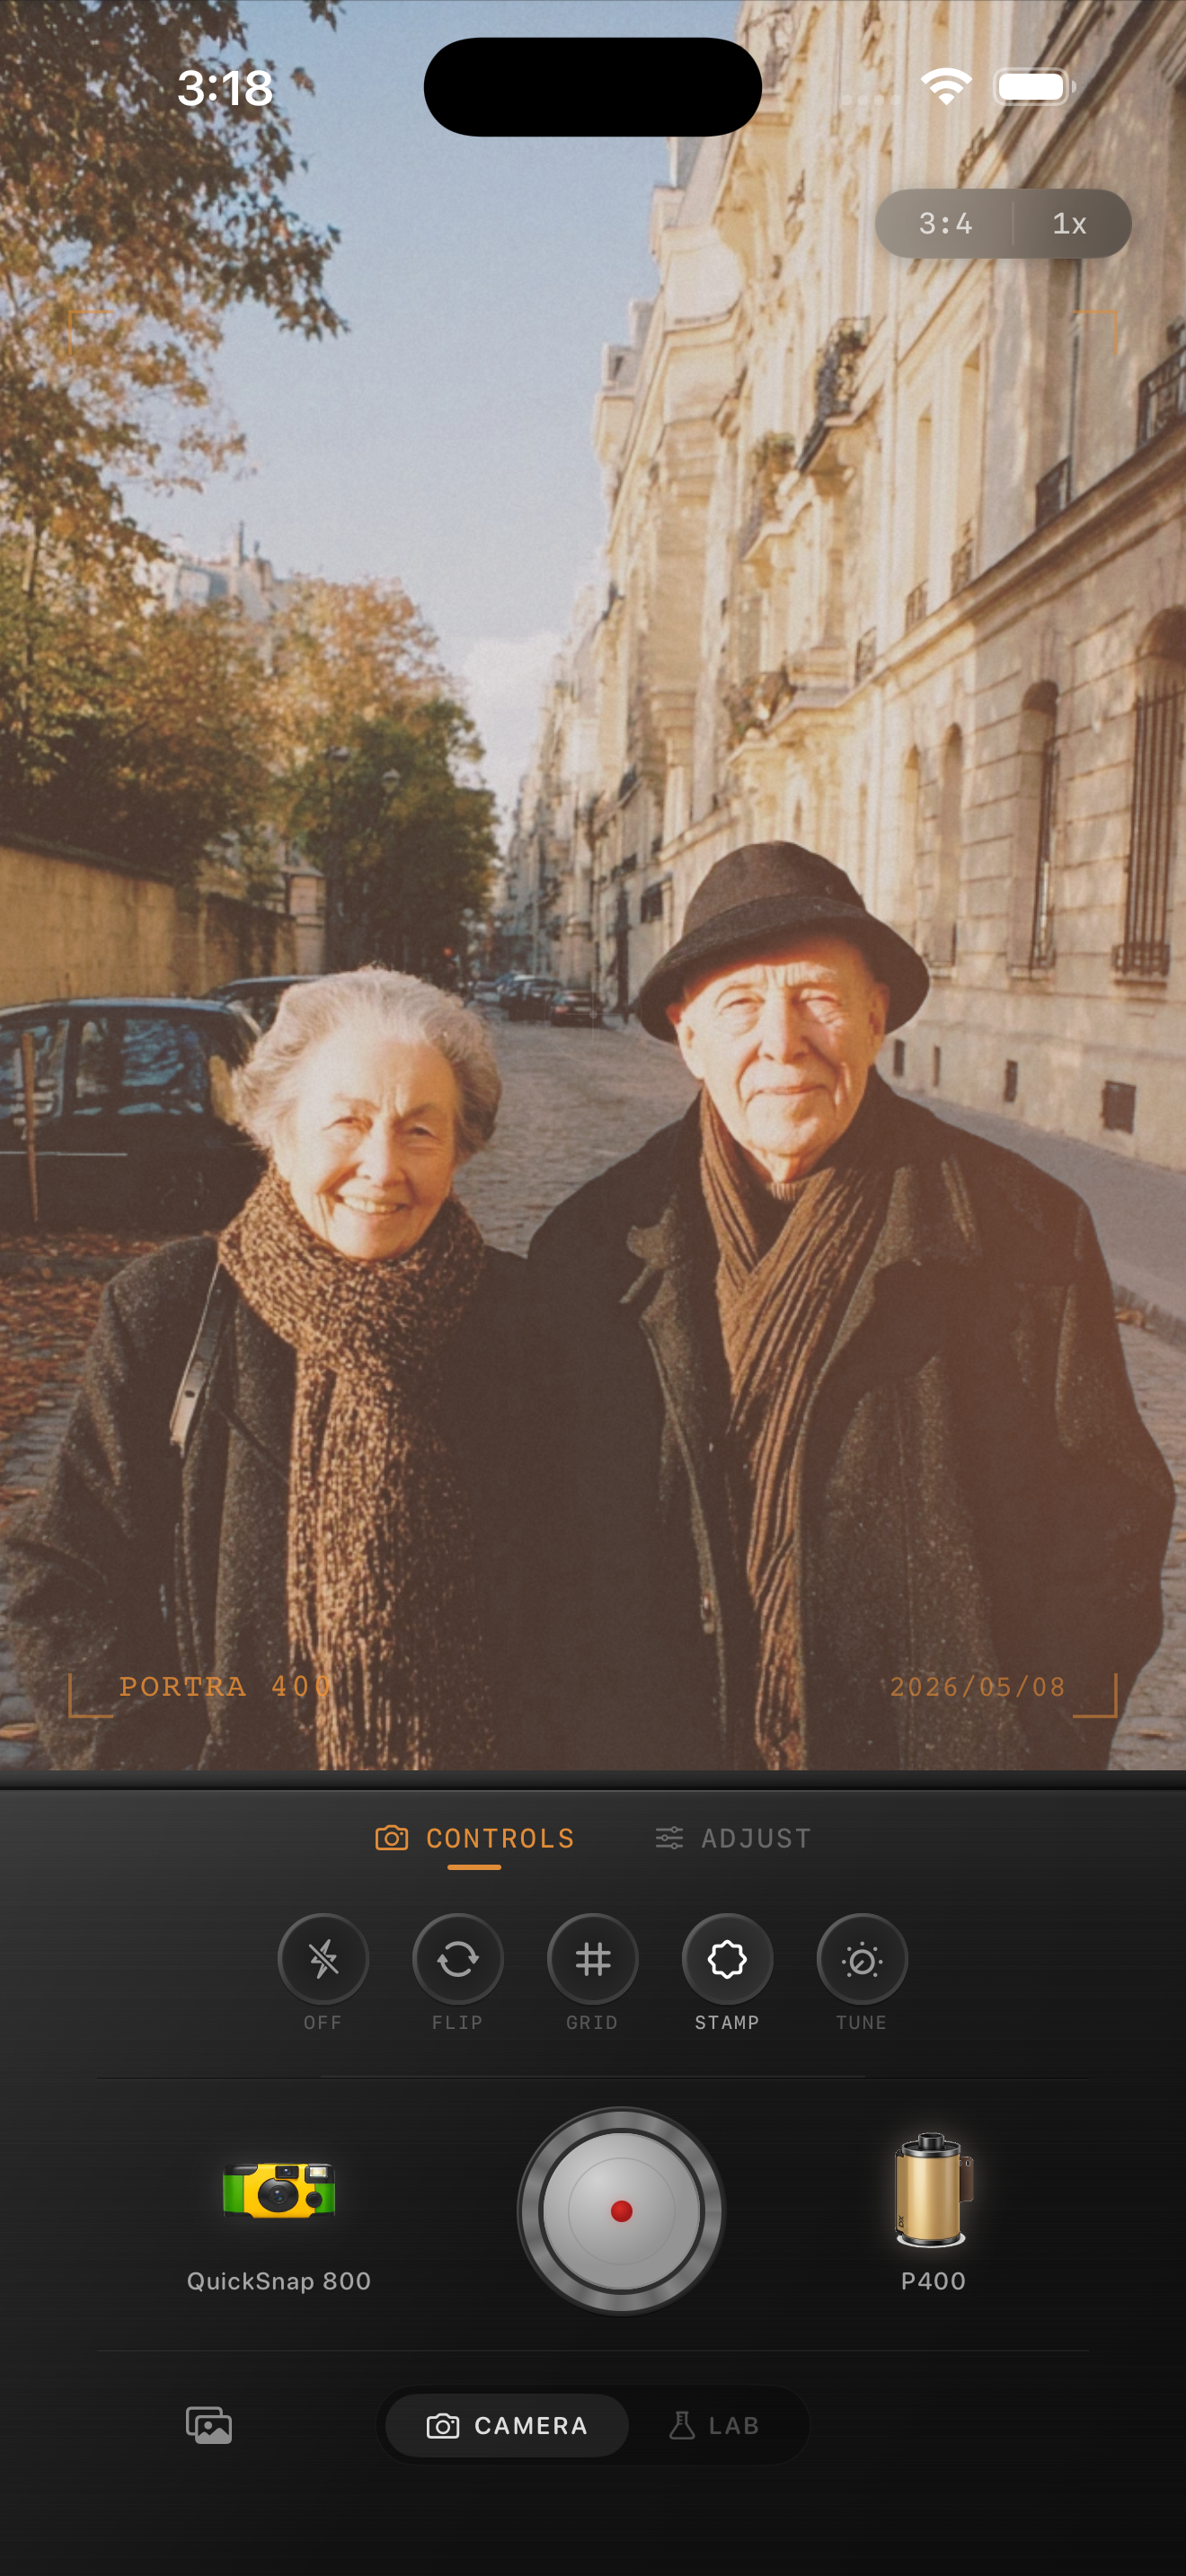
A practical iPhone street-photography film recipe for daylight scenes, with restrained grain, softer contrast, protected highlights, and color that feels printed instead of processed.
Daylight street photos need restraint
Street scenes already have movement, layers, signs, sidewalks, coats, windows, and changing light. That means the film look should simplify the digital finish, not smother the frame with obvious effects.
The common mistake is editing a daylight street photo the same way people edit nightlife or flash shots. In bright conditions, too much grain, fade, or warmth can make faces, pavement, and building edges look dirty fast.
A strong starting point for settings
Start around film intensity 70-84%, grain 22-34%, warmth +3 to +9, fade 4-8%, and vignette 3-8%. This keeps the image soft and photographic without making a sunlit scene feel muddy.
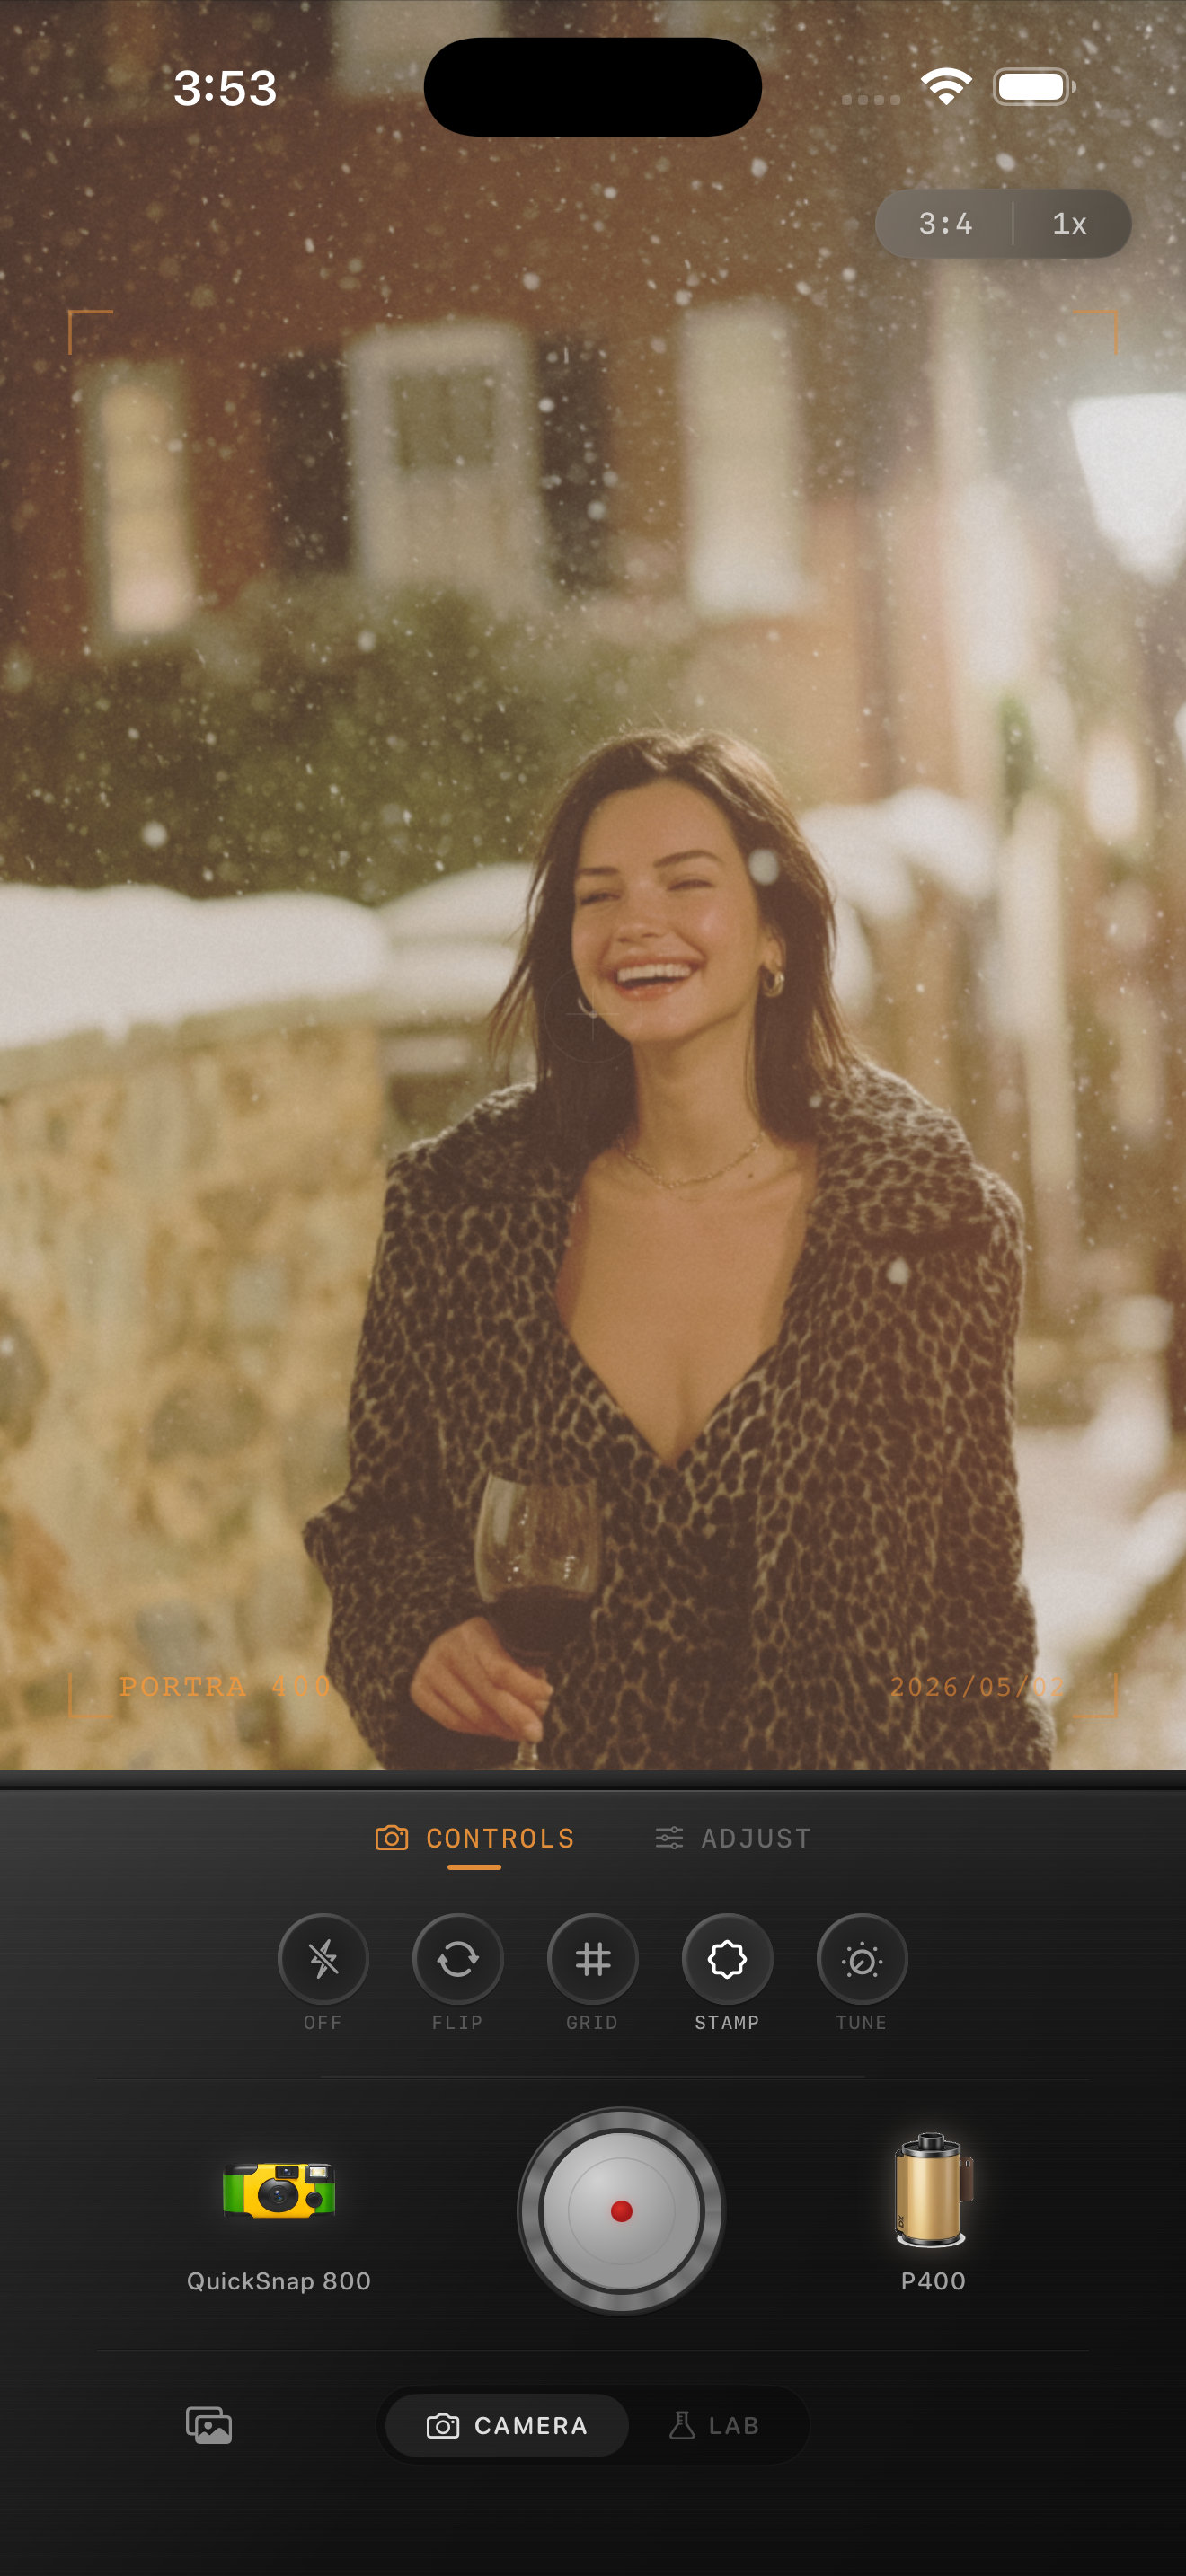
If the street has pale stone, snow, or bright concrete, keep the warmth move smaller. If the light is flat and gray, a slightly warmer film stock can help the scene feel more human without turning it sepia.
- Use fine-to-medium grain for sidewalks and coats.
- Protect highlights in windows, clouds, and white shirts.
- Keep contrast soft, not flat.
- Let color feel calmer than default iPhone processing.
Judge the image from people first
Even when architecture or signs are the reason you took the picture, people usually reveal whether the edit is believable. Skin, coats, and shadows should stay readable at normal phone-feed size.
If faces look muddy or concrete looks overly gritty, lower grain before touching anything else. Daylight street photos usually want atmosphere from color and highlight rolloff more than from strong texture.
Pick the mood by street type
A cleaner 35mm-inspired camera body works well for city walks, cafés, markets, and travel streets where you want the image to feel timeless. A rougher disposable-style body makes more sense only when the scene is already messy or playful.
In Nostalgia Cam, choose the camera body first, then tune the film look until the photo feels like something pulled from a real roll rather than a preset dropped on a bright sidewalk scene.
Give street photos a softer film rhythm
Use Nostalgia Cam to shoot or import daylight street scenes, then balance grain, warmth, fade, and camera character so the frame feels printed and observant instead of overly crisp.
FAQ
Do daylight street photos need less grain than night photos?
Usually yes. Bright scenes already show detail clearly, so moderate grain tends to look more believable than the rougher texture that can work at night.
What makes an iPhone street photo look like film instead of a filter?
Soft contrast, controlled color, restrained grain, and a camera mood that fits the scene usually matter more than any one dramatic effect.