Editing guide
How to Edit Phone Booth Photos to Look Like Film on iPhone
A practical phone-booth film recipe for iPhone photos, with reflective glass control, warmer reds, natural grain, and enough softness to keep retro street scenes nostalgic instead of gimmicky.
Phone booth photos already have analog character
Phone booths, payphones, and old diner corners already feel nostalgic because the subject carries a built-in sense of time. The edit should support that mood instead of piling on every retro effect at once.
What usually breaks the look is digital crispness: reflections in the glass get too sharp, reds and yellows clip too easily, and the whole scene starts to feel like a modern filter wrapped around a vintage object.
- Keep the booth or payphone readable before you push grain.
- Control bright reflections in glass and chrome first.
- Warm the scene gently instead of coating it in orange.
- Use moderate grain so lettering and cords stay clear.
- Let the surrounding diner or street details help sell the memory.
A reliable settings baseline for booth photos
Start around film intensity 74-88%, grain 26-38%, warmth +5 to +11, fade 4-8%, and vignette 5-10%. That range usually gives the image enough print texture to feel analog while keeping the booth edges and signage from turning muddy.
If the scene already has neon or diner lighting, keep warmth on the lower end and focus more on softer contrast. If it was shot under flatter daylight, a little more warmth can help the image feel less clinical.
Treat glass, faces, and signage differently
A payphone or booth shot often includes three things at once: reflective surfaces, people, and bold text or colored panels. Those elements do not all want the same amount of texture. Faces usually need the cleanest treatment, while glass and background shadows can carry a little more grain.
If the booth lettering still reads clearly and the people still look natural at phone-feed size, the edit is in a healthy range.
Choose between clean retro and rougher snapshot energy
A cleaner 35mm-inspired camera body works best when the image is about shape, signage, and color. A rougher disposable or point-and-shoot body works better when the photo feels social, flashy, or a little messy in a good way.
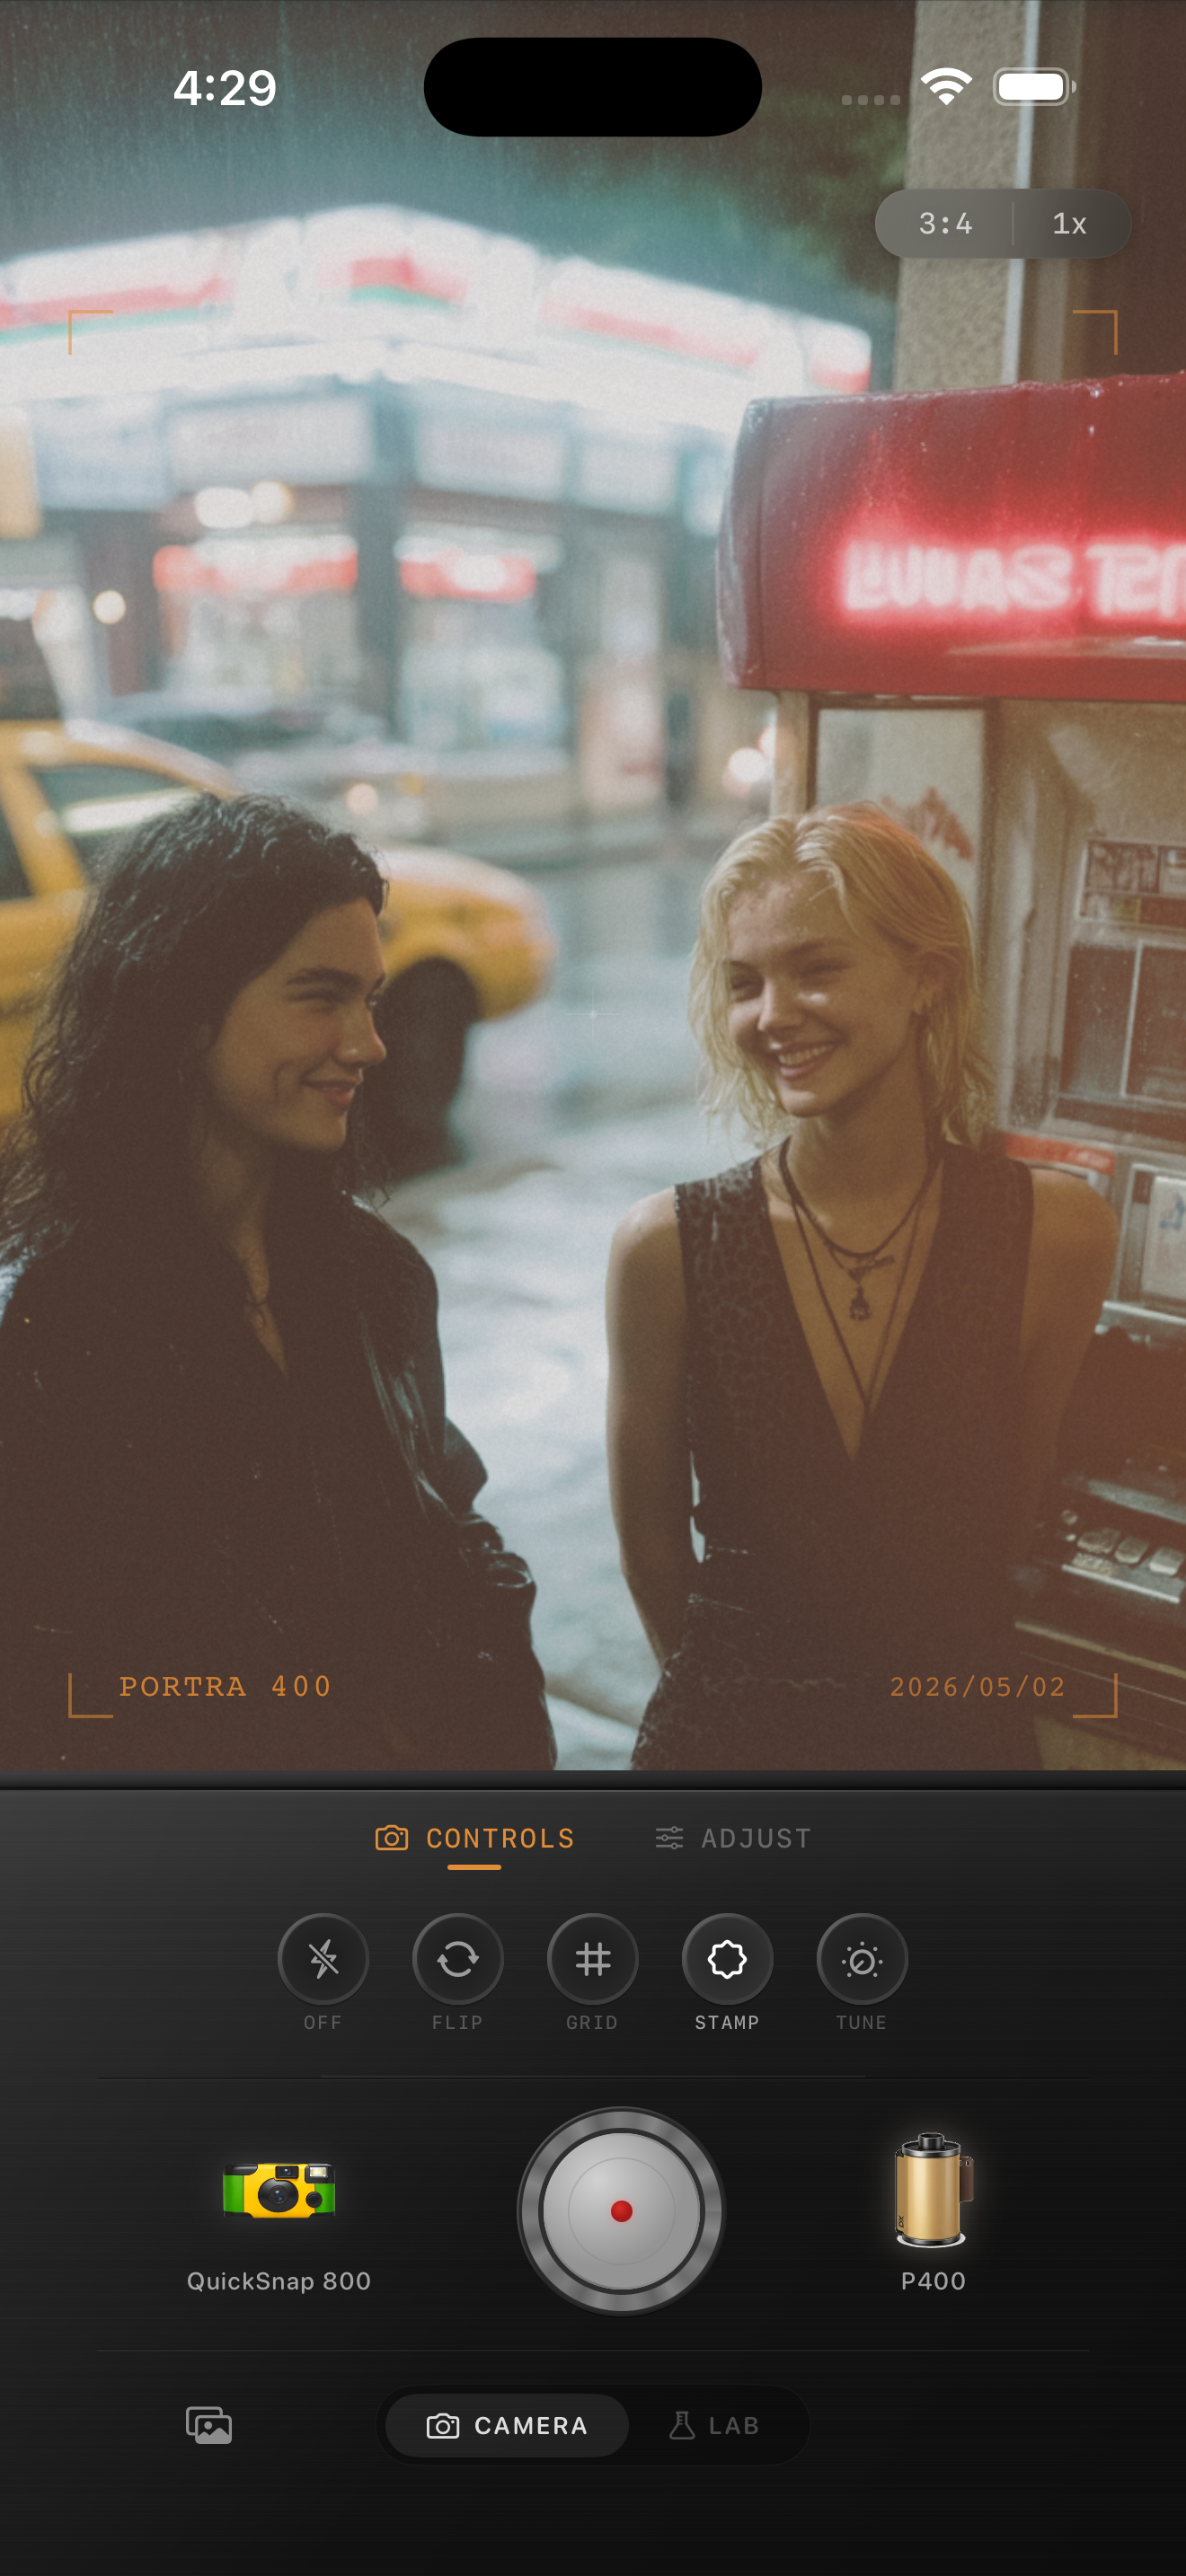
In Nostalgia Cam, pick the body first, then tune grain, warmth, fade, and vignette until the booth feels like part of a remembered night out instead of a novelty prop.
Turn retro details into believable film memories
Use Nostalgia Cam to shoot or import phone-booth and diner photos, then tune camera body, grain, warmth, fade, and vignette so reflective retro scenes feel tactile, soft, and naturally analog.
FAQ
Should phone booth photos use a lot of grain to look like film?
Usually no. Moderate grain works better because glass reflections, signage, and faces can get messy quickly if the texture is too rough.
What makes a payphone photo feel nostalgic instead of gimmicky?
Usually it is restraint. Soft contrast, controlled reflections, moderate grain, and believable color make the scene feel like a real memory instead of an exaggerated retro filter.