Editing guide
How to Edit Family Travel Photos to Look Like Film on iPhone
A practical guide to making family travel photos feel like film on iPhone: natural skin, gentle grain, printed color, and enough consistency to make a whole trip feel like one memory set.
Family travel photos should feel consistent, not identical
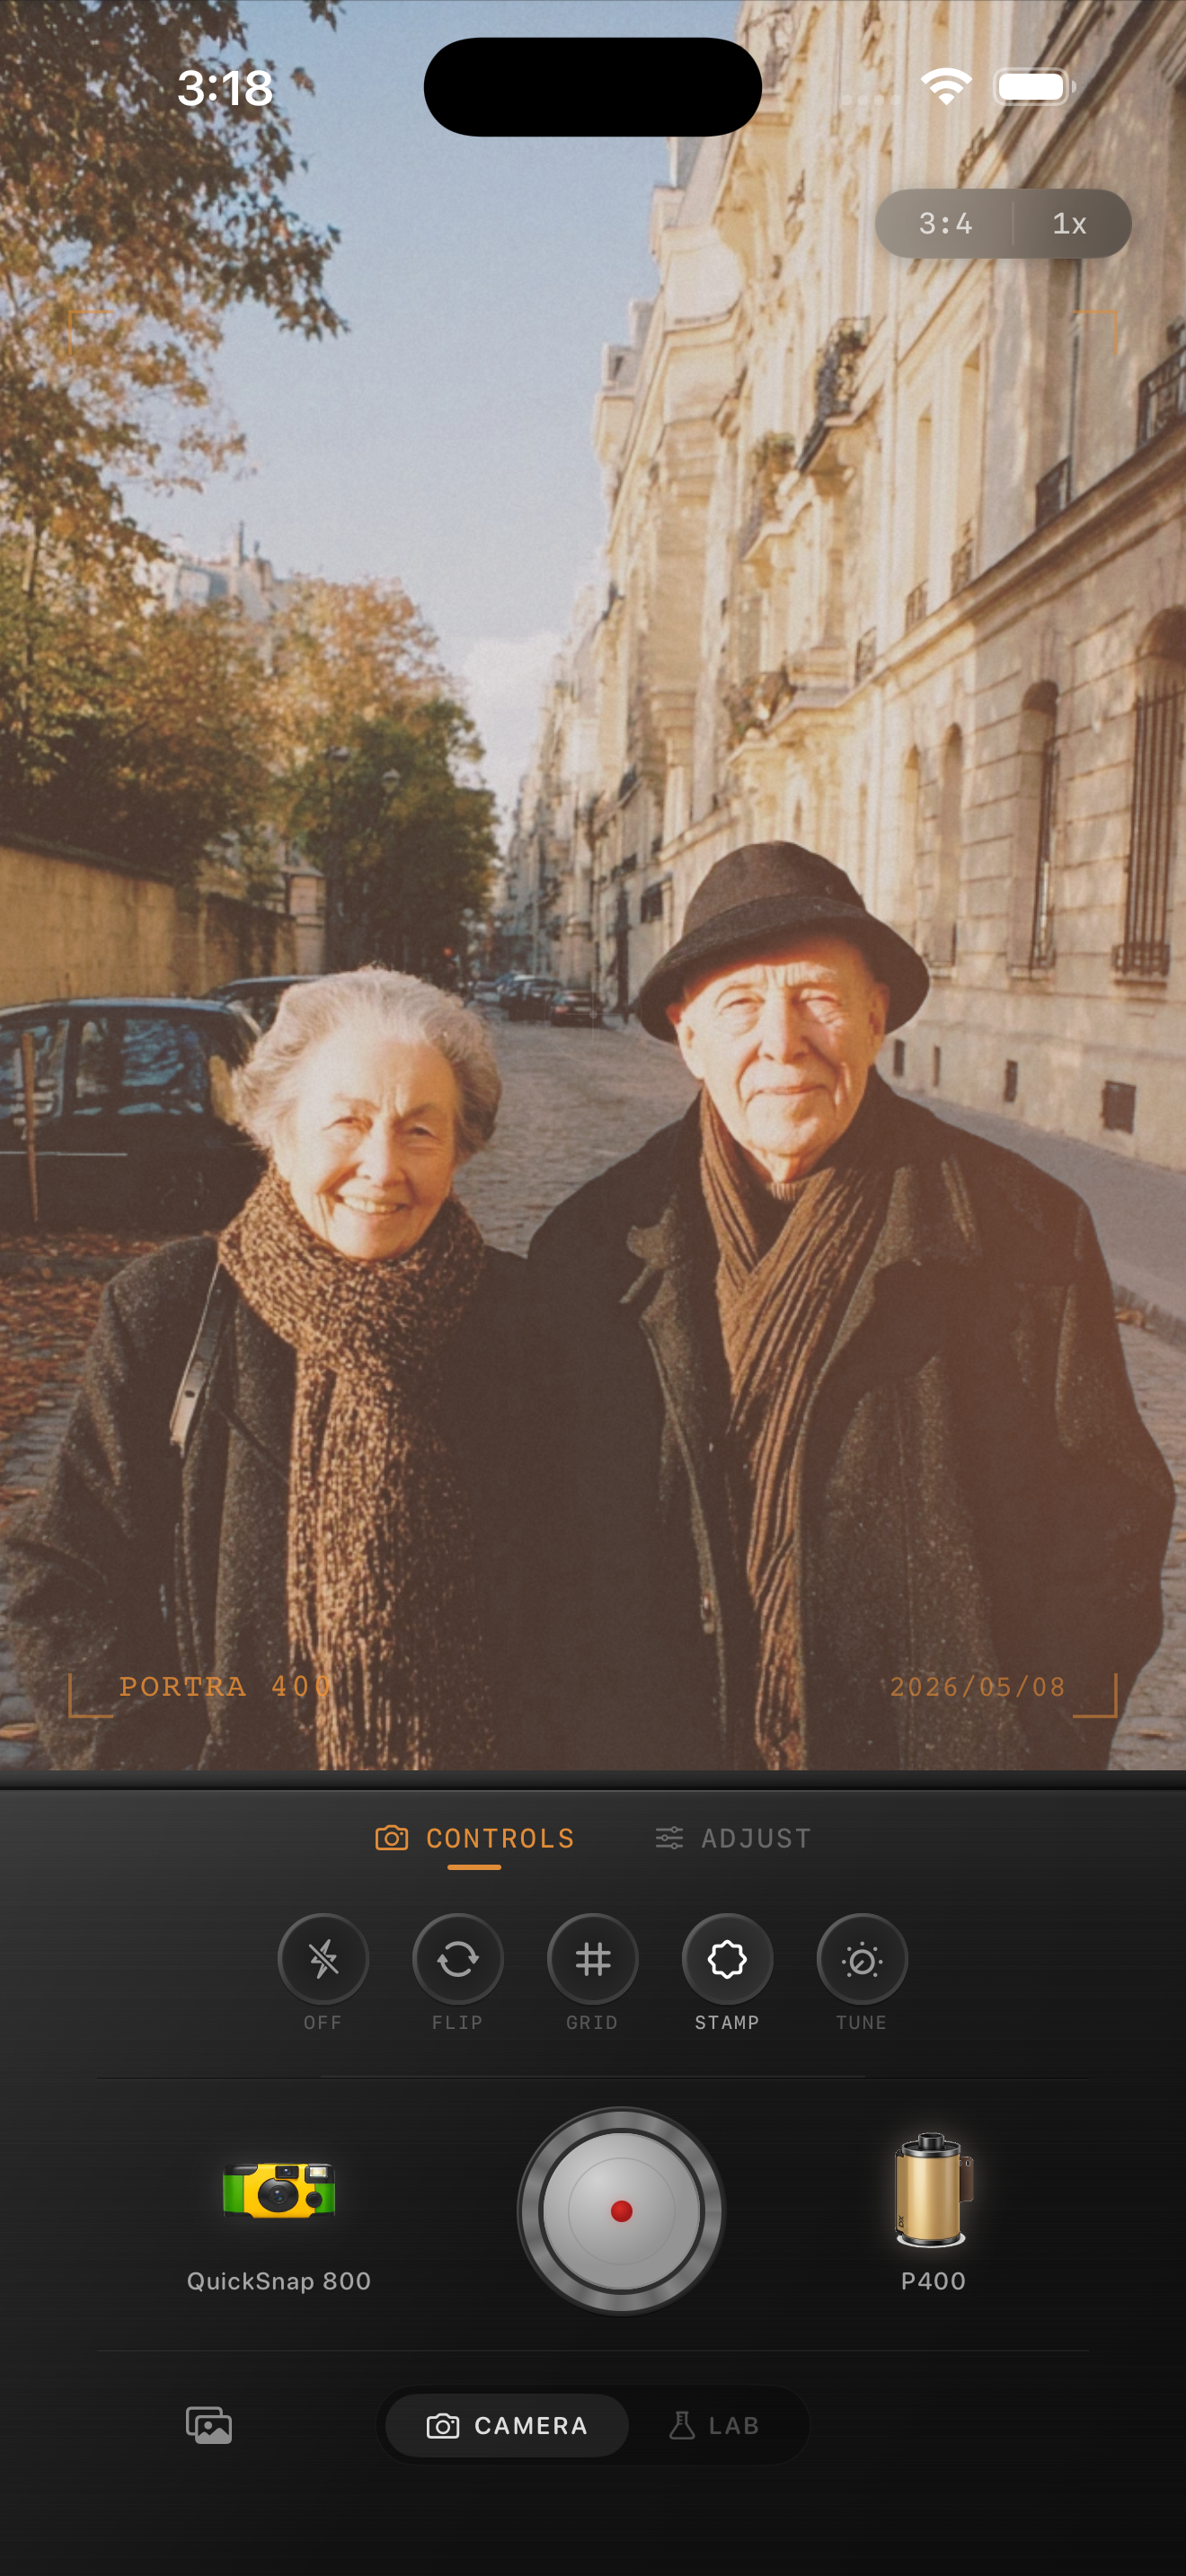
When people want family travel photos to look like film, they usually want the whole trip to feel connected: one mood across sidewalks, cafés, train platforms, and quick portraits without every frame looking copy-pasted.
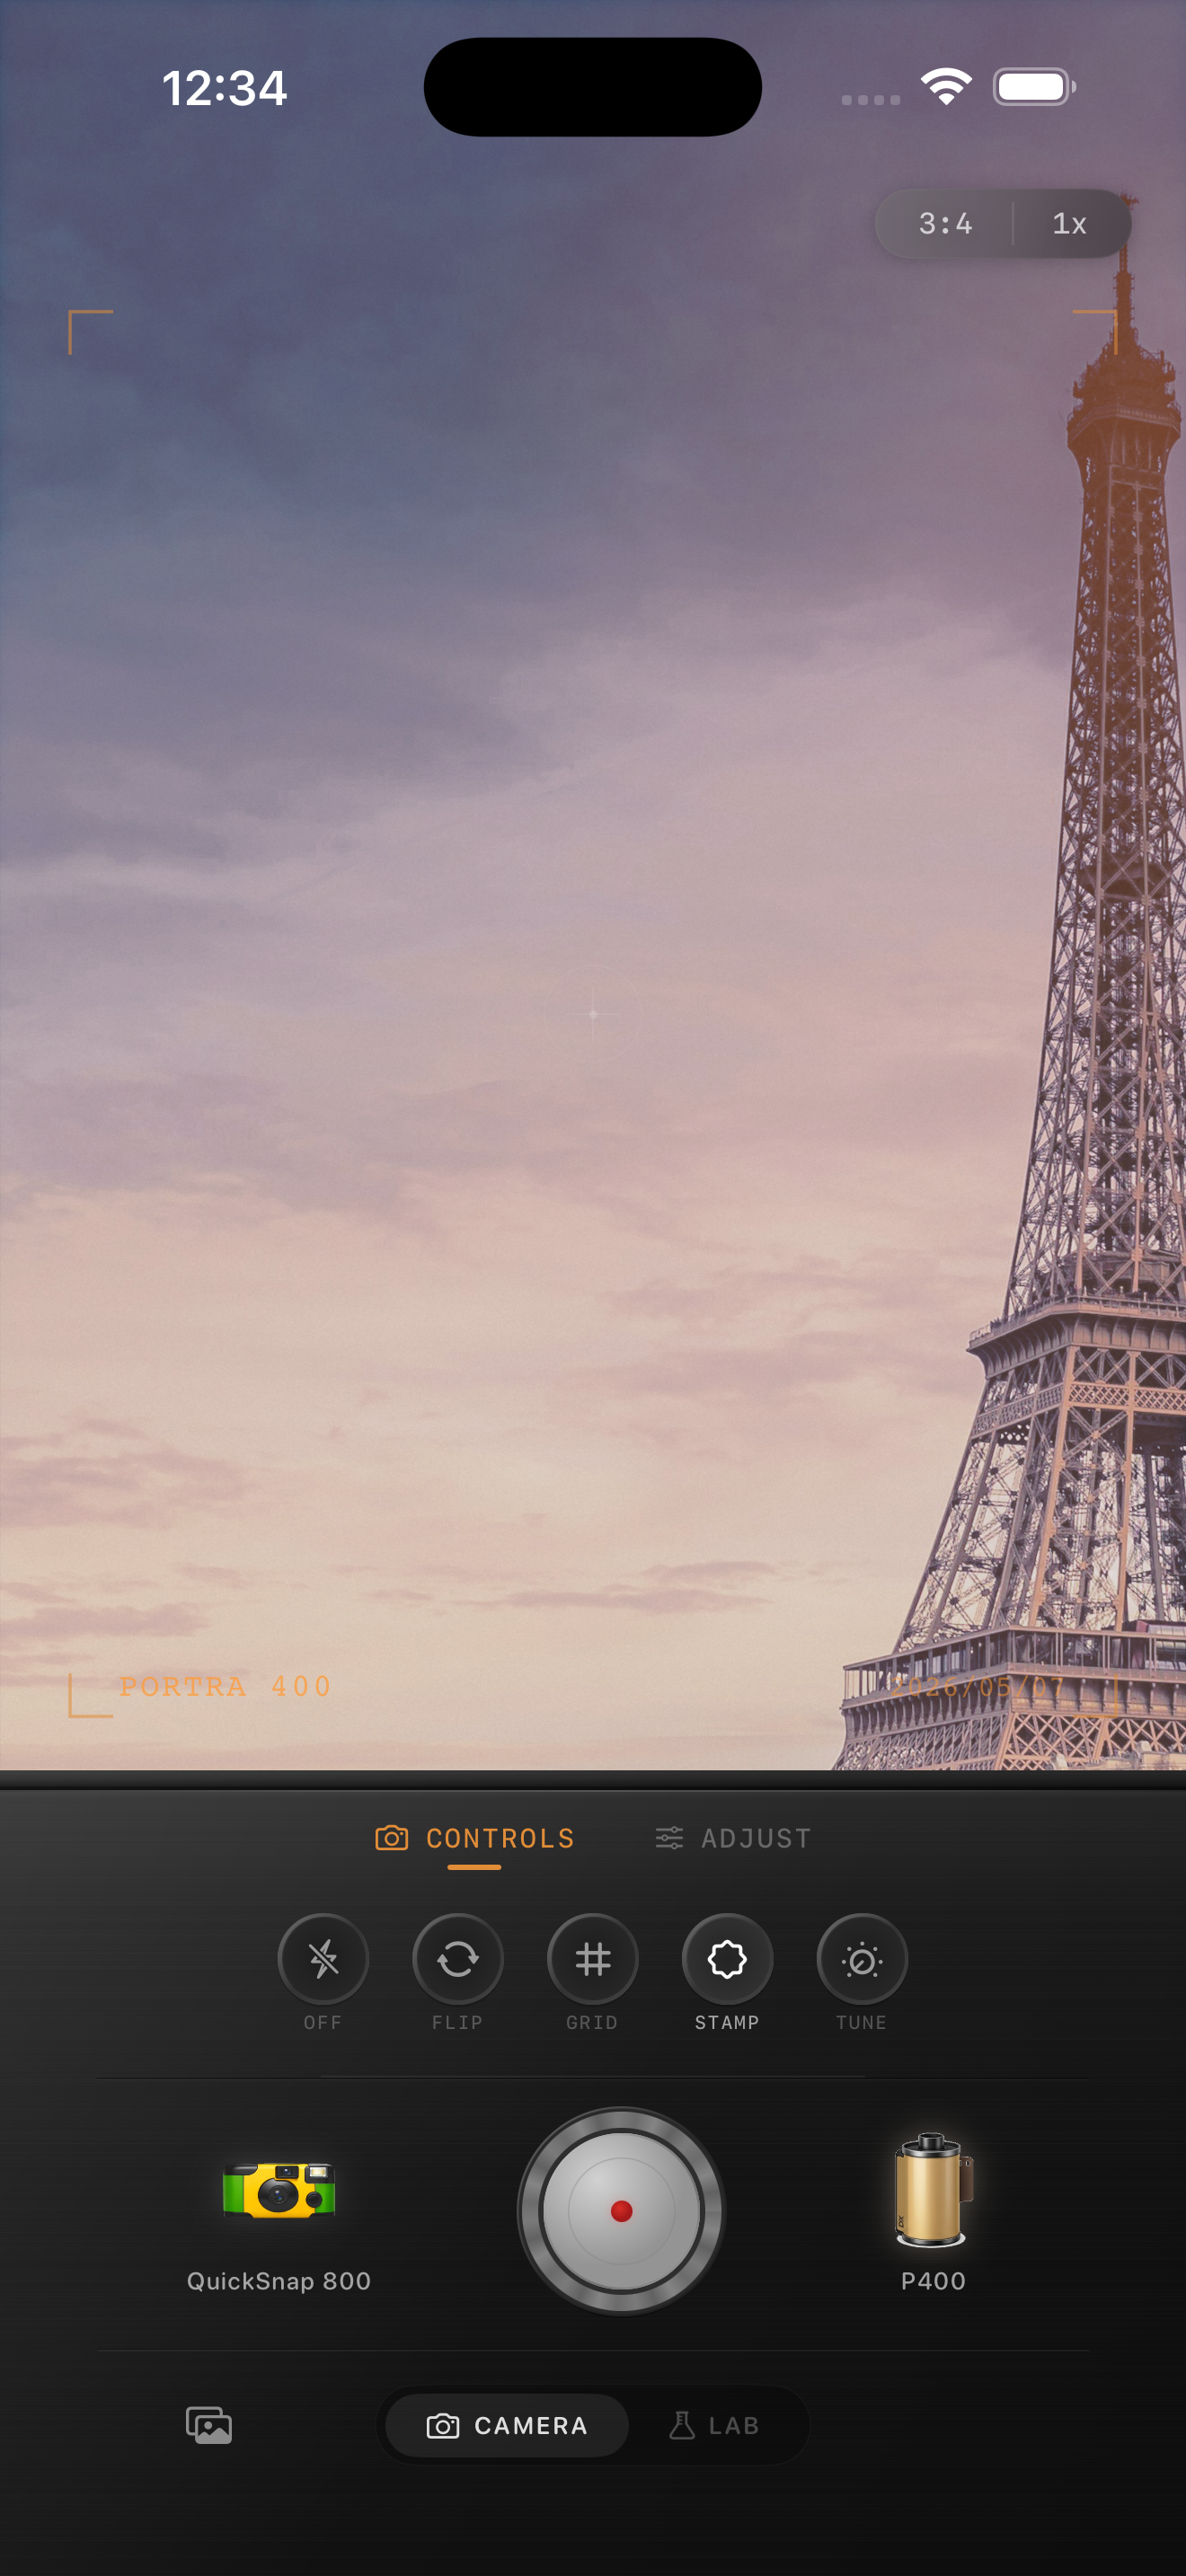
That means using a stable overall direction instead of a heavy preset. Real travel rolls often vary by light and location, but the grain, color response, and softness still feel like they belong to the same set.
- Keep skin natural before you chase vintage color.
- Use moderate grain that survives bright daylight and indoor scenes.
- Let whites stay slightly creamy instead of pure digital white.
- Use the same camera body across a trip when possible.
- Adjust warmth and fade per scene, not by one fixed number.
A starting recipe for travel memories
Start around film intensity 72-84%, grain 22-34%, warmth +4 to +10, fade 4-8%, and vignette 3-7%. That usually gives enough texture to break the iPhone finish while keeping people and landmarks readable.
If the trip photos include bright plazas or midday walking shots, pull grain and warmth down a little. If they include evening restaurants, trains, or hotel windows, you can raise grain slightly and let the shadows soften more.
Edit for memory, not maximum effect
Family travel photos often matter because of gesture and timing: someone looking up at a building, a quick laugh on the street, a tired walk back to the hotel, a shared meal. If the filter becomes the main thing you notice, the edit is too strong.
A believable film-style travel set should make the moments feel a little softer, a little warmer, and less aggressively digital. It should not erase the character of the city or flatten everyone into the same color.
Build the set inside Nostalgia Cam
Choose one camera body for the trip and keep returning to it so the series stays cohesive. Then nudge the film look per scene, letting daylight stay cleaner and indoor moments carry a touch more warmth and fade.
That workflow works whether you shoot directly in Nostalgia Cam or import photos into the Lab afterward. The goal is a set of travel memories that feels collected over time, not batch-processed in one click.
Give your trip photos one believable film mood
Use Nostalgia Cam to shoot or import family travel photos, then keep one camera body, balanced grain, gentle warmth, and soft contrast across the set so the whole trip feels cohesive and print-worthy.
FAQ
Should every family travel photo use exactly the same settings?
No. Keep the same overall camera mood, but adjust warmth, grain, and fade slightly for daylight, indoor, and night scenes so the set stays cohesive without looking forced.
What is the biggest mistake when editing travel photos to look like film?
Usually making the effect louder than the memory. Family travel photos work best when the people, place, and timing remain the focus and the film finish just softens the digital edge.