Editing guide
How to Edit Neon City Photos to Look Like Film on iPhone
A practical guide to editing neon city iPhone photos with softer highlights, believable grain, restrained glow, and film-style color that keeps night scenes cinematic instead of crunchy.
Neon scenes look digital fast
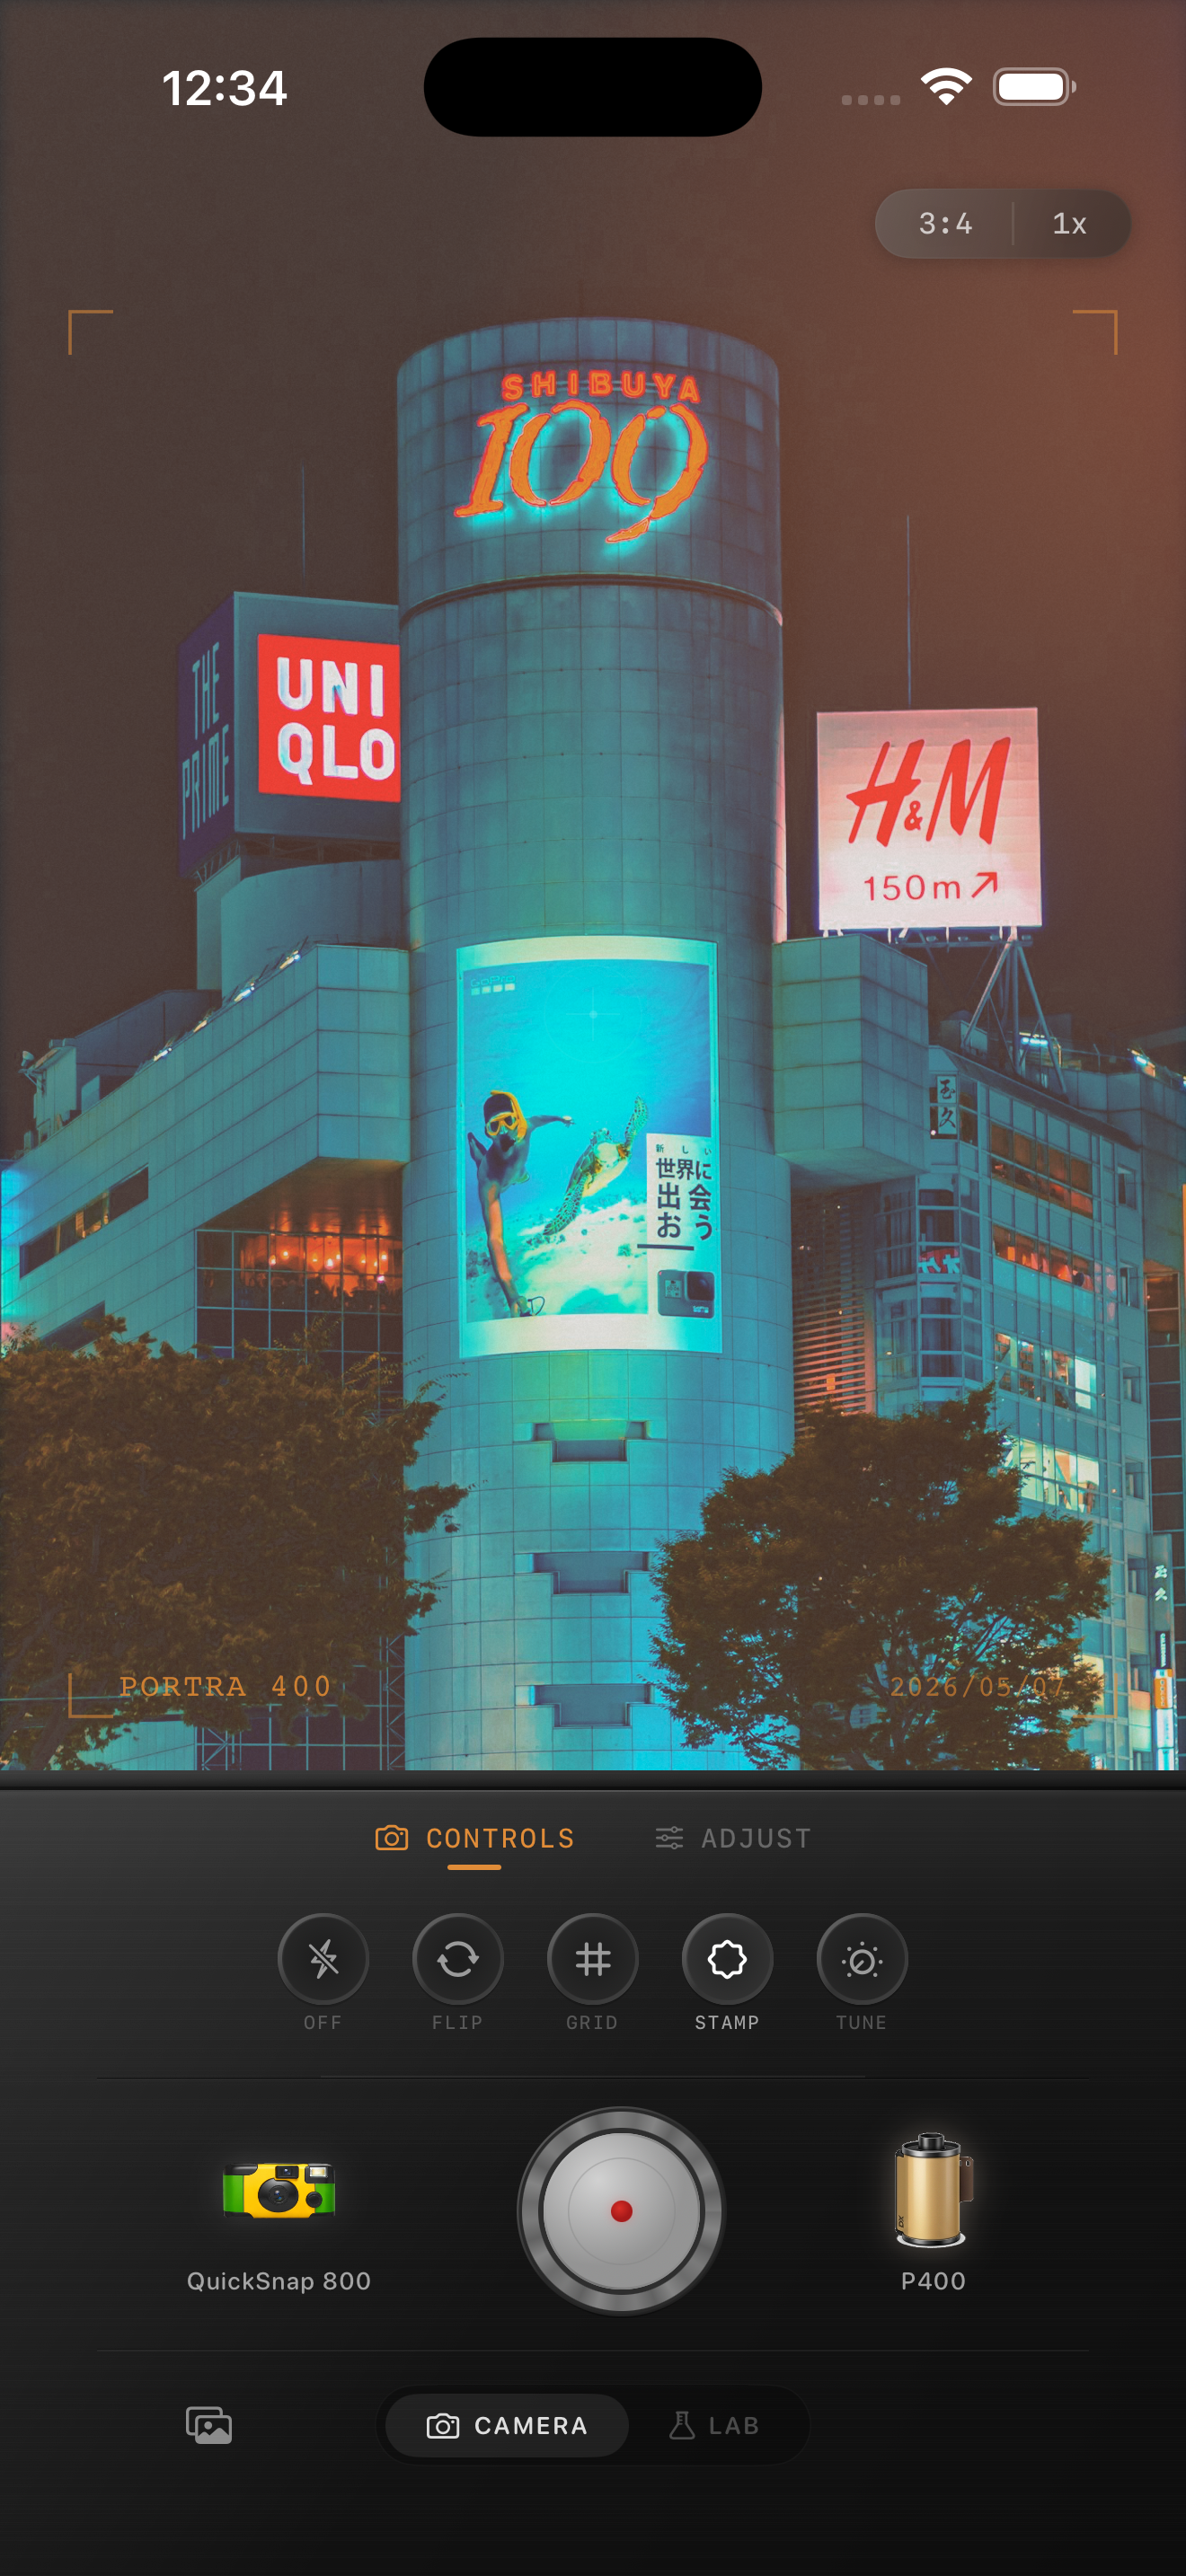
Neon city photos already have the ingredients for a great film image: color, contrast, reflections, steam, traffic, and isolated pools of light. What usually breaks the mood is the default iPhone finish, which can sharpen every edge, smooth every shadow, and turn glowing signs into hard white patches.
A believable film edit should soften that precision without erasing the energy of the street. The goal is cinematic night atmosphere, not a smeared blur or an overcooked cyberpunk preset.
A reliable neon film settings baseline
Start around film intensity 76-90%, grain 32-46%, warmth +3 to +9, fade 4-8%, and vignette 6-12%. Neon scenes usually need less overall warmth than candlelit interiors because the color is already strong; the bigger win is softer contrast and highlight rolloff.
If the scene is mostly pink, blue, or red signage, keep the saturation feeling controlled. Film-inspired night photos can be colorful, but the color should bloom naturally instead of looking like every channel was pushed equally.
- Protect sign details before adding more glow.
- Use moderate grain to give shadows texture.
- Keep blacks soft enough to feel photographic, not flat.
- Use vignette lightly when the frame already has dark corners.
Use glow carefully
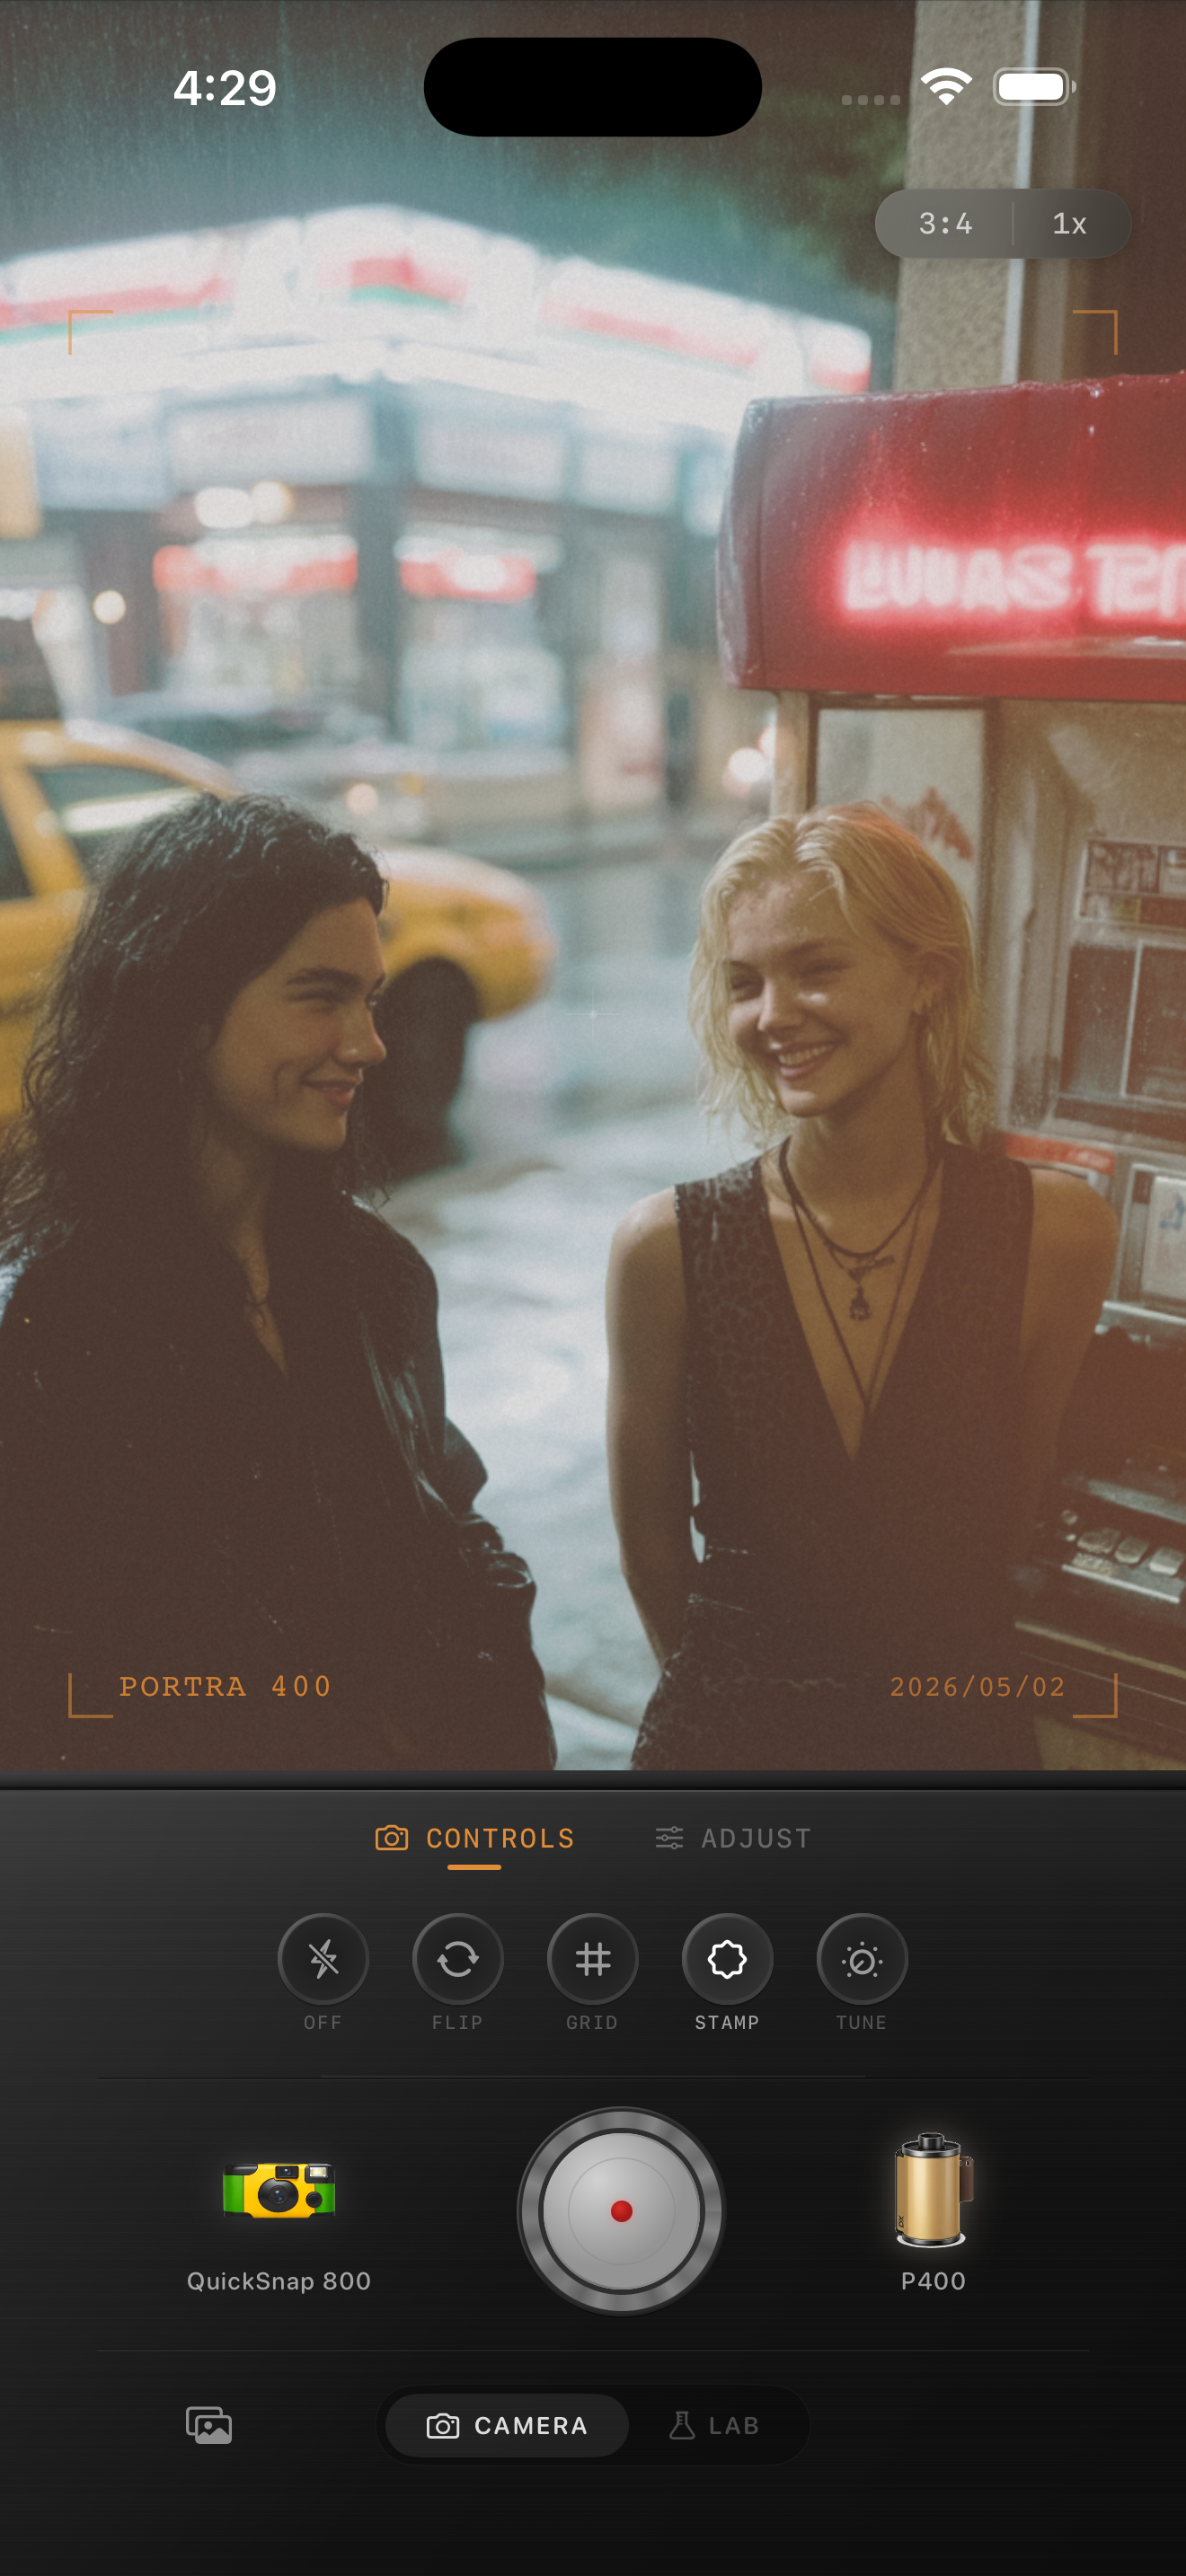
People often chase a film night look by adding a lot of halation or blur. A small amount helps lamps and signs feel less clinical, but too much makes the whole frame look smeared. Let the brightest lights bloom a little while faces, coats, cars, and sidewalks stay readable.
If the photo has rain, reflections, or mist, the scene already contains atmosphere. In those cases, grain and highlight control usually do more work than an aggressive glow effect.
Choose between clean 35mm and rougher disposable energy
A cleaner 35mm-inspired treatment works well for solitary city walks, train platforms, rainy crosswalks, and wide street scenes. A rougher disposable touch works better for nightlife snapshots, direct flash, friends outside bars, and quick moving moments where imperfection is part of the story.
In Nostalgia Cam, pick the camera body first, then adjust grain and warmth around the light in the scene. If the edit makes the city feel more like a memory than a screen, you are close.
Keep city lights cinematic on iPhone
Use Nostalgia Cam to shoot or import neon city photos, then tune camera body, grain, warmth, fade, and vignette so night streets feel atmospheric without turning harsh or muddy.
FAQ
Why do neon iPhone photos get crunchy so easily?
Bright signs and dark shadows push iPhone processing hard, which can create sharpening halos and flat highlights. A film-style edit softens those edges and adds texture back into the dark areas.
Should neon city film edits be very warm?
Usually no. Neon scenes already have strong color, so it often looks better to use a modest warmth boost and focus more on softer contrast, grain, and controlled glow.