iPhone film look
How to Make Snowy Cabin Photos Look Like Film on iPhone
A practical iPhone editing guide for snowy cabin photos with softer whites, warm indoor contrast, subtle grain, and film-style color that keeps winter scenes nostalgic instead of blue and sterile.
Winter cabin photos need warmth and restraint
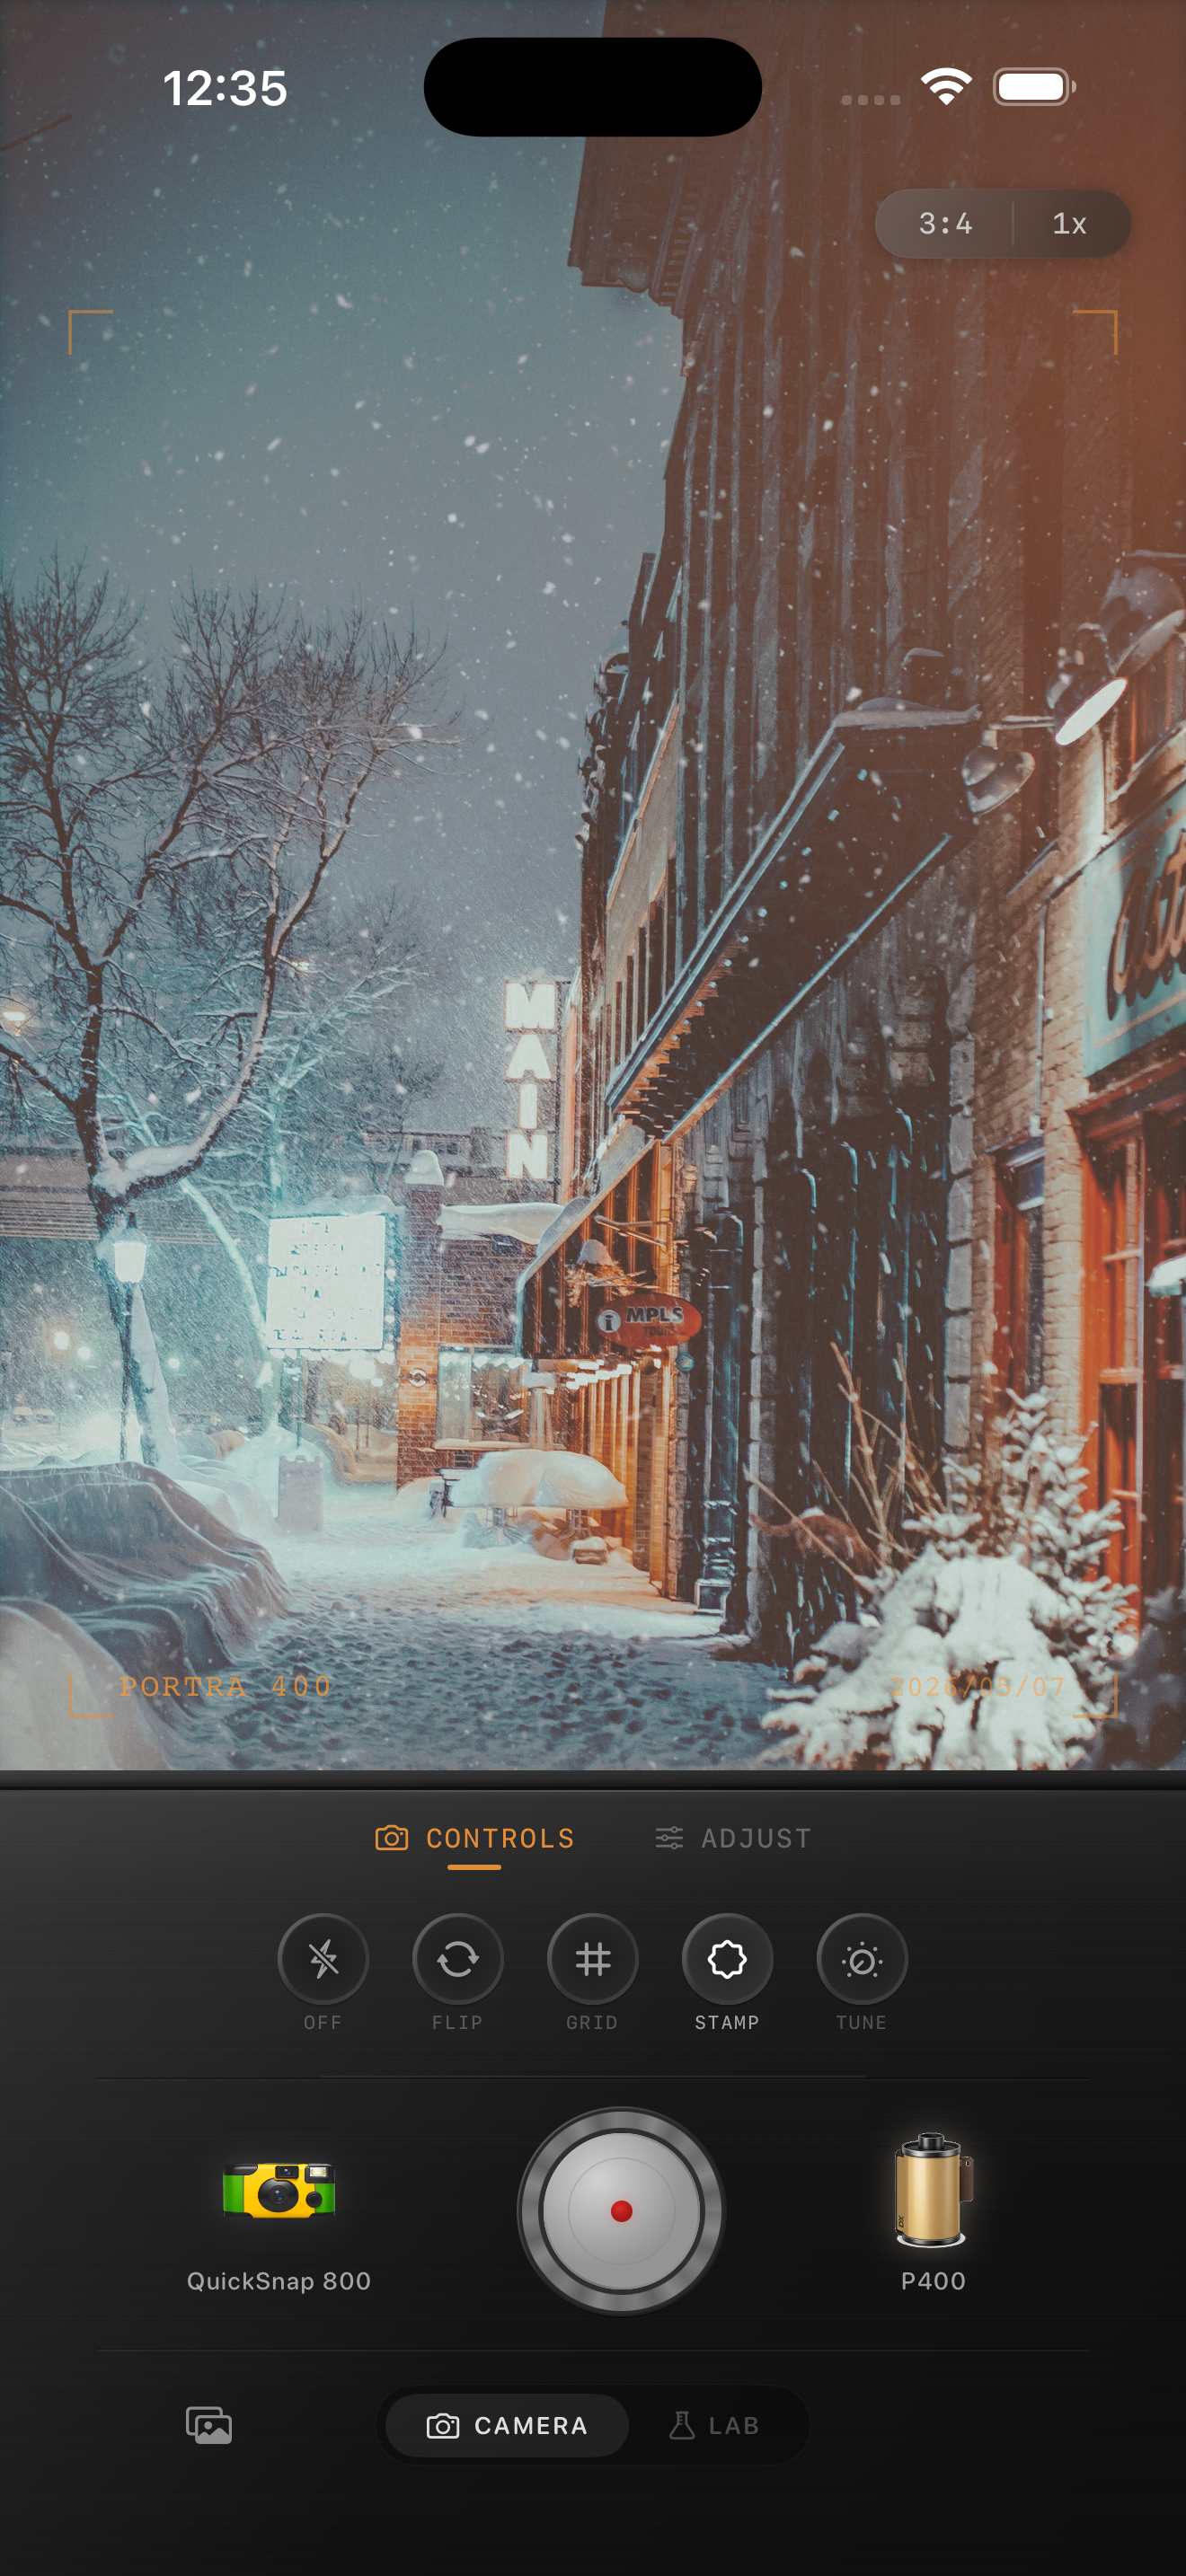
Snowy cabin scenes have two moods at once: cool outdoor snow and warm indoor light. That contrast is exactly why they work so well for a film-inspired edit, but it is also why they can go wrong fast. Too much blue makes the snow feel sterile, while too much warmth turns everything beige.
A good edit keeps snow believable, preserves the quiet shape of the landscape, and lets windows, lamps, and wood tones add just enough comfort. Think nostalgic winter print, not orange filter.
A winter film recipe that stays believable
Start around film intensity 72-86%, grain 26-38%, warmth +6 to +13, fade 5-10%, and vignette 5-10%. Snow already creates strong contrast, so the edit often works better when you soften highlights and lift the deepest shadows instead of piling on more color.
If the scene is mostly outdoors, stay cooler and rely on grain plus fade for the film feeling. If the cabin windows or interior details are visible, let those warm areas carry the comfort while the snow stays close to neutral white.
- Keep snow white with a slight cream tint, not gray mud.
- Use fine-to-medium grain so blank snow does not get dirty.
- Protect window glow so it feels warm, not clipped.
- Use fade gently to keep trees, roofs, and wood texture intact.
Balance the indoor and outdoor parts separately
If the photo includes both the snowy exterior and a warm interior, judge the edit from the snow first, then the windows. Once the snow goes muddy or the windows clip flat, the whole image stops feeling photographic. Slight softness and grain are usually enough to bridge the two temperatures.
This is one reason a film camera app works better than a one-tap preset here. Snowy cabin photos need moderation across several controls rather than one extreme move.
When to add more roughness
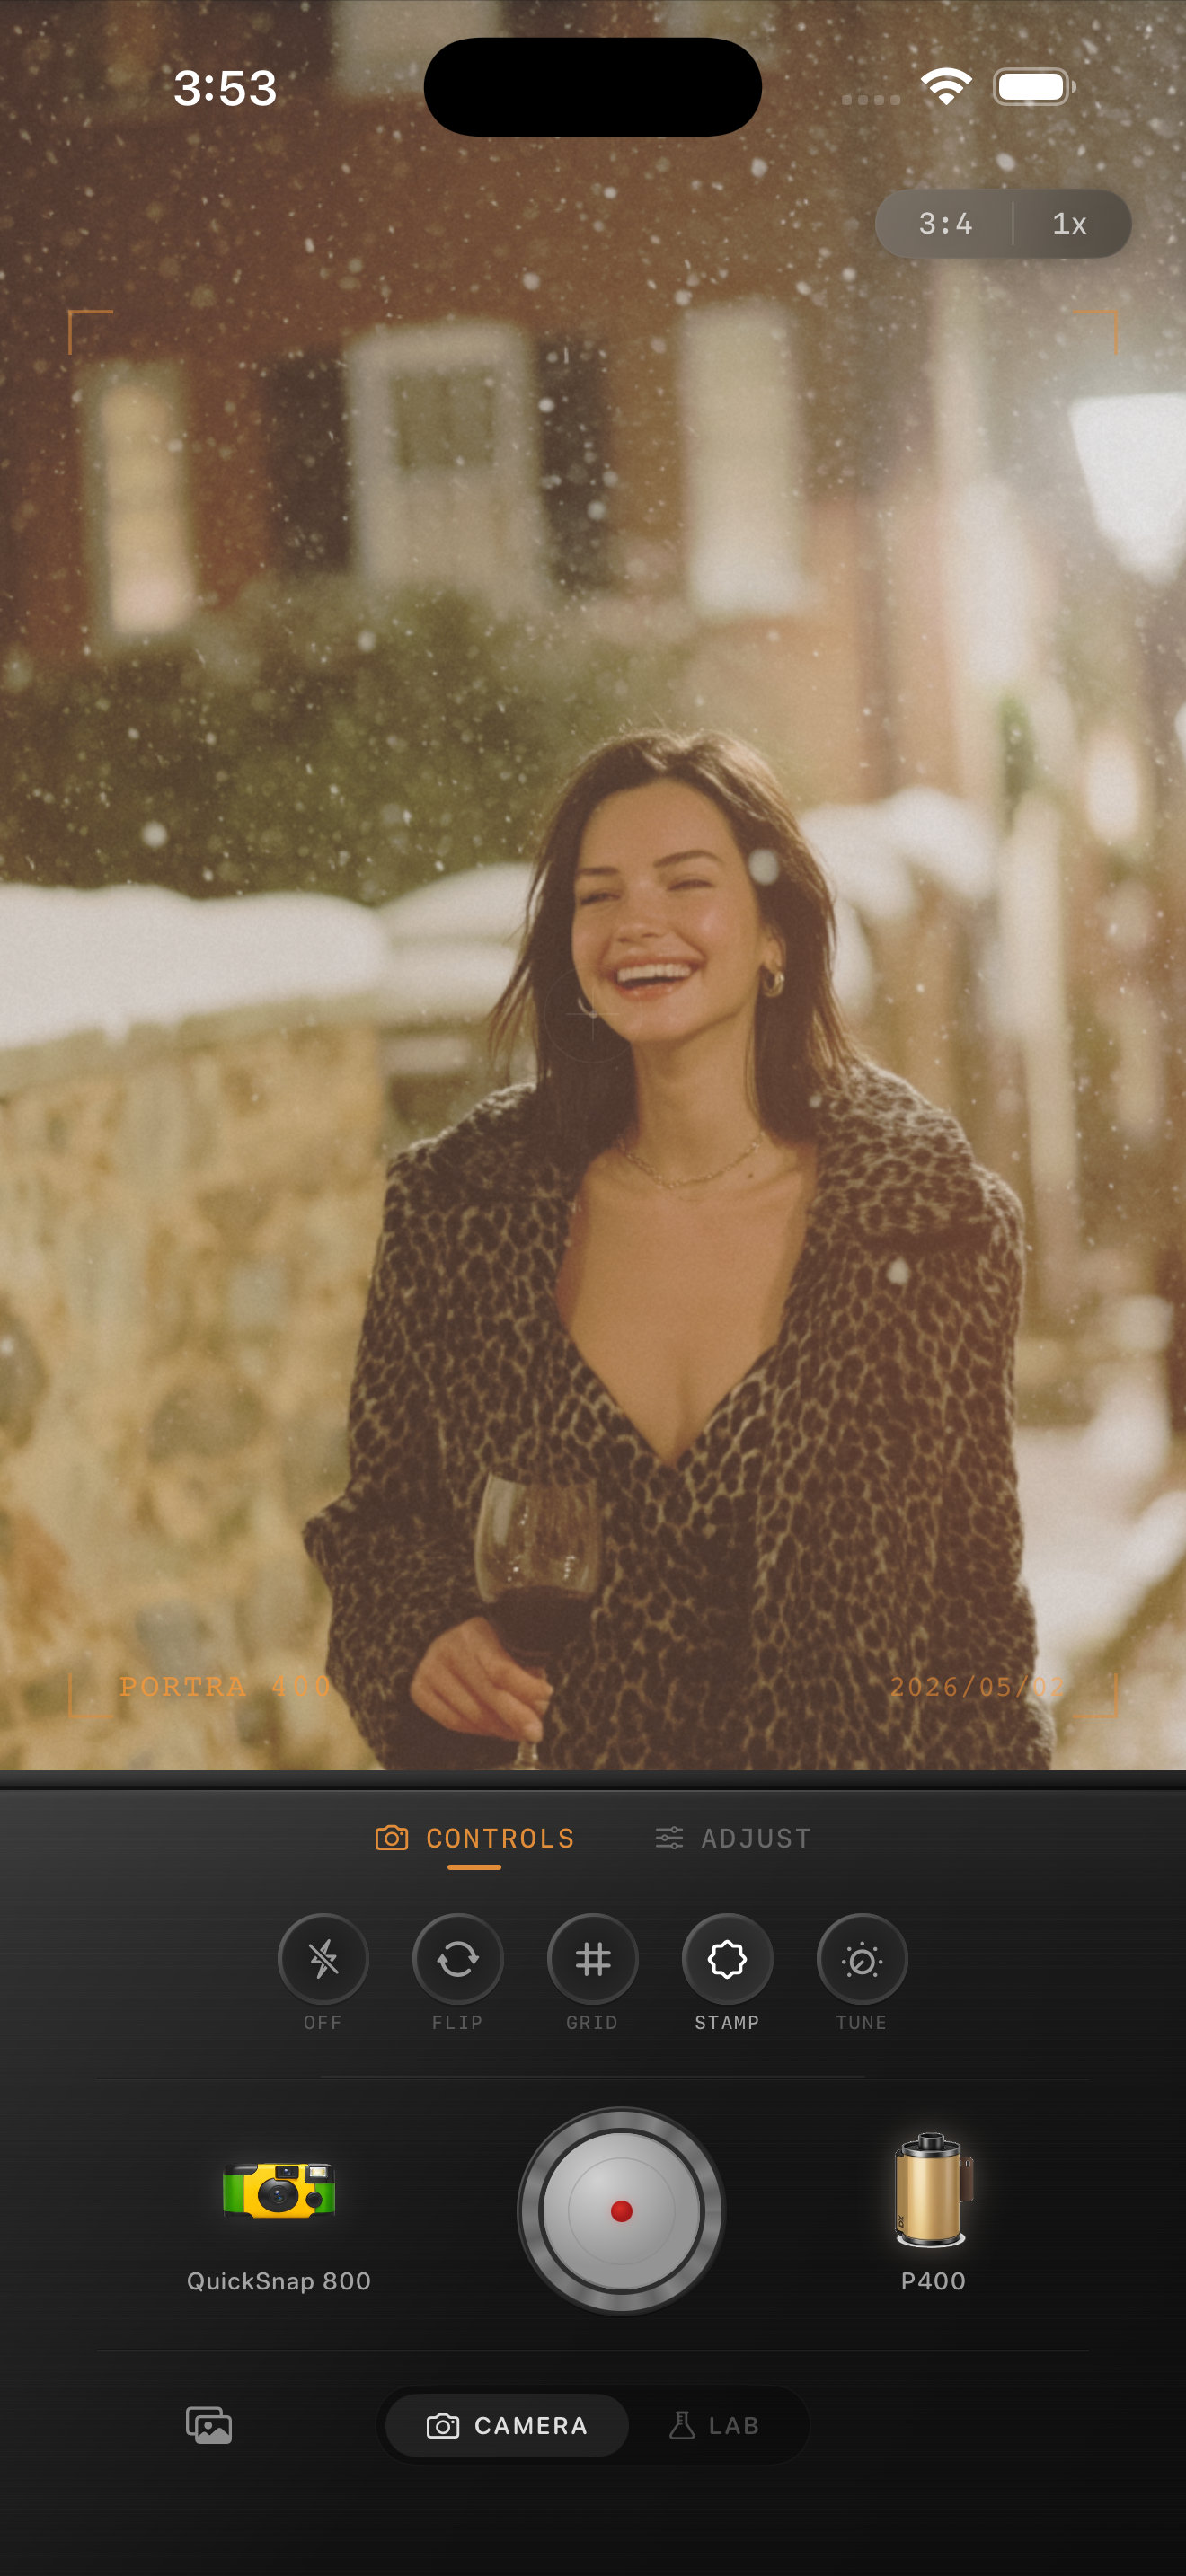
A cleaner 35mm-inspired treatment is best for quiet landscapes, blue-hour cabins, and still scenes with smoke, snow, or window light. A rougher disposable-style touch makes more sense for sledding snapshots, cabin weekends with friends, or direct-flash photos on the porch at night.
Use Nostalgia Cam to match the camera body to the moment. If the image feels cold in a beautiful way but still emotionally warm, the edit is landing.
Make winter cabin photos feel like memories
Use Nostalgia Cam to pair a film-style camera body with grain, warmth, fade, and vignette so snowy cabin scenes stay crisp, cozy, and nostalgic instead of overly blue or overfiltered.
FAQ
How do I keep snow from turning gray in a film edit?
Use a restrained grain amount, soften contrast, and add only a slight warmth boost. Heavy grain or too much fade can make clean snow look muddy very quickly.
Should snowy cabin photos be edited warm or cool?
Usually both. Let the snow stay fairly neutral to cool, then let the cabin windows, lamps, or wood tones bring in the warmth so the contrast feels natural.