
Editing guide
How to Edit iPhone Winter Portraits to Look Like Film Without Red Noses
A practical winter-portrait film workflow for iPhone: calmer skin, cleaner snow, softer contrast, and enough analog texture to keep cold-weather portraits natural instead of overly pink.
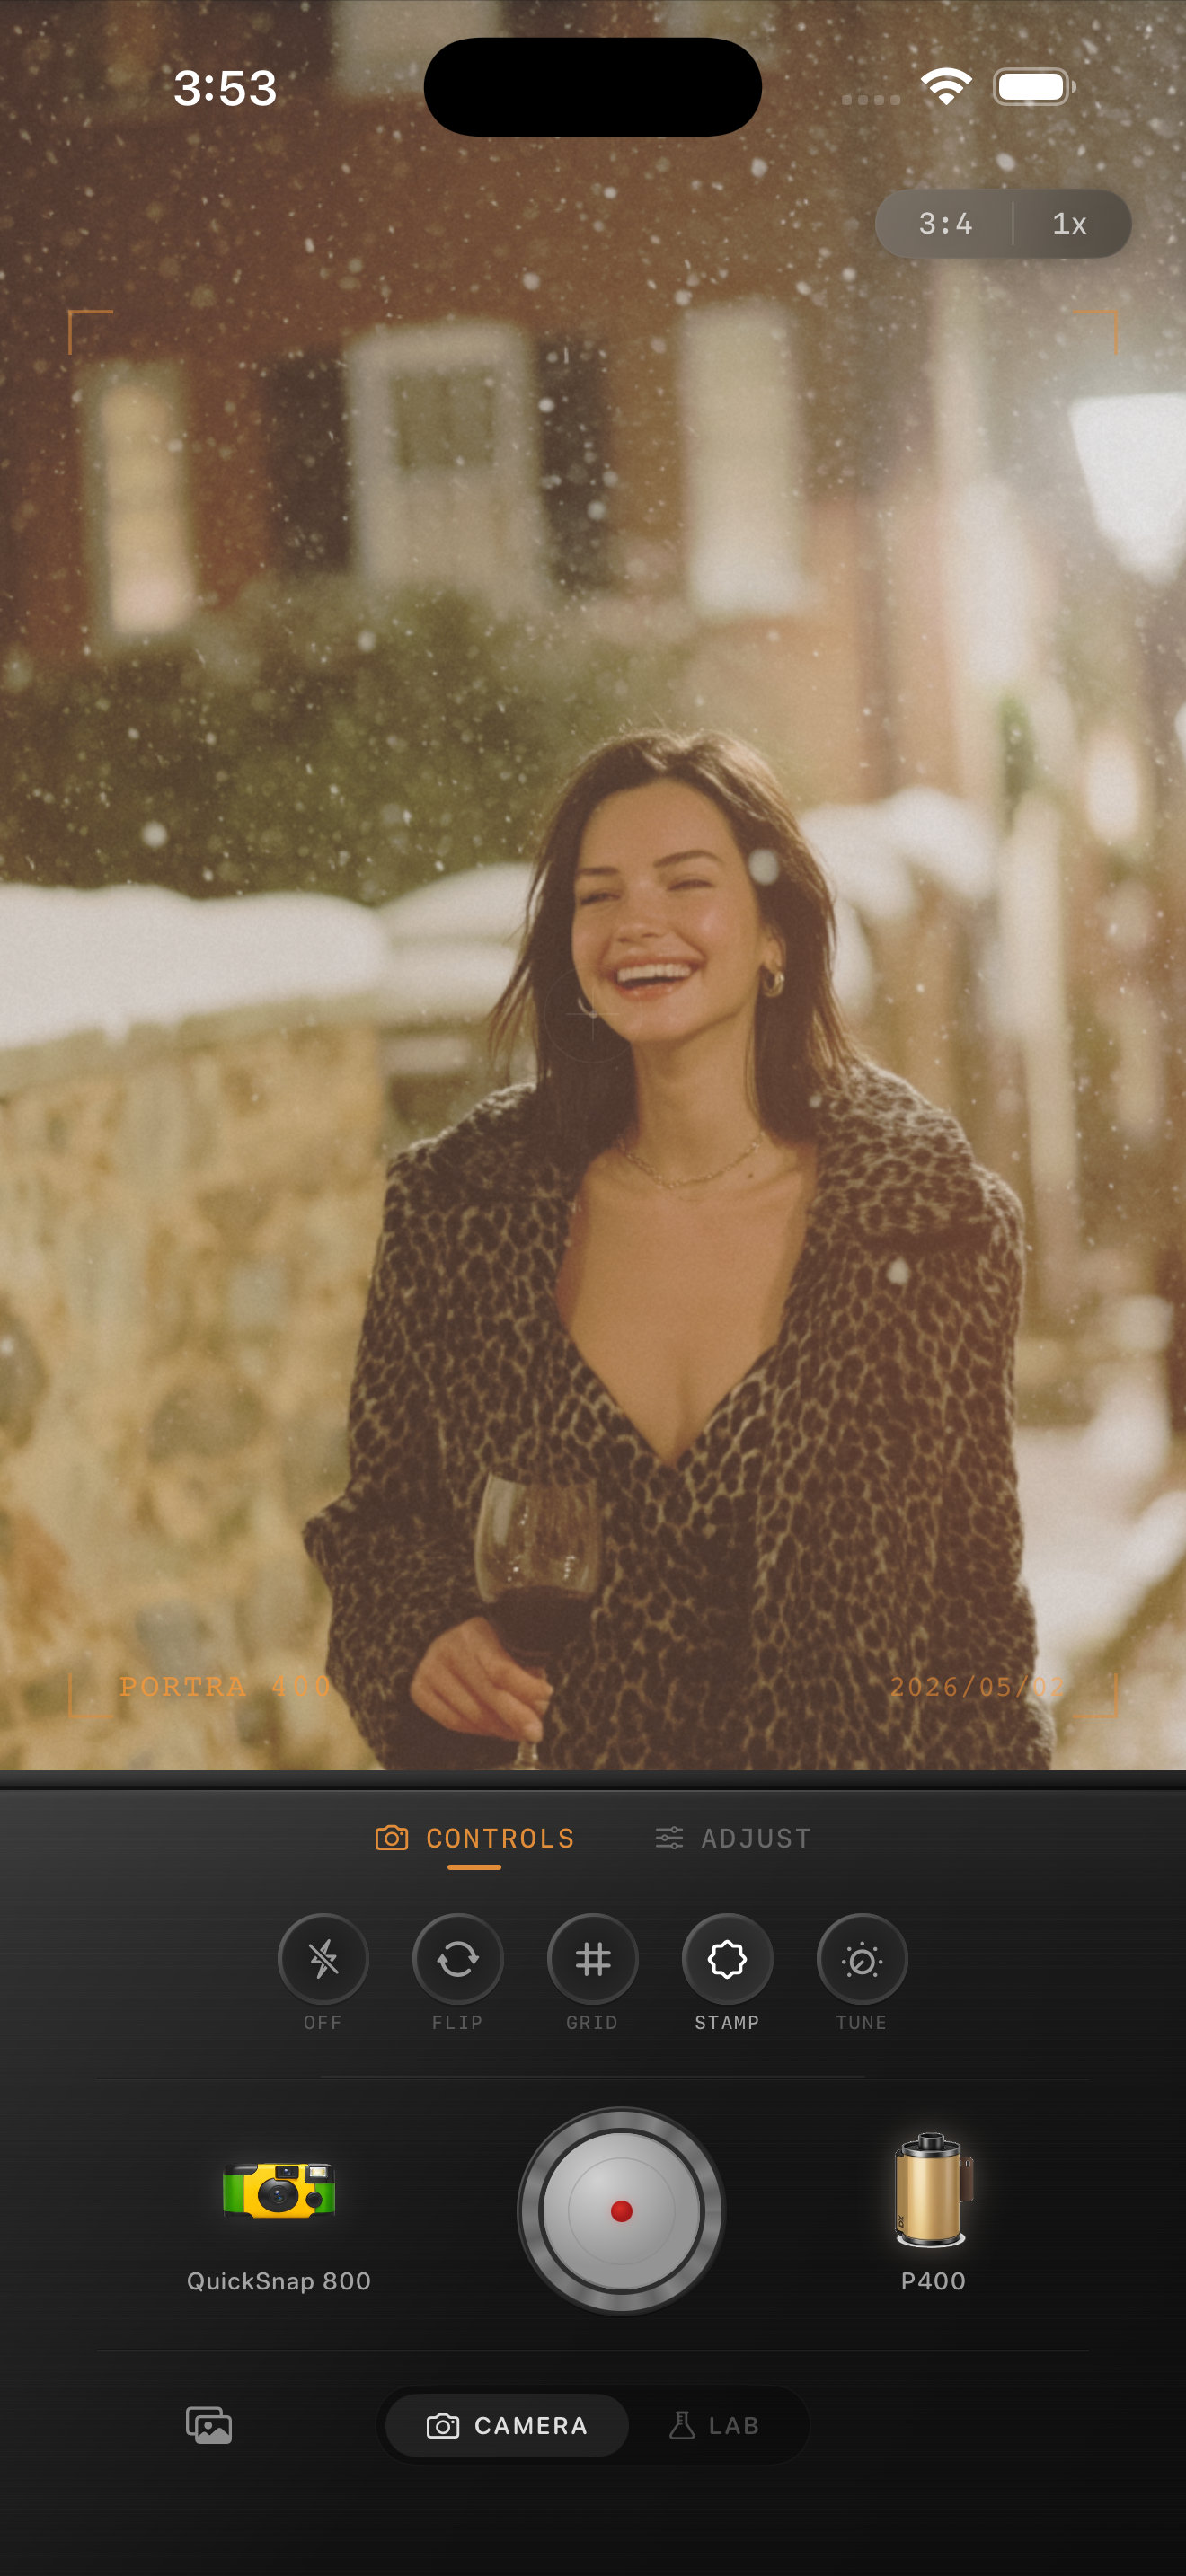
Why winter faces go pink so fast
Winter portraits often stack several color pressures at once: cold reflected light from snow or pavement, flushed skin from the weather, and iPhone processing that can exaggerate reds in noses and cheeks. Once you add a warm film edit on top, the face can shift from lively to overly pink very quickly.
A believable film-inspired winter portrait should keep some cold air in the frame while bringing the face back to a calmer, more printed-looking balance.
- Judge the nose, cheeks, and lips separately instead of reading the face as one warm block.
- Keep warmth modest so snow and gray stone stay believable.
- Use grain to soften the digital finish, not to hide skin tone problems.
- Check hats, scarves, and the brightest snow patch before you finish.
A dependable winter-portrait baseline
Start around film intensity 72-84%, grain 22-32%, warmth +2 to +6, fade 3-6%, and vignette 4-8%. That range usually softens sharp iPhone detail and gives the portrait a film mood without pushing the face warmer than the scene can support.
If the nose still looks red, lower warmth before lowering intensity. The problem is often color balance more than lack of film character. Once the face looks steadier, the grain and softness can do the rest.
Keep the background cold without making the subject cold
The strongest winter edits let the air stay cold while the person still feels alive. That means you do not need to warm the entire frame just to rescue the face. Snow, sidewalks, and brownstone walls can stay neutral or slightly cool while the skin shifts only a little warmer.
Check one neutral area in the background alongside the face. If the background suddenly looks beige, the correction is too broad and the portrait will stop feeling seasonal.
Choose a cleaner camera mood for winter daylight
Most winter portraits work better with a cleaner 35mm-inspired or compact-film body than with the roughest disposable option. Snow already gives you texture and separation, so the image usually needs subtle softness instead of extra chaos.
In Nostalgia Cam, start with the camera body first, then tune grain, warmth, fade, and vignette until the portrait feels like a real winter print. If you want Portra-style softness or Fuji-style cool balance, keep that as inspiration only and avoid any implication of brand affiliation.
Keep winter portraits natural without losing the cold-weather mood
Use Nostalgia Cam to balance camera body, grain, warmth, fade, and vignette so winter portraits keep clean snow, natural skin, and a believable film-inspired finish.
FAQ
Why do winter iPhone portraits make noses look extra red?
Cold weather already flushes skin, and iPhone processing can emphasize those reds enough that a warm film edit pushes noses and cheeks too far.
Should winter portraits use a lot of warmth to look like film?
Usually no. A smaller warmth move plus softer contrast and restrained grain tends to look more believable than warming the whole frame heavily.