
Editing guide
How to Edit iPhone Winter Coat Portraits to Look Like Film
A practical winter portrait film recipe for iPhone with cleaner skin, softer cold light, controlled grain, and enough contrast to keep coats, brick, and snow from blending together.
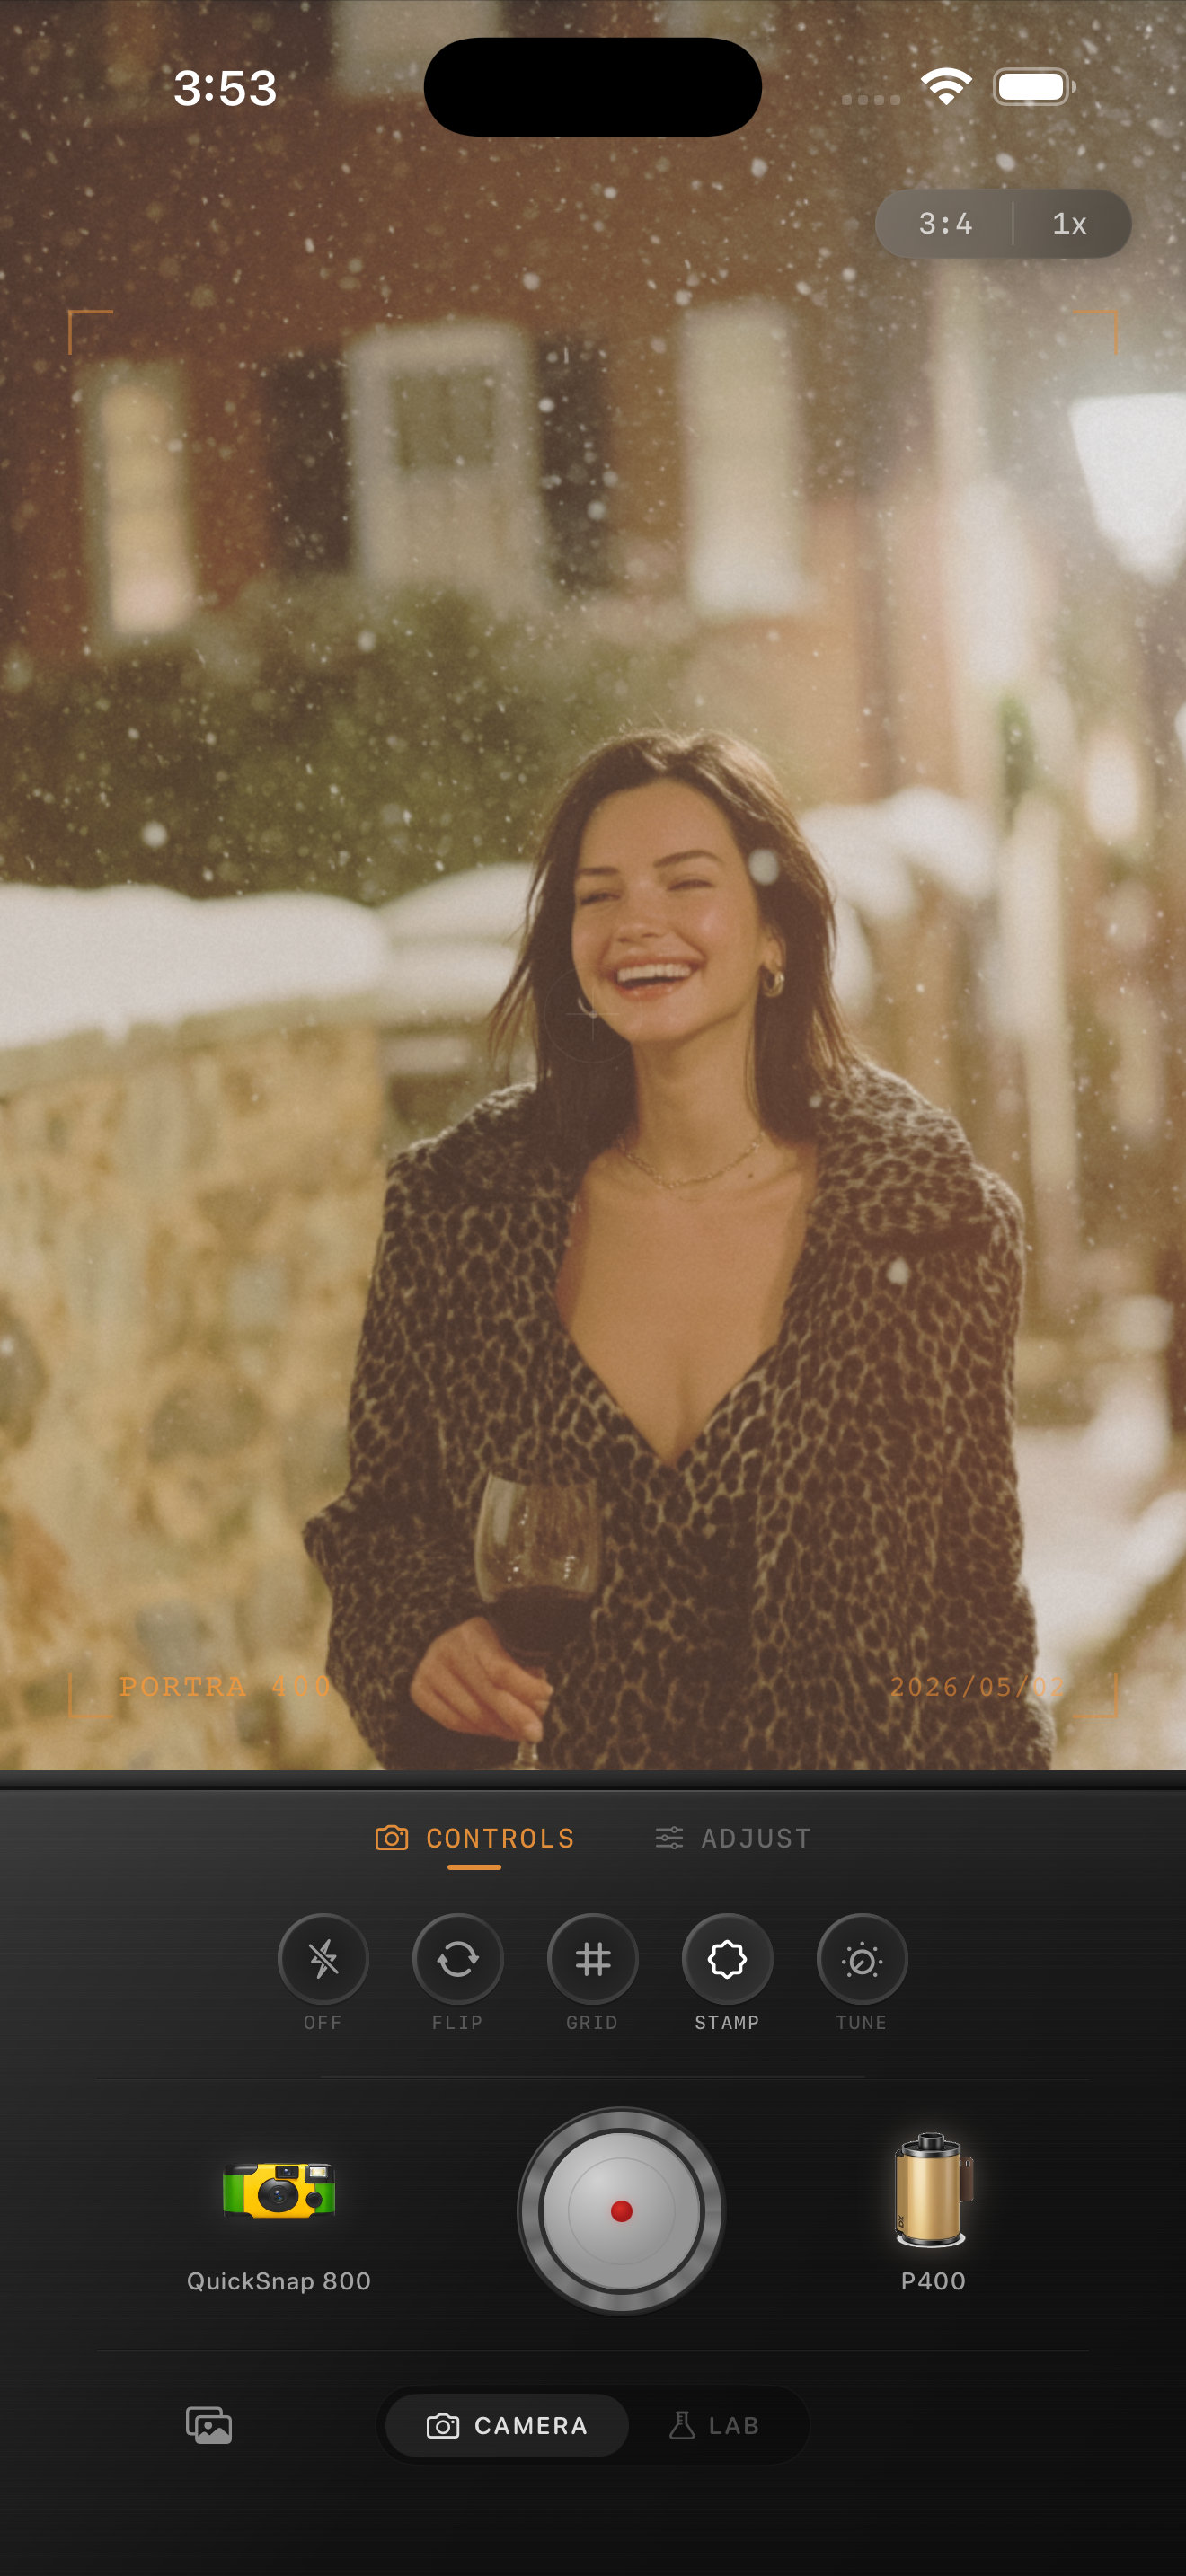
Winter portraits need separation more than extra nostalgia
Winter coat portraits already carry natural film mood because the scene has muted light, textured fabric, pale highlights, and slower color. The problem is that cold-weather edits can flatten quickly if the coat, skin, sidewalk, brick, and snow all land in the same gray-beige range.
A believable film edit keeps the portrait gentle, but it still preserves shape. You want the coat to feel tactile, skin to stay alive, and the background to support the subject instead of dissolving into one washed-out tone.
A reliable starting range for winter coat portraits
Start around film intensity 74-86%, grain 22-34%, warmth +4 to +9, fade 4-8%, and vignette 5-9%. That range usually softens the digital edge without making snow dirty or heavy outerwear muddy.
If the original photo is already warm from reflected brick or late-day light, use less warmth and let the coat texture do more of the work. If the image feels sterile and blue, add only enough warmth to make skin believable again.
- Keep grain fine so wool, denim, and hair still read clearly.
- Use fade lightly or dark coats lose structure fast.
- Warm skin before warming the whole frame.
- Protect snow highlights so they stay clean instead of beige.
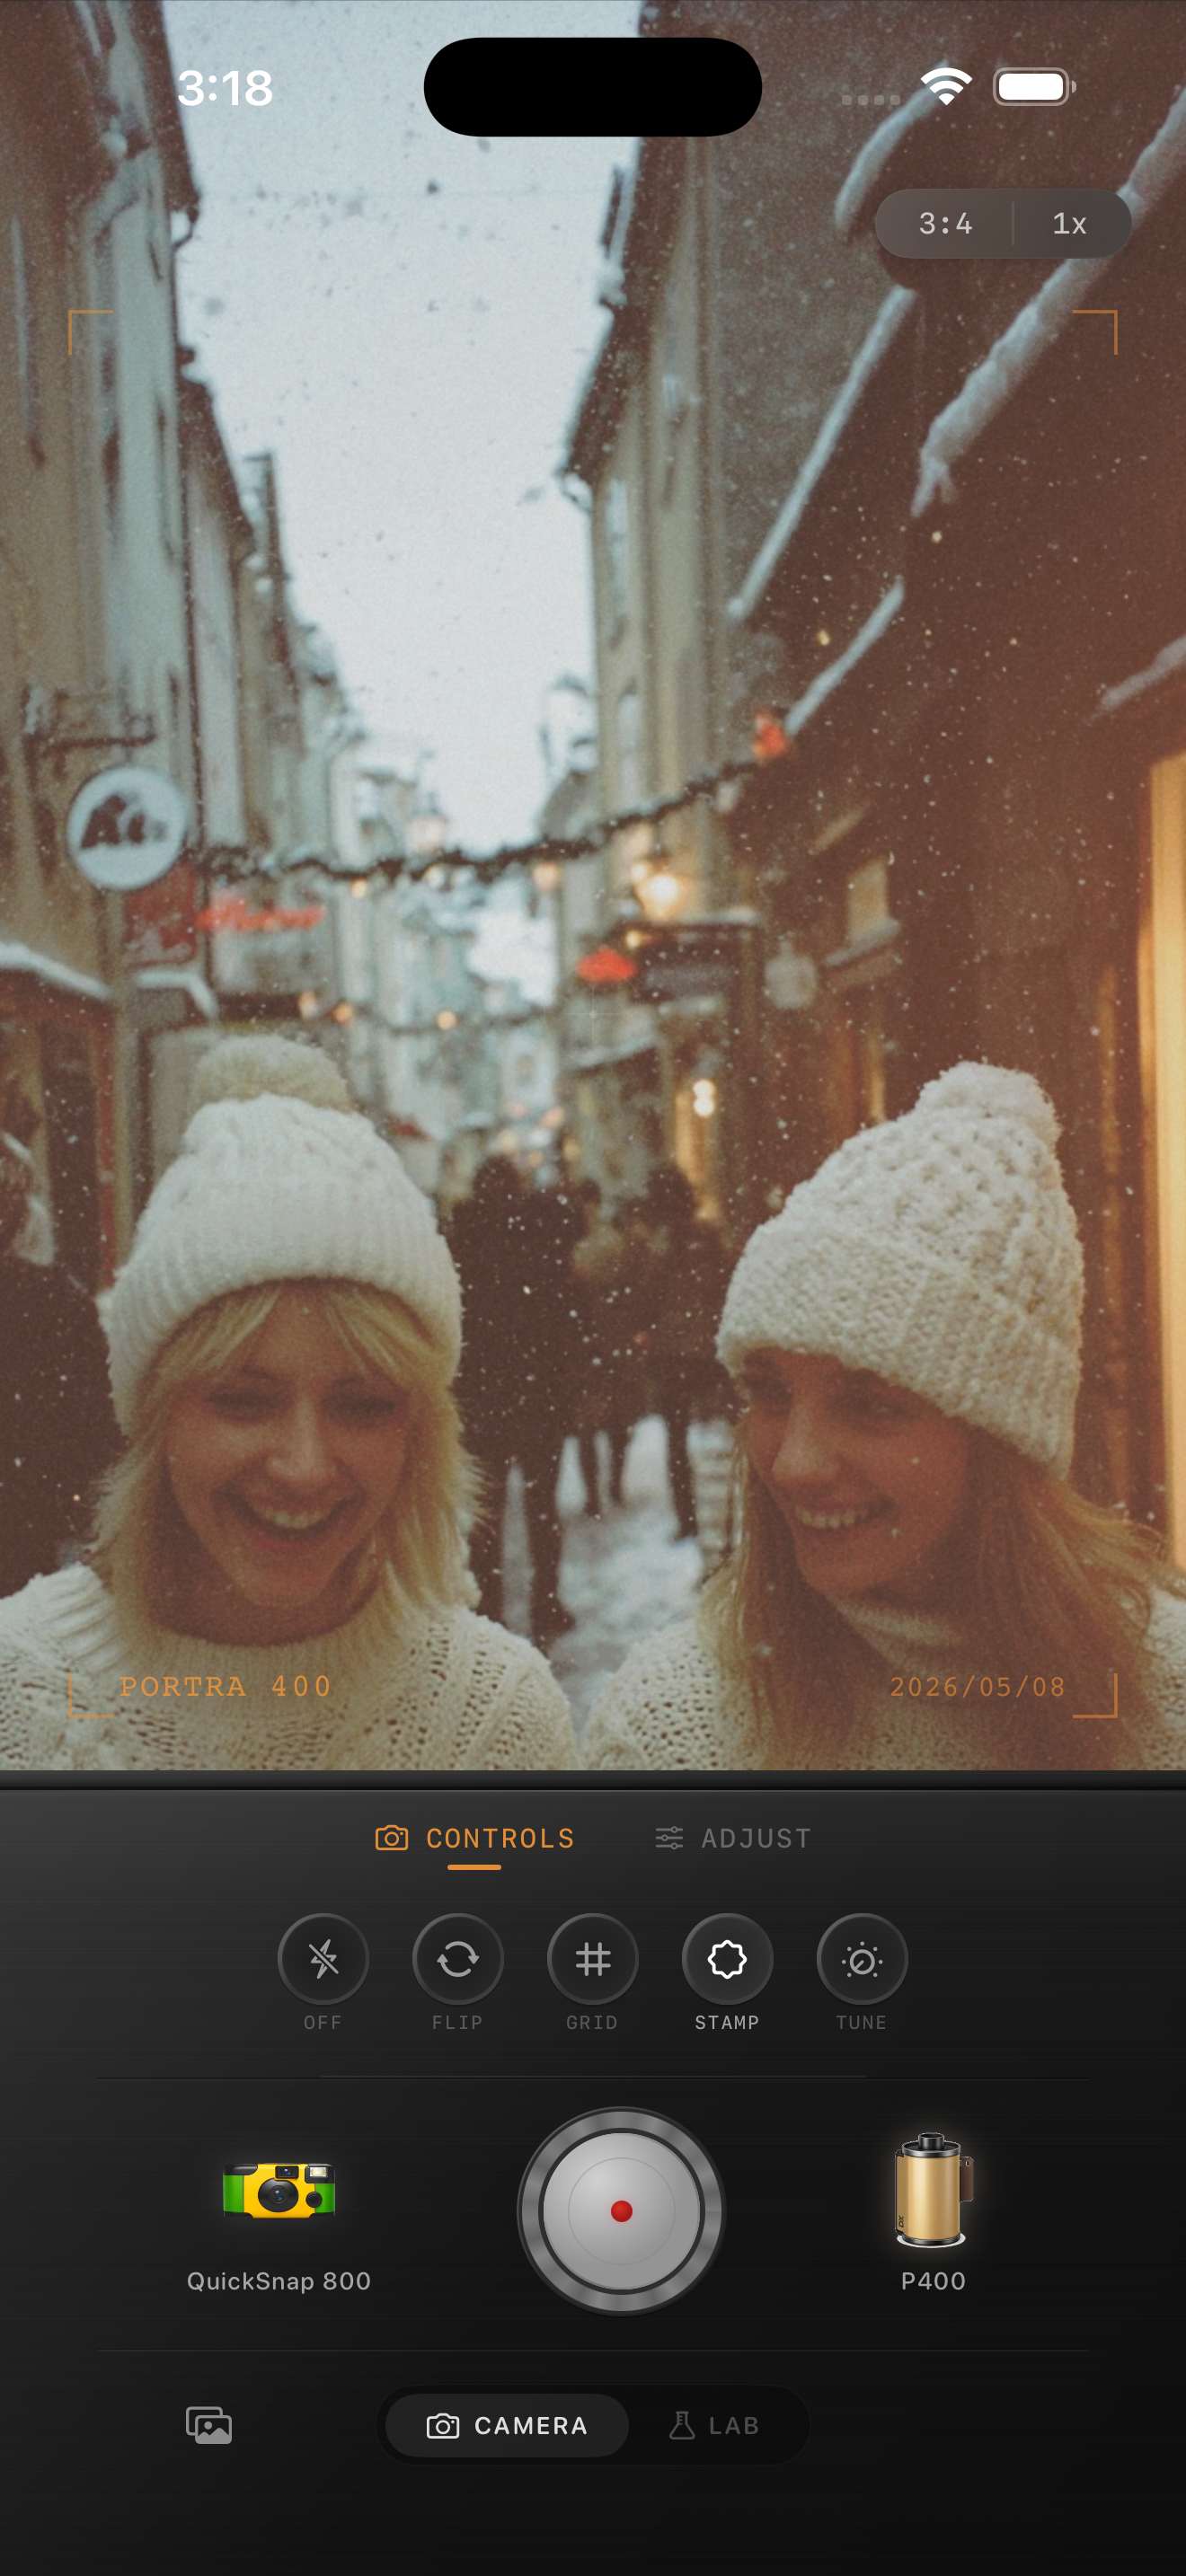
Watch the coat and the skin at the same time
Coats are often the biggest surface in the frame, so they can trick you into overediting. If you chase a richer coat tone with too much warmth or fade, skin often turns dull first. If you brighten skin too aggressively, dark jackets lose depth.
A good check is to zoom out and ask whether the face still leads the image. If the coat or the snow grabs your eye first, pull the edit back until the portrait feels balanced again.
Choose a cleaner camera body for winter detail
Most winter coat portraits benefit from a cleaner 35mm-inspired or compact-film body rather than a rough disposable effect. The interest is already in the fabric, breath, weather, and city texture, so you usually need control more than chaos.
In Nostalgia Cam, start with the cleaner body, then adjust grain, warmth, fade, and vignette until the portrait feels printed and seasonal without turning slushy or flat.
Keep winter portraits crisp and soft in Nostalgia Cam
Use Nostalgia Cam to combine a cleaner camera body with film-style color, restrained grain, fade, and vignette so winter coat portraits keep natural skin, clean snow, and a believable analog mood.
FAQ
How much grain should a winter coat portrait use on iPhone?
Usually moderate grain works best. Around 22-34% is often enough to reduce the digital smoothness without making coats, hair, and snow look gritty.
Why do winter film edits make snow look dirty?
That usually happens when warmth, fade, or grain are pushed too far across the whole frame. Keep snow highlights clean and use warmth mainly to restore skin tone, not to tint every bright area.