
Editing guide
How to Edit iPhone Trunk-or-Treat Photos to Look Like Film Without Purple Shadows
A practical iPhone film-editing guide for trunk-or-treat photos: keep faces, costumes, decorated cars, and mixed parking-lot light clear without turning shadows purple.
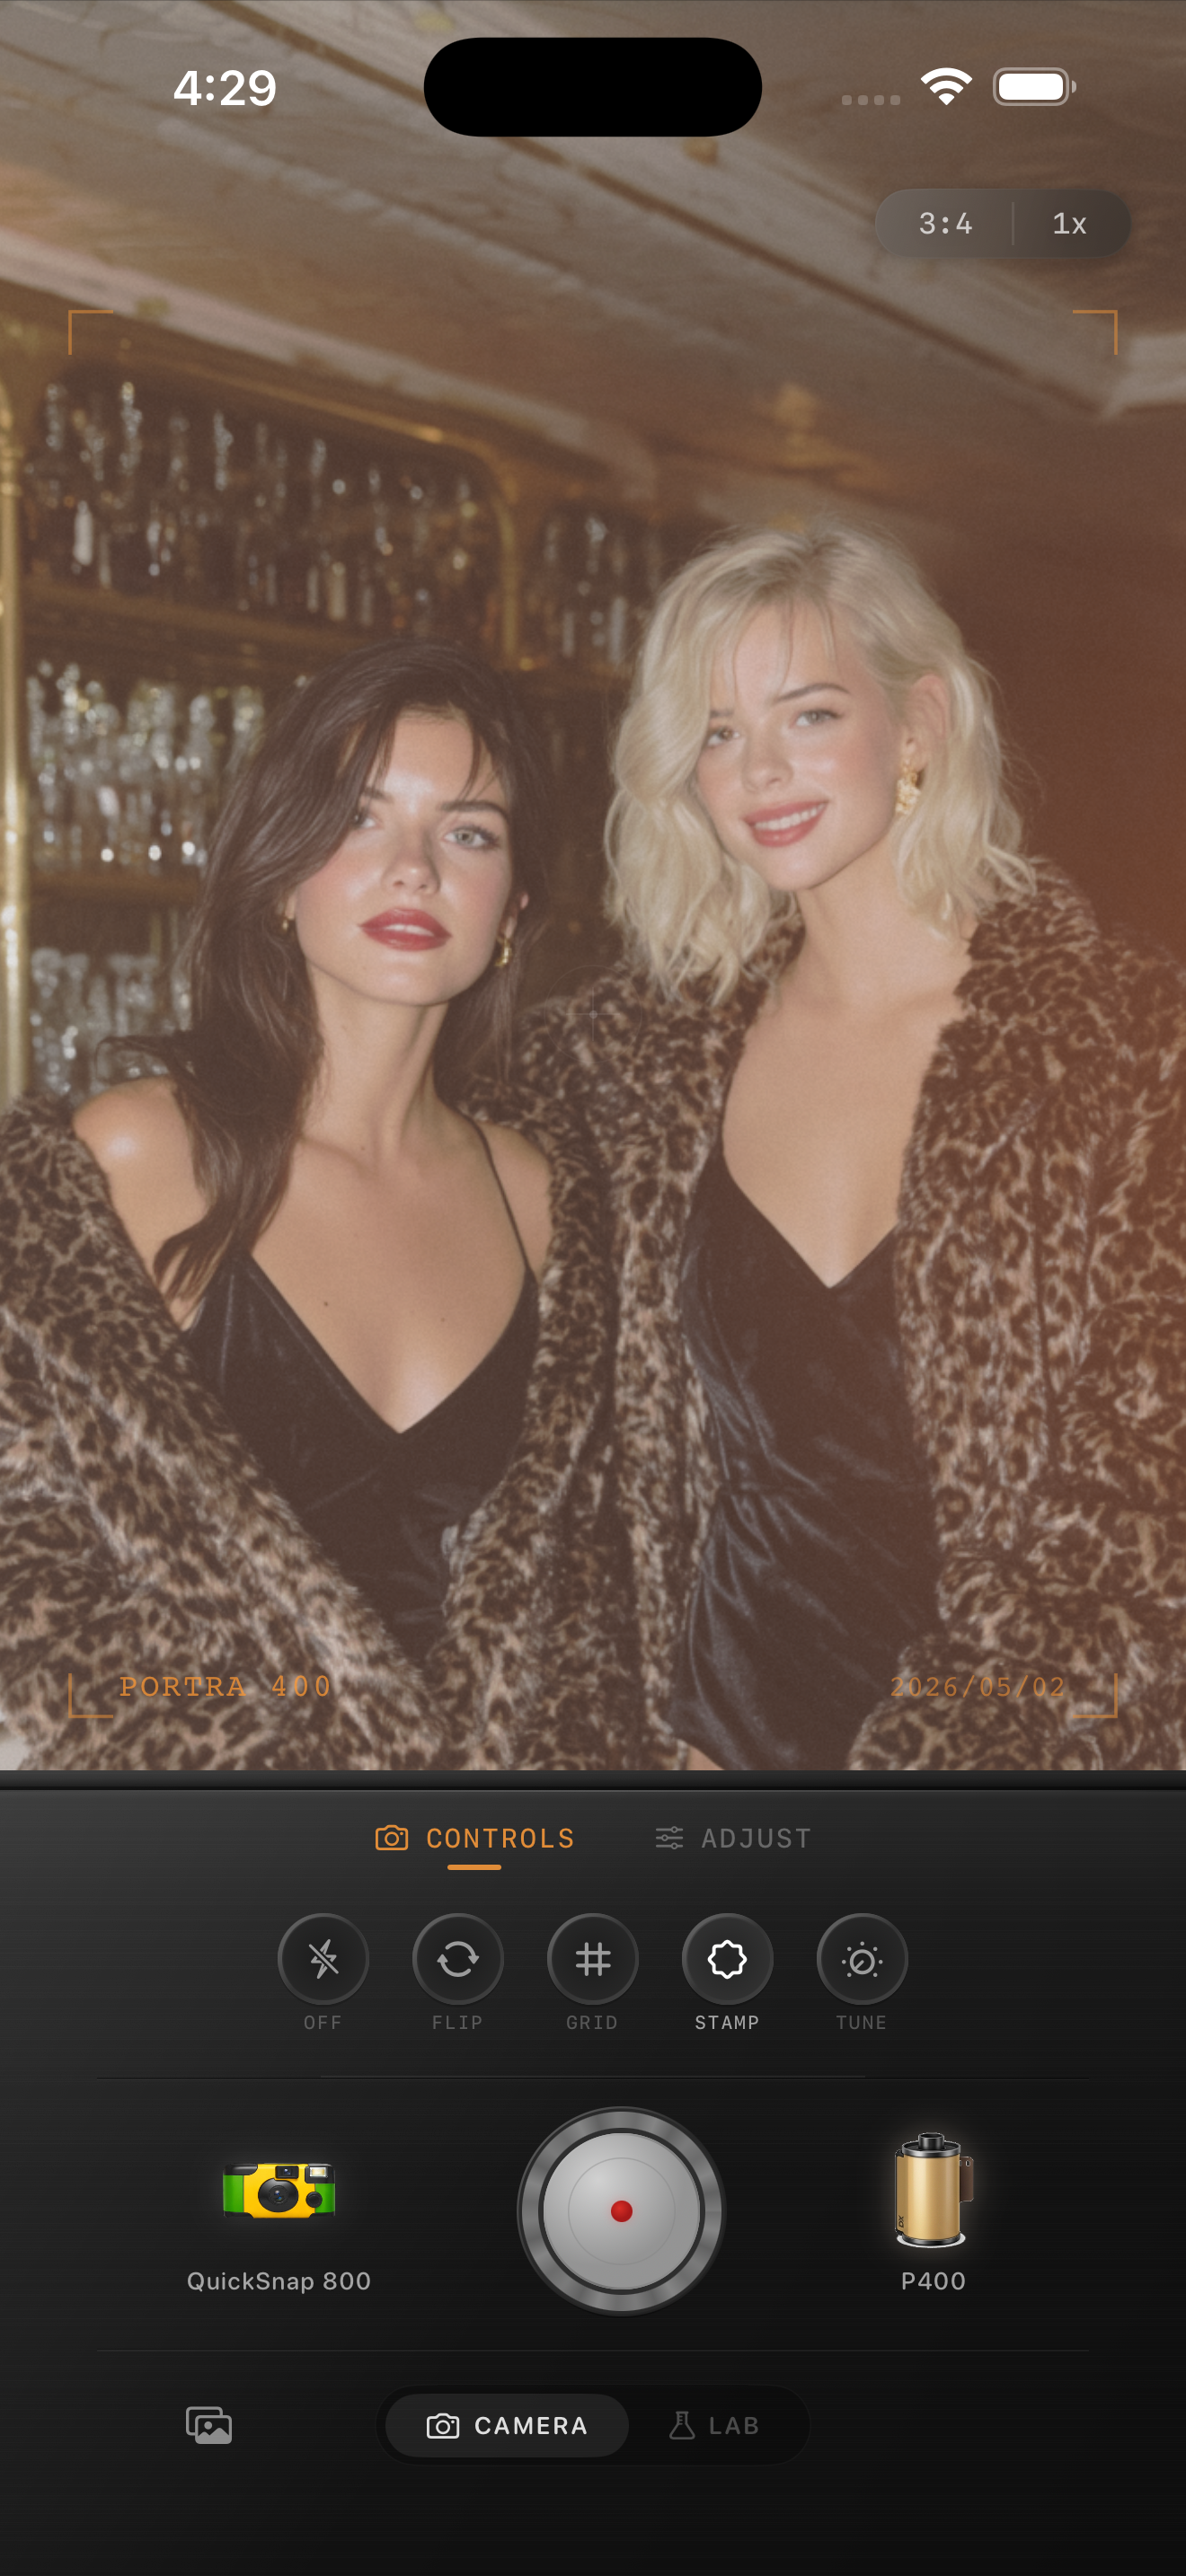
Choose the frame where the person and the trunk both explain the moment
Trunk-or-treat photos often combine a bright decorated trunk, a child or group in costume, colored string lights, and a cool parking lot in one frame. Before adding a film look, compare nearby shots at normal phone size and start with one where the face, costume shape, or candy-bucket gesture is already clear. A film-inspired finish can soften a digital capture, but it cannot rebuild detail lost to motion blur or a clipped light.
Keep the original beside the edit while you work. The useful goal is not to make the whole lot equally bright; it is to let the people, the car decoration, and the evening stay recognizable together. The image above is an existing low-light style reference, not a trunk-or-treat comparison.
Check a face, a neutral detail, and the darkest pavement
Purple shadows can come from blue-hour sky, LED decorations, a cool parking-lot lamp, or a strong global treatment. Pick three small areas to revisit after each broad adjustment: a face or hand, a relatively neutral detail such as a white costume piece or candy bag, and a dark patch of pavement or tire. If the face turns gray, the neutral detail turns lavender, and the pavement becomes purple-black, the edit is doing too much.
Do not correct that cast by warming the entire photo heavily. Extra warmth can turn faces orange while leaving the underlying purple shadow intact. First lower the overall film intensity or choose a gentler film look, then preserve the colored lights as a deliberate part of the scene.
- Keep a colored decoration vivid without tinting every shadow.
- Let black costumes hold a little texture against the pavement.
- Use a light-colored costume detail to spot a broad color cast.
- Judge the full frame at normal sharing size before adding texture.
Start with a quiet mixed-light film recipe
Try film intensity around 40–55%, grain 12–24%, warmth -1 to +5, fade 1–4%, and vignette 2–7%. Begin near the lower end when the trunk uses purple or blue LEDs, or when the parking lot is already strongly cool. These settings can relax the crisp iPhone finish while keeping the costume colors and night light separate.
A cleaner compact-film or 35mm-inspired camera body is usually a better starting point than a heavily distressed disposable effect. Trunk decorations, reflective car paint, and low-light noise already give the picture texture; a quieter base gives the people room to remain the subject.
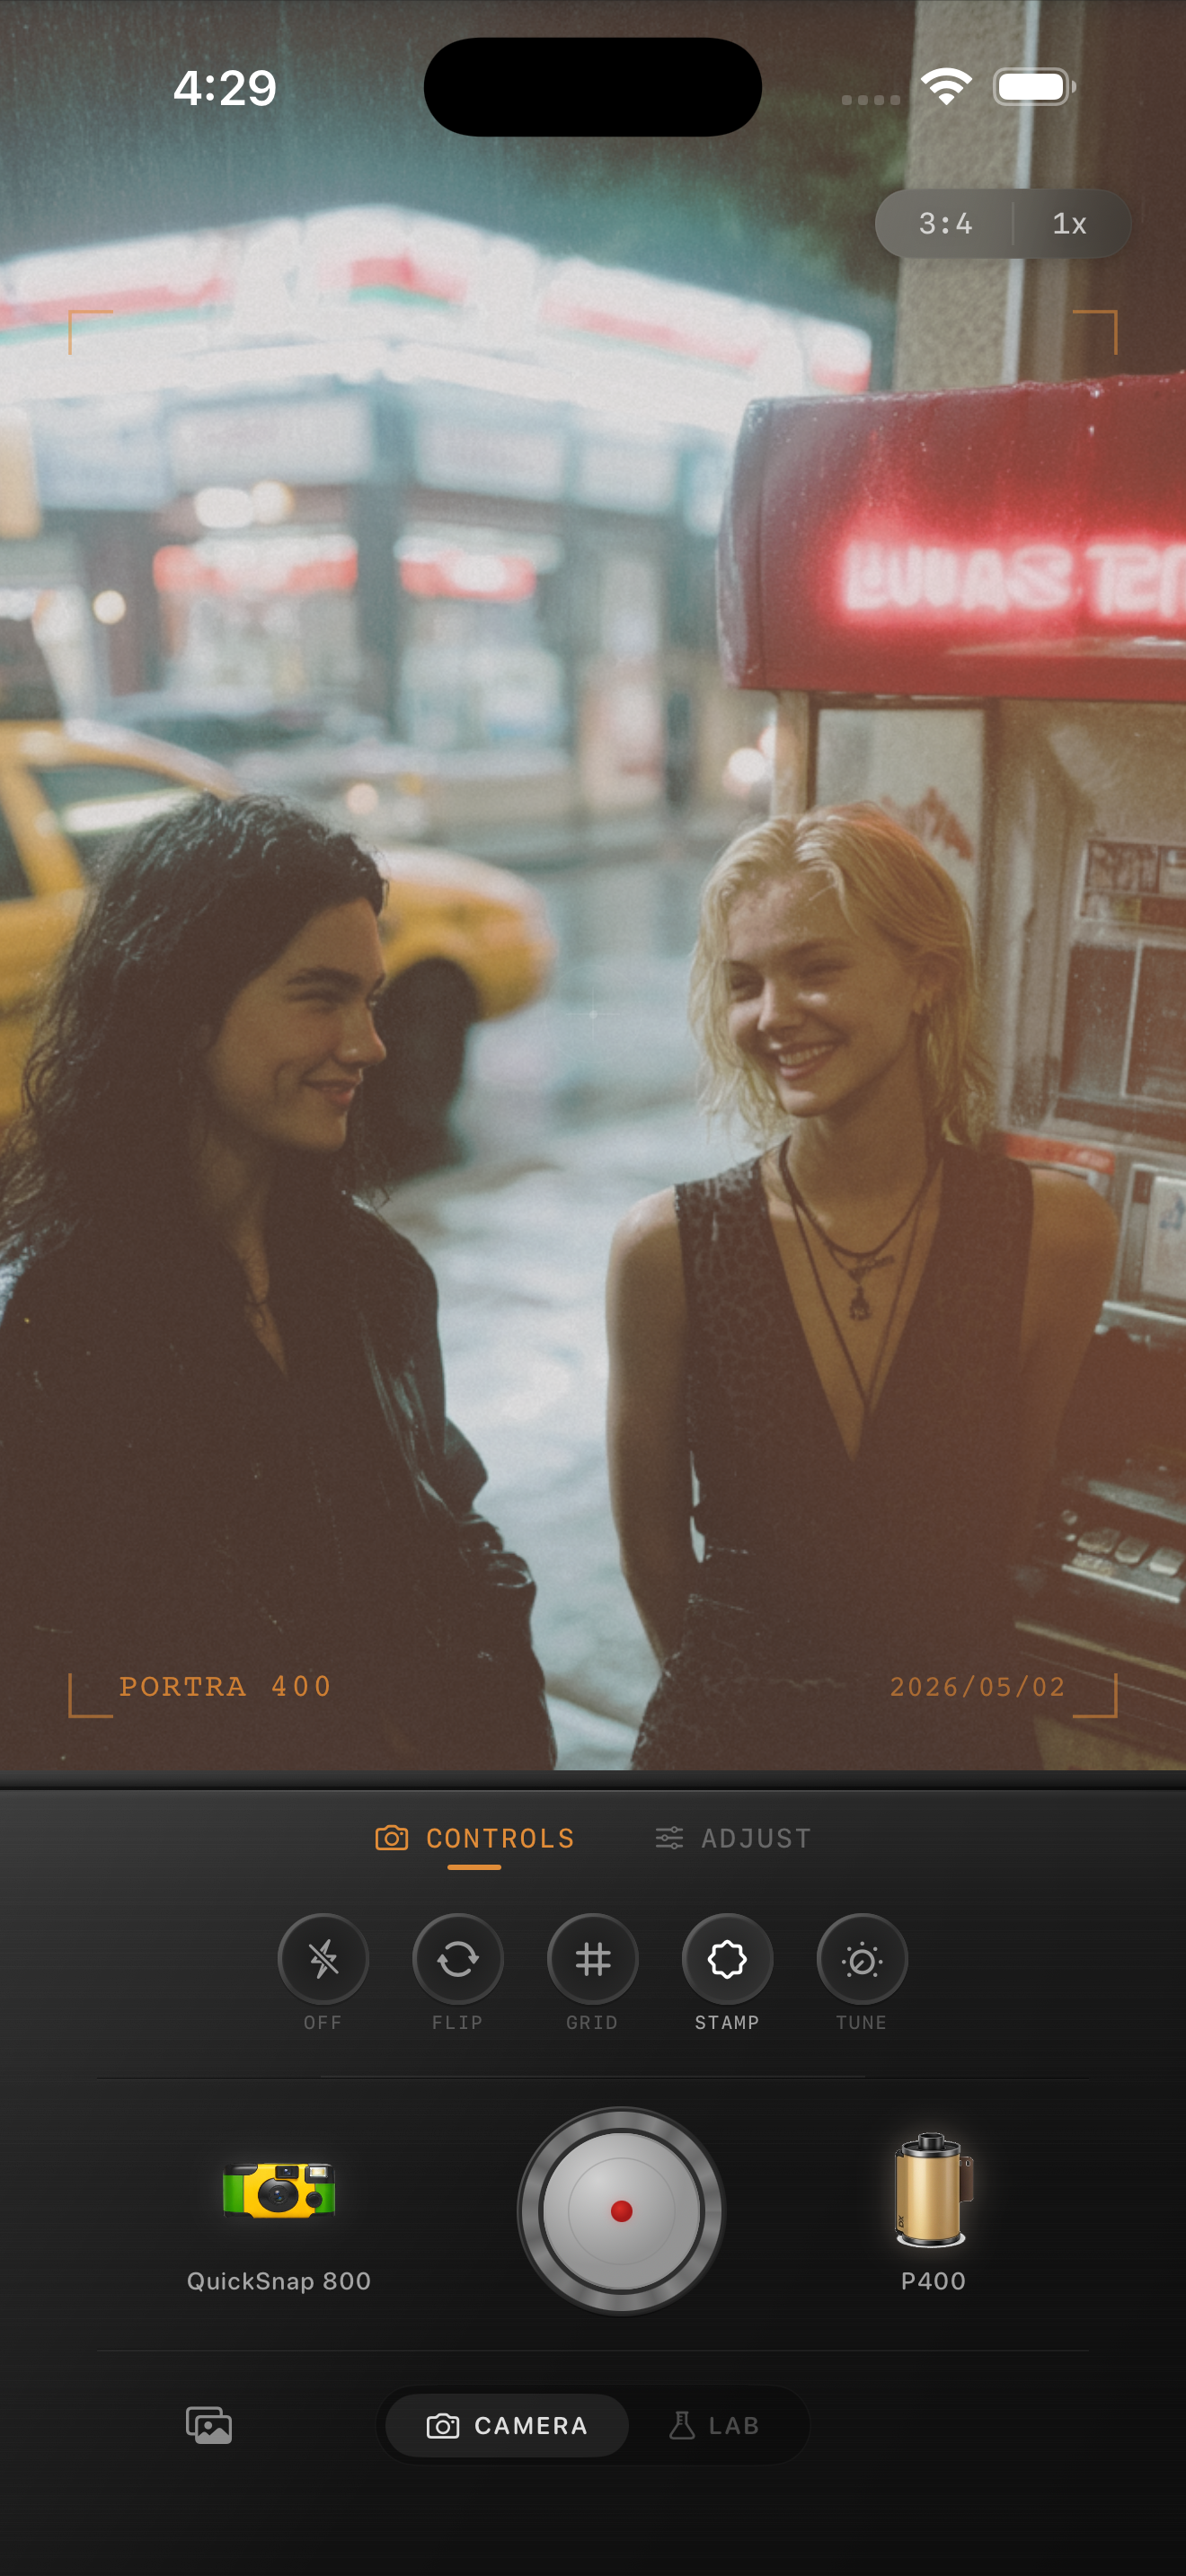
Add grain after the shadow color feels believable
Low-light photos can already carry noise in the pavement, sky, and dark costumes. Balance color and separation first, then add grain slowly while checking a smooth shadow, a face, and a textured costume together. If the dark areas look sandy or the purple cast starts to spread through noisy pixels before the photo feels more like a print, reduce the grain.
Keep fade modest, too. A small amount can soften harsh phone contrast, but too much can lift the deep tones that separate a black costume from the parking lot. Save two gentle versions and choose the one where the person and the decorated trunk read before the effect does.
Finish with a parking-lot memory check
View the saved edit away from the sliders. Ideally, you notice the people and their costumes first, then the decorated trunk and colored lights, and only then the film character. If purple-black pavement, orange faces, or crunchy texture is the first impression, return to the lower-intensity version and let the original evening carry more of the mood.
In the Nostalgia Cam Lab, compare camera bodies and film looks at moderate intensity before refining warmth, grain, fade, and vignette. That sequence makes it easier to keep a set of trunk-or-treat pictures cohesive even when every car has different decorations and lighting.
Keep the costumes clear and the night colorful
Import your trunk-or-treat photos into the Nostalgia Cam Lab, compare camera bodies and film looks at moderate intensity, then refine warmth, grain, fade, and vignette. Check a face, a neutral costume detail, and one dark pavement area before saving the version that feels most like the evening.
FAQ
Why do shadows look purple in my iPhone trunk-or-treat photos after a film edit?
Blue-hour light, colored LEDs, cool parking-lot lamps, and a strong overall treatment can all push dark areas purple. Compare a face, a neutral costume detail, and a dark patch of pavement, then reduce the broad treatment before adding warmth or grain.
Should I remove all purple and blue from trunk-or-treat photos?
Usually no. Those colors may be part of the decorations and evening atmosphere. Keep them visible where they explain the scene, but use a gentler overall look when they make skin, white fabric, or pavement look uniformly purple.
How much grain should I add to trunk-or-treat photos?
Start modestly after color and contrast are balanced. Check a face and a smooth dark area at normal phone size; if either looks sandy before the image feels more tactile, reduce the grain rather than increasing the effect.