
Editing guide
How to Edit iPhone Halloween Pet Photos to Look Like Film Without Glowing Eyes
A practical iPhone film-editing guide for Halloween pet photos: keep reflective eyes, costumes, fur, and low-light color natural without losing the playful night-time mood.
Choose the frame where the pet still feels present
Halloween pet photos move quickly: a costume shifts, a treat appears, a porch light changes color, and a pet may look away just as the camera fires. Before adding a film look, compare nearby frames at normal phone size and start with one where the eyes, ears, face, or costume shape still reads. A film-inspired finish can soften a digital capture, but it cannot recover detail hidden by motion blur or a fully blown-out flash reflection.
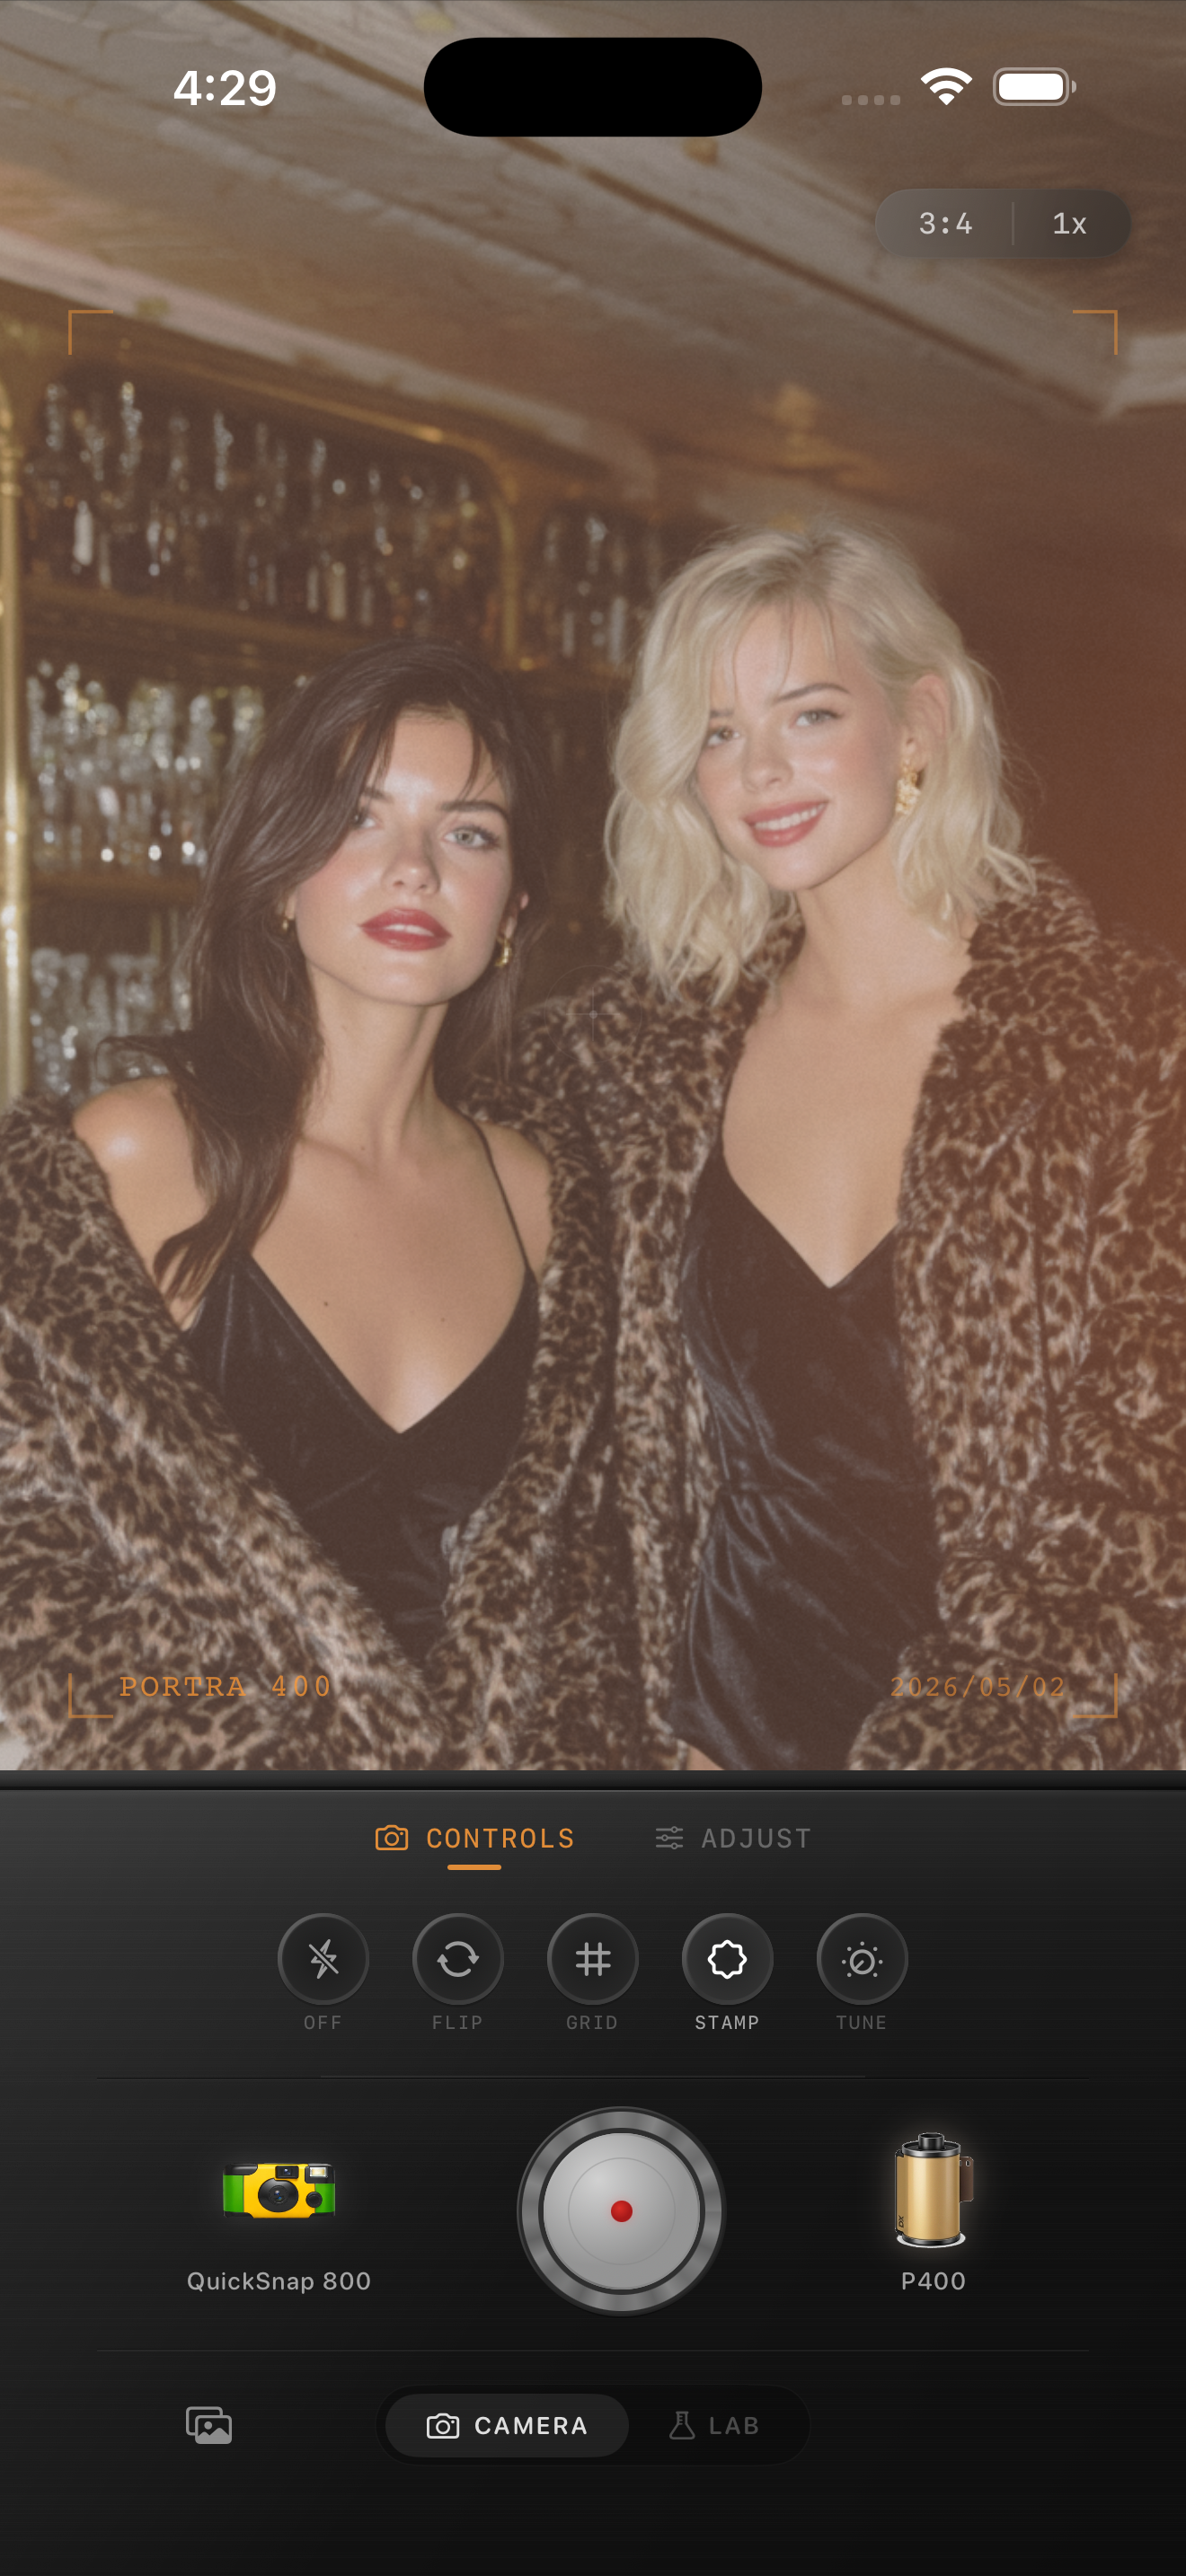
Keep the original beside the edit while you work. The goal is not to remove every bright catchlight or make a dark room uniformly bright; it is to keep the pet, costume, and setting recognizable together. The image above is an existing low-light style reference, not a Halloween pet comparison.
Tame obvious eye reflection before choosing the look
A phone flash can create a bright green, blue, or white reflection in a pet's eyes, especially when the camera is close. If your editor offers an eye-reflection correction, use it gently before judging warmth or grain. Zoom in only long enough to check both eyes, then return to normal viewing size. The aim is an eye that still has shape and a small natural catchlight, not a flat, painted-over spot.
If a reflection remains distracting, choose a nearby frame with a slightly different head angle rather than trying to hide it under fade, grain, or a heavy vignette. Those broad effects can make fur muddy and make the eye issue more noticeable. Let a small catchlight remain if it helps the pet look alert and alive.
- Check both eyes; one may reflect much more strongly than the other.
- Keep the edge of the eye and nearby fur distinct.
- Use a costume detail or collar as a color reference.
- Review the full image at normal sharing size before adding texture.
Start with a quiet costume-and-fur film recipe
Try film intensity around 38–54%, grain 10–20%, warmth -1 to +5, fade 1–4%, and vignette 2–6%. Start near the lower end when the photo has direct flash, bright porch bulbs, or a light-colored costume. These settings can relax the polished iPhone finish while keeping whiskers, fur texture, and costume colors clear.
A cleaner compact-film or 35mm-inspired camera body is often a better starting point than a heavily distressed disposable effect. Fur, patterned costumes, and low-light noise already provide texture; a quieter base keeps the animal as the subject instead of turning the whole frame gritty.
Add grain only after fur and color are separated
Pet photos can already have soft fur detail and low-light noise, so grain needs a light hand. Balance the eyes, face, costume color, and background first, then add texture gradually while watching a smooth patch of fur, a dark shadow, and an edge of the costume. If fur turns sandy or the costume pattern starts to break apart before the photo feels more tactile, reduce the grain.
Keep fade modest as well. A small amount can soften hard phone contrast, but too much lifts the dark shape that separates a black pet or dark costume from a porch, sidewalk, or room. Save two gentle versions and choose the one where the pet's expression reads before the effect does.
Finish with a pet-first check
Step away from the sliders and view the saved edit as it will appear in a shared album. Ideally, you notice the pet and costume first, then the Halloween setting, and only then the film character. If the first impression is glowing eyes, orange fur, noisy shadows, or a heavy dark border, return to the lower-intensity version.
In the Nostalgia Cam Lab, compare camera bodies and film looks at moderate intensity before refining warmth, grain, fade, and vignette. That order makes it easier to keep a small set of Halloween pet photos cohesive while respecting the different light and movement in every frame.
Keep the costume cute and the pet recognizable
Import your Halloween pet photos into the Nostalgia Cam Lab, compare camera bodies and film looks at moderate intensity, then refine warmth, grain, fade, and vignette. Check the eyes, a costume detail, and one dark background area before saving the version that feels most like the moment.
FAQ
Why do my pet's eyes glow in iPhone Halloween photos after a film edit?
Direct flash can reflect strongly from a pet's eyes, and a high-intensity film look, lifted shadows, or added contrast can make that reflection stand out more. Correct the reflection gently if possible, then lower the broad treatment before adding grain or warmth.
Should I remove every eye catchlight from a pet photo?
Usually no. A small catchlight can make an eye feel alert and natural. Focus on reducing an obviously bright or colored reflection while keeping the eye shape, surrounding fur, and normal expression intact.
How much grain should I add to a low-light Halloween pet photo?
Start modestly after the eyes, fur, and costume color look balanced. Check a smooth patch of fur and a dark background at normal phone size; if either looks sandy before the image feels more like a print, use less texture.