
Editing guide
How to Edit iPhone Halloween Home Photos to Look Like Film Without Green LED Skin
A practical iPhone film-editing guide for Halloween home photos: keep faces believable under green LEDs, protect warm decorations, and add texture without making a room look murky.
Start with a frame where the person is still the subject
Halloween home photos often combine a green LED strip, warm lamps, orange decorations, and a phone flash in one small room. Before adding a film look, compare nearby frames at normal phone size and choose one where the person or shared moment is already recognizable. A film-inspired finish can support atmosphere, but it cannot recover a face that is entirely lost in colored shadow or motion blur.
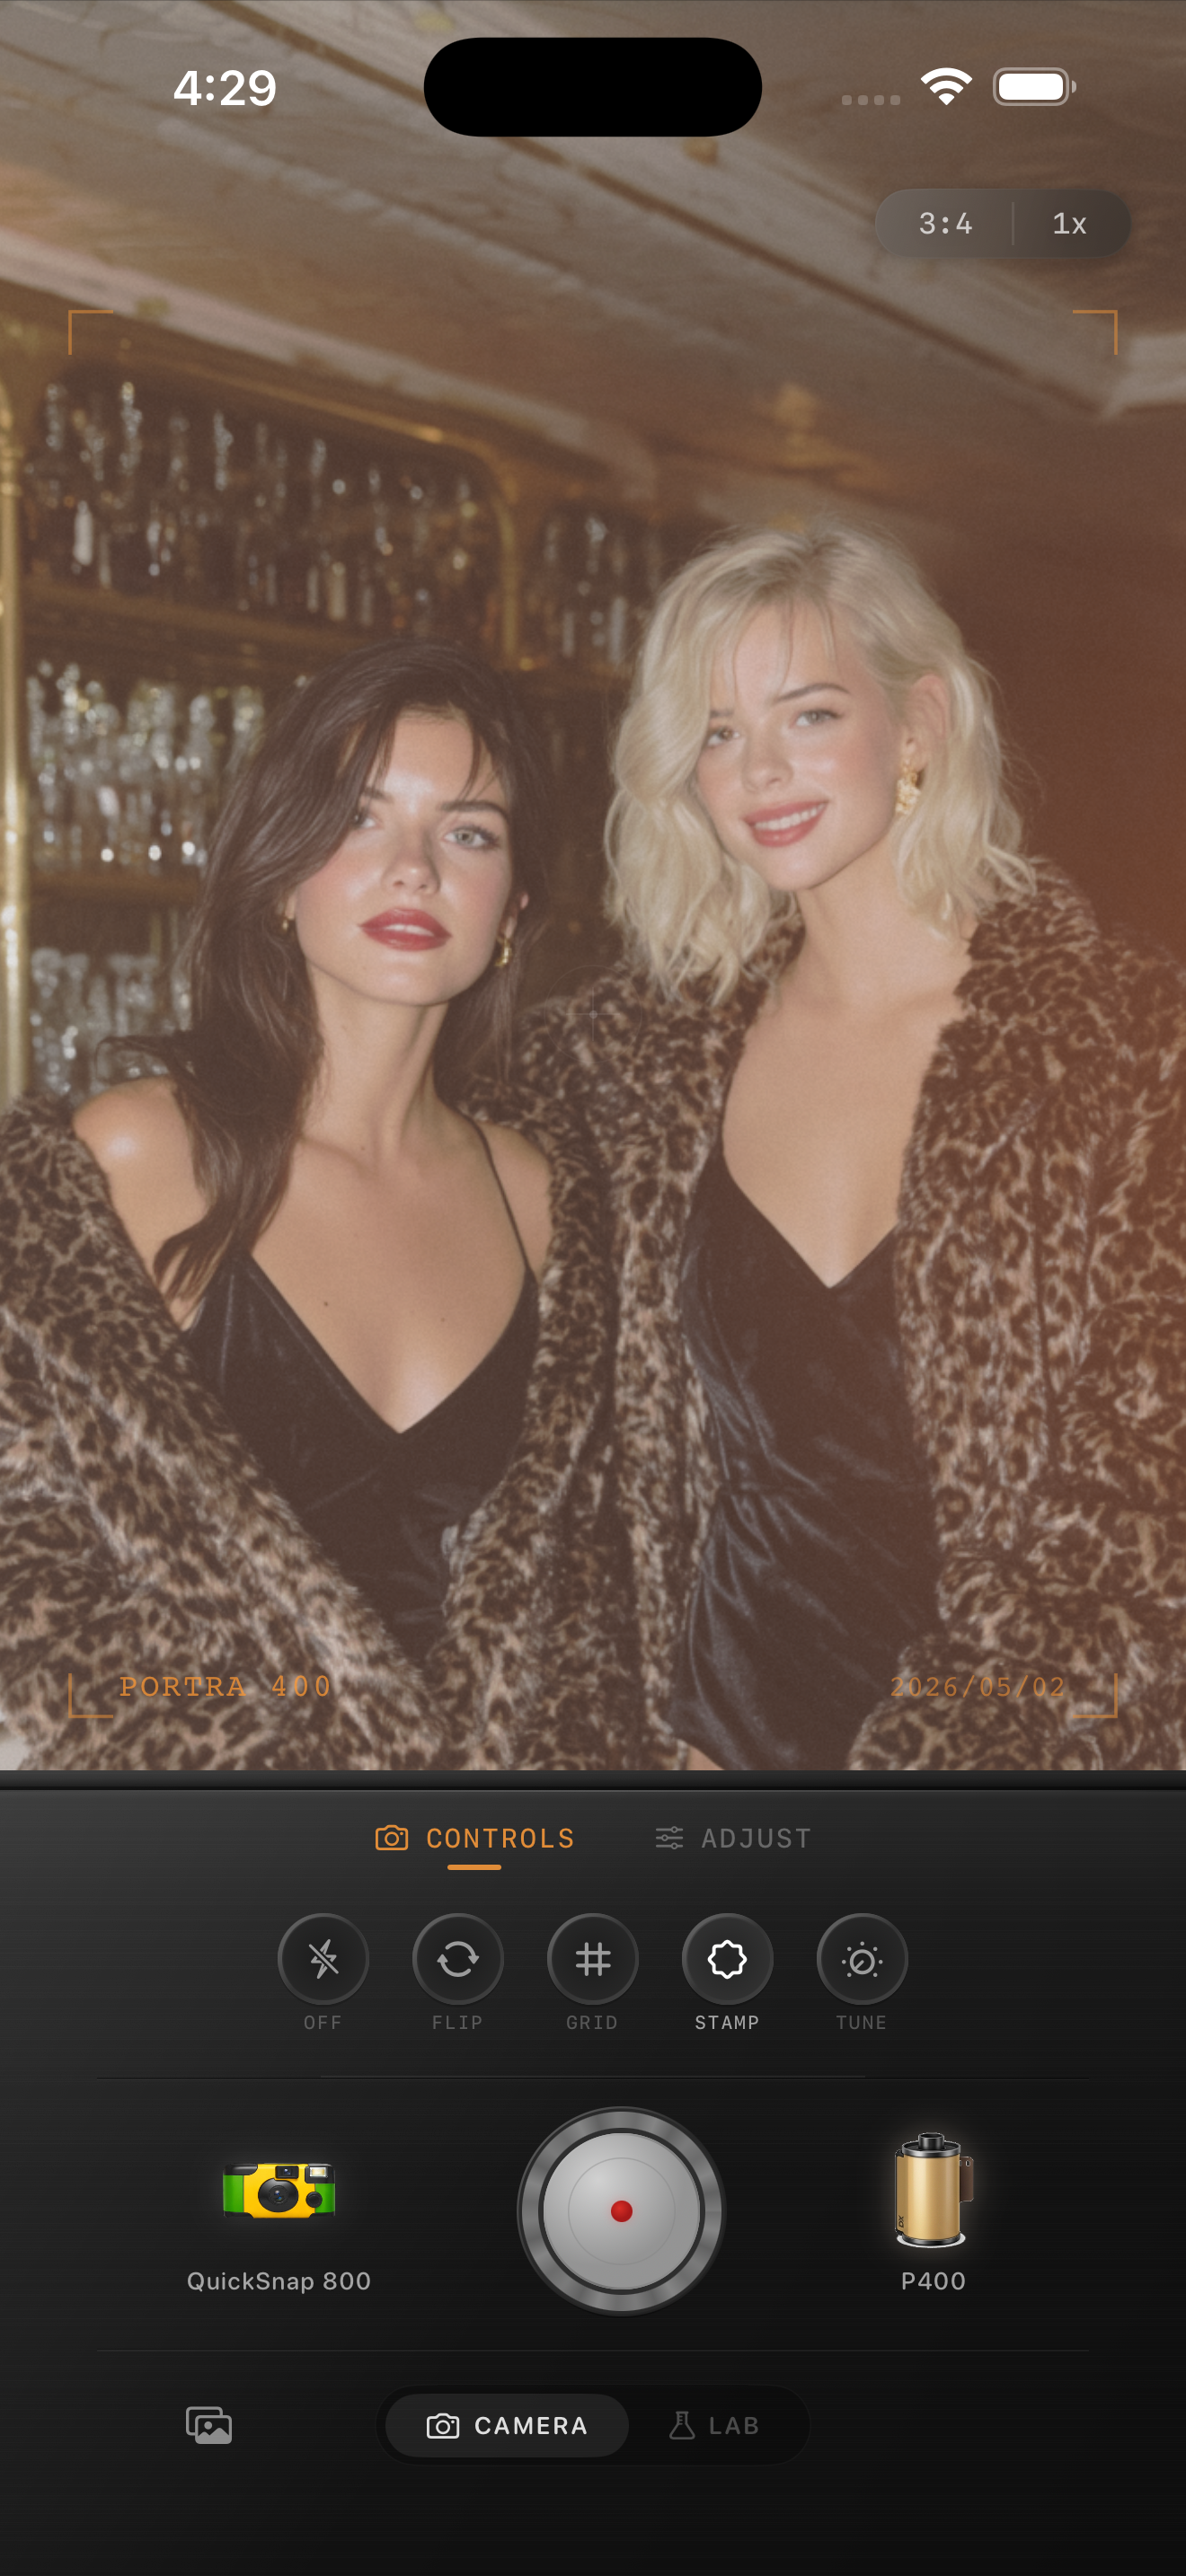
Keep the original beside the edit as you work. You do not need to remove every green tint: a green edge on a sleeve or a wall may be exactly what made the room feel like Halloween. The goal is to keep that color from spreading across skin, pale costumes, and every dark corner. The image above is an existing low-light style reference, not a Halloween home comparison.
Use a face, a neutral detail, and one decoration as checks
Pick three small reference areas before you change the overall look: a cheek, forehead, or hand; something that should stay relatively neutral, such as a white collar, plate, or wall; and one intentional green or orange decoration. Revisit all three after each broad adjustment. If the face becomes green-gray, the neutral detail turns teal, and the decoration loses its distinct color, the film treatment is doing too much.
Do not try to fix green skin by making the entire photo aggressively warm. That can trade one cast for orange faces and brown shadows. Instead, lower the overall film intensity or choose a gentler film look first, then preserve the different light sources as separate parts of the scene.
- Let green lights stay green in the background instead of on every face.
- Keep a light-colored detail from becoming mint or yellow.
- Retain the warmer lamp or pumpkin glow without flooding the room with orange.
- Check the photo at normal sharing size before adding more texture.
Try a restrained colored-light film recipe
Start around film intensity 40–55%, grain 12–22%, warmth -2 to +4, fade 1–4%, and vignette 2–7%. Begin near the lower end when green LEDs are close to a face or when the original already has strong orange bulbs. These settings can soften the clinical iPhone finish while leaving enough contrast for the colored lights to stay intentional.
A cleaner compact-film or 35mm-inspired camera body is often a better starting point than a heavily distressed disposable effect. Busy decorations, dark rooms, and LEDs already create plenty of visual information; a quieter base helps the people and the room remain readable.
Add grain after the color separation feels right
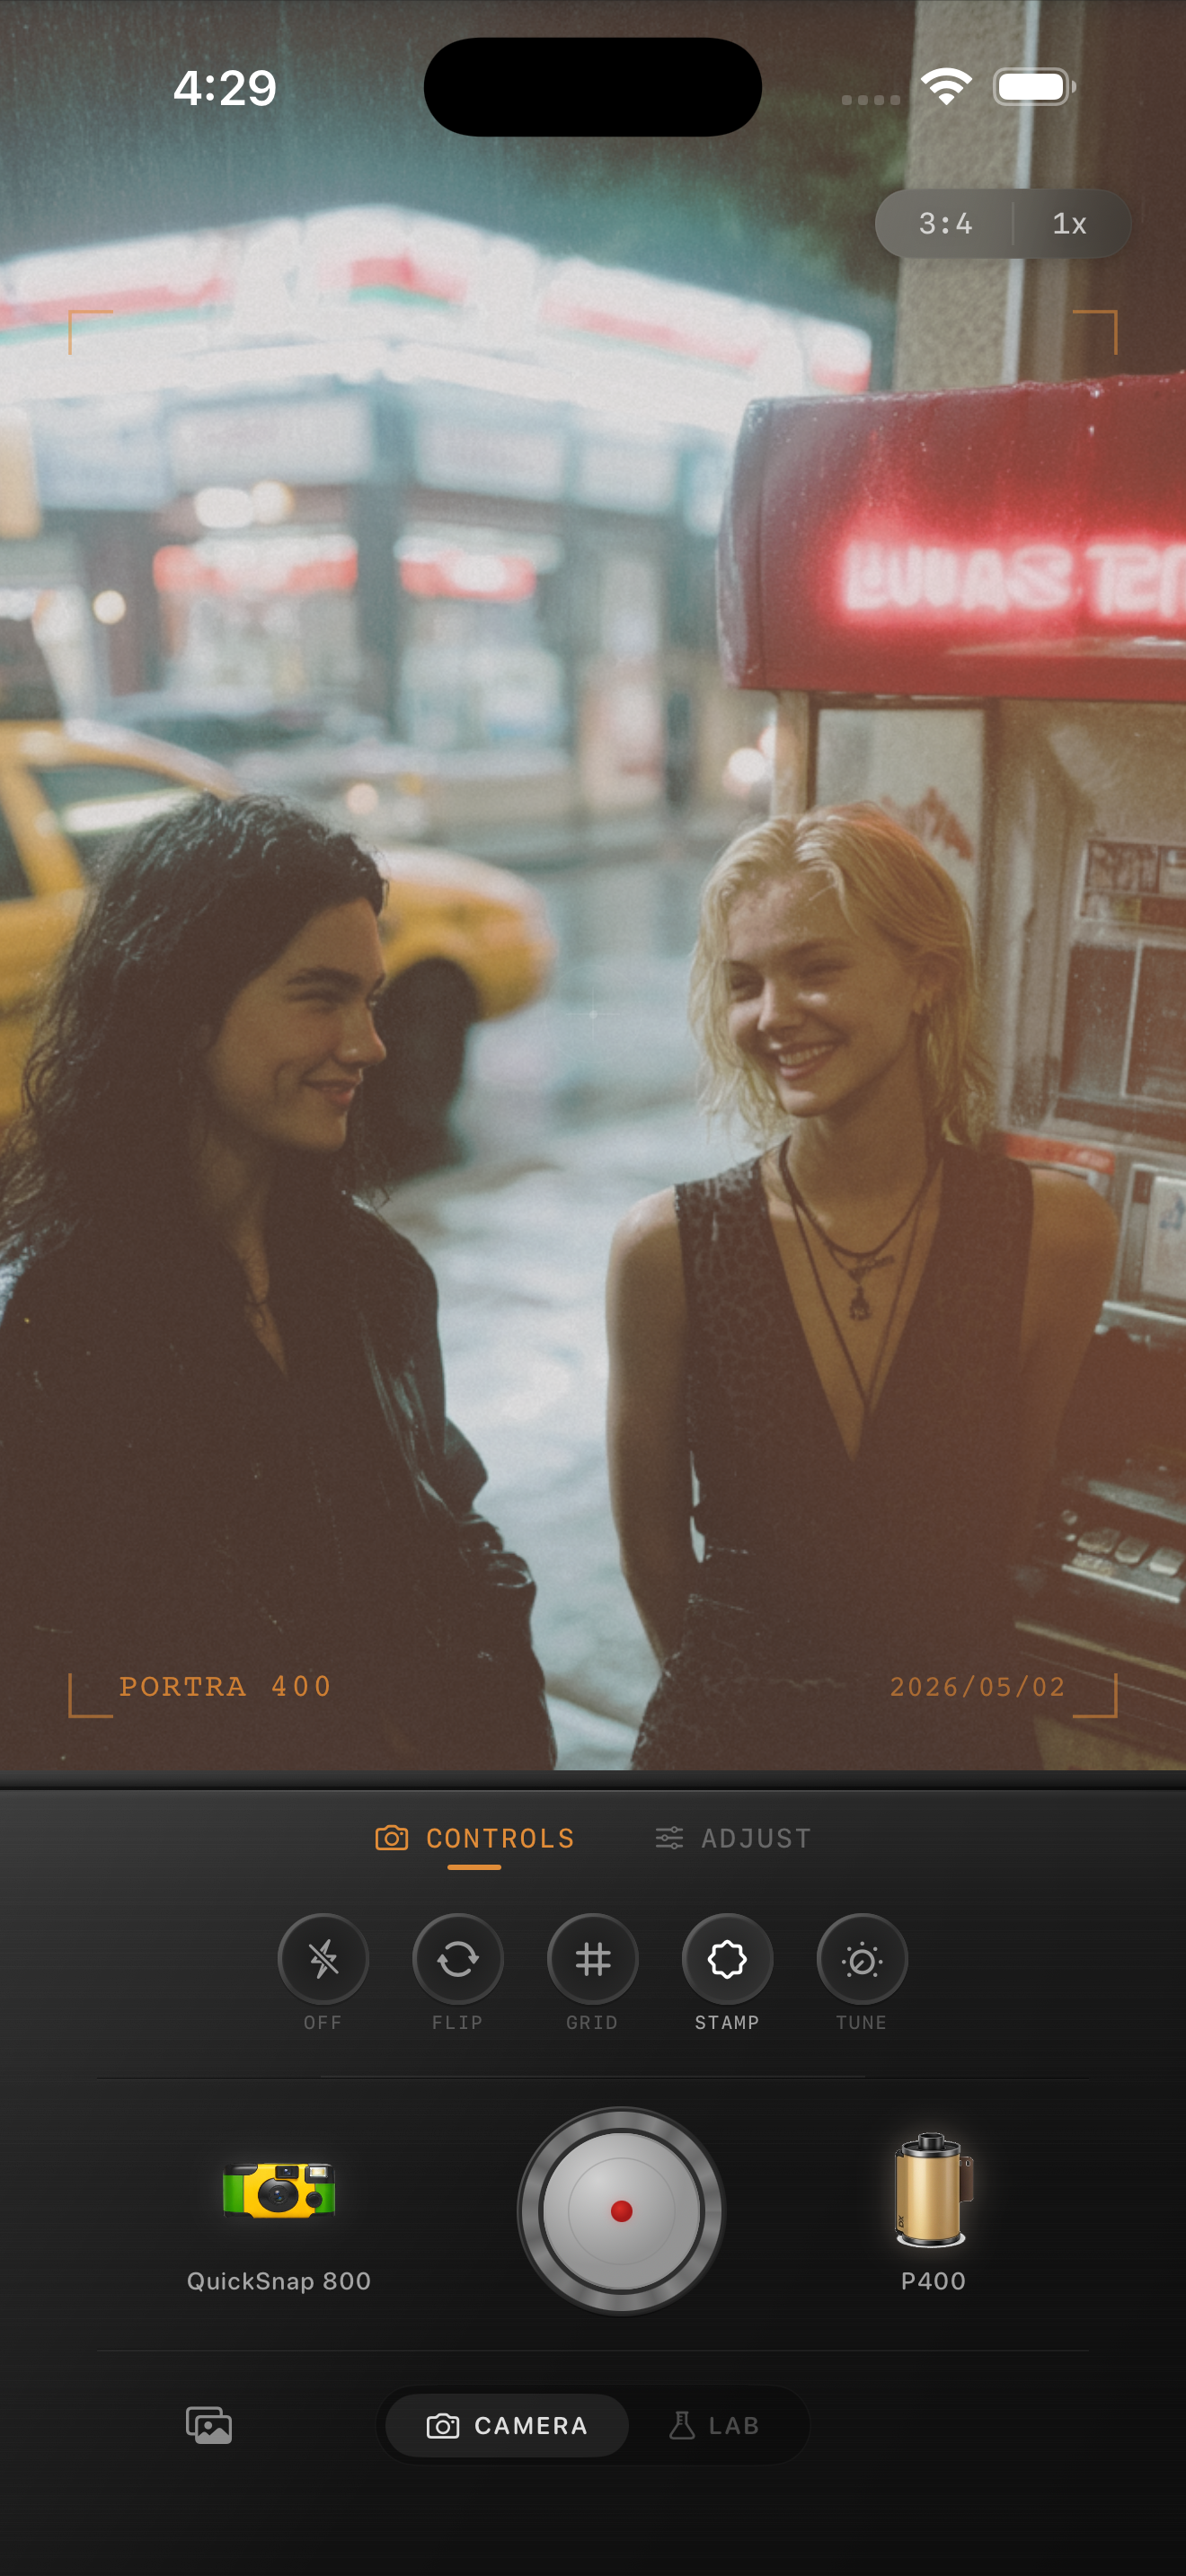
Indoor Halloween photos can already carry low-light noise in the walls and shadows. Balance the face, neutral detail, and colored decoration before adding grain, then watch a smooth shadow, a cheek, and a textured costume together. If the room turns sandy or the green light starts to bleed into noisy pixels before the photo feels more like a print, use less added texture.
Keep fade modest, too. A little can relax hard phone contrast, but too much removes the dark shape that separates a person from the room. Save two gentle versions and choose the one where you notice the people and the gathering before the effect.
Finish with a whole-room check
View the saved edit away from the sliders. Ideally, you notice the person or group first, then the Halloween colors and room, and only then the film character. If green skin, orange faces, or gritty darkness is the first impression, return to the lower-intensity version and let the original lighting carry more of the mood.
In the Nostalgia Cam Lab, compare camera bodies and film looks at moderate intensity before refining warmth, grain, fade, and vignette. That sequence makes it easier to keep a set of indoor Halloween photos cohesive while leaving room for each corner's different lights and decorations.
Keep the Halloween color and the people believable
Import your Halloween home photos into the Nostalgia Cam Lab, compare camera bodies and film looks at moderate intensity, then refine warmth, grain, fade, and vignette. Check a face, a neutral detail, and one green or orange decoration before saving the version that feels most like the room.
FAQ
Why does green LED light make skin look strange in my iPhone Halloween home photos after a film edit?
Green LEDs can tint the original capture, and a strong film look, fade, or broad color shift can spread that cast into skin and neutral areas. Compare a face, a light neutral detail, and the green decoration together, then lower the broad treatment before adding more warmth.
Should I remove all green from indoor Halloween photos?
Usually no. Green light can be part of the Halloween atmosphere. Keep it visible on decorations or the background, but use a gentler overall look when it makes faces, white clothing, or walls look green-gray.
How much grain should I add to a low-light Halloween room photo?
Start modestly after color and contrast are balanced. Check a smooth shadow and a face at normal phone size; if either looks sandy before the image feels more tactile, reduce the grain rather than increasing the effect.