
Editing guide
How to Edit iPhone Storefront Reflections to Look Like Film
Give storefront reflections a film-inspired finish while keeping reflected streets, window displays, and overlapping faces easy to read.
Choose which layer should lead
A shop window can put a street, a display, and your own reflection into one frame. Before choosing a film look, decide what you want someone to notice first. It might be a reflected pedestrian framed by a window display, or a mannequin with buildings passing across its face. Name that subject in a few words; use it to judge every adjustment.
For example, if a reflected red coat is the subject, keep enough color and outline for the coat to remain recognizable. The objects behind the glass can stay softer. If the display itself is the subject, a bright reflected car may be a distraction even when its color looks attractive. A successful edit gives the layers an order.
Pick the overlap before fixing the color
Compare nearby frames before editing. Look for a face that falls in an uncluttered patch, a reflected building that frames the display, or a street sign that does not cross an eye. Two strong subjects directly on top of one another are often harder to read than a slightly quieter frame.
When taking another photo, move a small distance sideways and watch how the reflected scene lines up with the objects behind the window. Keep the phone position steady while waiting for a pedestrian to enter a clear area. For this kind of photograph, the reflection is part of the composition; you do not have to eliminate it.
Crop only after choosing the strongest overlap. Leave a little window frame or a display edge if it helps explain the layered image. Removing every clue that glass is present can make the scene confusing rather than mysterious.
Protect the boundary around the main subject
In the Nostalgia Cam Lab, begin with a restrained film treatment and little added grain. Watch three places: the main subject, the brightest reflected patch, and one dark outline that separates the layers. Compare film looks using those same places each time.
If an outline disappears only after applying the look, reduce film intensity or compare a gentler camera body. If it was already hidden in the original, a film treatment cannot reconstruct what the reflection covered. Choose a different frame or accept that area as an abstract shape.
Avoid darkening the entire photo just to tame one bright reflection. You may lose the display behind the glass before the bright patch becomes useful. Keep the subject readable and let some small reflections remain bright.
Let street light and display light stay different
A cool street reflected over a warm shop interior can help separate the layers. Add warmth slowly and check whether that distinction survives. If pavement, skin, and display lighting all become the same orange, back off the warmth or film intensity.
Use a familiar object as a color reference, such as a shirt or a paper price card, while allowing it to reflect the light around it. The goal is believable relationships between colors, not making every white surface perfectly neutral.
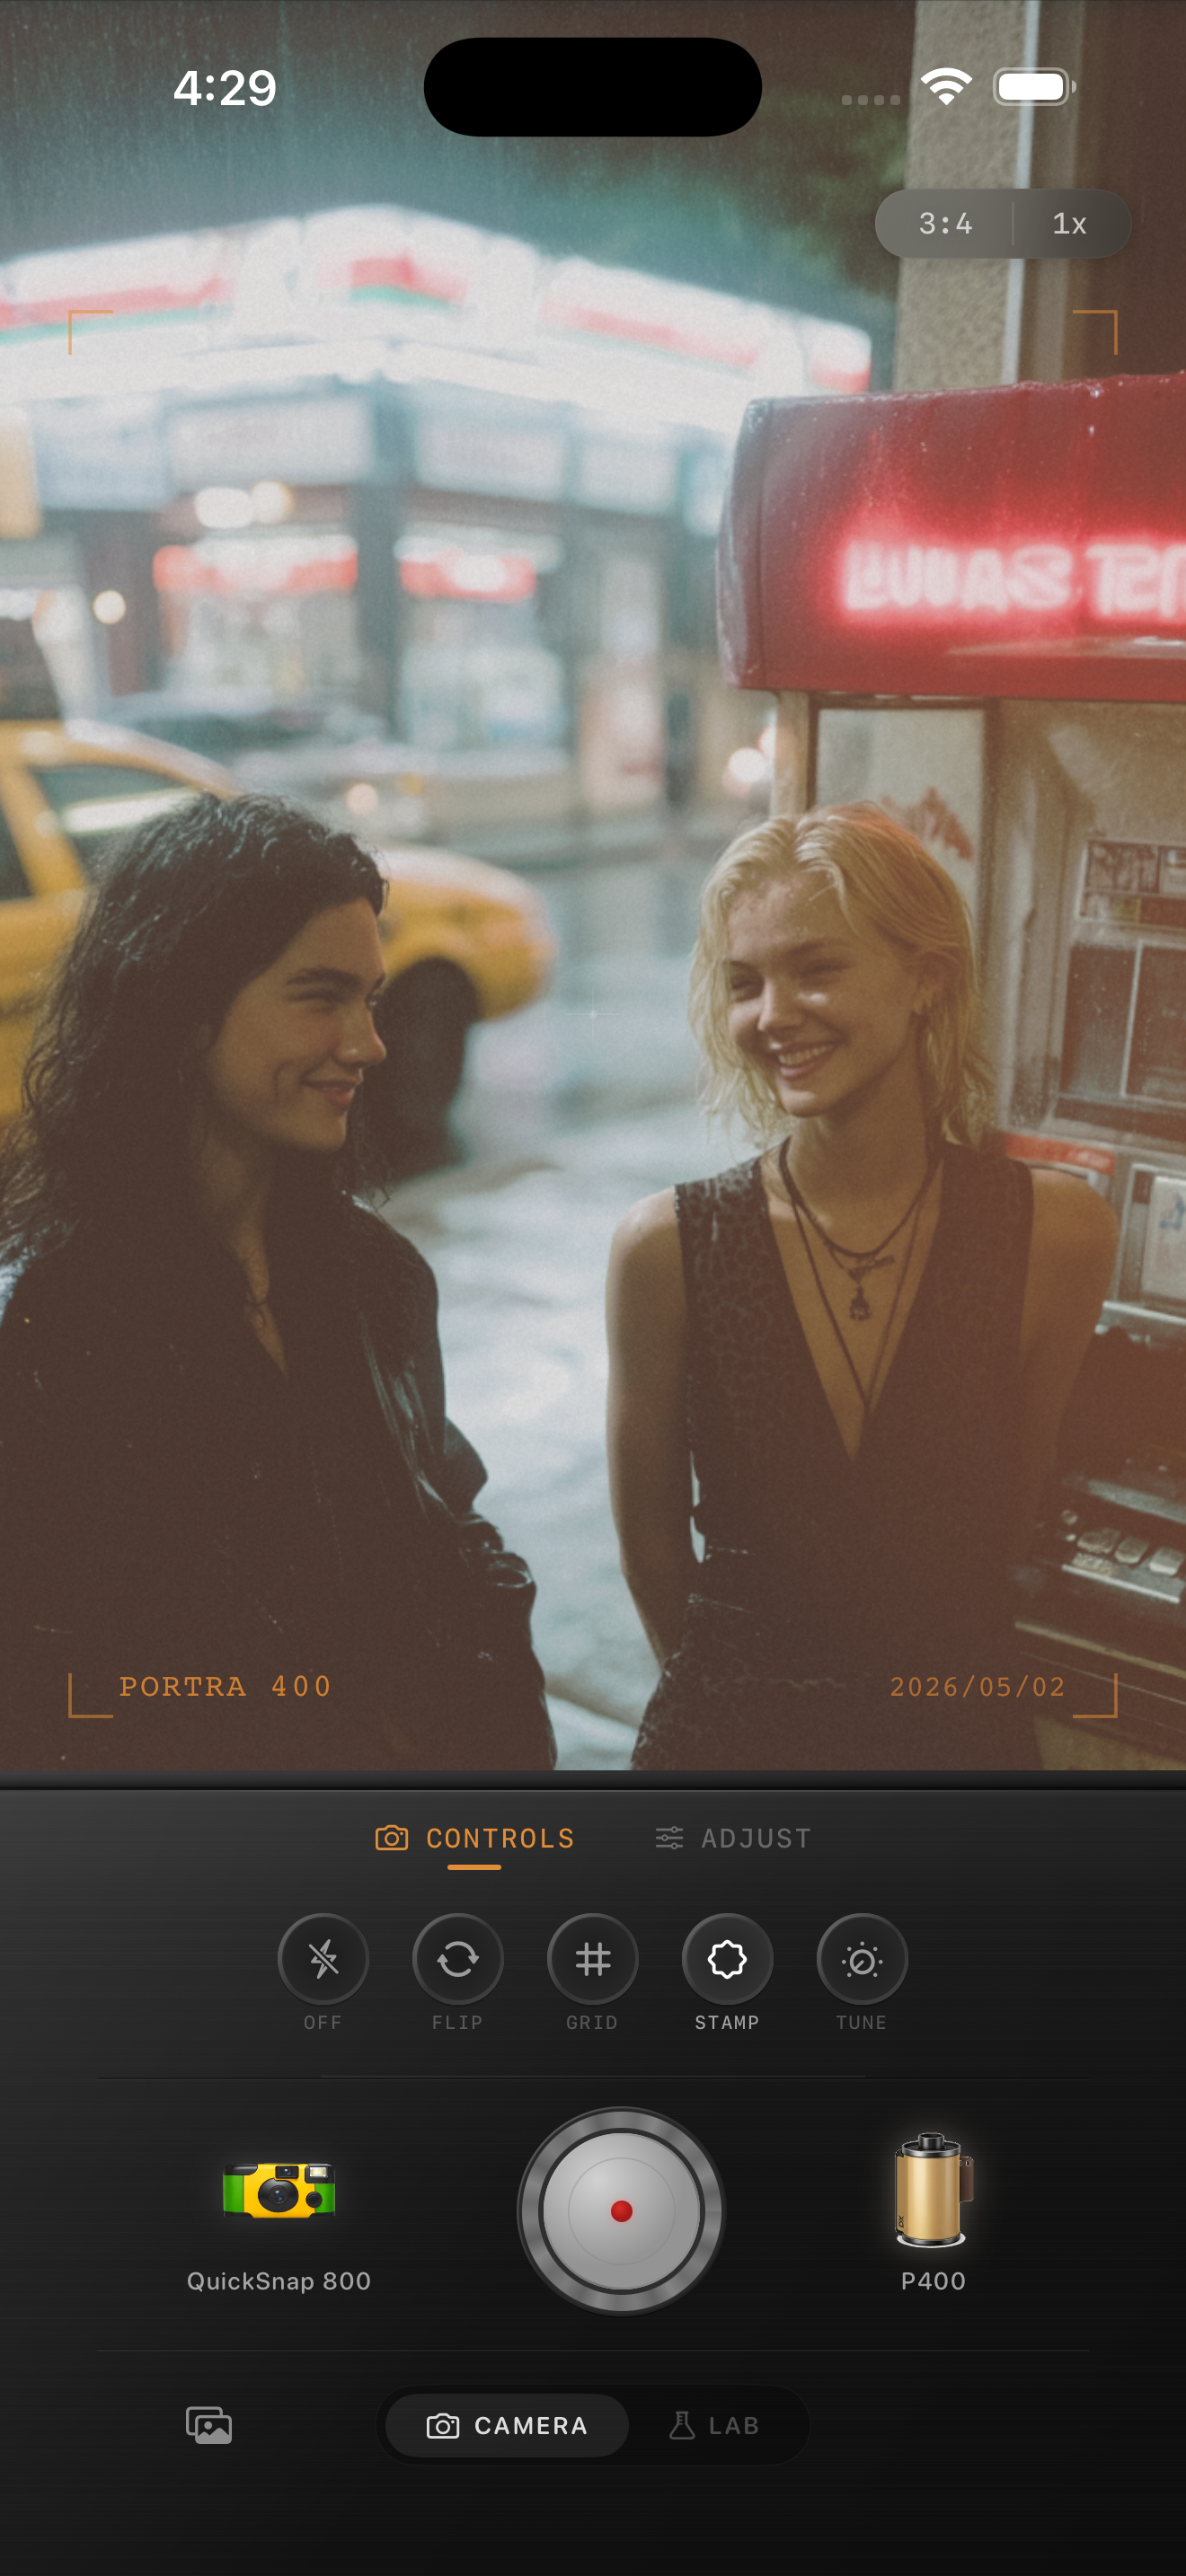
The diner image on this page is a reference for warm color and readable people, not a before-and-after example of editing glass. Any film or camera brand names visible in app previews describe stylistic inspiration. Nostalgia Cam is not affiliated with or endorsed by those brands.
Add texture only after the layers read clearly
Glass already contributes overlapping lines, small highlights, and sometimes visible marks. Introduce grain gradually while watching the busiest part of the image. If you start confusing added texture with display lettering or a distant face, reduce it.
Keep fade restrained when the window already looks hazy. Too much can bring dark outlines closer in brightness to the reflections crossing them. Likewise, check vignette against a subject near the edge; dark corners should not bury the person you chose as the focal point.
Compare the finished photo at its sharing size
Save a gentle version and a stronger version with the same crop. View both at the size someone will see on a phone, then inspect the important overlaps more closely. Choose the version that preserves the intended first impression, even if the stronger treatment has more obvious texture.
Keep the original alongside the export so you can revisit the composition without applying another finish over an already textured file.
- Can you find the main subject without zooming in?
- Does a window edge or another visual clue explain the reflection?
- Do warm and cool areas still help separate the scene?
- Has grain stayed quieter than faces, lettering, and important outlines?
Try a layered street edit in Nostalgia Cam
Import your chosen storefront photo into the Nostalgia Cam Lab, compare camera bodies and film looks, then adjust warmth, fade, grain, and vignette while keeping your main subject in view. Save the version where the reflection adds to the story.
FAQ
Can a film filter remove a storefront reflection?
A film filter changes color and texture; it does not reliably separate a reflection from the scene behind the glass. For this workflow, keep a useful reflection as part of the composition. If it hides the subject, try a different frame or shooting angle.
Why do window reflections look muddy after a film edit?
Overlapping subjects may already have weak separation. Strong fade, warmth, or grain can make those layers harder to distinguish. Compare with the original, reduce the treatment, and watch a specific outline around the main subject.
How much grain should I add to a shop window photo?
Start with very little and judge the busiest overlap at the final viewing size. Add only enough to support the finish while keeping faces, display details, and important lettering readable. A densely layered image may need less texture than a simple street scene.