
Editing guide
How to Edit iPhone Dog Portraits to Look Like Film Without Losing Fur Detail
Give dog portraits a gentle film look while keeping eyes readable, coat colors familiar, and fur texture clear. A practical iPhone editing workflow.
Choose the expression and the detail you want to keep
A dog portrait can feel like an old family snapshot without turning the coat into a smooth patch or a layer of gritty noise. Start with a frame where the expression works and some fur detail is already visible. A film finish can change the mood, but added grain will not recover whiskers or eyes that are missing from a blurred source.
Compare nearby frames at the size you plan to share. For a face portrait, look for a readable eye, the shape of the muzzle, and a clear ear outline. For a dog running through a room, the pose may matter more than individual hairs. Decide which kind of photograph you have before trying to make every part equally crisp.
Keep the original and edit a copy. Choose three small reference areas: one eye, a patch of fur on the cheek or chest, and the boundary between the dog and the background. Return to these areas after each major change.
Frame the portrait around the dog
Try a crop that gives the face room while keeping the ears and nose comfortably inside the frame. If the dog is looking sideways, leave some space in that direction. A tight crop that trims whiskers or the tip of an ear can feel more distracting than a little empty floor.
Watch the background where it touches the coat. A dark dog against a dark sofa may need a different frame more than a stronger filter. If you can take another photo, try a position near soft window light and a background with a different tone. Get closer to the dog’s eye level when that produces a clearer expression, and let the dog settle into a comfortable position.
- Keep a visible gap between an ear and a nearby furniture edge when possible.
- Avoid enlarging a tiny face just to fill the frame; judge whether the wider scene tells the story better.
- Finish the crop before deciding how much grain the portrait needs.
Match the film color to the coat
Import the chosen photo into the Nostalgia Cam Lab and compare film looks with restrained intensity. Judge the coat before judging the room. A golden coat should still have variation between lighter and darker hairs; a white chest should not become the same orange as a nearby lamp.
For a black coat, watch the muzzle and cheek rather than trying to make the entire dog brighter. Keep enough separation to recognize the face without making the coat look gray. For a white coat, compare a bright patch with the original. If texture is visible before the film look but disappears afterward, reduce the treatment or try a gentler look.
Warmth is a mood choice, not a requirement. Increase it only while the familiar coat color still feels believable. If you like the room’s warm light but dislike the changed fur color, try lower film intensity before adding more adjustments.
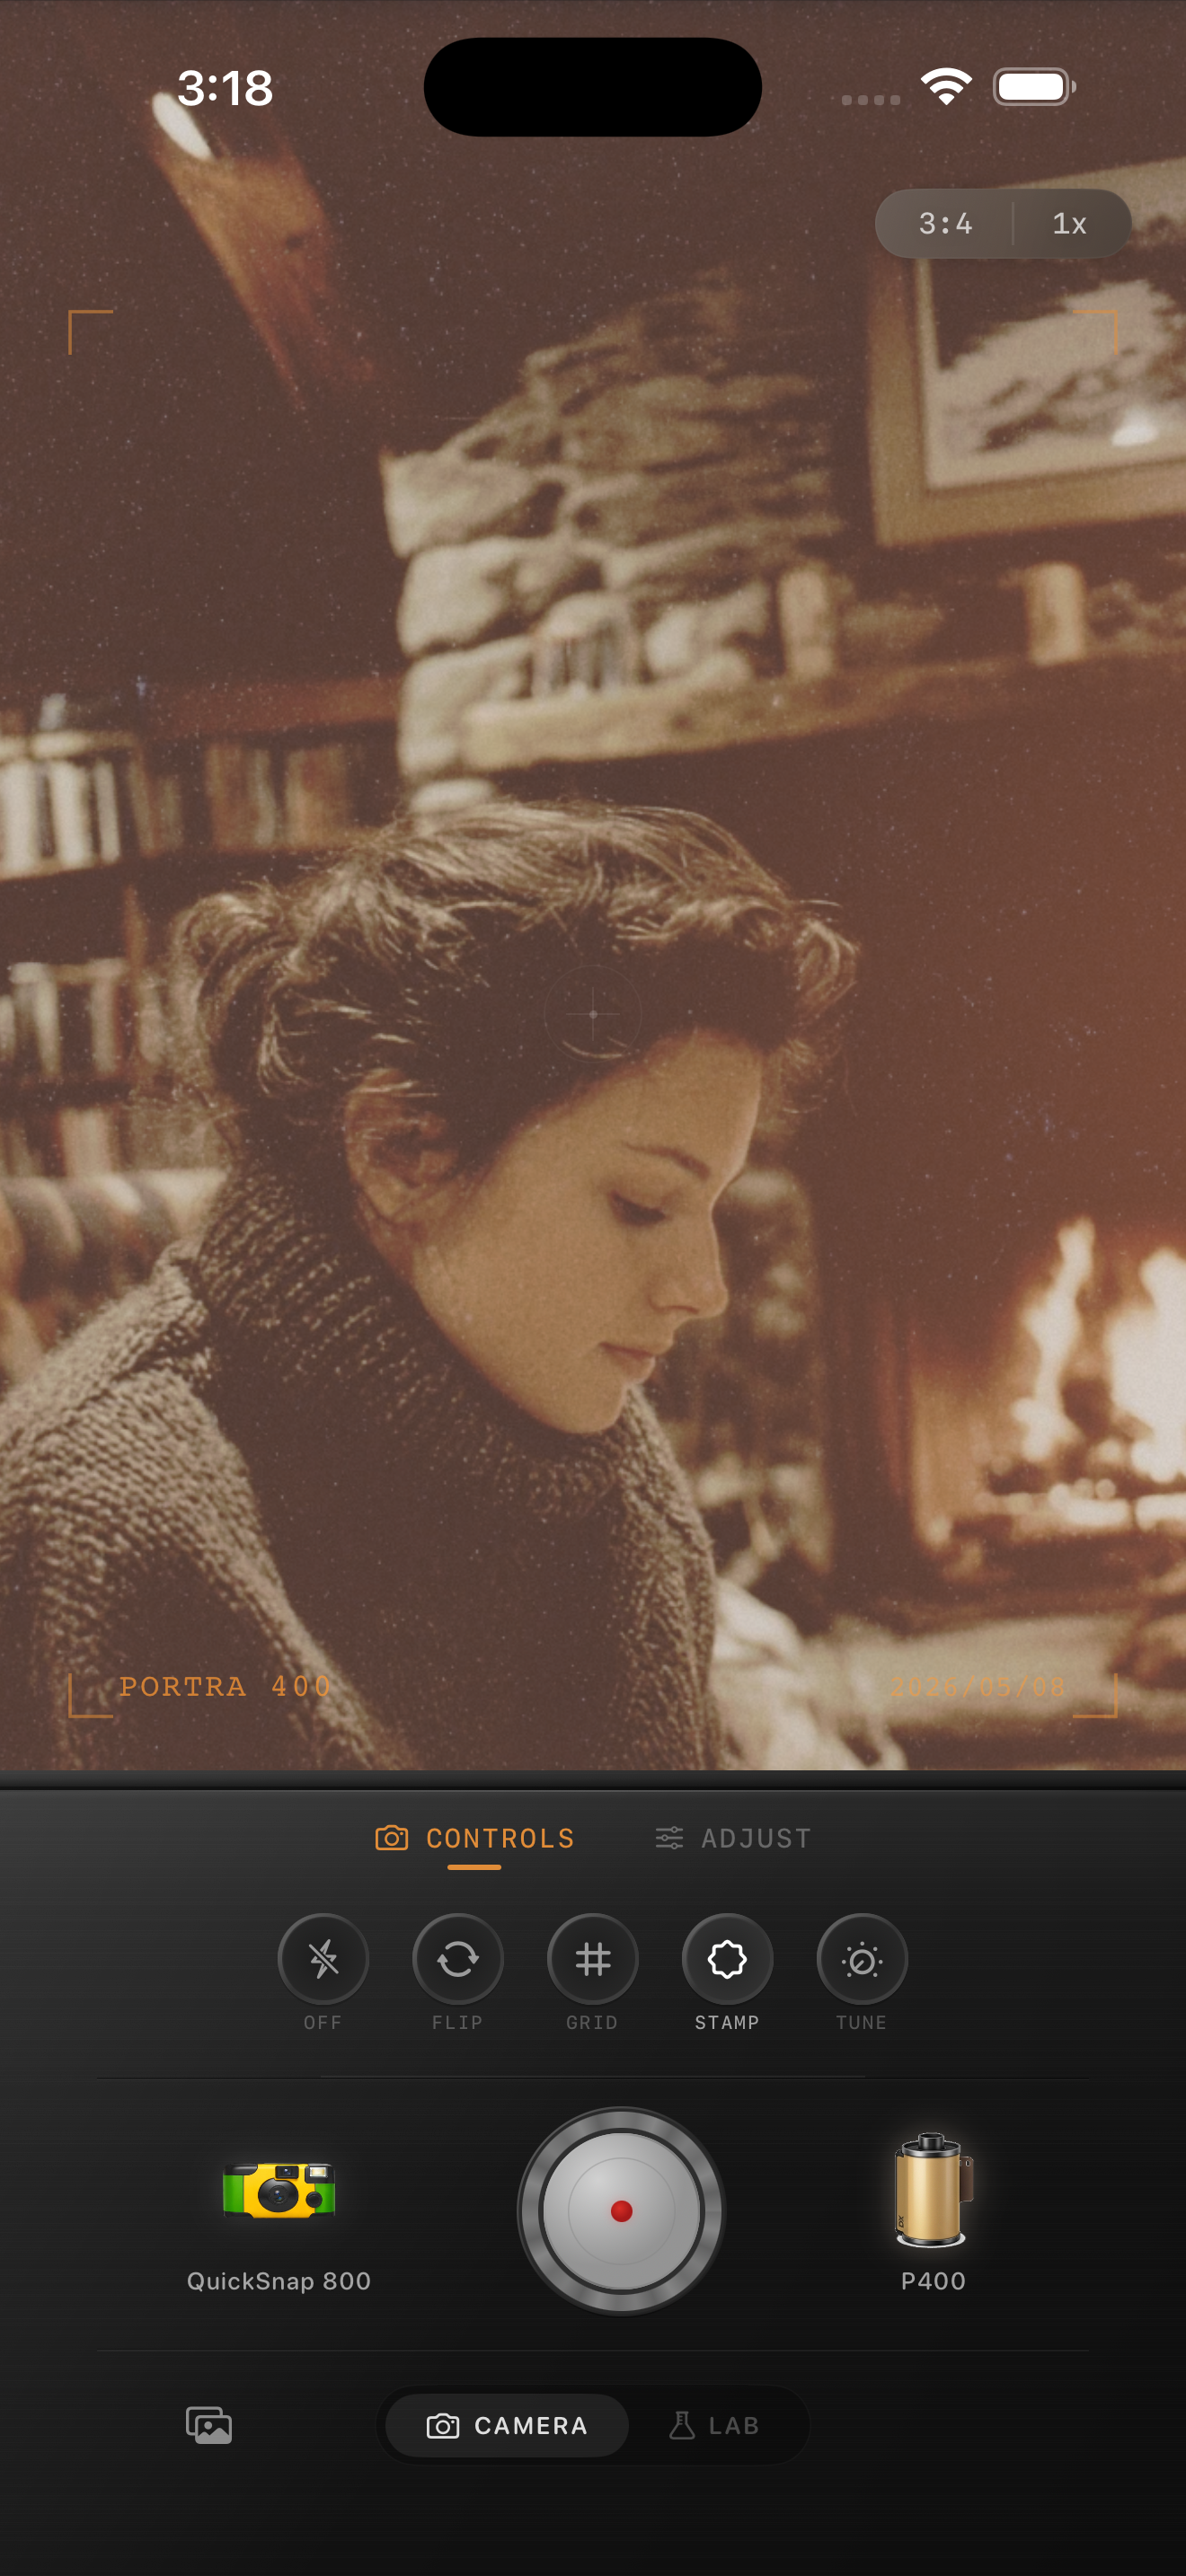
The fireplace preview above is a reference for warm color and visible texture, not a pet portrait or a before-and-after demonstration. Film names visible in the preview describe stylistic inspiration. Nostalgia Cam is not affiliated with or endorsed by the film brands shown.
Keep eyes and muzzle readable as you soften the finish
A gentle portrait does not need a blurred face. Compare camera bodies while watching the same eye and cheek. If a particular camera character makes the face harder to read, choose a cleaner-looking option before trying to compensate with stronger grain.
Add fade gradually and check whether the eye still separates from the surrounding coat. A little softness in the dark tones may suit a sleepy dog on a blanket; too much can flatten the face. Likewise, a strong vignette may darken an ear or paw near the edge. Reduce it when it competes with the animal’s outline.
For a black-and-white dog, judge the dark face and white chest together. A setting that helps one patch but erases the other is a reason to back off. You do not need every hair to stand out, but the markings that make the dog recognizable should survive the edit.
Add grain after the fur looks right
Start with little grain, then increase it while switching between the full portrait and a closer view of the cheek. Look for the point where texture starts to interrupt the direction of the fur. Back off if fine hairs become a speckled pattern or if the nose becomes the noisiest part of the image.
Short smooth coats and long curly coats may need different finishes. On smooth fur, extra grain can be conspicuous across a broad patch. On curly fur, it can compete with an already busy pattern. There is no single useful percentage for both; let the coat and final viewing size set the limit.
For a practical comparison, save one restrained version and one with a little more grain. Keep color, crop, and fade the same. View them at equal size and choose the one where the expression draws your attention first.
Use a final portrait check
Look away briefly, then reopen the finished picture. Notice what you see first: the dog, the room, or the effect. If the answer is the effect, revisit the setting that is most visible instead of changing everything at once.
For example, with a black dog on a pale blanket, keep the pale fabric quiet enough that the face remains the subject. With a white dog on a dark rug, protect the bright fur’s texture and avoid a vignette that makes the paws disappear. The same film look can work for both, but the final adjustments should follow the photograph.
- The expression and main eye remain readable at the intended sharing size.
- Coat markings and color still resemble the original dog.
- The important ear, muzzle, and paw outlines remain clear.
- Grain supports the finish without becoming a substitute for fur detail.
Give a favorite dog portrait a gentle film finish
Import your photo into the Nostalgia Cam Lab, compare camera bodies and film looks, then adjust warmth, fade, vignette, and grain while watching the eyes and coat. Save the version that keeps your dog’s expression and markings familiar.
FAQ
Can film grain fix blurry fur in an iPhone dog photo?
No. Grain adds texture rather than restoring the original hair detail. Use a clearer source frame when fur detail matters. A slightly blurred action photo can still work if the pose and expression remain readable, but edit it for that moment rather than expecting sharp whiskers.
Why does my dog’s white fur look yellow after a film filter?
The source lighting, added warmth, or the film look may be shifting the coat color. Compare with the original, reduce warmth, and try lower film intensity. Keep enough of the room’s light to feel natural while avoiding a uniform yellow cast across the coat.
How much grain should I use on a dog portrait?
Begin with very little and judge a cheek or chest patch at the final viewing size. Stop before the grain breaks up recognizable fur patterns or distracts from the eyes. Compare two versions with the same color and crop so texture is the only difference.