
Editing guide
How to Edit iPhone Photos to Look Like Film in Mixed Indoor Lighting
A practical iPhone film workflow for rooms with lamps, windows, overhead bulbs, and restaurant light: cleaner skin tones, softer contrast, believable warmth, and grain that does not turn muddy.
Mixed light is where edits usually fall apart
Rooms with a window, a lamp, overhead bulbs, candles, or restaurant fixtures create several color temperatures at once. On iPhone, that often turns into orange highlights, gray skin, green corners, and shadows that feel lifeless.
A good film-inspired edit does not force every part of the frame to match perfectly. It keeps the scene warm and believable while making the different light sources feel intentional instead of accidental.
- Correct the ugliest color cast first, not every tiny variation.
- Let warm lamps stay warm, but keep faces from going orange.
- Use moderate grain so dark corners do not turn muddy.
- Prefer softer contrast over heavy saturation.
Decide which light source is the mood
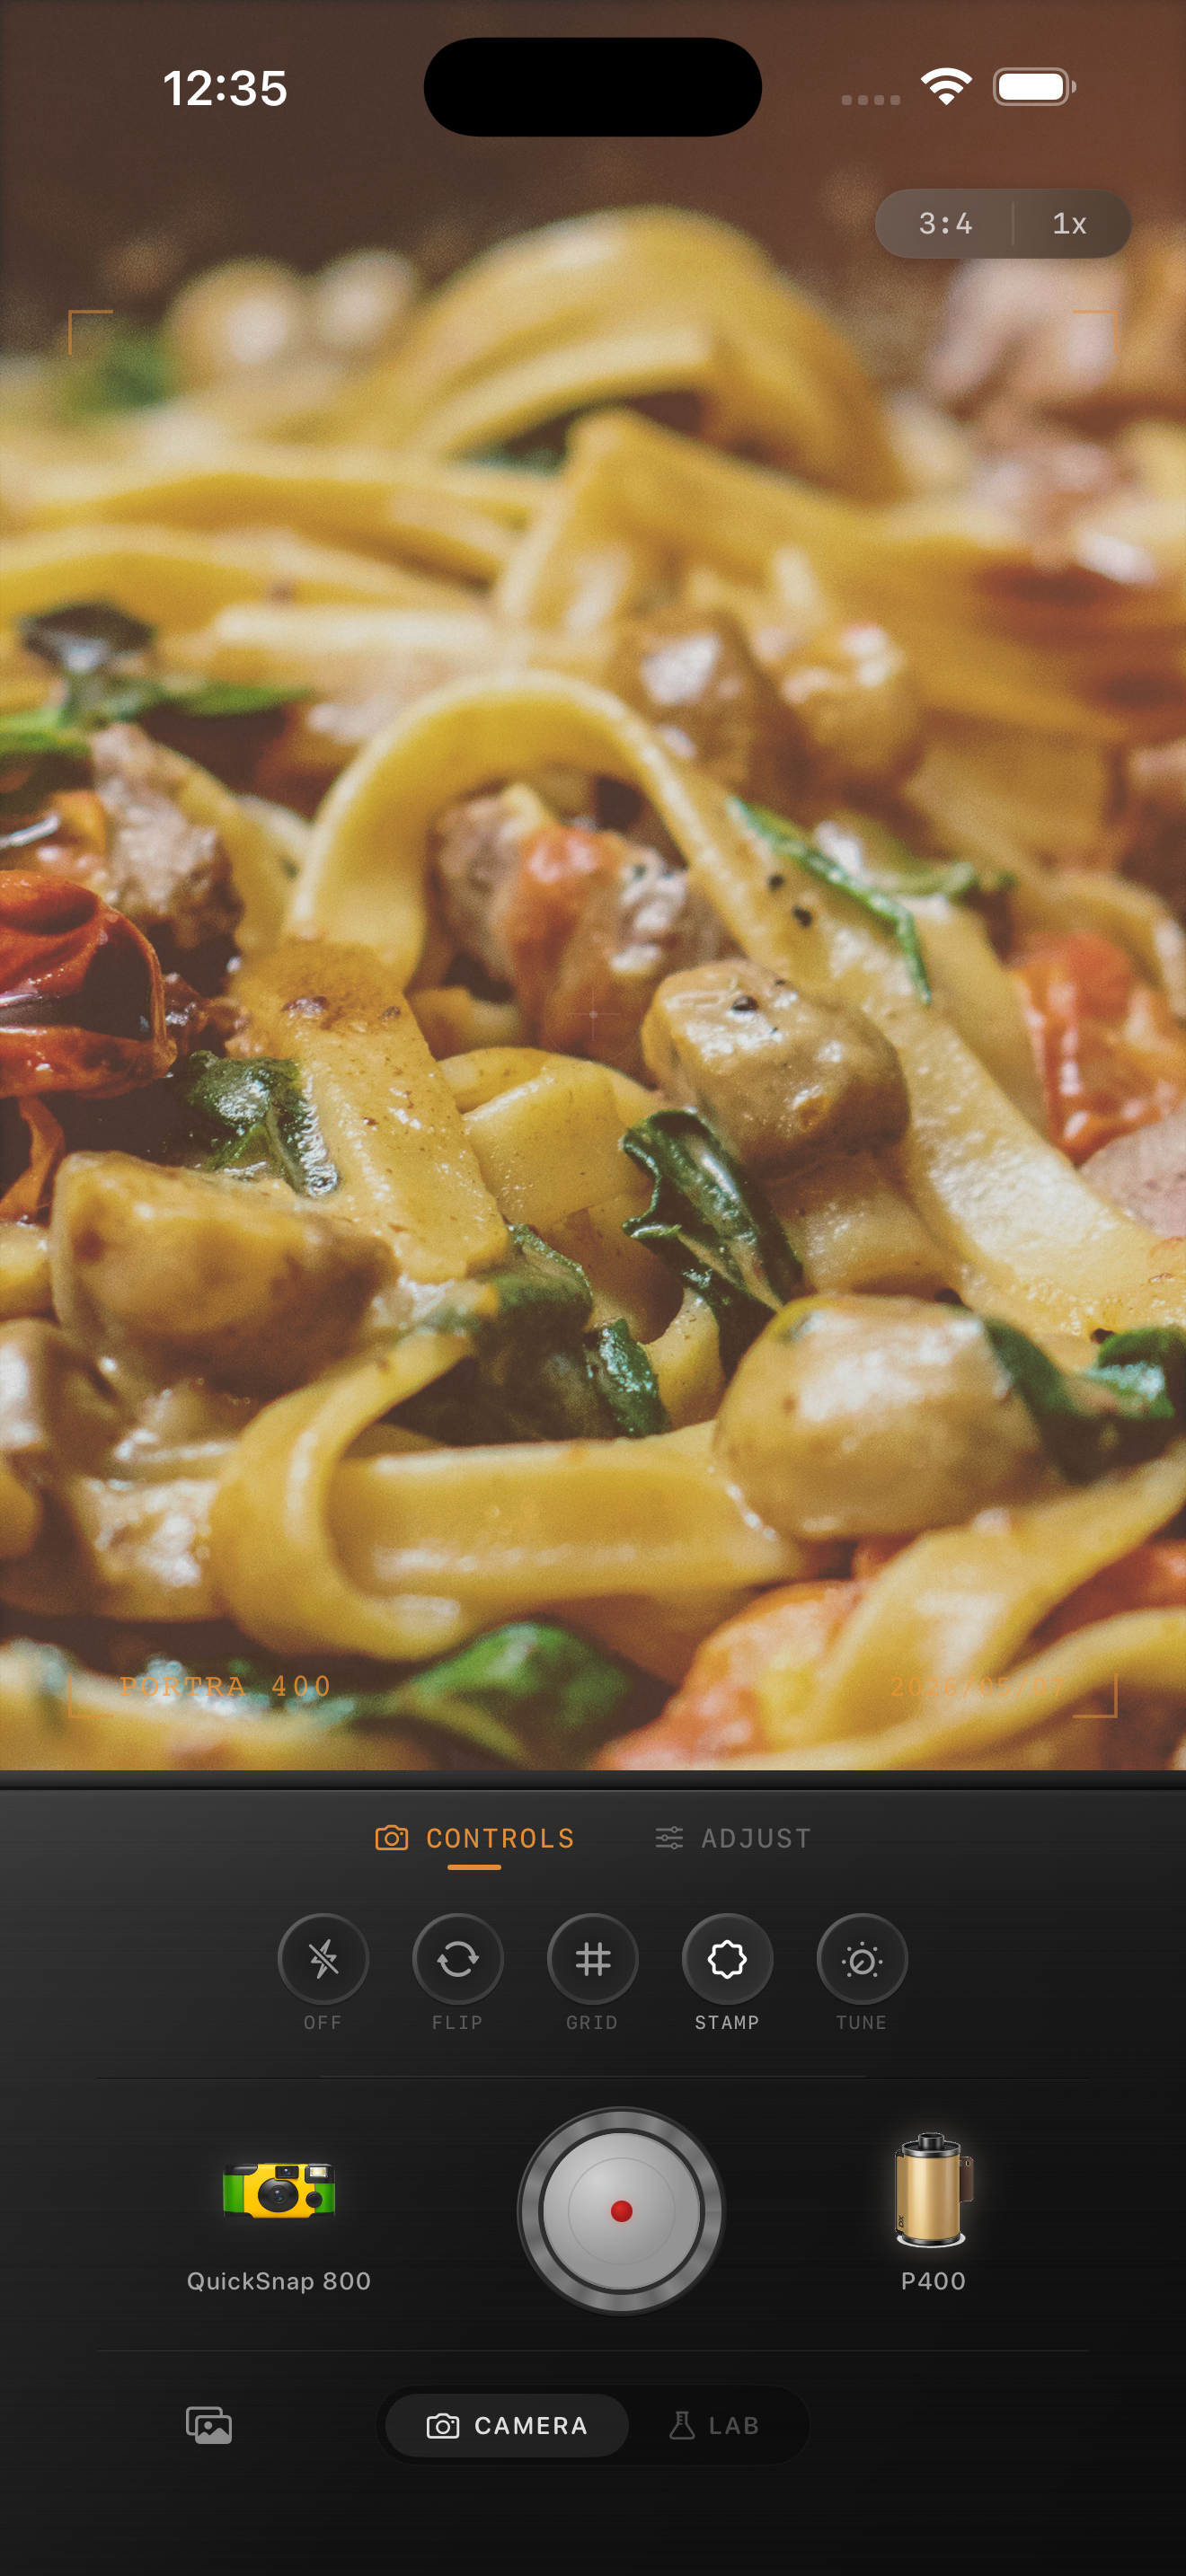
Before you touch grain or vignette, choose what the image is supposed to feel like. In a dinner photo, the warm table light may be the story. In a living room portrait, window light might matter more than the lamp in the background.
Once you choose the dominant mood, edit the rest of the frame around it. That keeps the image coherent instead of split between several competing white balances.
A reliable mixed-light film baseline
Start around film intensity 70-84%, grain 24-36%, warmth +6 to +14, fade 4-9%, and vignette 4-10%. If the room is already very amber, use less warmth and rely more on softness, fade, and subdued greens.
Mixed indoor light often looks best when grain stays controlled. Texture should support the mood in shadows and tabletops without making skin or walls feel dirty.
Protect skin before chasing atmosphere
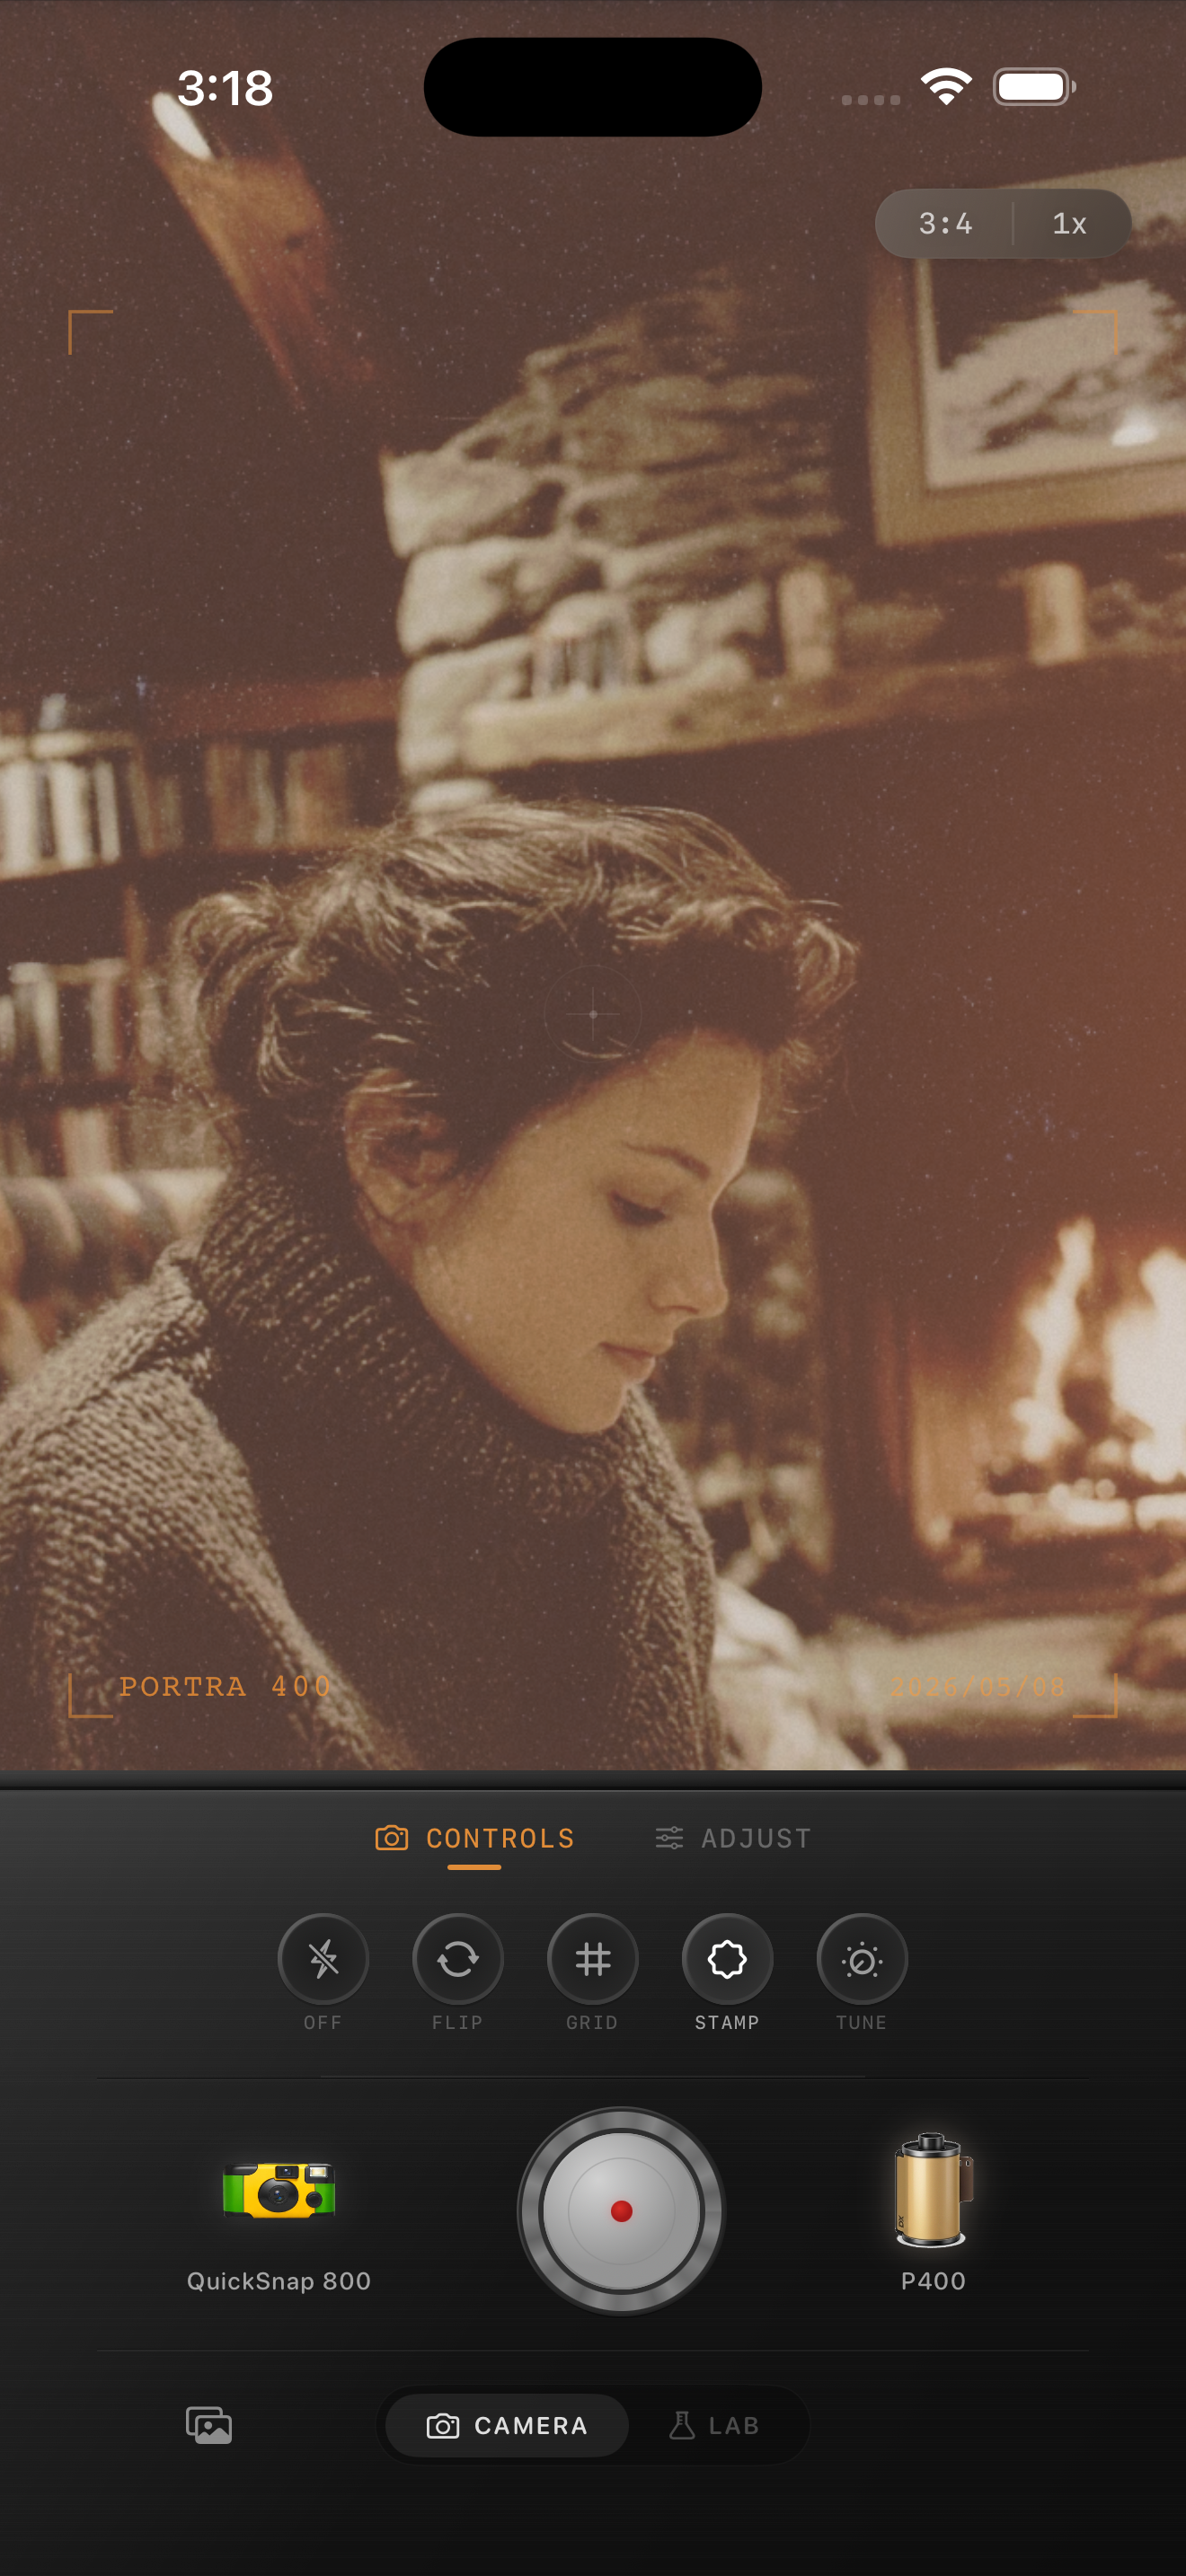
The easiest way to ruin a mixed-light edit is to chase cozy warmth until people look sunburned. Get skin and neutral surfaces into a believable range first, then add the nostalgic mood with grain, fade, and subtle vignette.
If the image includes window spill plus tungsten bulbs, leave a little coolness in the shadows. That contrast can make the room feel dimensional and more like real film instead of a uniform orange wash.
Let the room stay imperfect
Real film handles uneven indoor light with personality. A corner can stay darker, a lamp can glow warm, and the window can keep a hint of cool contrast. You do not need to neutralize everything for the edit to feel finished.
The result should feel like a memory in a real room, not a corrected product photo.
Make indoor light feel cozy without turning muddy
Use Nostalgia Cam to balance warm lamps, cooler window light, grain, and fade so dinners, living rooms, and late-night interiors feel natural and film-inspired.
FAQ
Why do mixed indoor light photos look strange on iPhone?
Because several light sources with different color temperatures confuse the balance of the scene. That can create orange highlights, dull skin, and muddy shadows if the edit is too aggressive.
Should I fully correct mixed indoor lighting before adding a film look?
Not completely. Fix the worst cast and keep skin believable, but leave some warm and cool separation so the room still feels real.