
Editing guide
How to Edit Cloudy Travel Photos to Look Like Film on iPhone Without Gray Skin
A practical cloudy-travel film workflow for iPhone photos: cleaner skin tones, softer contrast, restrained grain, and enough warmth to keep overcast memories from looking lifeless.
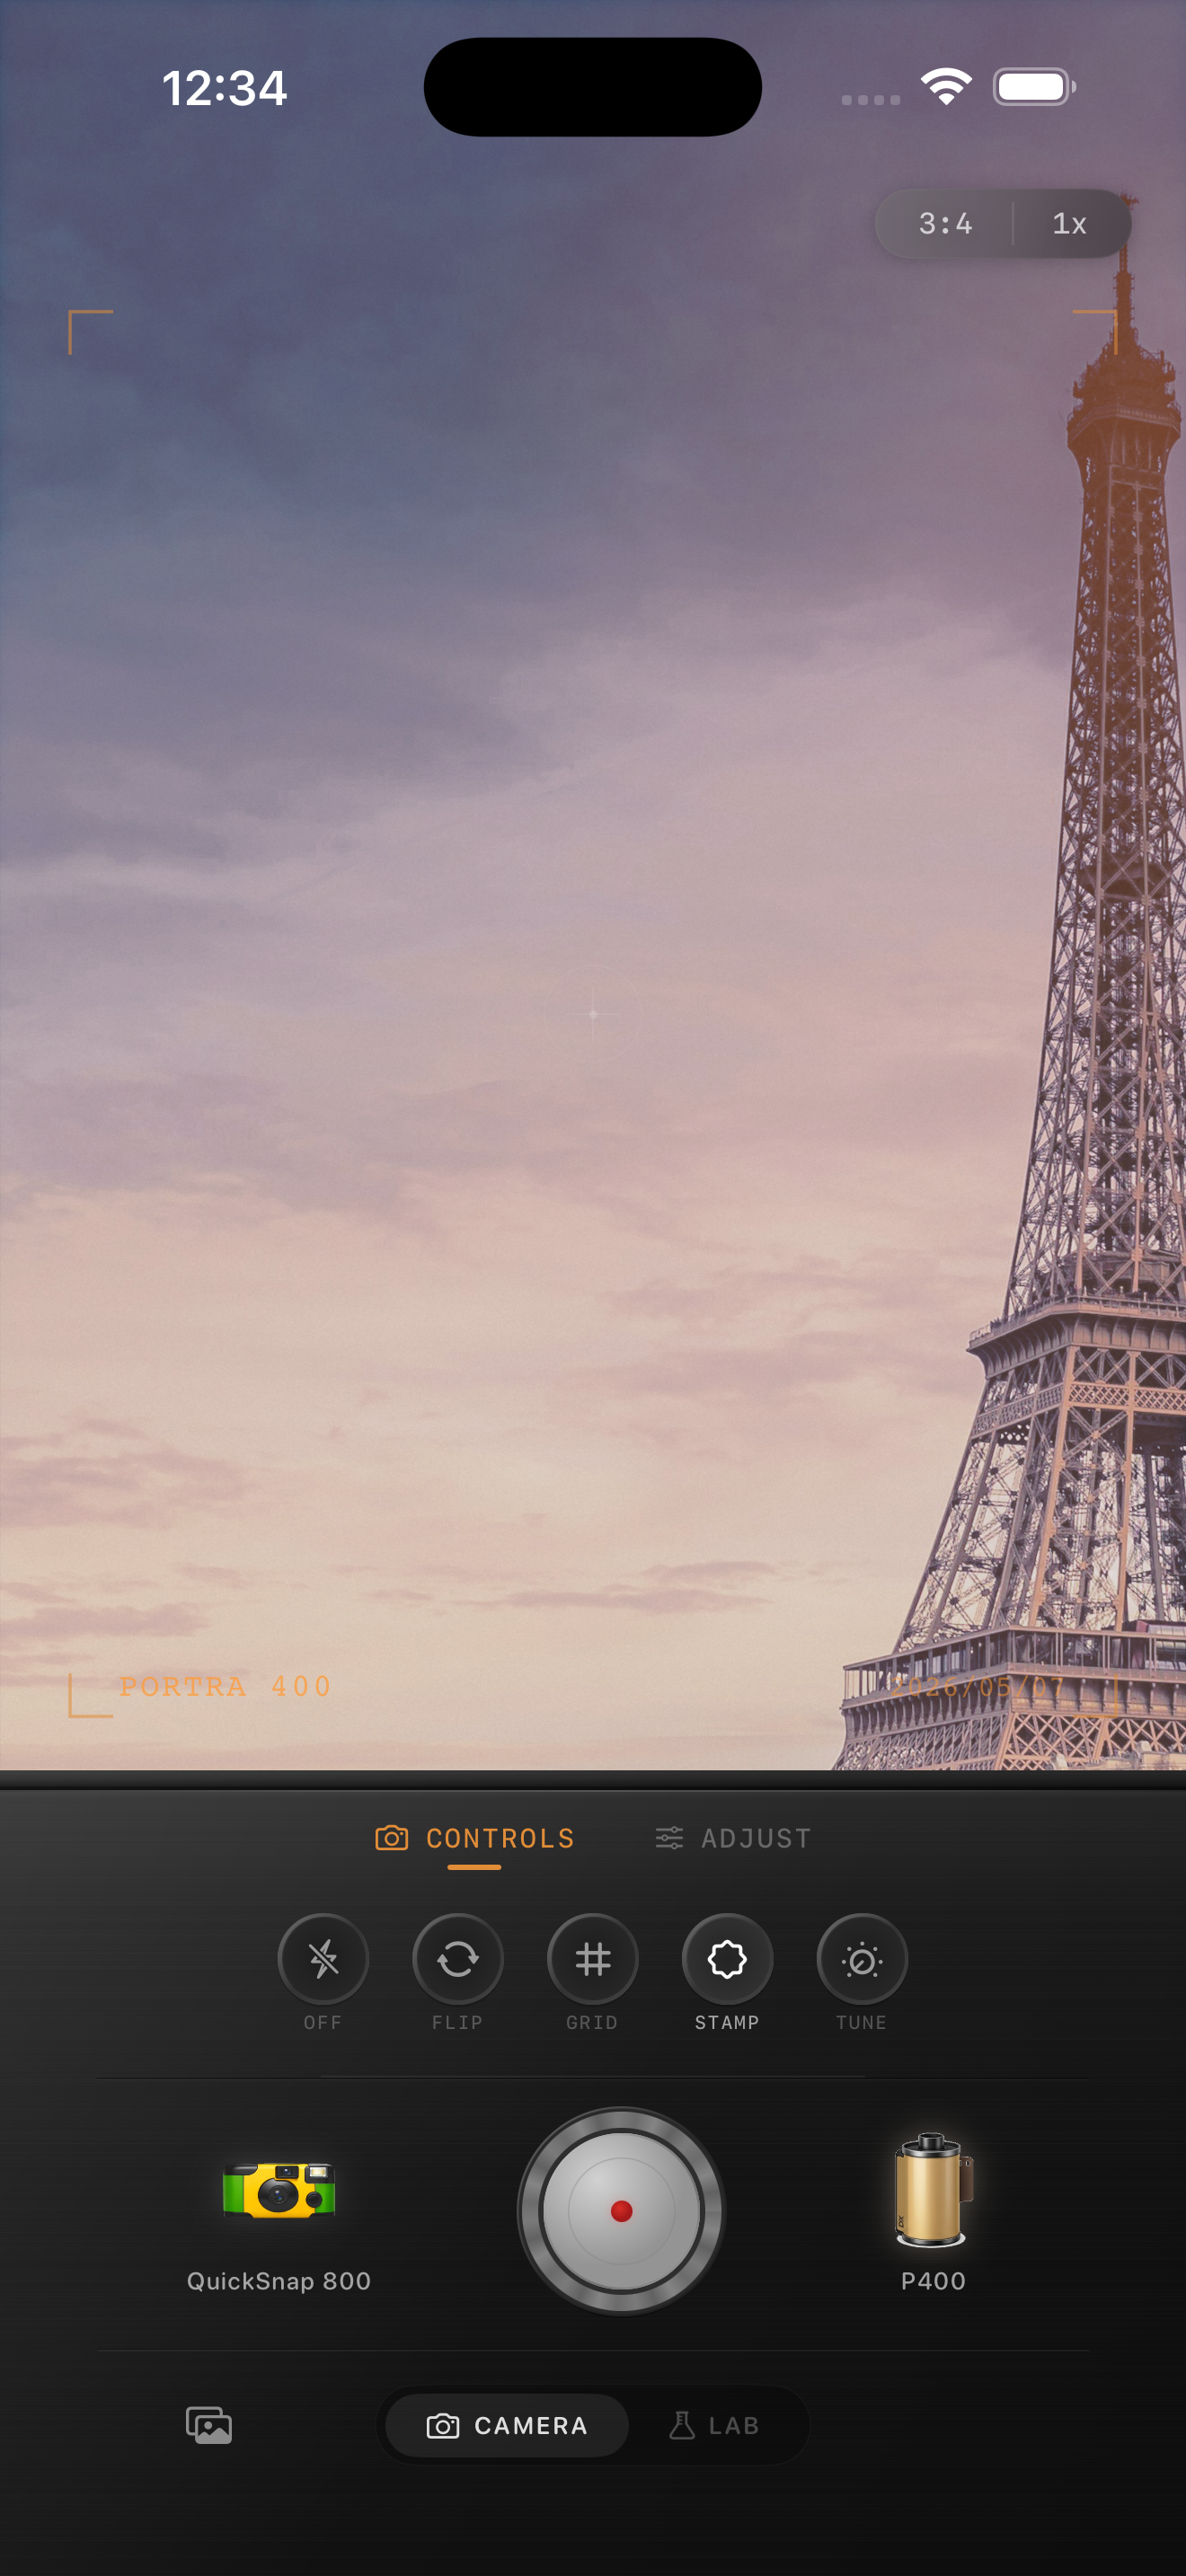
Cloudy travel photos get flat before they get nostalgic
Overcast travel light can look beautiful because it is gentle, but iPhone processing often turns that softness into something lifeless. Faces go a little gray, stone and pavement blend together, and the whole frame starts to feel cooler and flatter than the moment did in person.
A film-inspired edit should not force fake sunshine into the image. It should keep the calm overcast mood while bringing back enough warmth, tonal separation, and skin life that the photo still feels human.
- Warm the image carefully instead of pushing orange into skin.
- Keep grain restrained so pale buildings and sky stay clean.
- Use softness and fade to reduce the HDR feeling.
- Let coats, pavement, and architecture stay neutral enough to feel real.
Fix the face before styling the whole frame
In cloudy travel scenes, skin usually tells you first whether the edit is working. If faces still look ashy or slightly green-gray, the image will never feel like a good print no matter how nice the grain is.
Get skin back to believable first, then build the film mood around it. Once people look alive again, the rest of the scene can stay cooler and more subdued without feeling dead.
A reliable overcast travel baseline
Start around film intensity 68-82%, grain 18-28%, warmth +4 to +9, fade 4-8%, and vignette 3-7%. That range usually gives cloudy travel photos enough analog softness without making faces orange or pale stone turn muddy.
If the frame is mostly sky, pavement, or light architecture, lower grain first before adding more warmth. Cloudy travel edits usually look better when the texture stays subtle and the color does the work.
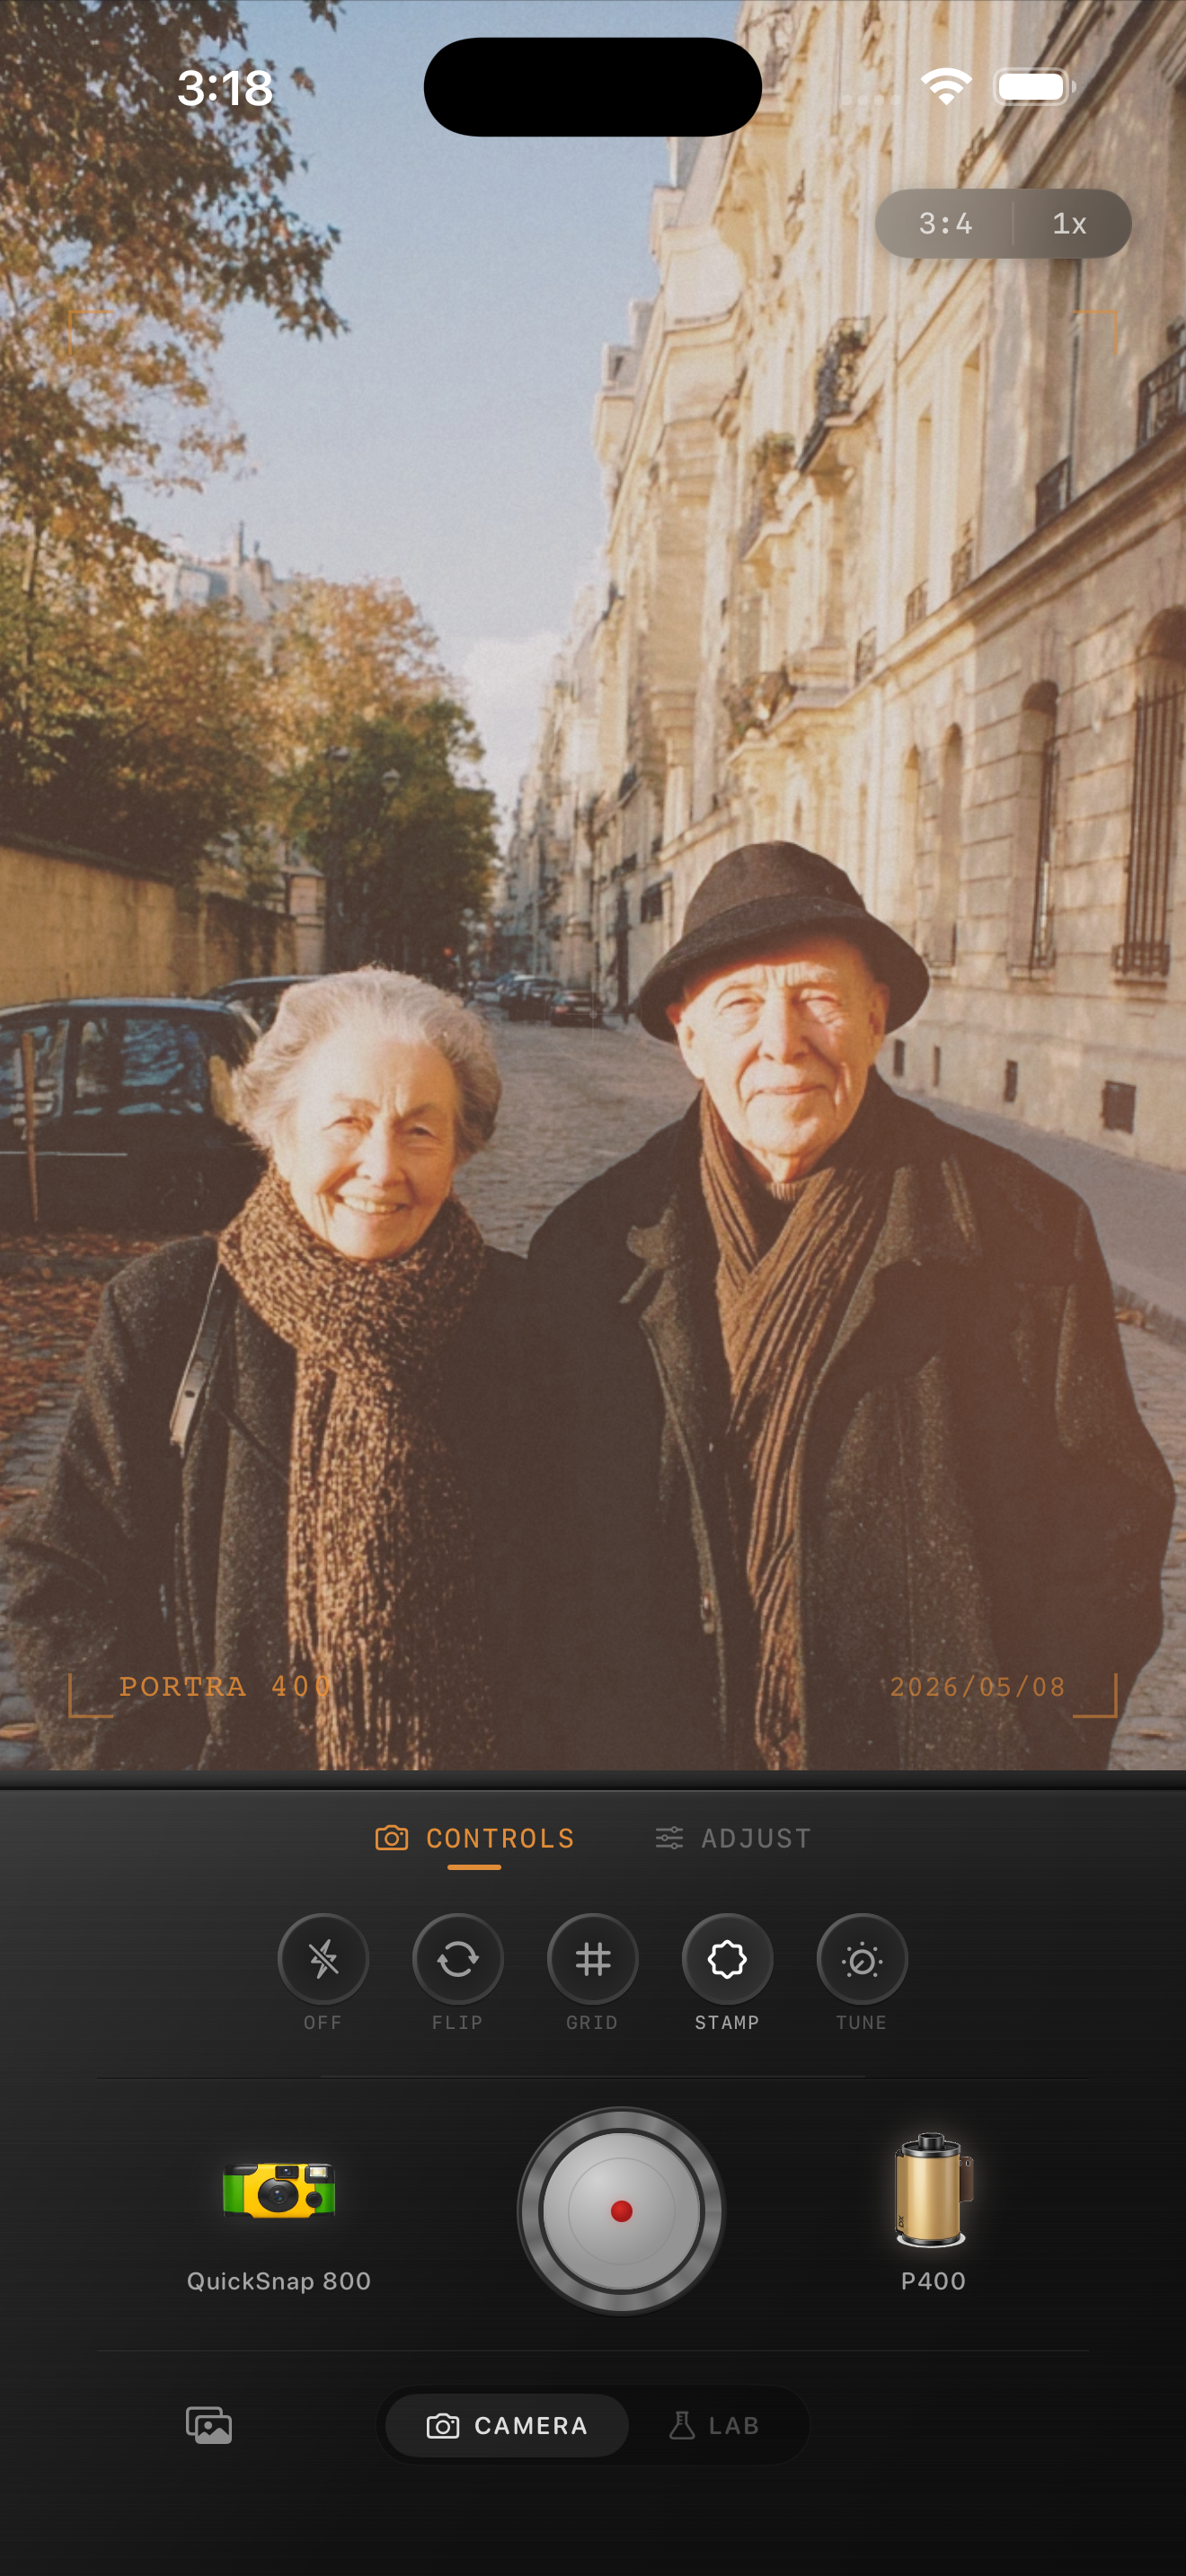
Keep the city soft, not dull
Film-inspired cloudy edits work because they make the frame feel printed rather than processed. That often means gentler contrast, calmer highlights, and just enough warmth to stop the scene from turning steely.
You do not need to brighten every corner or add heavy grain to prove the image is analog-inspired. Let the overcast air remain part of the memory.
Stop before the neutrals go muddy
Cloudy travel photos can fall apart when the edit piles warmth, fade, and grain on top of each other. White jackets turn beige, sidewalks get dirty, and skin starts losing shape again.
If that happens, pull back grain or fade before changing the whole look. The goal is a soft travel print, not a dusty overlay.
Keep overcast travel memories soft and alive
Use Nostalgia Cam to balance warmth, grain, fade, and camera character so cloudy travel photos feel printed and cinematic without turning faces gray or the whole frame muddy.
FAQ
Why do cloudy travel photos make skin look gray on iPhone?
Overcast light plus iPhone processing can flatten skin tone and reduce warmth, especially when pale buildings, sky, and pavement dominate the frame.
Should cloudy travel photos use heavy grain to look like film?
Usually no. Overcast travel scenes often look better with lighter grain and careful color balance so faces, sky, and architecture stay clean.