
Editing guide
How to Edit iPhone Photos to Look Like Film in Harsh Sunlight
A practical harsh-sunlight film workflow for iPhone: calmer highlights, cleaner skin, restrained grain, and enough softness to keep bright midday photos feeling photographic.
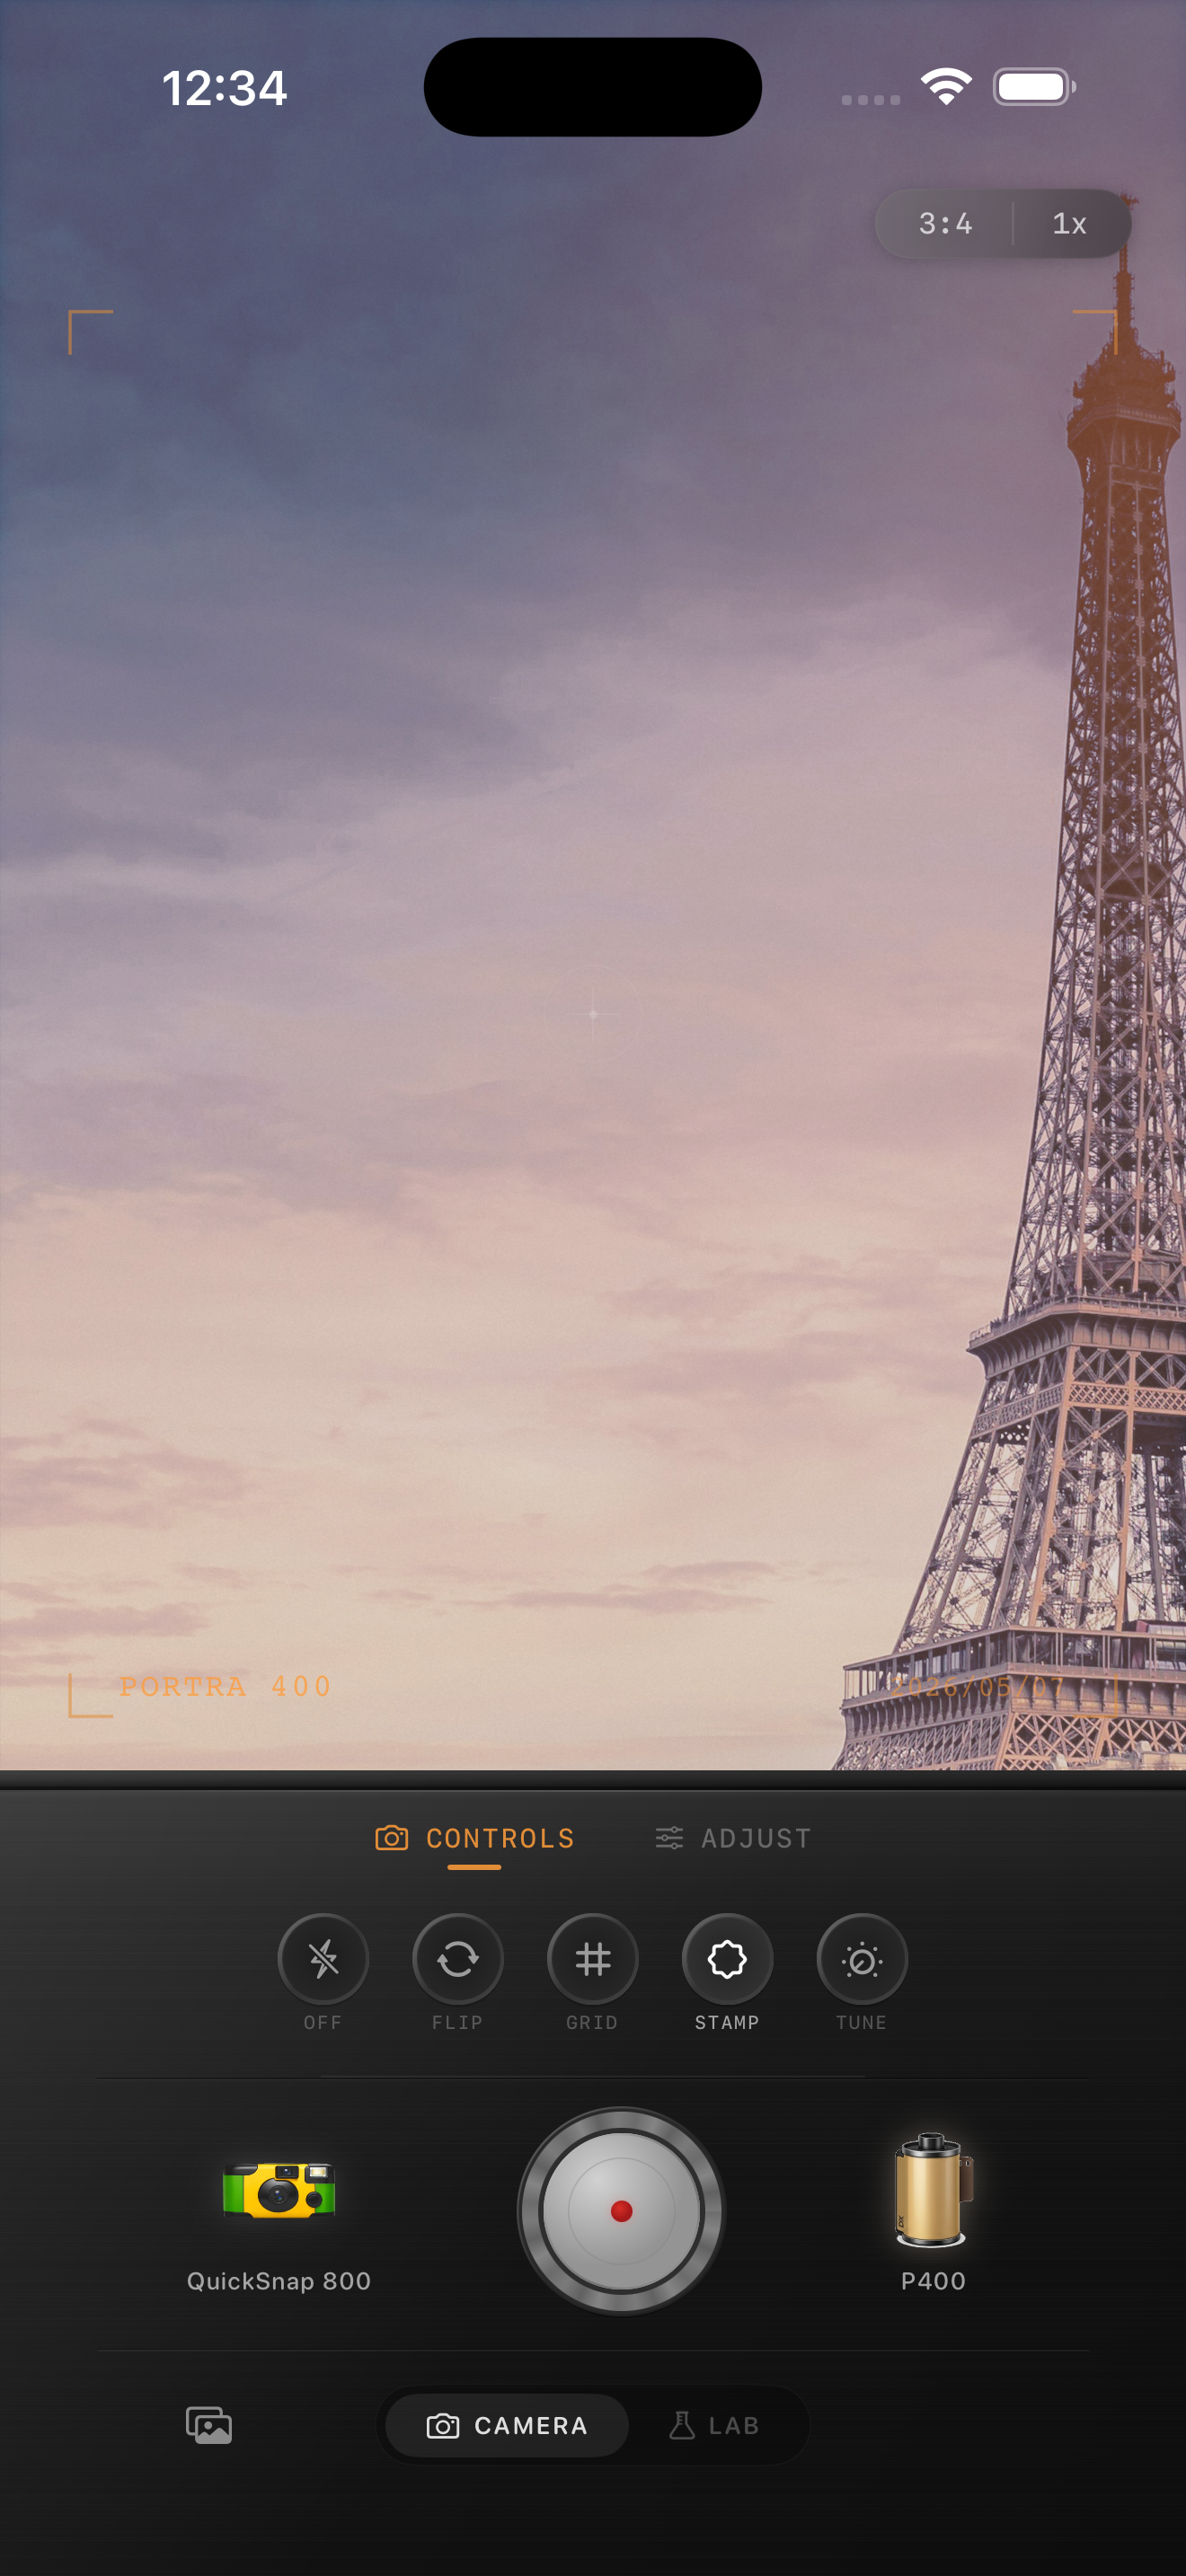
Harsh sunlight needs restraint, not a heavier preset
Bright noon light already creates hard edges, pale highlights, and strong contrast. The usual mistake is stacking more warmth, more fade, and more grain on top of that, which makes the photo look dusty instead of filmic.
A better film-style edit starts by calming the digital crispness while letting the sunlight stay honest. Midday photos should still feel bright. The goal is to make them feel printed instead of aggressively processed.
- Keep warmth lower than you would at sunset.
- Use grain as texture, not as camouflage.
- Protect pale stone, white clothing, and skin highlights first.
- Add only enough fade to soften the file.
- Choose a cleaner camera mood before trying rougher effects.
A dependable harsh-light starting range
Start around film intensity 68-80%, grain 18-28%, warmth +2 to +7, fade 2-6%, and vignette 2-6%. That range usually keeps bright sidewalks, sky, buildings, and faces cleaner while still pulling the image away from the default iPhone finish.
If the photo still feels too sharp, raise film character slightly before adding much more grain. In harsh daylight, too much texture can turn smooth surfaces chalky very quickly.
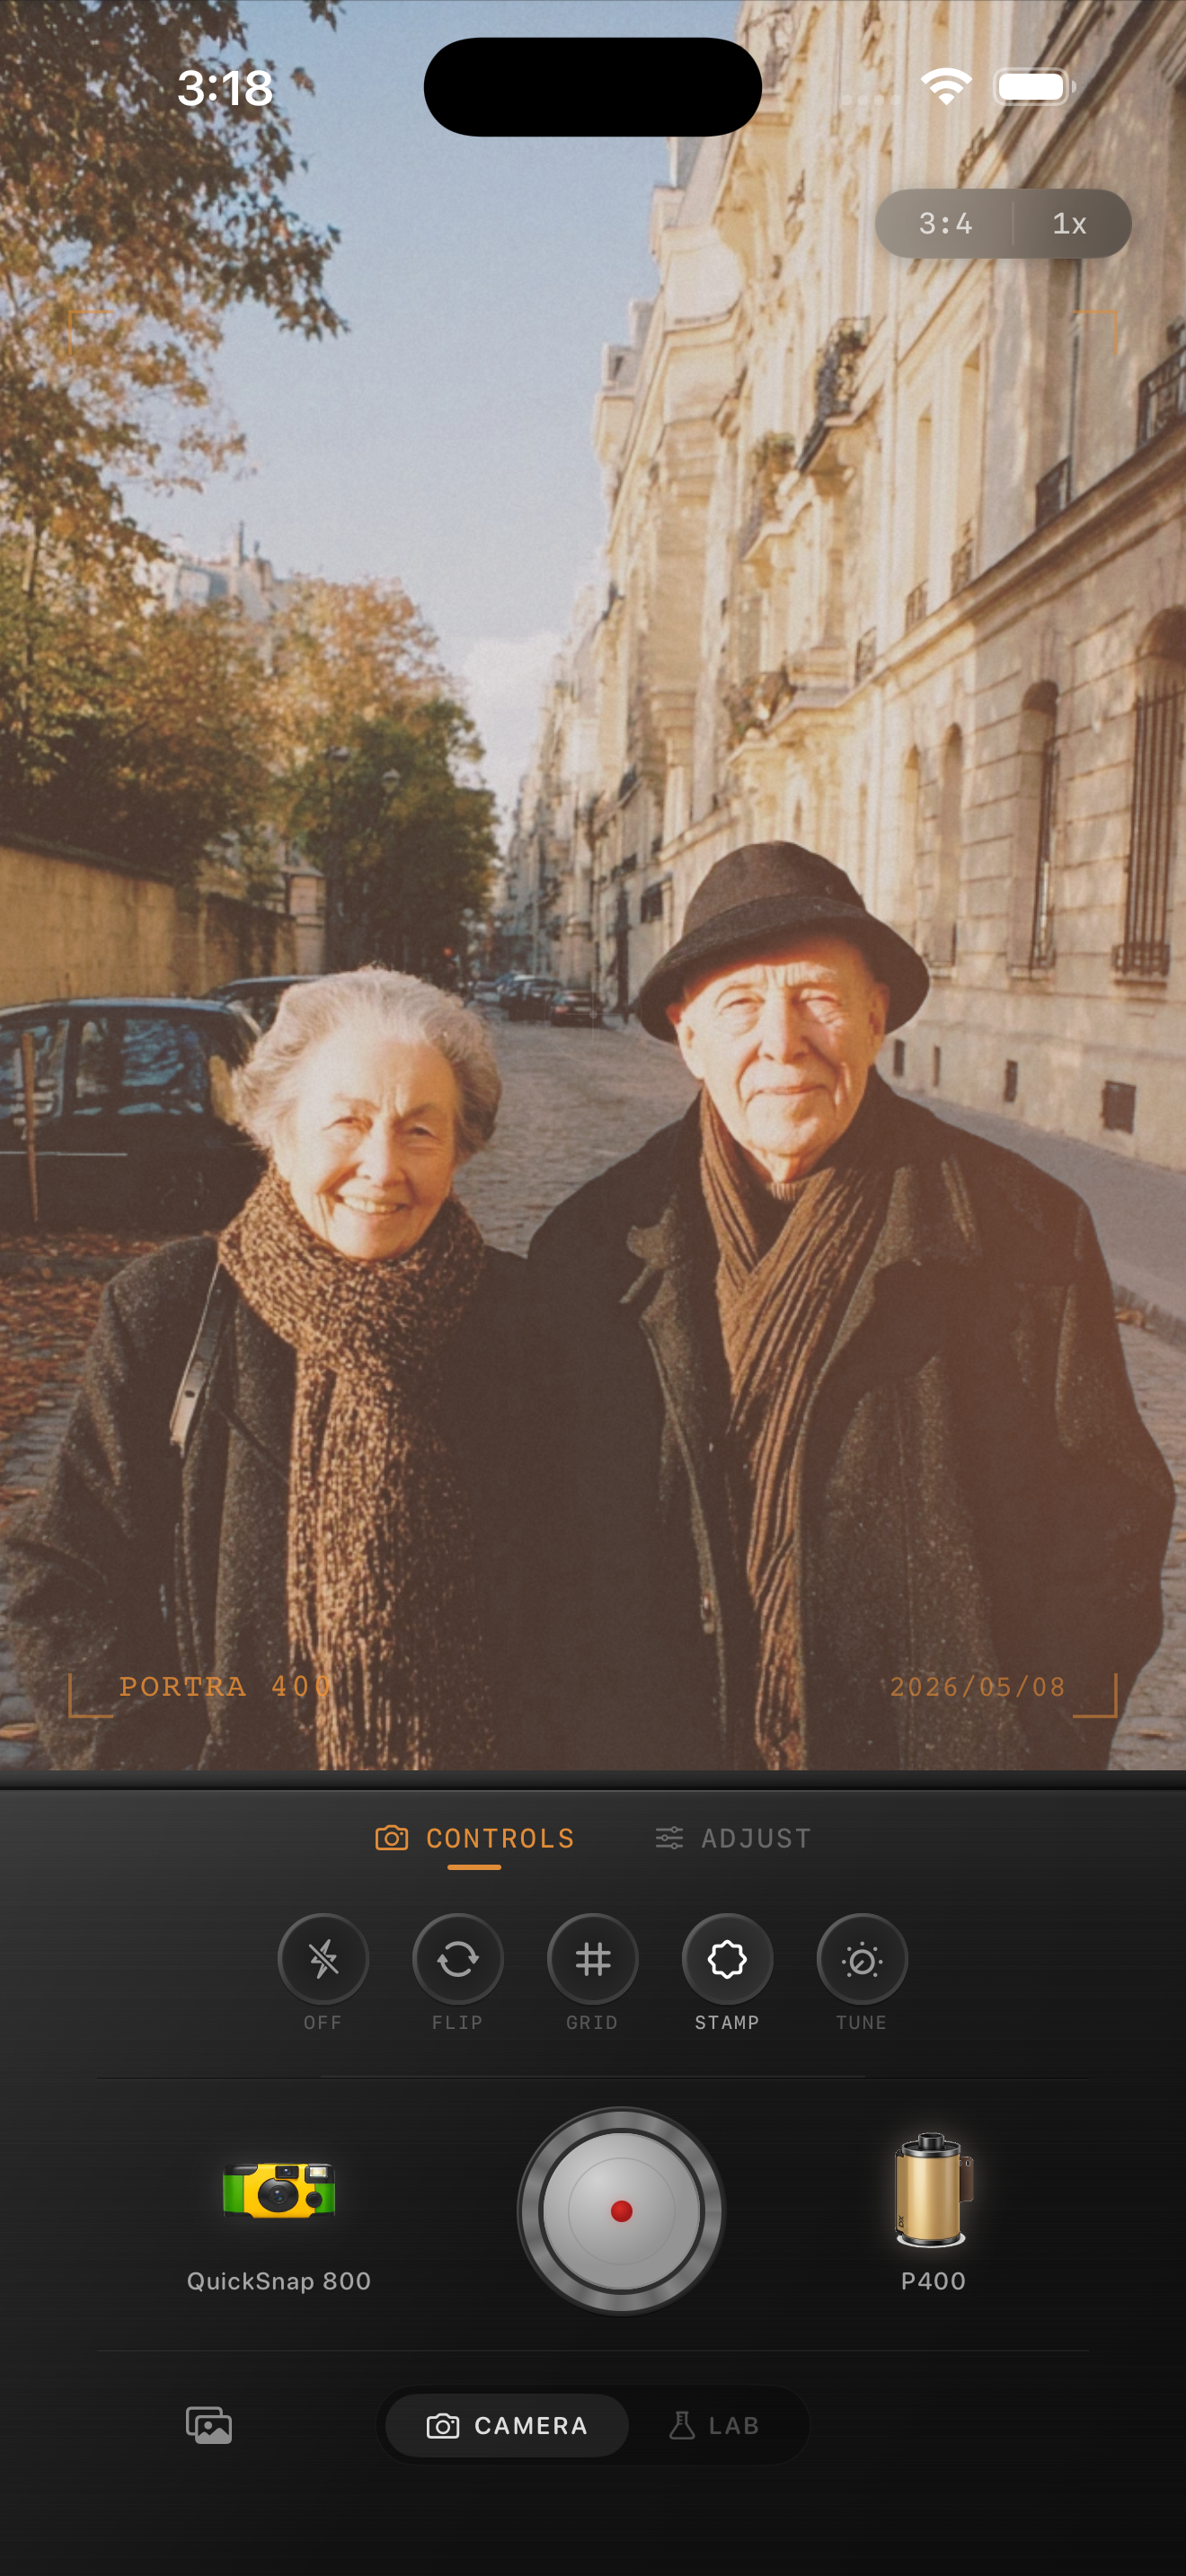
Judge the edit from skin, sky, and concrete
These surfaces tell you fast whether the photo is holding together. If skin goes orange, lower warmth. If the sky goes flat, reduce fade before touching grain. If sidewalks or walls look powdery, pull grain back first.
That order matters because midday scenes break in the highlights before they break in the shadows. Film edits for bright light usually succeed by protecting the cleanest parts of the frame.
Use a calmer camera body than you might expect
Most harsh-sunlight photos want a compact or 35mm-inspired body, not a rough disposable one. The scene already has plenty of tension from the light itself, so the camera personality should usually stay understated.
In Nostalgia Cam, start with the cleaner body, then tune grain, warmth, fade, and vignette until the photo feels like a small summer print instead of a hyper-detailed phone capture from noon.
Tame harsh sunlight without flattening it
Use Nostalgia Cam to soften bright iPhone photos with balanced film color, restrained grain, and a calmer camera mood so midday scenes feel printed, clean, and believable.
FAQ
How much grain works for harsh sunlight photos on iPhone?
Usually less than you would use at night or in overcast weather. A fine range around 18-28% is a strong starting point because midday highlights get dirty fast.
Why do harsh daylight film edits turn chalky?
Because fade, grain, and warmth are easy to push too far on already bright files. Keeping the edit cleaner and protecting highlights first usually gives a more believable result.