
Editing guide
How to Edit iPhone Photos to Look Like Film in Falling Snow
A practical iPhone film edit for falling snow: keep flakes visible, stop faces from going gray, and add analog texture without turning the whole scene slushy or dull.
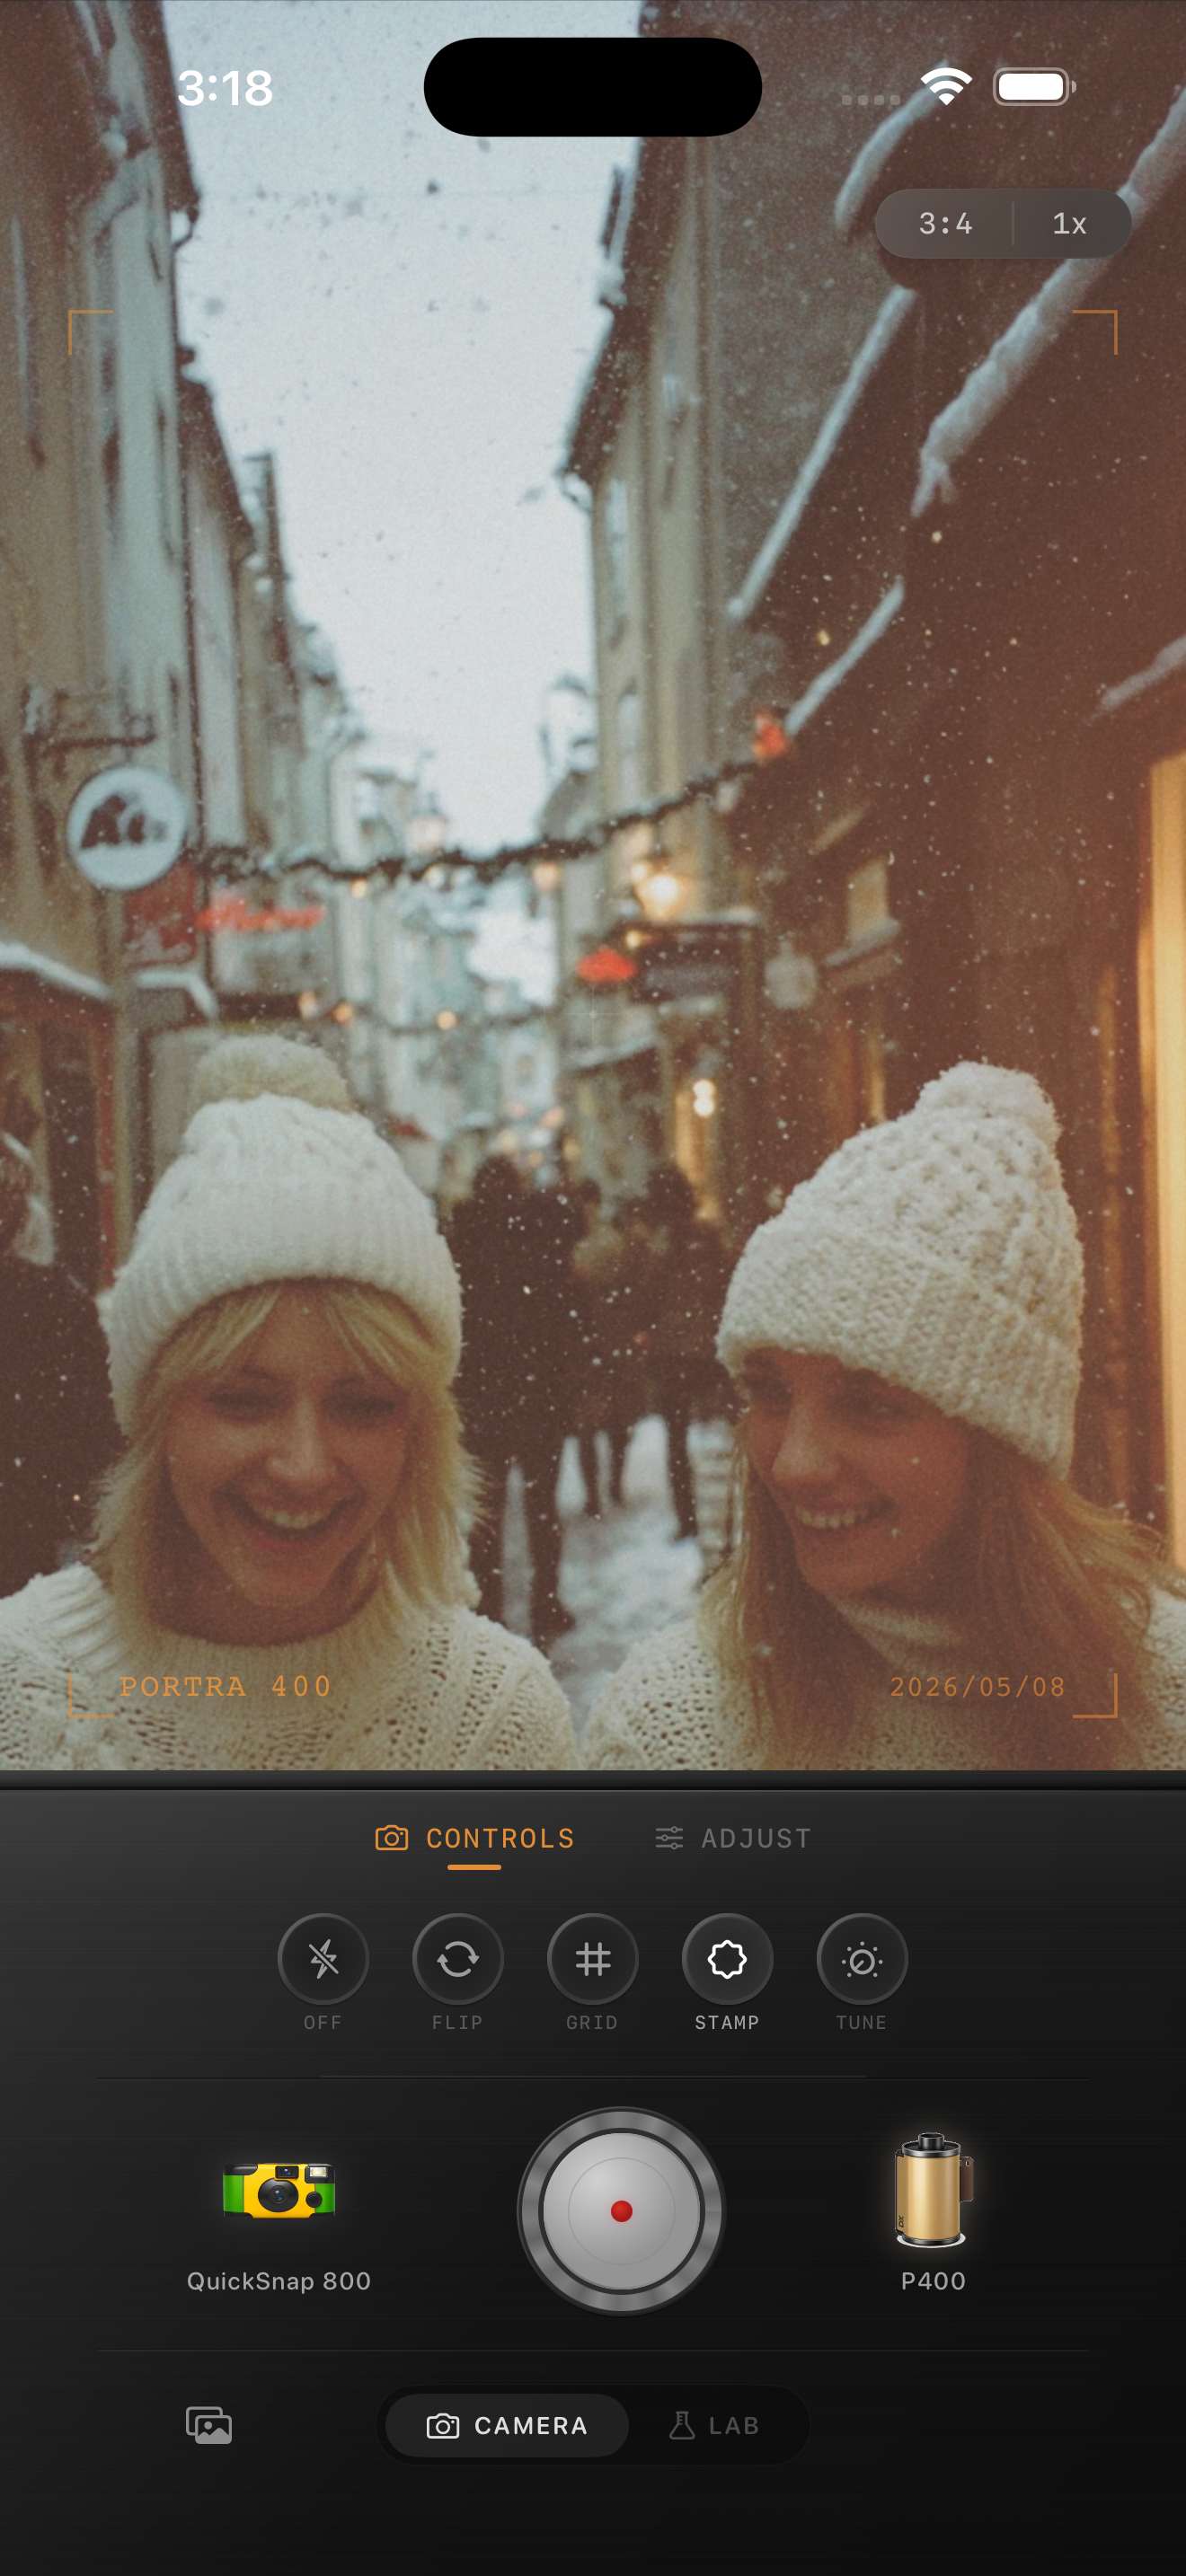
Falling snow needs separation, not just warmth
Snowfall photos already have atmosphere, motion, and depth. The challenge is that iPhone processing often makes snow scenes feel too crisp, too blue, or too flat once the flakes start blending into the background.
A good film-style edit should keep the snowfall visible while softening the digital edge. That means balancing warmth carefully, protecting neutral snow, and keeping enough contrast that the flakes still read as individual texture in the frame.
- Keep snow neutral before warming faces.
- Use moderate grain so flakes stay readable.
- Add softness without erasing coat texture.
- Lift shadows gently instead of flattening the whole scene.
- Stop before white snow turns beige or gray.
A dependable snowfall settings range
Start around film intensity 72-84%, grain 24-36%, warmth +4 to +8, fade 4-8%, and vignette 4-7%. That range usually gives snowfall photos enough analog softness without making the scene muddy.
If the light is near dusk or under street lamps, you can push warmth slightly higher. If the scene is bright daytime snow, keep the grade lighter and let the weather provide the mood.
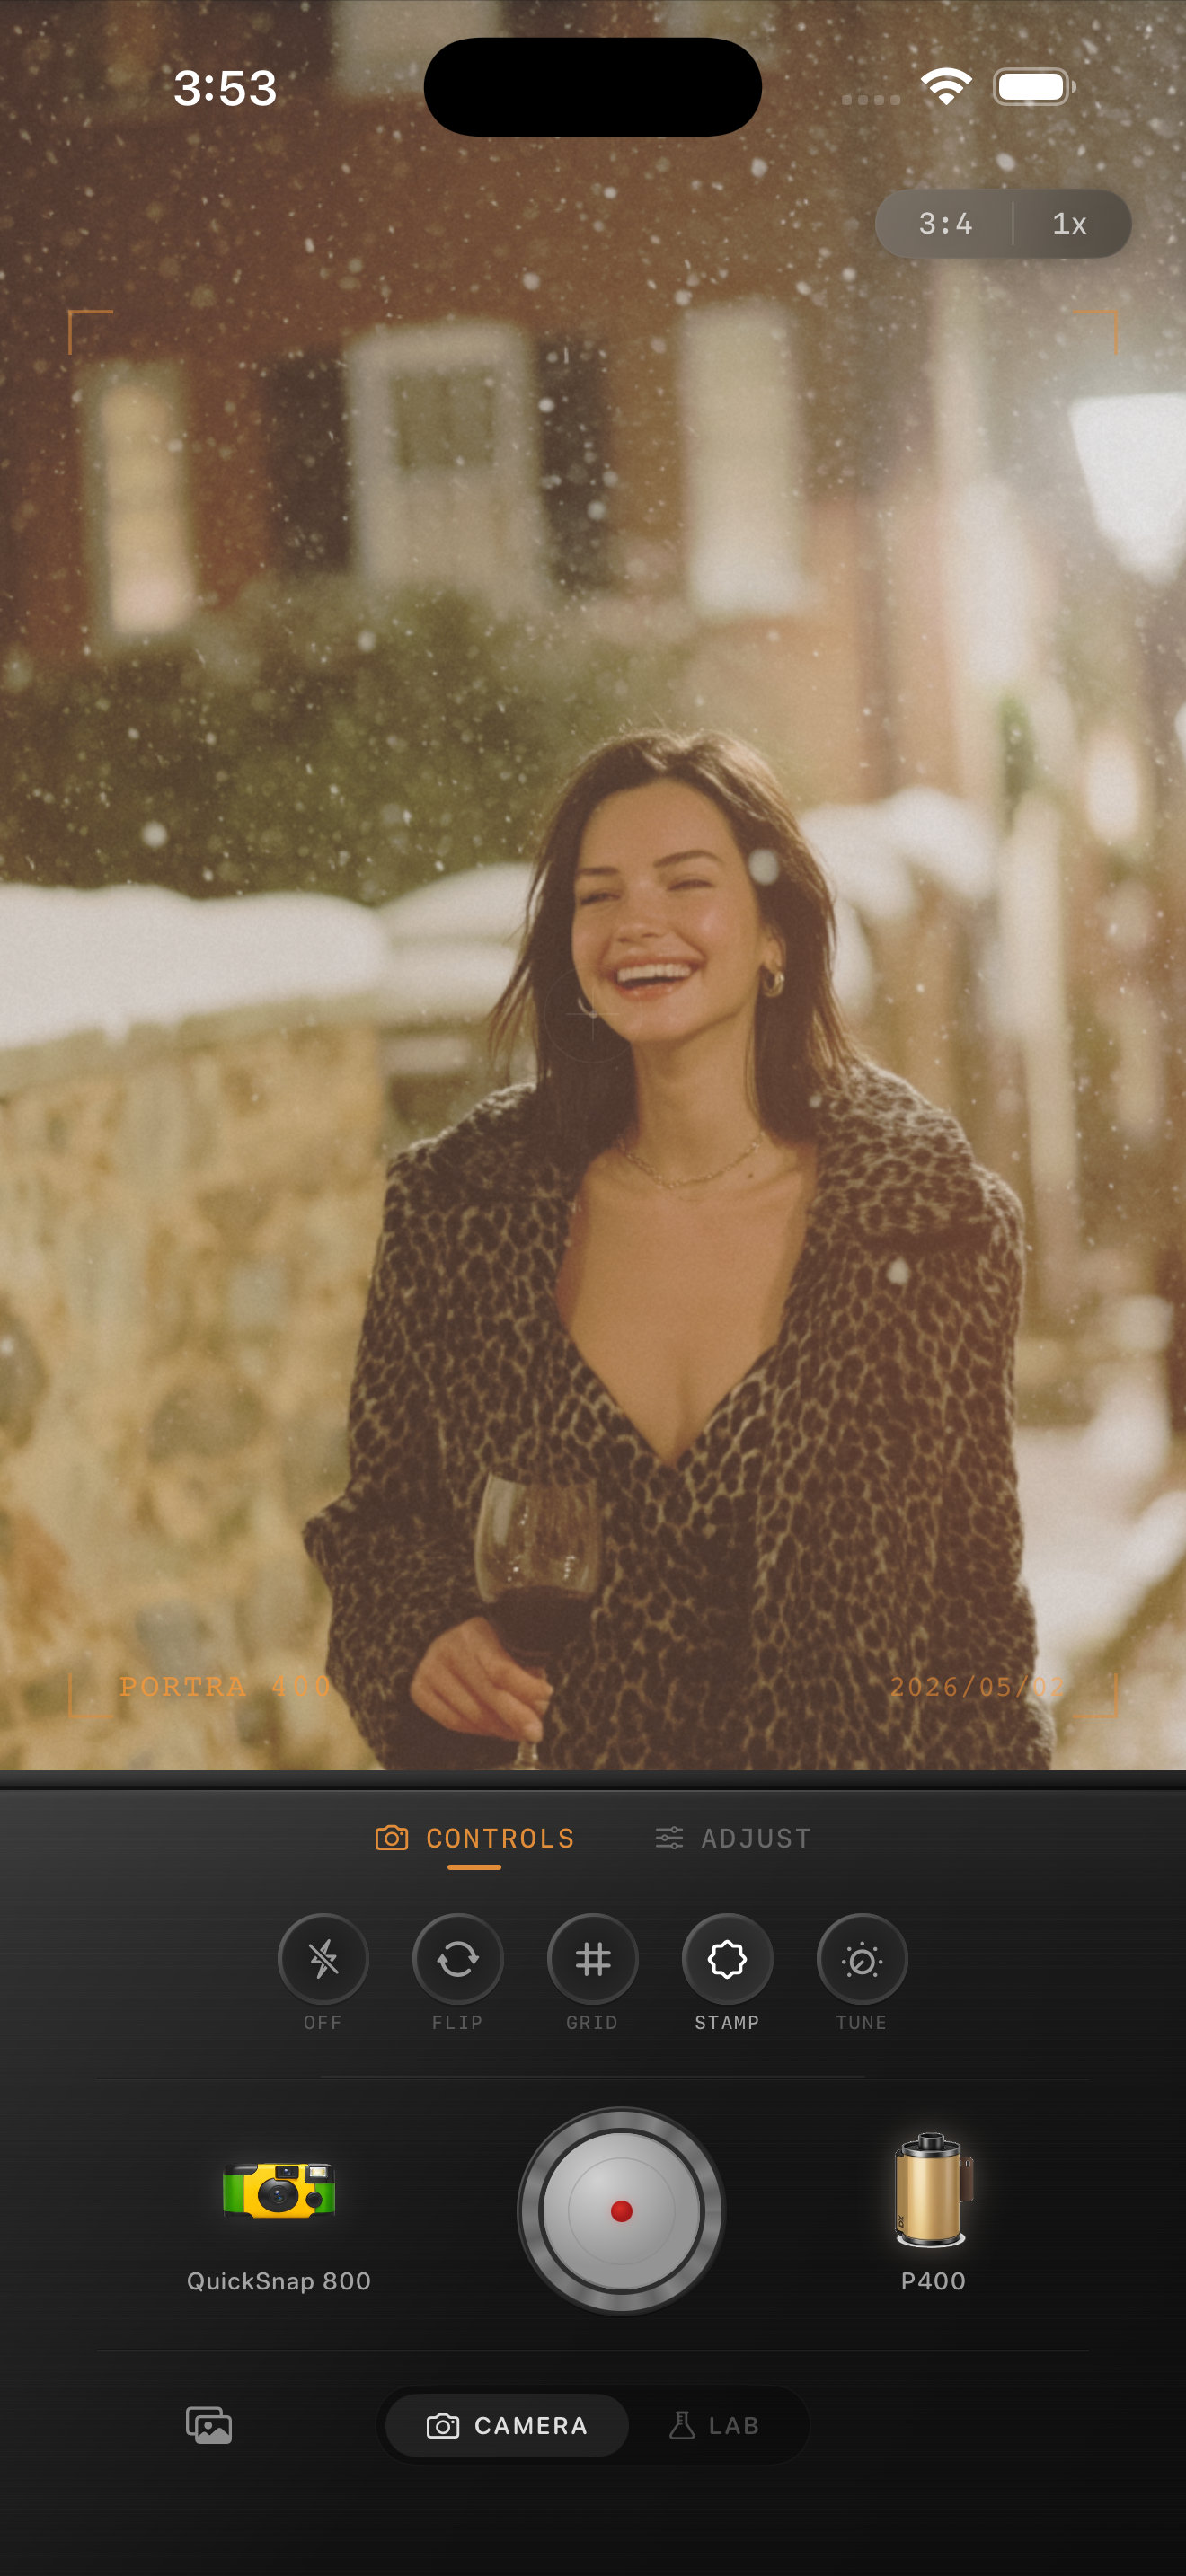
Protect faces and flakes at the same time
Winter skin tones can go gray fast, especially when the whole frame is cool. Correct that carefully. If you add too much global warmth, the snow shifts yellow and the photo loses the cold-air feeling that made it work in the first place.
Check two things before you finish: faces should still look alive, and snowflakes should still have shape. If either one disappears, back off the fade or warmth before adding more grain.
Choose a cleaner film body for moving snow
Falling snow usually works better with a cleaner compact or 35mm-inspired body than with the roughest disposable effect. The scene already has enough visual chaos from the weather.
In Nostalgia Cam, start with the calmer body, then tune grain, warmth, fade, and vignette until the photo feels like a winter print from a cold walk rather than a sharp HDR snapshot.
Keep snowfall cinematic in Nostalgia Cam
Use Nostalgia Cam to pair a cleaner camera body with restrained grain, balanced warmth, fade, and vignette so falling-snow photos keep their atmosphere without muddy skin or yellow snow.
FAQ
Why do my falling snow photos turn gray after a film edit?
They usually lose shape because fade and grain get pushed before the snow and faces are balanced separately. Keep the snow cleaner first, then add texture carefully.
Should falling snow photos use a disposable camera look?
Usually only if you want a rough flash-snapshot feel. Most snowfall scenes look better with a cleaner film body that keeps flakes, faces, and coats more readable.