
Editing guide
How to Edit iPhone Halloween Photos to Look Like Film Without Green Skin
Give iPhone Halloween photos a film-inspired finish while keeping faces believable under porch bulbs, colored LEDs, candles, and mixed street light.
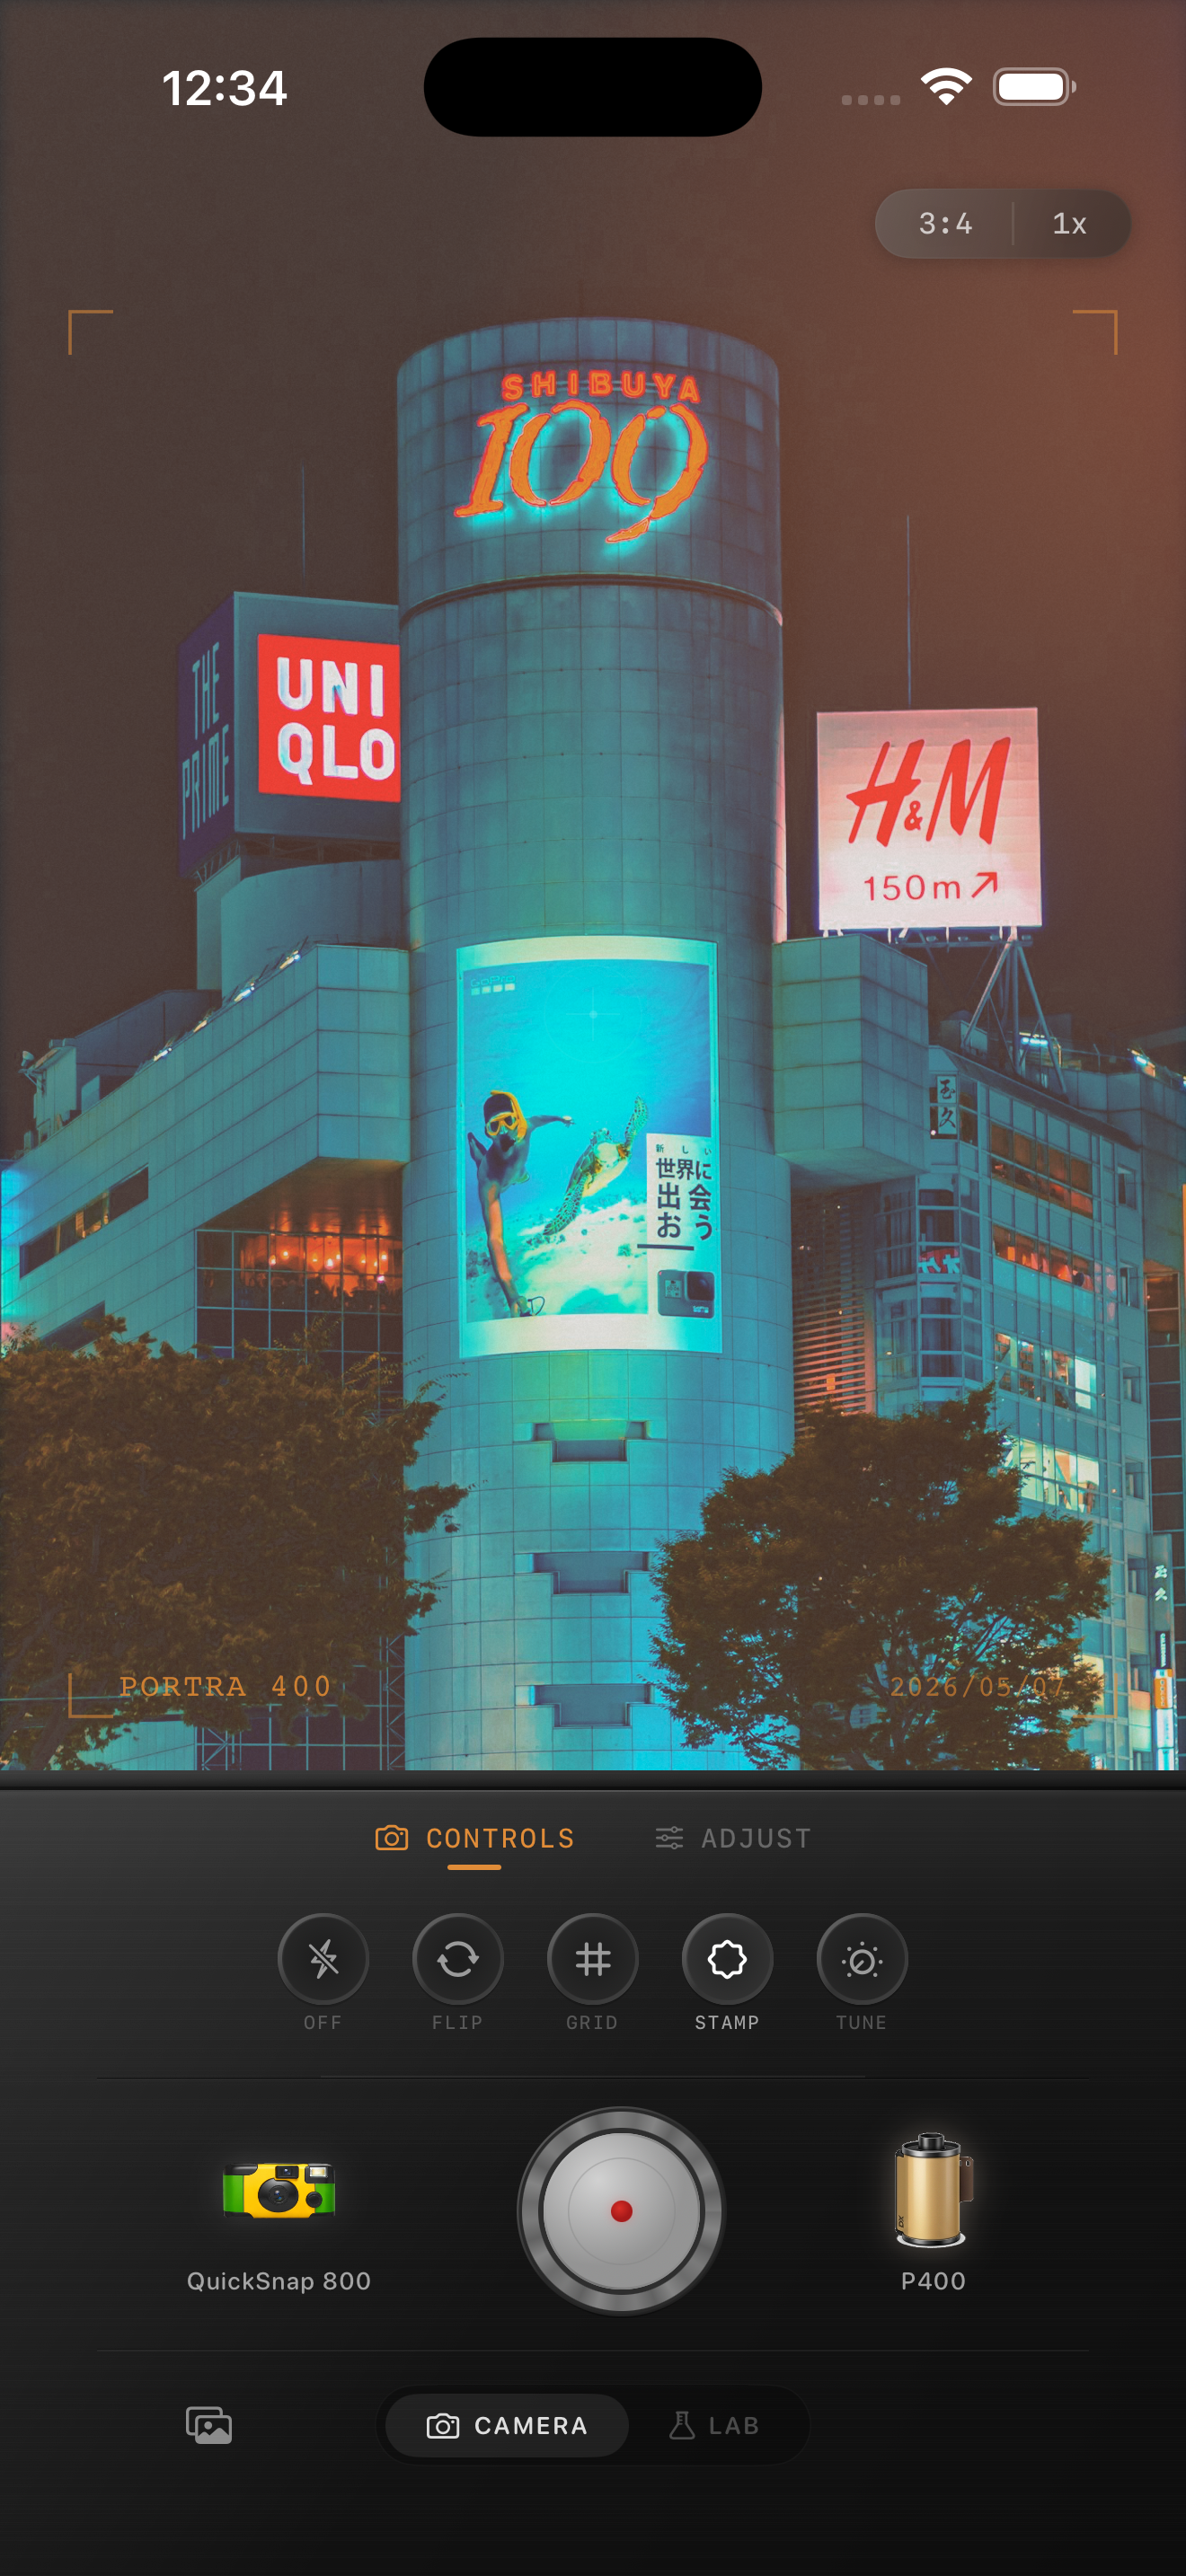
Start with the frame where the costume and face both read
Halloween pictures often happen quickly: someone moving between doorways, a group under a porch bulb, or a costume lit by a phone screen and a colored decoration at once. Before editing, compare nearby frames at normal phone size and choose one where the face, costume shape, or gesture is already clear. A film-inspired finish can make the image feel less clinical, but it cannot recreate detail that is blurred or hidden in the original.
A darker frame can still be the best choice when the costume silhouette is the point. Leave enough space around the subject for the setting to explain the moment, then keep the original so you can compare edits rather than applying another filter to an export. The existing neon preview above is a colored-light style reference, not a Halloween example.
Identify which light is actually tinting the skin
Green skin is not always an editing mistake. A porch bulb, LED string lights, a lawn decoration, or reflected grass can genuinely cast green into a face. Open the original beside the edit and find one lit cheek, forehead, or hand to use as a reference. The goal is not to turn every Halloween scene into neutral daylight; it is to keep the person recognizable within the real color of the scene.
Begin with a moderate film intensity and compare a few film looks before increasing warmth. Strong warmth can turn a green cast muddy or orange, while a heavy cool treatment can make faces gray. Choose the version where the colored light remains part of the atmosphere without becoming the first thing you notice.
- Judge a lit face rather than a dark background.
- Keep one obvious colored light if it explains the scene.
- Reduce film intensity before making a broad color correction.
- Compare the full frame at the size you plan to share.
Keep black costumes and night backgrounds separate
Dark capes, jackets, masks, and night streets can easily merge into one flat area after a film treatment. Check the edge of the costume against the background as you adjust fade and vignette. If the outline disappears, compare a quieter film look or a gentler vignette before raising overall brightness.
Halloween photos do not need every shadow opened up. A little darkness can make a costume feel more dramatic. The useful target is enough separation to recognize the subject and setting while keeping the night believable.
Let orange and purple stay scene colors, not skin colors
Pumpkin light, warm porch bulbs, purple decorations, and colored LEDs can all appear in the same photo. Use one neutral or less-saturated area, such as a white costume detail, sidewalk, or eye highlight, as a second check while you compare film looks. If every surface starts to match the decoration color, the global effect is likely too strong.
Do not try to remove every unusual tint. A warm glow on one side of a face or a purple rim light can make the image feel like the evening. Aim for plausible variation: keep the lights expressive while letting skin, fabric, and the background retain distinct tones.
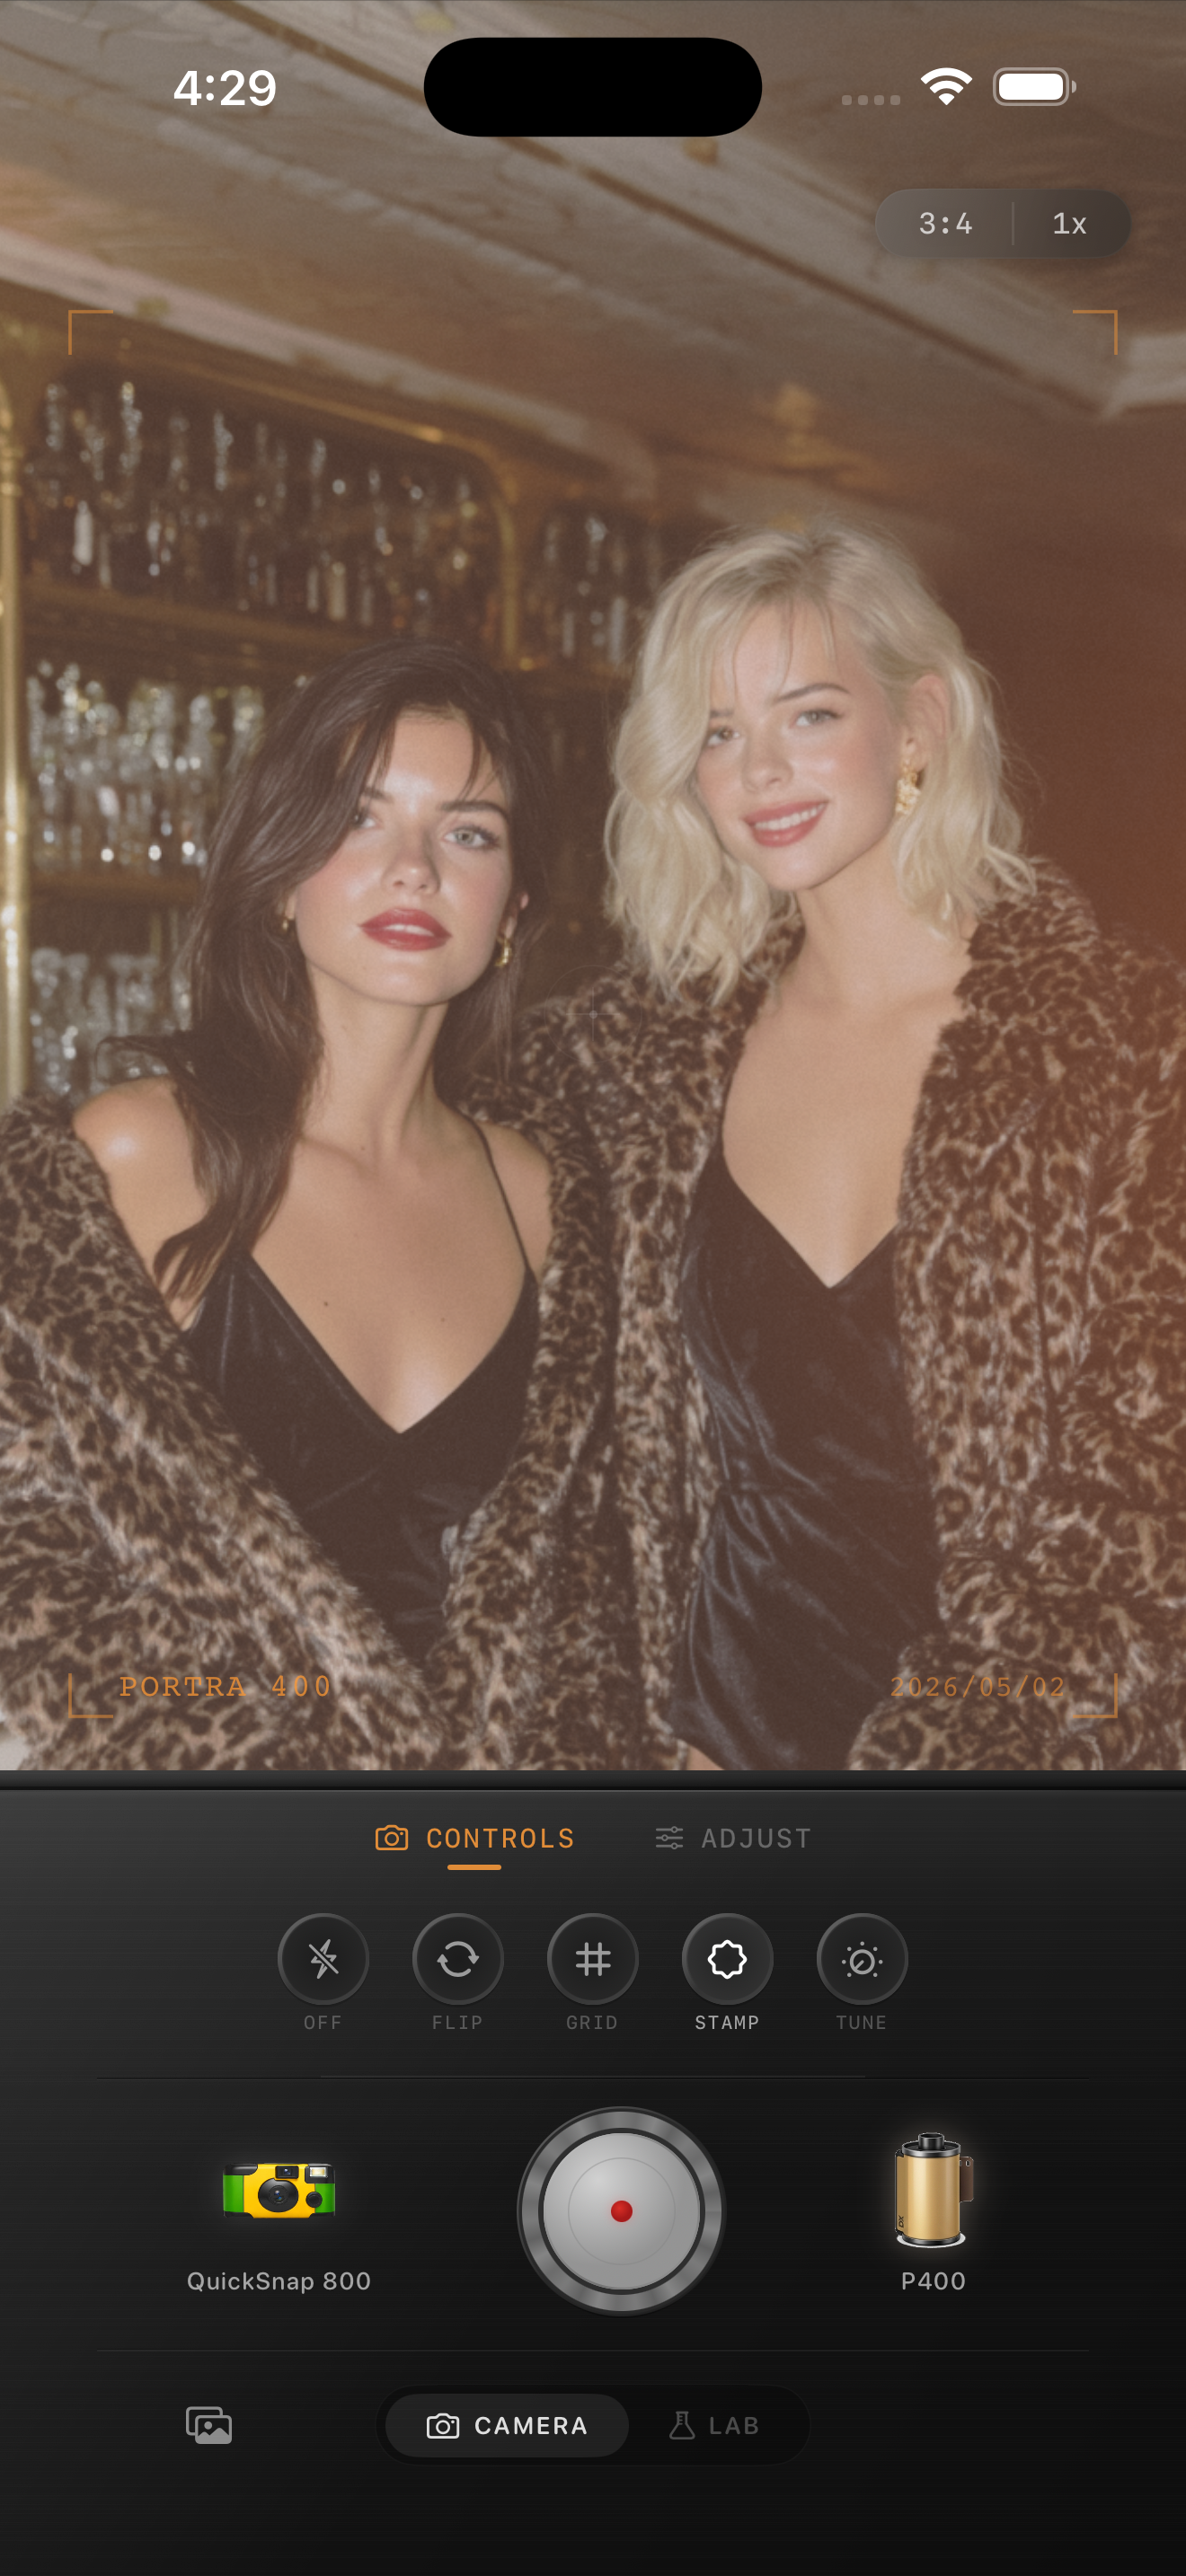
Add grain after color and outlines are settled
Night captures may already contain visible camera noise, especially in open black areas. Add grain only after the face, costume outline, and strongest lights feel settled. Watch a smooth dark patch, a colored decoration, and a face together. If the background gets gritty before the person reads clearly, lower the added texture.
A small amount of grain can soften an iPhone photo's polished look, but a noisy night file does not need extra damage to feel nostalgic. Export two restrained versions and compare them at normal viewing size; choose the one where the costume and moment read before the texture.
Finish with a quick whole-scene check
Before sharing, view the finished photo as a complete scene. Notice the person or costume first, then the colored light and the film character. If green, orange, or purple skin is the first thing you see, return to a lower-intensity version or try another film look. If the photo feels too flat, restore a small amount of its original contrast rather than adding more grain.
In the Nostalgia Cam Lab, compare camera bodies and film looks before fine-tuning warmth, fade, vignette, and grain. Film names describe stylistic inspiration only; Nostalgia Cam is not affiliated with or endorsed by Kodak, Fujifilm, or other camera or film manufacturers.
Keep the spooky color, soften the digital finish
Import a favorite Halloween photo into the Nostalgia Cam Lab, compare camera bodies and film looks at moderate intensity, then refine warmth, fade, vignette, and grain. Use a lit face, a dark costume edge, and one colored light as references before saving the version that feels most like the night.
FAQ
Why does skin look green in my iPhone Halloween photos?
Porch bulbs, green LEDs, lawn decorations, and reflected surroundings can tint skin in the original capture. Compare a lit cheek or hand with a lower film intensity or another film look before adding warmth. Keep some real scene color when it supports the atmosphere, but avoid a finish where the cast overwhelms the person.
Should Halloween photos use a lot of grain?
Usually not automatically. Night photos can already contain noise in shadows. Set color and costume outlines first, then add only enough grain to soften the digital finish without making dark areas gritty.
Can a film filter make a blurry costume photo sharp?
No. A film-inspired finish can support mood, but it cannot restore details that were not captured. Choose the frame with the clearest face, outline, or gesture, or embrace a wider, more atmospheric scene when motion is part of the memory.