
Editing guide
How to Edit iPhone Backyard Fire Pit Photos to Look Like Film Without Orange Skin
A practical iPhone film-editing guide for backyard fire-pit photos: keep faces natural, hold the flame detail, retain the cool night, and add texture without making everyone orange.
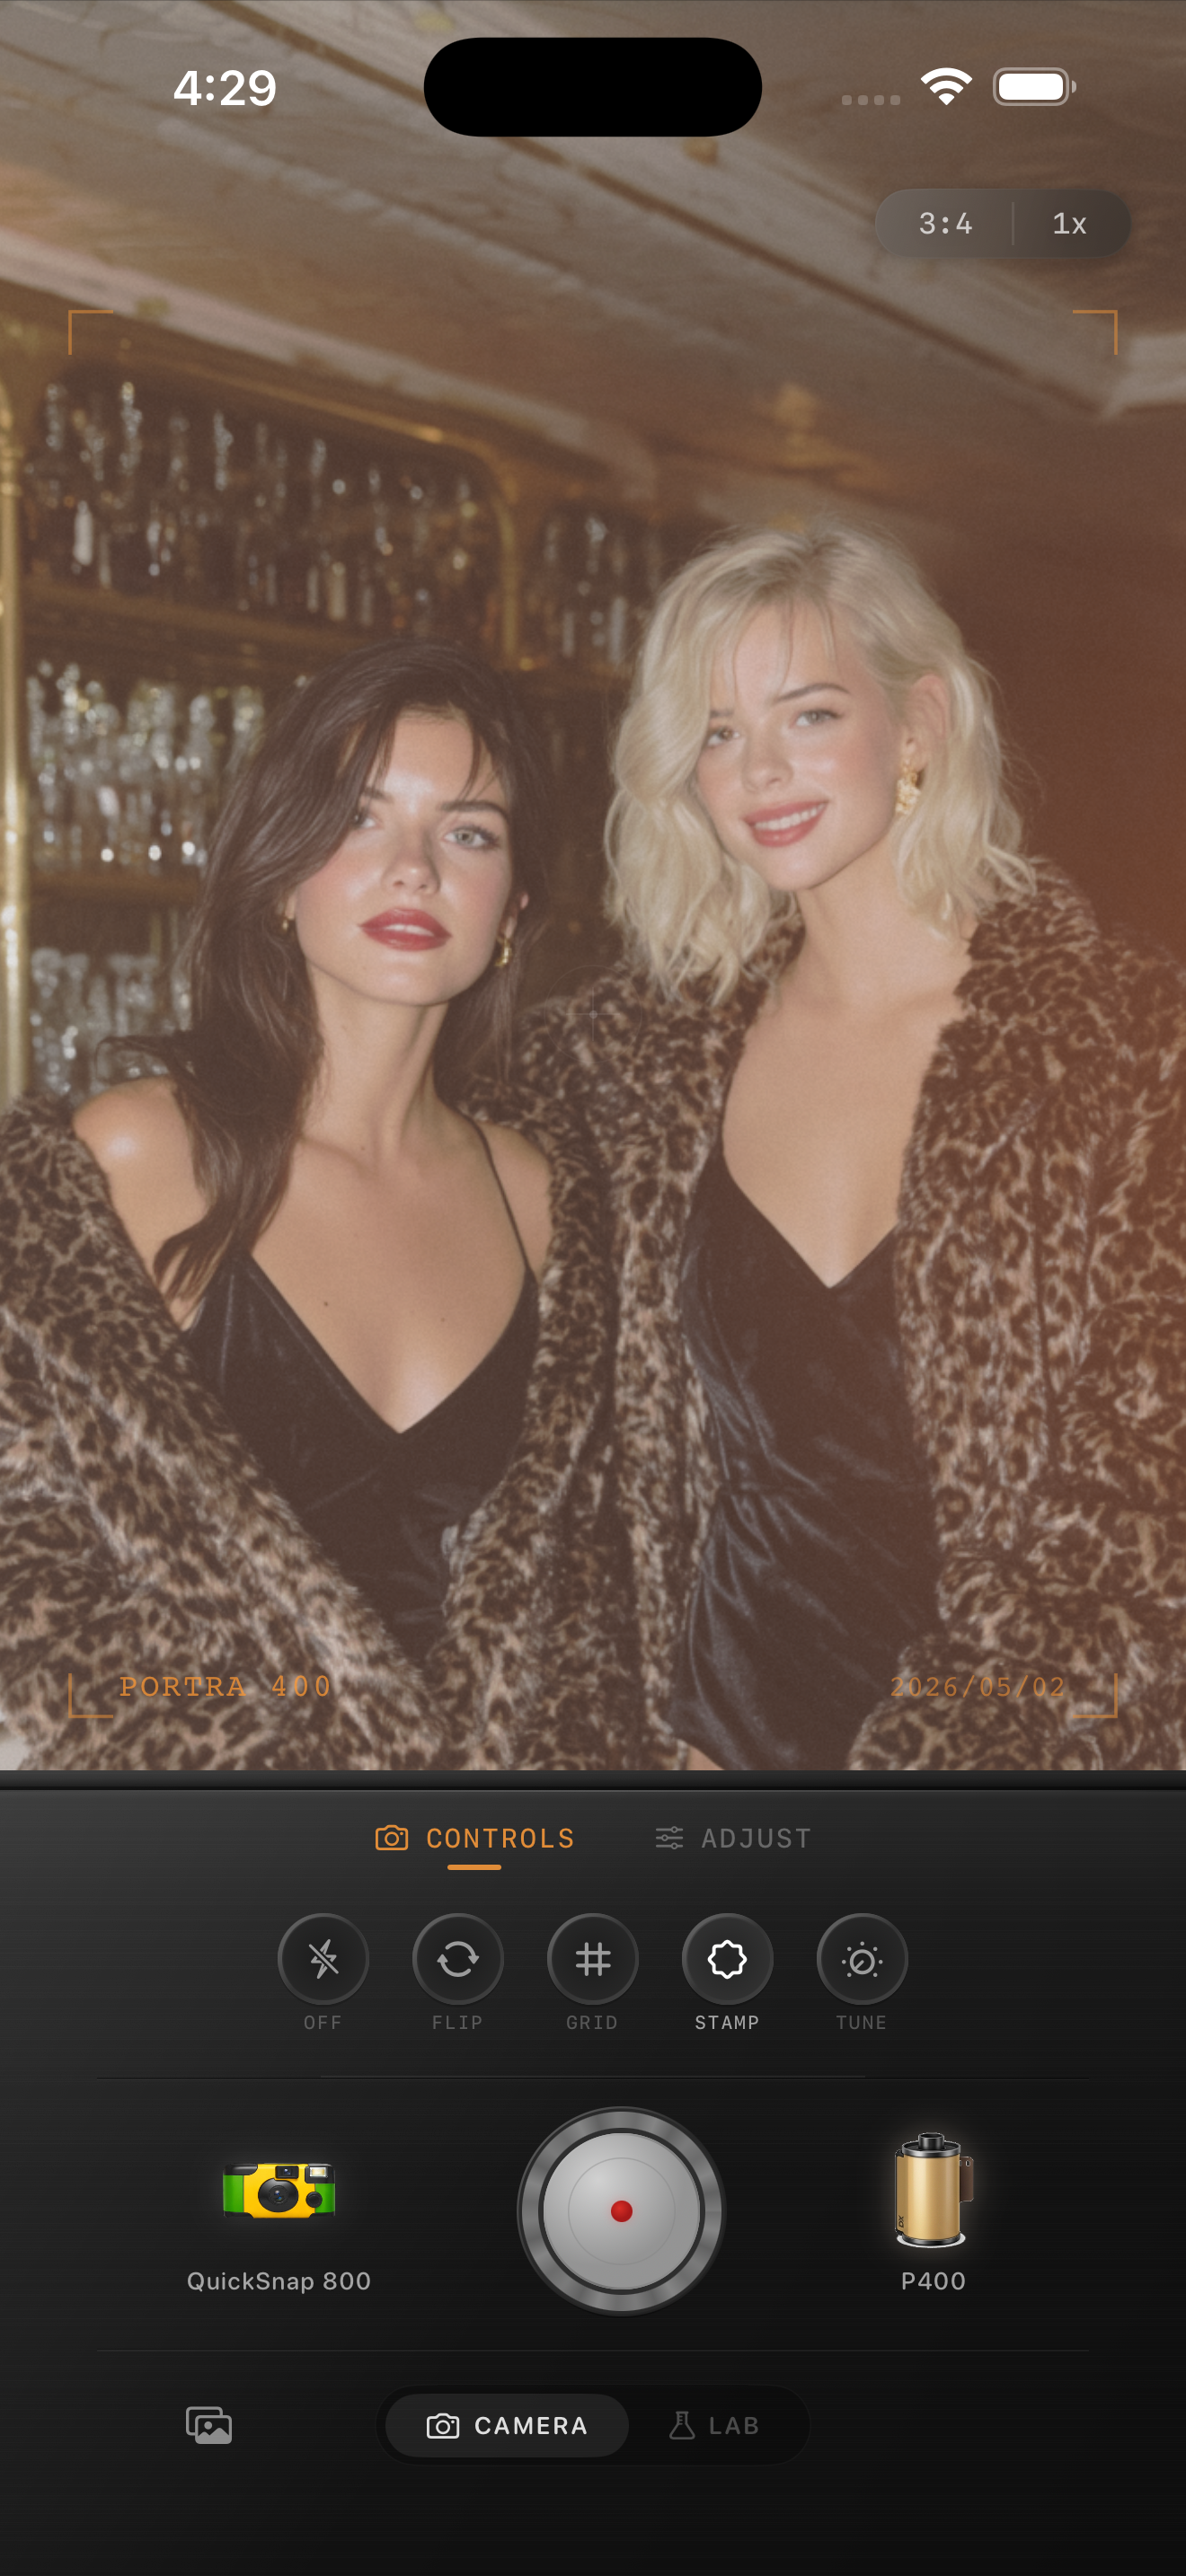
Choose the frame where the face and fire both still read
Backyard fire-pit photos can fool an iPhone quickly. A face may be lit by flame from below, a patio bulb may be cool overhead, and the background can fall to black in the same instant. Before applying a film look, compare nearby frames at normal phone size and start with one where a face, hand, mug, or chair edge is already clear and the brightest part of the flame is not a featureless white patch.
Keep the original beside the edit while you work. The goal is not to make the entire yard bright or neutral; the warm pool around the fire is part of the memory. Aim instead for a photo where the person, the glow, and the cooler night beyond the circle remain separate. The image above is an existing low-light style reference, not a fire-pit comparison.
Use a face, a flame edge, and a dark neutral as checks
Pick three small areas to revisit after every broad adjustment: a lit cheek or hand, the edge of the flame or ember bed, and a dark neutral detail such as denim, a chair, or the night sky. If skin turns pumpkin-orange, the flame loses shape, and the dark area becomes brown, warmth or film intensity has gone too far.
Do not try to fix a dim face by adding global warmth. That stacks orange on top of firelight and often makes teeth, eyes, and pale clothing look strange. First lower the overall treatment, then use a gentler starting look that keeps a little cool color in the background.
- Let firelight stay warm without turning every surface yellow.
- Keep one dark area neutral enough to explain the night.
- Preserve a little shape in the brightest flames and embers.
- Check the image at normal sharing size before adding more texture.
Start with a quiet firelight film recipe
Try film intensity around 45–60%, grain 18–30%, warmth +2 to +7, fade 2–5%, and vignette 3–8%. Begin near the lower end when the flame already makes faces amber or when patio string lights are also warm. These settings soften an iPhone night capture without covering the actual firelight with a second orange filter.
A cleaner compact-film or 35mm-inspired camera body is usually a better starting point than a heavily distressed disposable effect. A fire pit already gives you flicker, deep shadow, and informal atmosphere; the edit needs cohesion more than simulated damage.
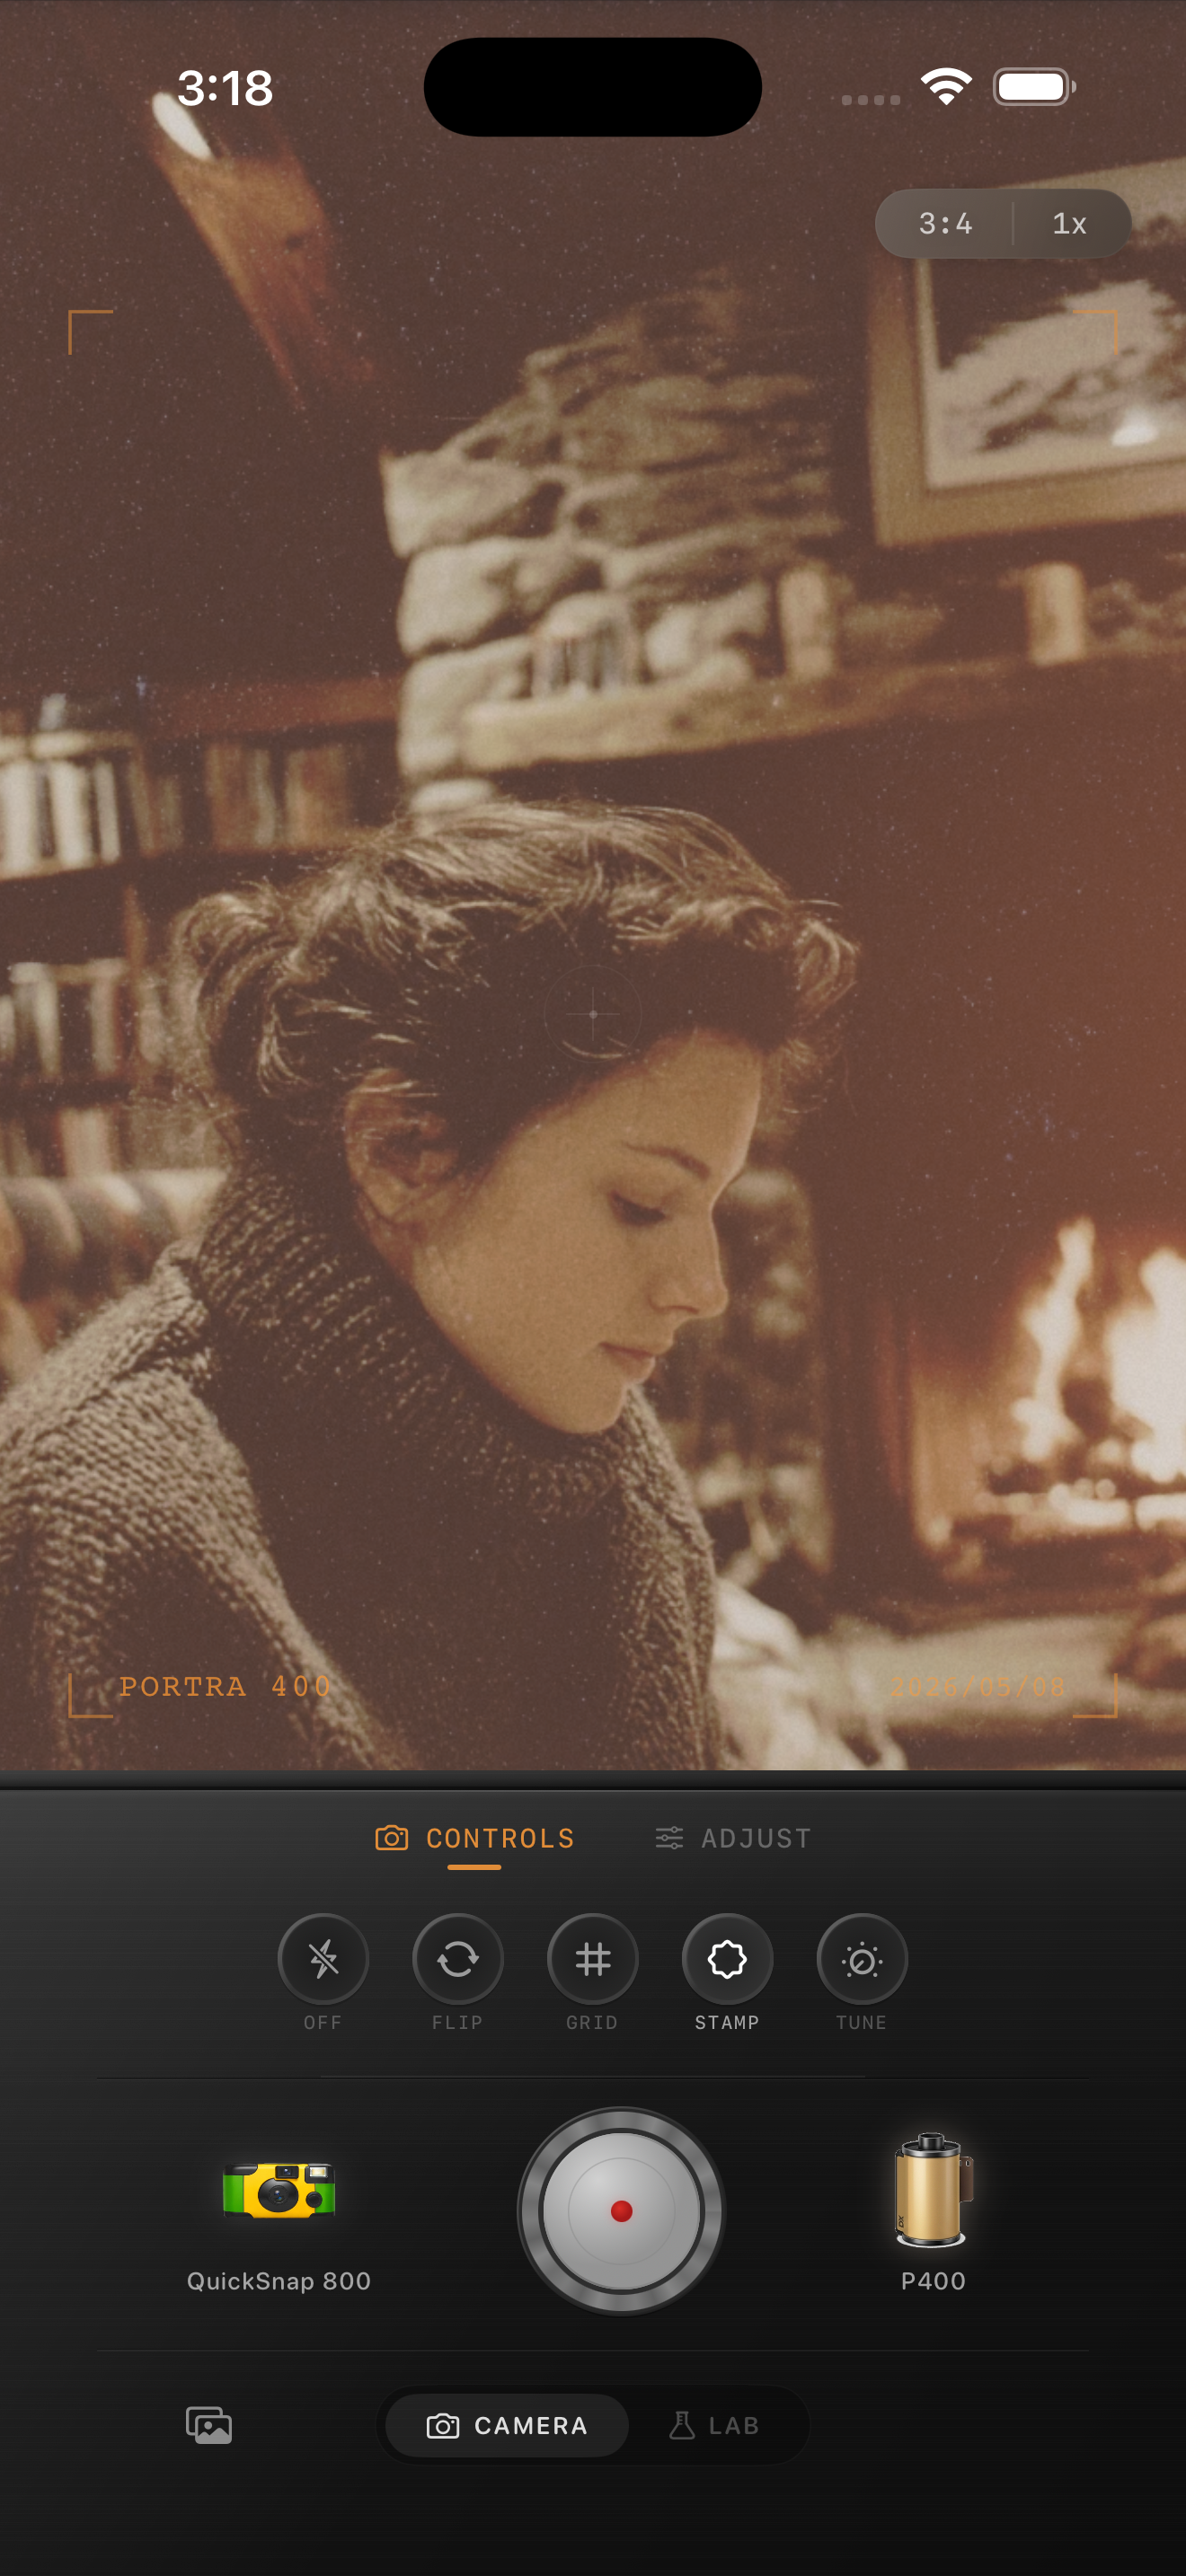
Add grain only after the glow feels believable
Fire-pit photos can look smooth and heavily processed after low-light capture, so a modest amount of grain can make the image feel more printed. Balance the face and flame first, then watch a cheek, a smooth patch of dark sky, and a textured jacket or blanket together. If the shadows turn sandy or a face starts to look dusty before the photo feels more tactile, reduce grain.
Keep fade modest as well. A small amount can relax harsh phone contrast, but too much lifts the very shadows that make the fire circle feel intimate. Save two gentle versions and choose the one where people and their conversation read before the film effect does.
Finish with a night-memory check
Step away from the sliders and view the saved edit as if it appeared in a shared album. You should notice the people and the warmth of the gathering first, then the cool space around them, and only then the film character. If the first impression is orange faces, noisy black sky, or a flat brown yard, return to the quieter version.
In the Nostalgia Cam Lab, compare camera bodies and film looks at moderate intensity before refining warmth, grain, fade, and vignette. That order makes it easier to keep a set of backyard photos consistent while respecting the different light on each person's face.
Keep the fire glow warm and the faces natural
Import your backyard fire-pit photos into the Nostalgia Cam Lab, compare camera bodies and film looks at moderate intensity, then refine warmth, grain, fade, and vignette. Check a face, the flame edge, and one dark neutral detail before saving the version that feels most like the night.
FAQ
Why does my skin look orange in iPhone backyard fire-pit photos after a film edit?
Firelight is already strongly warm, so extra global warmth or a high-intensity film look can stack orange on top of orange. Compare a lit face, a flame edge, and a dark neutral, then reduce the broad treatment before adding more color.
How much grain should I add to fire-pit photos?
Start modestly and add grain only after the face and flame feel balanced. Check a smooth dark area and a lit cheek at normal phone size; if either looks sandy before the image feels more like a print, use less texture.
Should I brighten the whole backyard photo to show the fire pit?
Usually no. Lifting everything can remove the contrast between the warm fire circle and the cool night. Keep enough shadow to describe the setting, while preserving a readable face and some detail at the flame edge.