
Editing guide
How to Edit iPhone Fall Family Photos to Look Like Film on a Cloudy Day
A practical iPhone film-editing guide for cloudy fall family photos: keep faces warm, protect pale skies, preserve leaf color, and add gentle texture without making the whole scene gray or orange.
Choose the frame with a clear face and a little depth
Cloudy fall light can be wonderfully forgiving for family photos, but it can also make faces, coats, grass, and sky feel like they sit on the same flat plane. Before applying a film look, compare nearby frames at normal phone size and start with one where at least one face is sharp, the group has a simple shape, and there is some distance between people and the background. An edit can make quiet light feel more tactile, but it cannot restore expression or detail lost to motion.
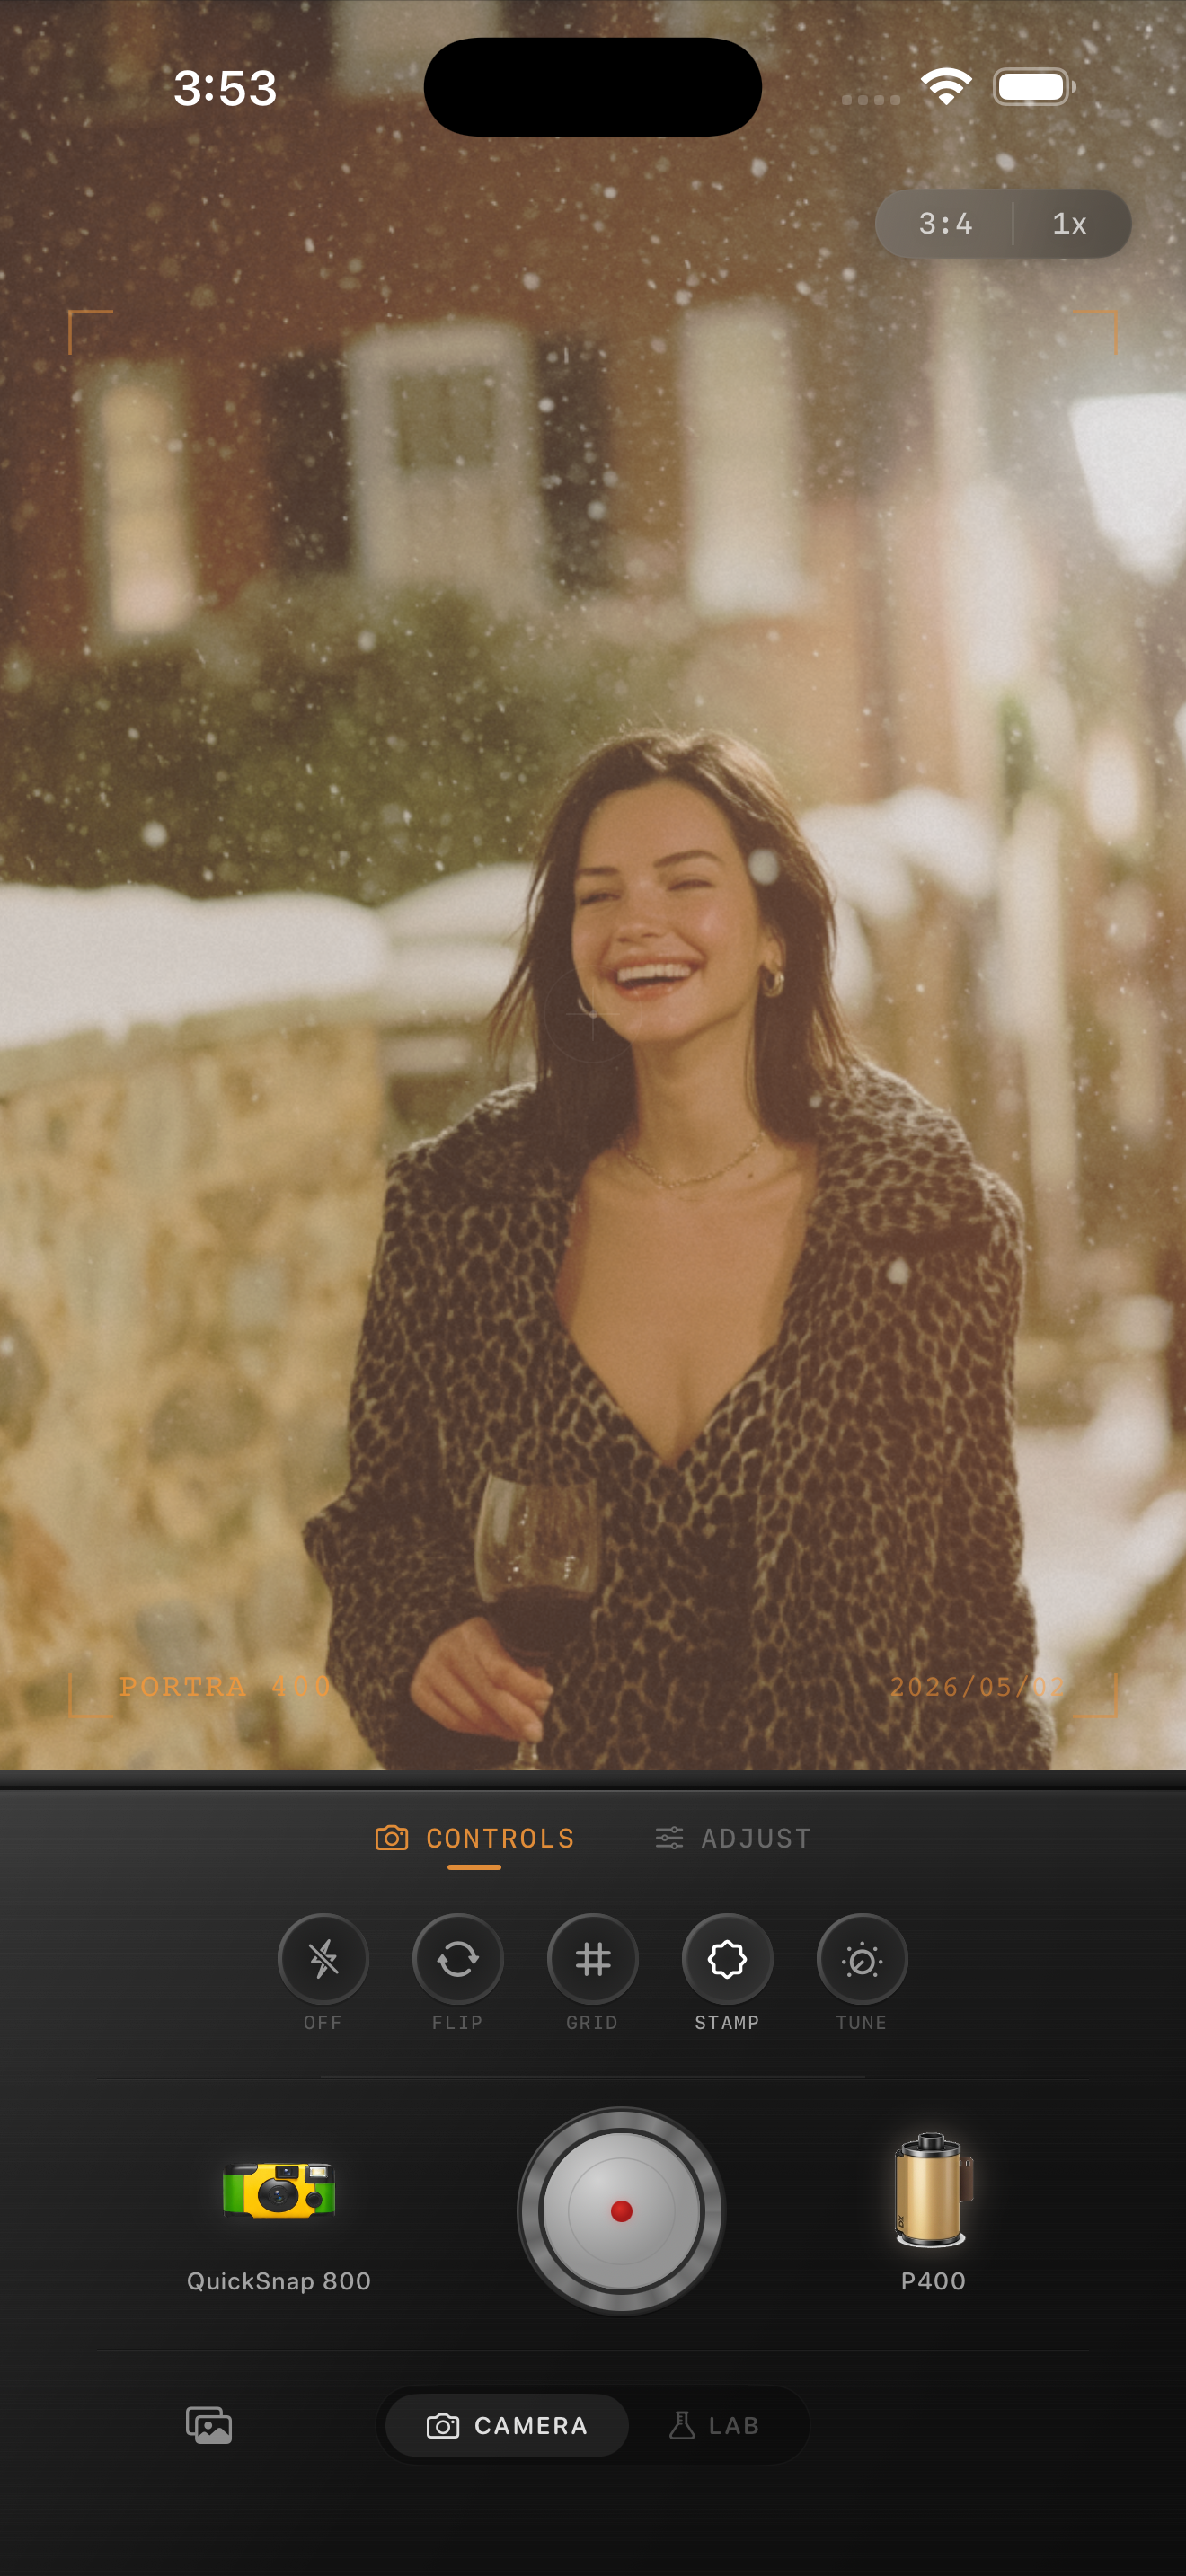
Keep the original beside the edit as you work. The goal is not to turn an overcast afternoon into fake golden hour. Aim for a picture where skin still feels alive, leaves still have variation, and the sky remains a soft part of the setting instead of a dull gray blanket. The image above is an existing outdoor style reference, not a fall family-photo comparison.
Check skin, a pale neutral, and the foliage together
Pick three small reference areas before changing a broad setting: a face or hand, a pale neutral such as a sweater or cloud, and one patch of leaves or grass. Revisit all three after each adjustment. If skin turns orange, the pale area becomes yellow, and every leaf lands on the same rust color, the treatment is too warm or too strong.
Avoid solving a flat sky by warming the whole photo. That often makes family skin and cream clothing look less natural while the sky stays flat anyway. First try a lower-intensity film look or gentler contrast, then add only enough warmth to keep the people from looking cold.
- Let the clouds stay soft instead of forcing them blue or gold.
- Use a face or hand to catch excess warmth early.
- Keep a pale sweater, shoe, or cloud from turning yellow.
- Preserve more than one leaf color so the scene still feels real.
Start with a soft overcast film recipe
Try film intensity around 48–62%, grain 12–24%, warmth +2 to +7, fade 2–5%, and vignette 1–5%. Begin near the lower end if coats, dry grass, or leaves already look warm in the original. These settings can take the crisp digital edge off an iPhone capture without turning a cloudy afternoon into a heavy sepia filter.
A cleaner compact-film or 35mm-inspired camera body is usually a better starting point than a heavily distressed disposable effect. Overcast light already smooths transitions in skin and sky; let that natural softness do most of the work before adding simulated damage.
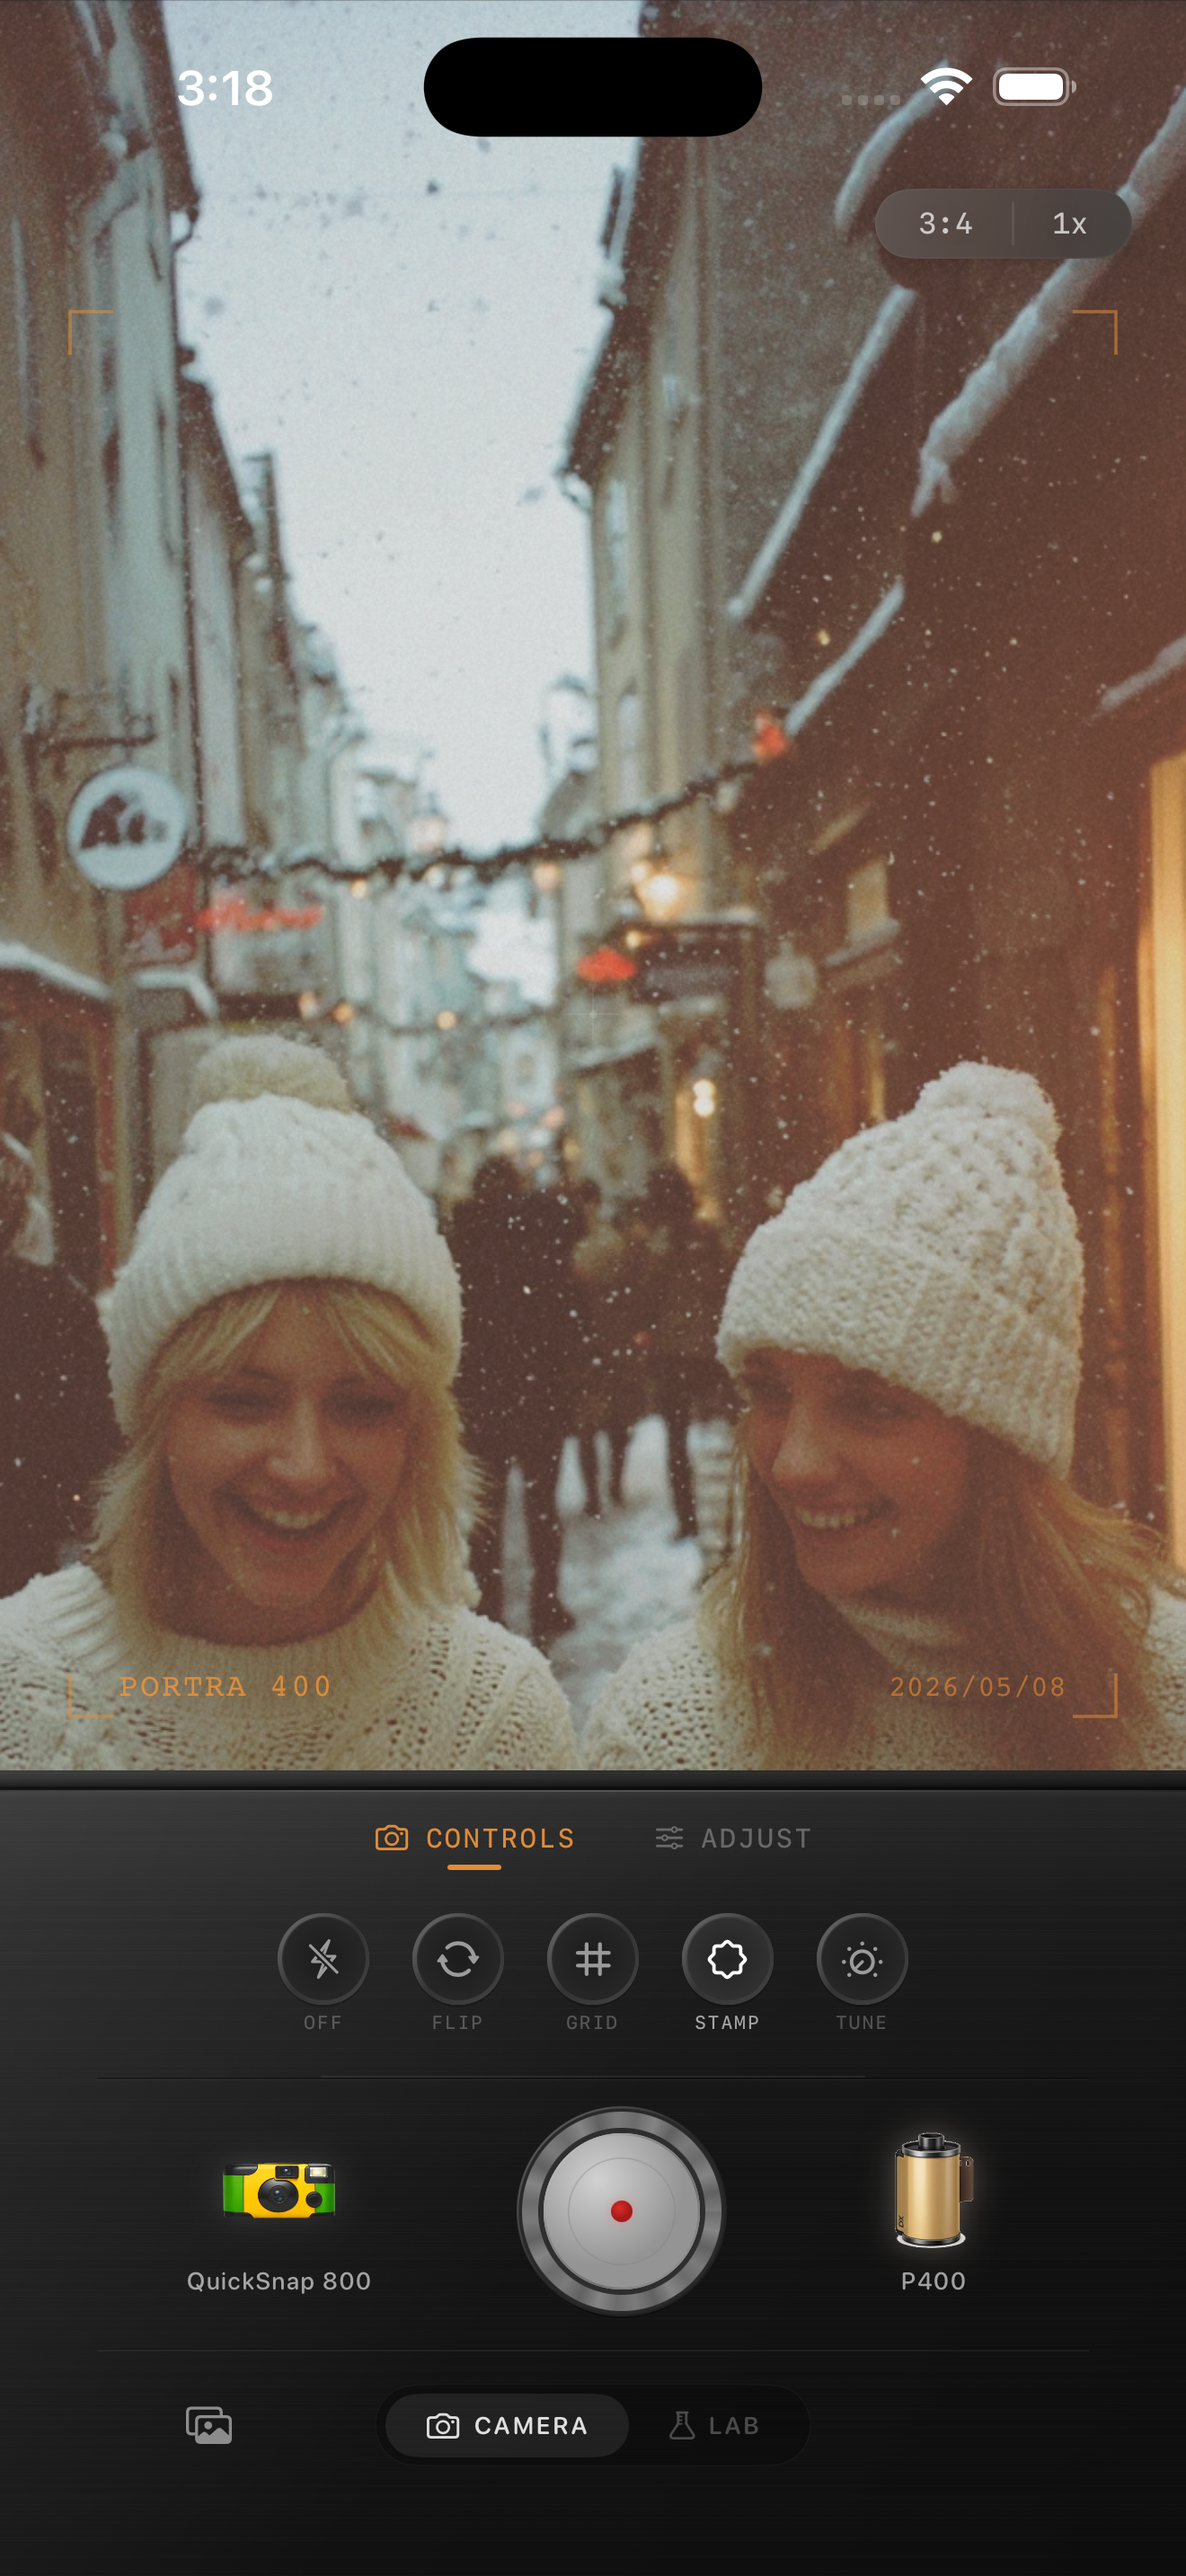
Add grain after the faces and sky feel balanced
Cloudy iPhone photos can look very clean, especially in pale sky and smooth jackets, so a small amount of grain can help them feel less processed. Balance color and brightness first, then watch a cheek, a smooth part of the sky, and a textured coat or leaf patch together. If the sky gets sandy or the faces start to look dusty before the photo feels more like a print, reduce the added grain.
Keep fade restrained, too. A little can soften harsh phone contrast, but too much removes the subtle separation between pale clouds, light skin, and a gray sweater. Export two gentle versions and keep the one where the family moment reads before the effect does.
Finish with a family-album check
View the saved edit away from the controls. You should notice the people and their expressions first, then the season and soft sky, and only then the film character. If the first impression is orange skin, gray faces, or crunchy clouds, return to the quieter version and let the real weather carry the mood.
In the Nostalgia Cam Lab, compare camera bodies and film looks at moderate intensity before refining warmth, grain, fade, and vignette. That sequence helps a set of family photos feel consistent while leaving room for each frame's different faces, coats, and background colors.
Keep the family warm and the cloudy day believable
Import your fall family photos into the Nostalgia Cam Lab, compare camera bodies and film looks at moderate intensity, then refine warmth, grain, fade, and vignette. Check a face, a pale neutral, and the foliage before saving the version that feels most like the day.
FAQ
Why do my iPhone fall family photos look gray after I add a film effect on a cloudy day?
A strong film effect, too much fade, or heavy grain can flatten the already-soft separation in overcast light. Check a face, a pale neutral, and the sky together, then lower the broad treatment before trying to add more warmth.
Should I make cloudy fall family photos much warmer to look like film?
Usually no. A small warmth adjustment can keep faces comfortable, but too much makes skin, light clothing, and clouds turn yellow. Let the leaves and family clothing provide the seasonal color instead of applying one orange cast everywhere.
How much grain should I add to overcast family photos?
Start modestly. Add grain only after skin, sky, and foliage are balanced, then check the image at normal phone size. If smooth sky or faces look sandy, the photo needs less texture rather than more.