
Editing guide
How to Edit iPhone Halloween Parade Photos to Look Like Film Without Blurry Neon Signs
A practical iPhone film-editing guide for Halloween parade photos: keep costumes readable, control bright neon signs, protect night color, and add texture without making the crowd look noisy.
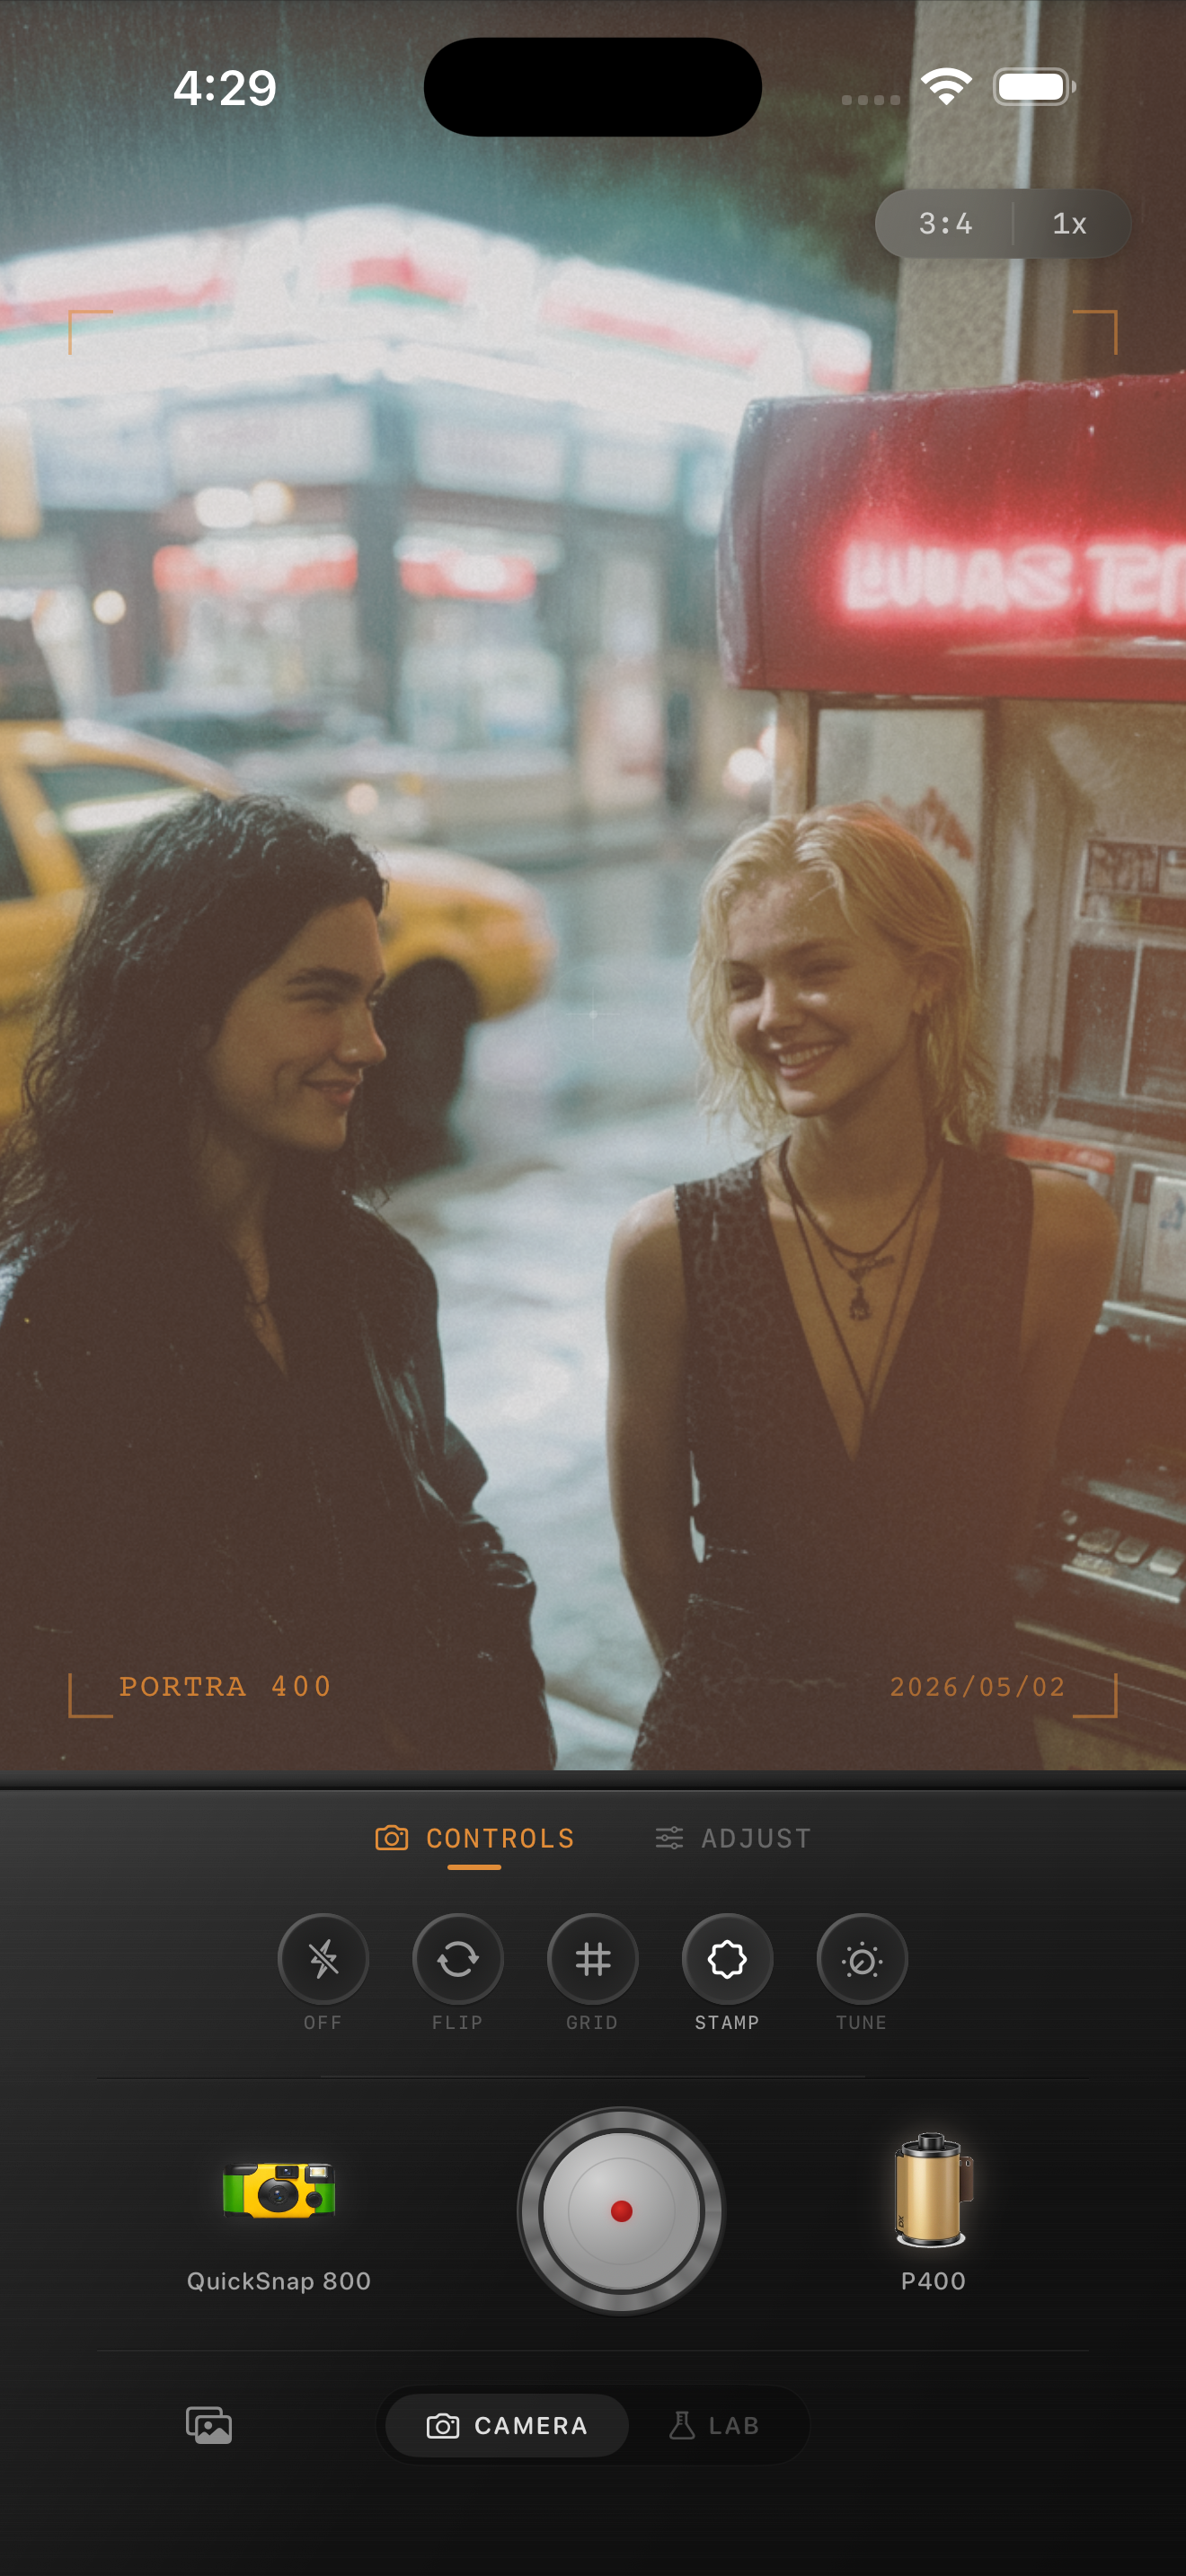
Start with the frame where the costume still reads
Halloween parades move fast: people step through pools of streetlight, a float throws colored light across the crowd, and a neon storefront may sit just behind the person you meant to photograph. Before trying a film look, compare nearby frames at normal phone size and choose the one where a face, costume shape, hand, or prop is already clear. An edit can soften an iPhone night capture, but it cannot restore a costume blurred by motion or a sign clipped to pure white.
Leave a little of the place in the frame when it helps tell the story. The useful goal is not to erase every bright sign; it is to let the costume, the neon, and the street remain separate. The preview above is an existing low-light style reference, not a Halloween parade before-and-after.
Check a face, the sign edge, and one dark neutral area
Choose three small reference areas before changing any broad setting: a face or painted costume detail, the edge of the brightest neon letter or tube, and a dark neutral item such as a black coat, pavement, or parade barrier. Revisit all three after each adjustment. If skin becomes magenta, the sign spreads into a soft colored blob, and the neutral detail takes on the same tint, the treatment is too strong.
Do not solve a bright sign by cooling the entire photo until the parade feels lifeless. A little colored spill may be part of the real scene. First try a lower-intensity film look, less added warmth, or a darker starting frame so the neon has room to remain a light source instead of becoming the color of everything.
- Let the sign glow without turning every shadow its color.
- Use a face or painted costume area to catch an unwanted global cast.
- Keep one dark neutral detail dark enough to explain the night.
- Compare at normal phone size after each broad change.
Try a restrained parade-night film recipe
Start around film intensity 42–58%, grain 10–20%, warmth -3 to +3, fade 1–5%, and vignette 2–8%. Stay near the lower end when a sign is close to a face or a reflective costume. These settings can take the clinical edge off an iPhone night photo while preserving the contrast between the person, the sign, and the street.
A cleaner compact-film or 35mm-inspired camera body is usually a better fit than a heavily distressed disposable look. A parade already has motion, glow, sequins, fabric, and crowd detail. Adding too much simulated damage can make the photo feel busier before it feels more like a memory.
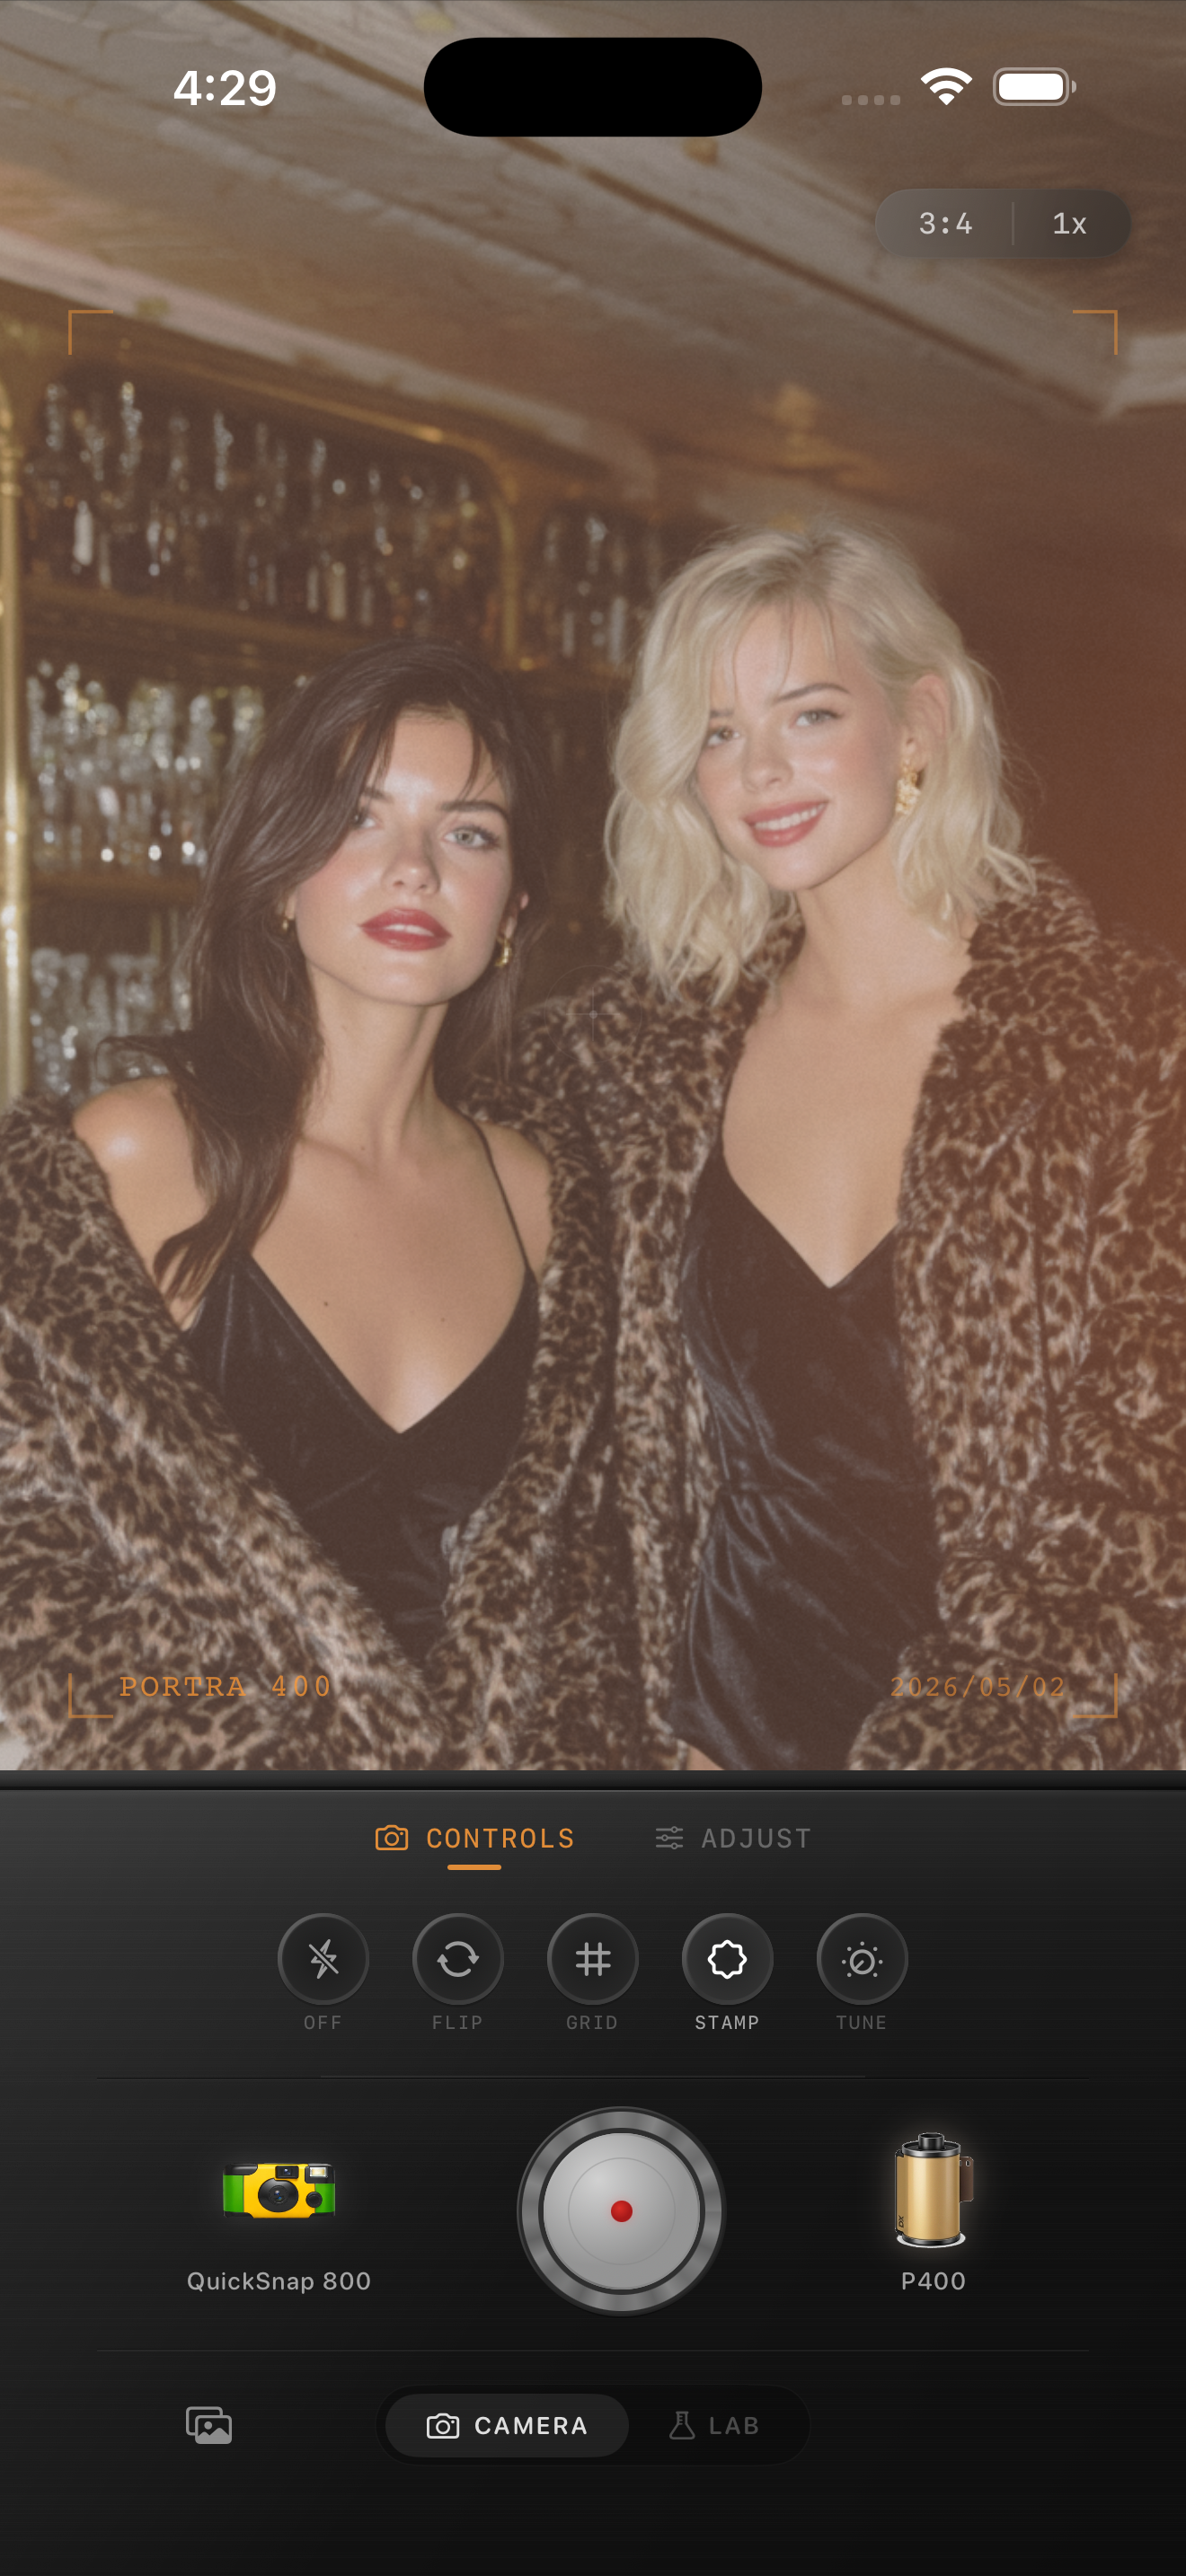
Add texture only after the neon edge is under control
Night photos may already carry noise in the pavement, sky, and shadowed crowd. Balance brightness and color first, then add a small amount of grain while watching a smooth dark area and the edge of the sign together. If letters dissolve into noisy color or a black jacket starts to look sandy before the image feels less digital, lower the added grain.
Keep fade modest as well. A small amount can relax harsh phone contrast, but too much removes the difference between the neon source, a dark costume, and the background. Export two gentle versions and choose the one where the parade moment reads before the effect does.
Finish with a quick street-size check
View the saved edit away from the controls. You should notice the person or costume first, then the colored sign and the street scene, and only then the film character. If the first impression is a bright fuzzy sign, purple skin, or crunchy noise, return to the quieter version and let the original low light do more of the work.
In the Nostalgia Cam Lab, compare camera bodies and film looks at moderate intensity before refining warmth, grain, fade, and vignette. That sequence helps keep a parade photo lively without forcing every mixed-light frame into the same heavy filter.
Keep the neon lively and the costume clear
Import a favorite Halloween parade photo into the Nostalgia Cam Lab, compare camera bodies and film looks at moderate intensity, then refine warmth, grain, fade, and vignette. Check a face, the brightest sign edge, and one dark neutral detail before saving the version that feels most like the night.
FAQ
Why do neon signs look blurrier in my iPhone Halloween parade photos after a film edit?
A strong film effect, added warmth, fade, or heavy grain can spread bright colored pixels into nearby shadows and reduce the contrast around a sign. Compare the sign edge with a face and a dark neutral detail, then lower the broad treatment before making a global color correction.
Should I add a lot of grain to Halloween parade photos?
Usually not. Night captures, moving crowds, sequins, fabric, and street texture already add visual detail. Add a modest amount only after the sign edge, costume color, and shadow separation feel balanced.
How can I keep a Halloween parade photo dark without losing the costume?
Keep enough local separation to read a face, costume outline, hand, or prop instead of lifting every shadow. A lower-intensity film look and a gentle vignette usually preserve the night better than a large global brightness increase.