
Editing guide
How to Edit iPhone Dinner Photos to Look Like Film Without Orange Highlights
A practical dinner-photo film recipe for iPhone: keep warm restaurant light, protect whites and skin, and add enough grain to feel analog without turning the whole table orange.
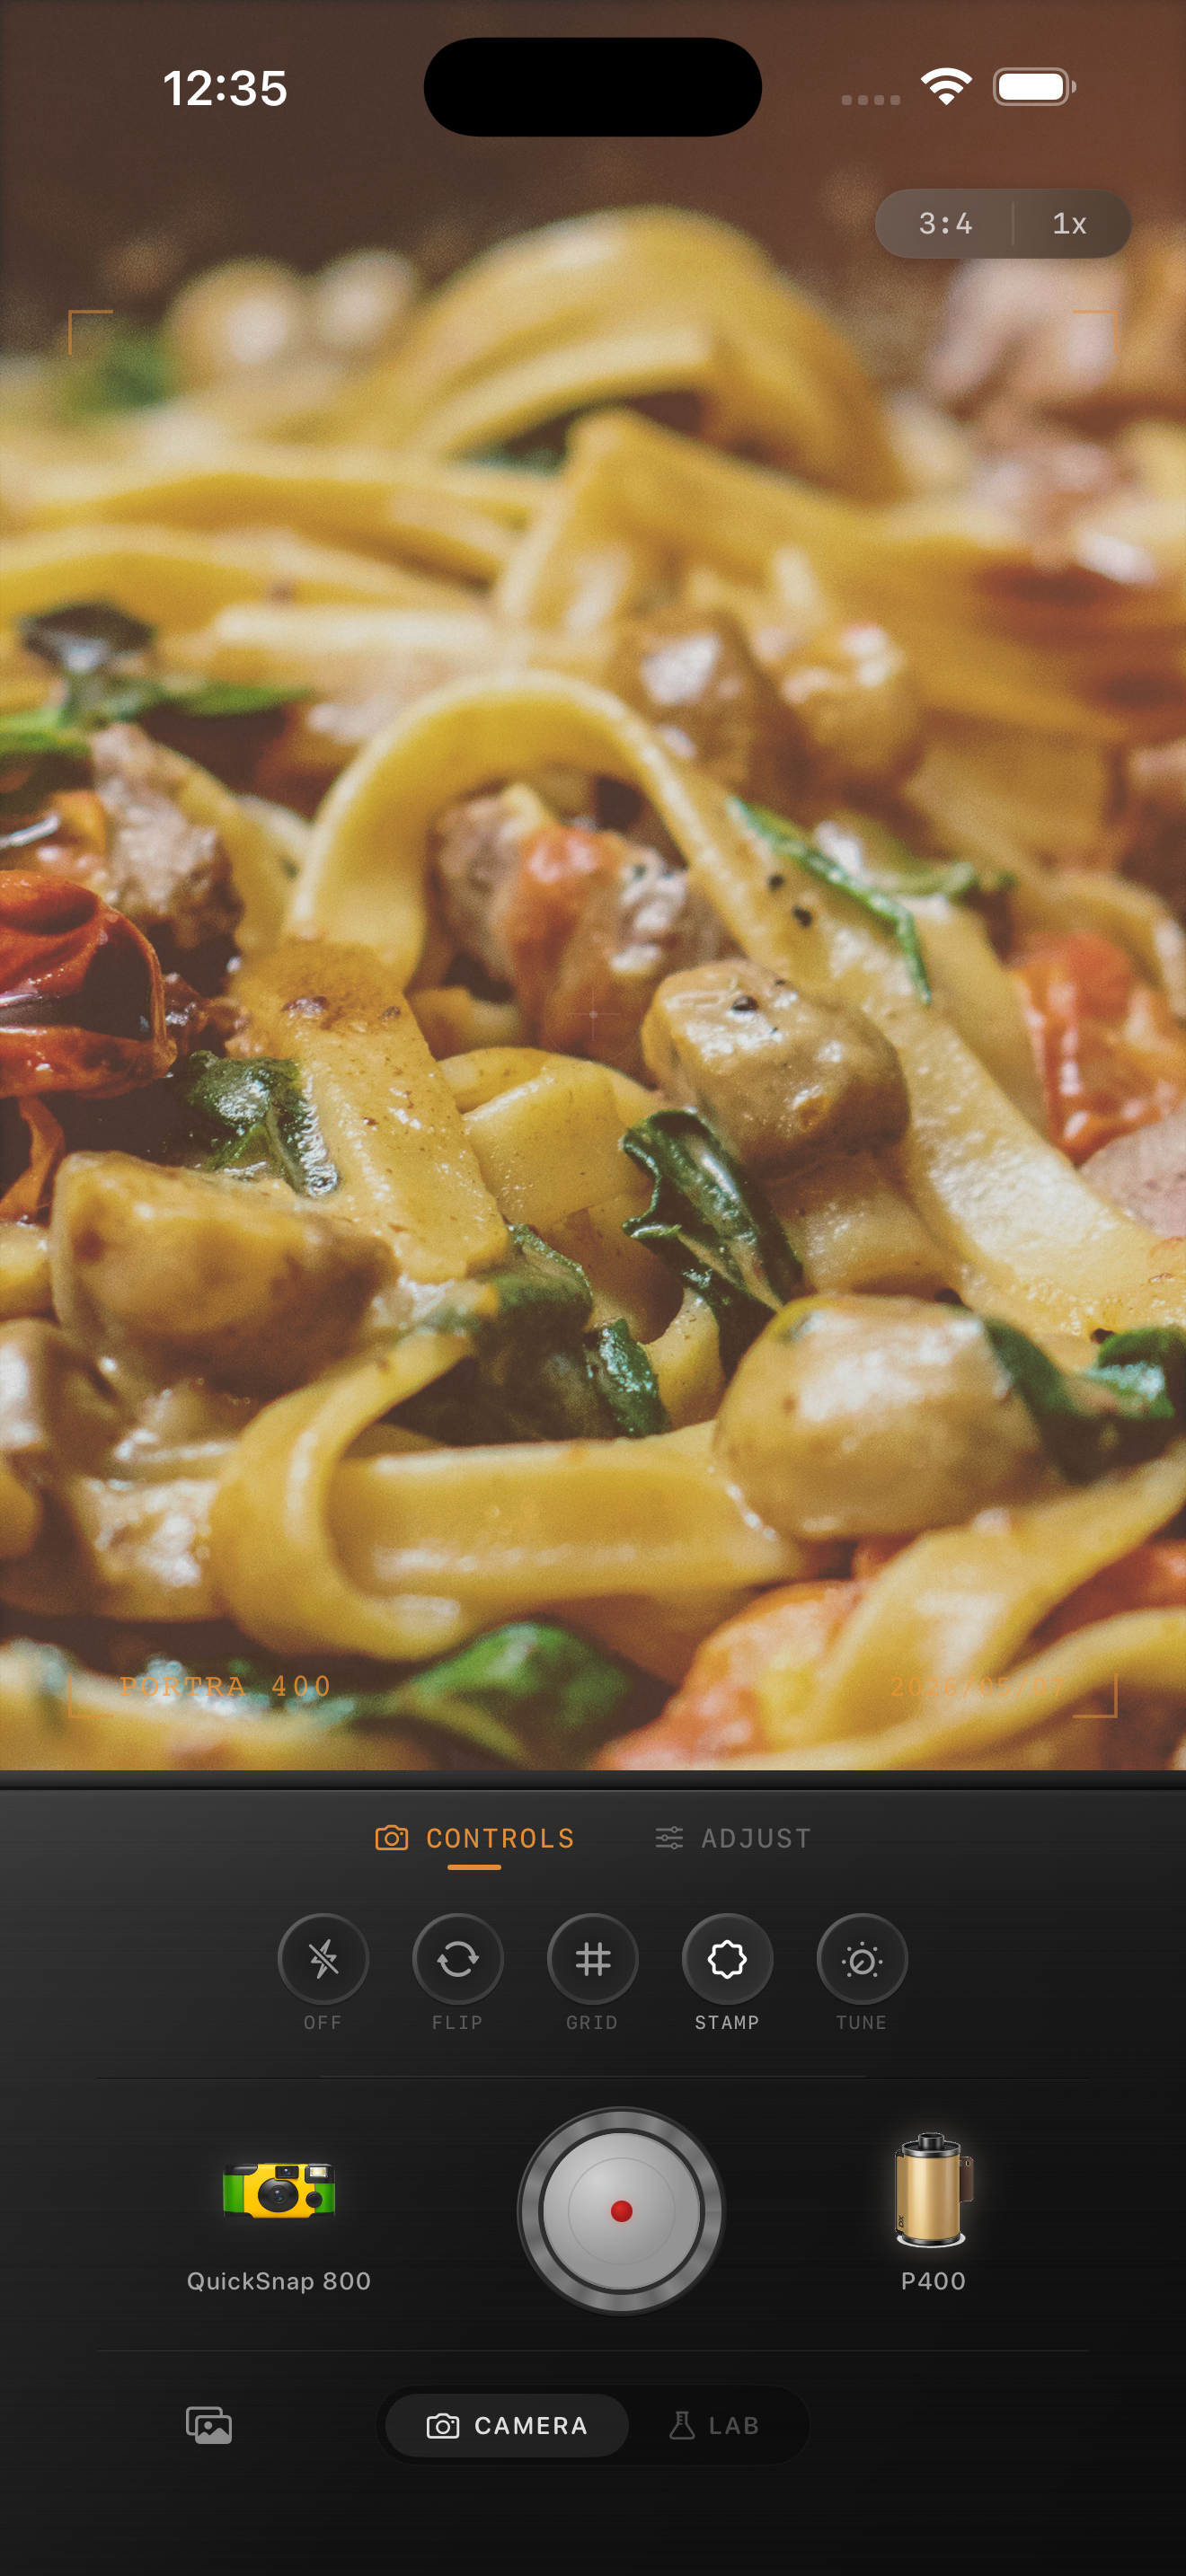
Warm light should stay warm, not orange
Dinner photos already have most of what people want from a film edit: practical bulbs, candle spill, reflective glasses, steam, darker corners, and a close personal mood. The problem is that iPhone processing plus heavy editing can push all of that into one flat orange wash.
A believable film-inspired dinner photo keeps the room warm while preserving separation between skin, plates, pasta, napkins, and glass highlights. The image should feel printed, not dipped in amber.
- Protect white plates and napkins before adding more warmth.
- Keep skin slightly warmer than the table, not the same color.
- Use moderate grain so shadows gain texture without looking greasy.
- Let candles and bulbs glow, but keep their edges readable.
- Use fade carefully because dinner scenes can turn muddy fast.
A dependable starting recipe for dinner photos
Start around film intensity 72-84%, grain 20-32%, warmth +4 to +9, fade 3-6%, and vignette 4-9%. That range usually softens the digital finish while keeping table light believable instead of aggressively vintage.
If the restaurant already has red walls, amber bulbs, or candlelight, lower warmth before lowering film intensity. The common mistake is assuming a warmer room needs an even warmer edit, when it usually needs cleaner highlights and gentler texture instead.
Judge the edit from skin, plates, and reflections
Those three checkpoints reveal most overediting immediately. If skin looks yellow, back off warmth. If white plates turn beige, the highlights are drifting too far. If reflective glasses or silverware go flat, the scene has lost the crisp little accents that keep a dinner photo feeling real.
Once those anchors look healthy, you can let the rest of the table stay soft and moody. That is usually enough to make the frame feel like a small film print from the night.
Use a cleaner camera mood than a party-flash look
Most dinner photos work better with a balanced 35mm-inspired or compact-film body than with a rough disposable treatment. You usually want warmth, grain, and softer highlights, not chaotic flash texture or heavy edge damage.
In Nostalgia Cam, choose the camera body first, then tune warmth, grain, fade, and vignette until the photo feels intimate and tactile. If the first thing you notice is orange color instead of the moment, pull the edit back.
Keep dinner photos warm and believable
Use Nostalgia Cam to shoot or import dinner photos, then balance camera body, grain, warmth, fade, and vignette so restaurant scenes feel intimate, printed, and naturally film-inspired without orange highlights.
FAQ
Why do dinner photo edits turn orange so easily?
Because warm bulbs, candlelight, wood tables, and skin tones already lean warm. Adding too much extra warmth on top quickly turns the whole frame the same color.
How much grain works for dinner photos on iPhone?
Usually a restrained amount around 20-32% works well. It adds texture to shadows and tabletops without making skin, plates, or highlights look dirty.