
Editing guide
How to Edit iPhone Photos to Look Like Film Under Fluorescent Lights
A practical fluorescent-light film recipe for iPhone photos: reduce green cast, protect skin tones, keep highlights soft, and add enough grain to make indoor light feel natural instead of sterile.
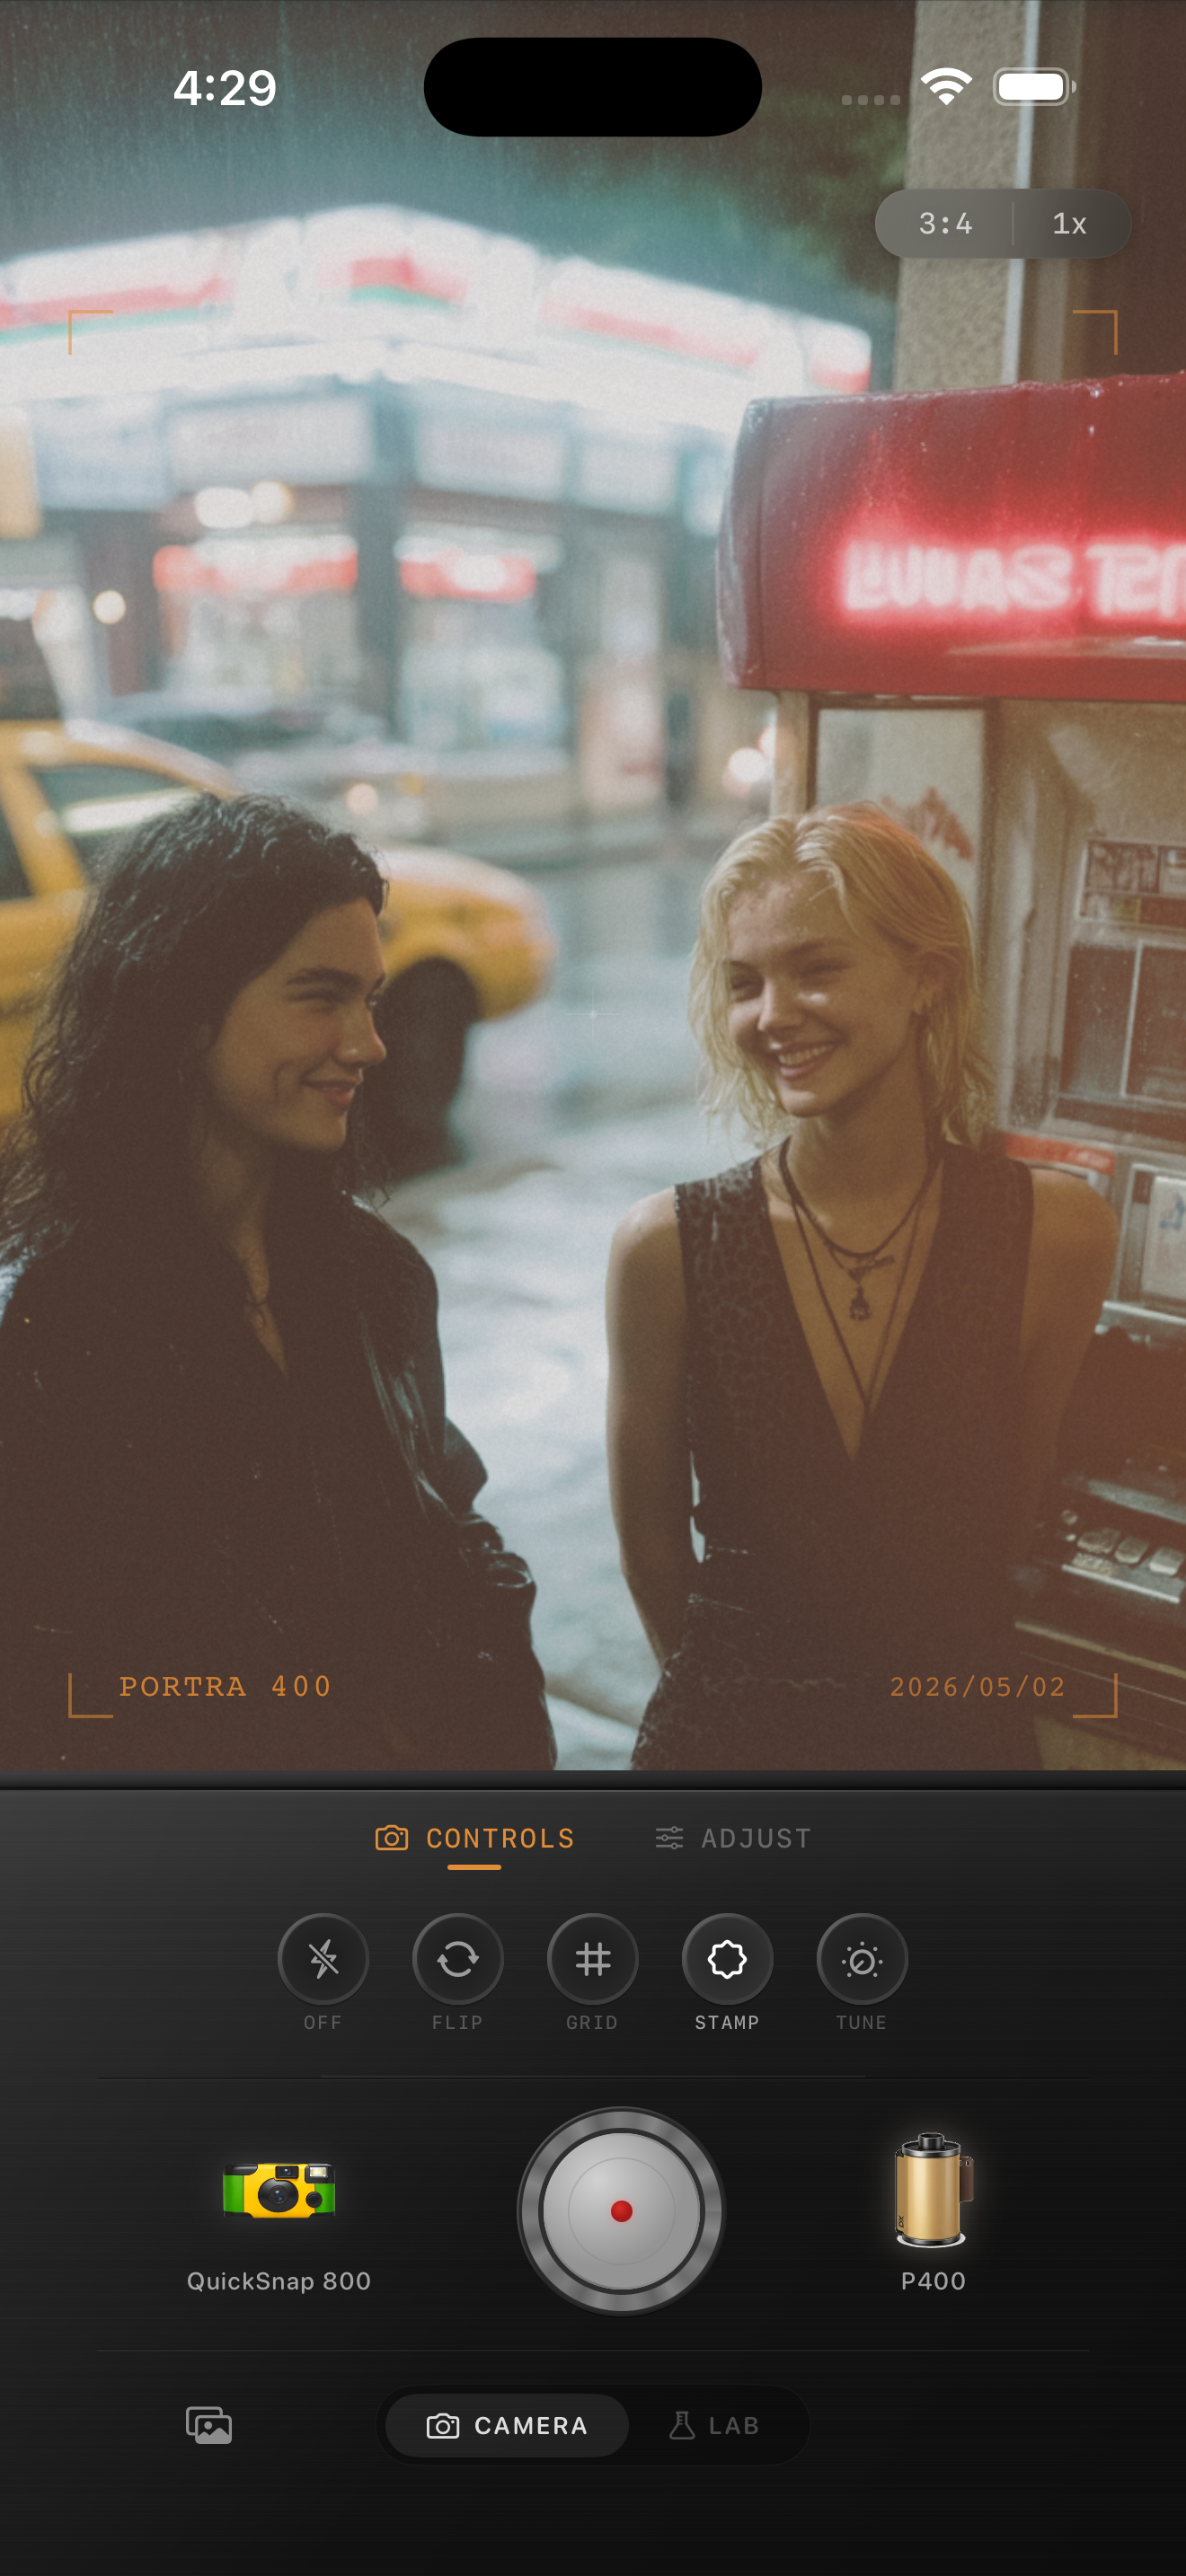
Fluorescent light looks fake fast when the edit chases warmth
Fluorescent light usually creates the exact problems that make iPhone photos feel digital: green cast in skin, flat highlights, bright shadows, and color that never quite agrees across the frame. A film-inspired edit should calm those tensions instead of trying to drown them in orange warmth.
The goal is not to make every fluorescent photo look cozy. The goal is to keep the indoor atmosphere believable while softening the sterile, processed edge that iPhone files often exaggerate.
- Lower the green cast before adding extra warmth.
- Keep white signs and menus from clipping flat.
- Use moderate grain so walls and skin do not look dirty.
- Add softness before pushing saturation.
- Let some cool indoor color remain so the scene still feels real.
A reliable fluorescent-light settings baseline
Start around film intensity 70-84%, grain 24-36%, warmth +2 to +8, fade 3-7%, and vignette 4-9%. That range usually softens the digital finish without turning fluorescent light into muddy yellow soup.
If the room mixes fluorescent light with neon, window light, or warm bulbs, stay lower on warmth and judge the edit from skin first. If the frame is mostly cooler overhead light, a small warmth shift plus softer contrast often works better than a heavy color move.
Treat skin and neutral surfaces as your checkpoints
Fluorescent edits usually break in obvious places: faces go sallow, white walls turn minty, and stainless steel or menus lose detail. Check those neutral areas before you decide the photo is finished.
If skin still looks believable and whites still read as white at phone-feed size, the rest of the frame can usually carry a little more mood. If those anchor points are wrong, more grain or fade will only hide the problem for a second.
Use film texture to make the room feel less sterile
This is where grain and camera-body character help. Fluorescent indoor photos often feel too clean and too sharp. A moderate 35mm-inspired body, slight softness, and realistic grain can make the scene feel more like a scanned print than a convenience-store security still.
In Nostalgia Cam, start with a cleaner film-style body, then adjust grain, warmth, fade, and vignette until the photo feels lived in. If the first thing you notice is a color cast, back off and rebalance before adding more texture.
Make tricky indoor light feel photographic
Use Nostalgia Cam to soften fluorescent iPhone photos with cleaner film color, natural grain, and camera-body character so indoor scenes feel atmospheric instead of harsh and green.
FAQ
Should fluorescent-light film edits be warmed up a lot?
Usually no. A small warmth shift helps, but heavy warmth often turns fluorescent scenes muddy. Correct the green cast first, then add only enough warmth to keep skin natural.
What grain amount works well for fluorescent indoor photos?
A moderate amount around 24-36% is a good starting point. It adds texture and softness without making skin, walls, or signs look dirty.