
Editing guide
How to Edit iPhone City Night Photos to Look Like Film Without Crushed Blacks
A practical city-night film workflow for iPhone: keep shadow detail, soften bright signs, add grain with restraint, and avoid the muddy crushed-black look that makes night edits feel fake.
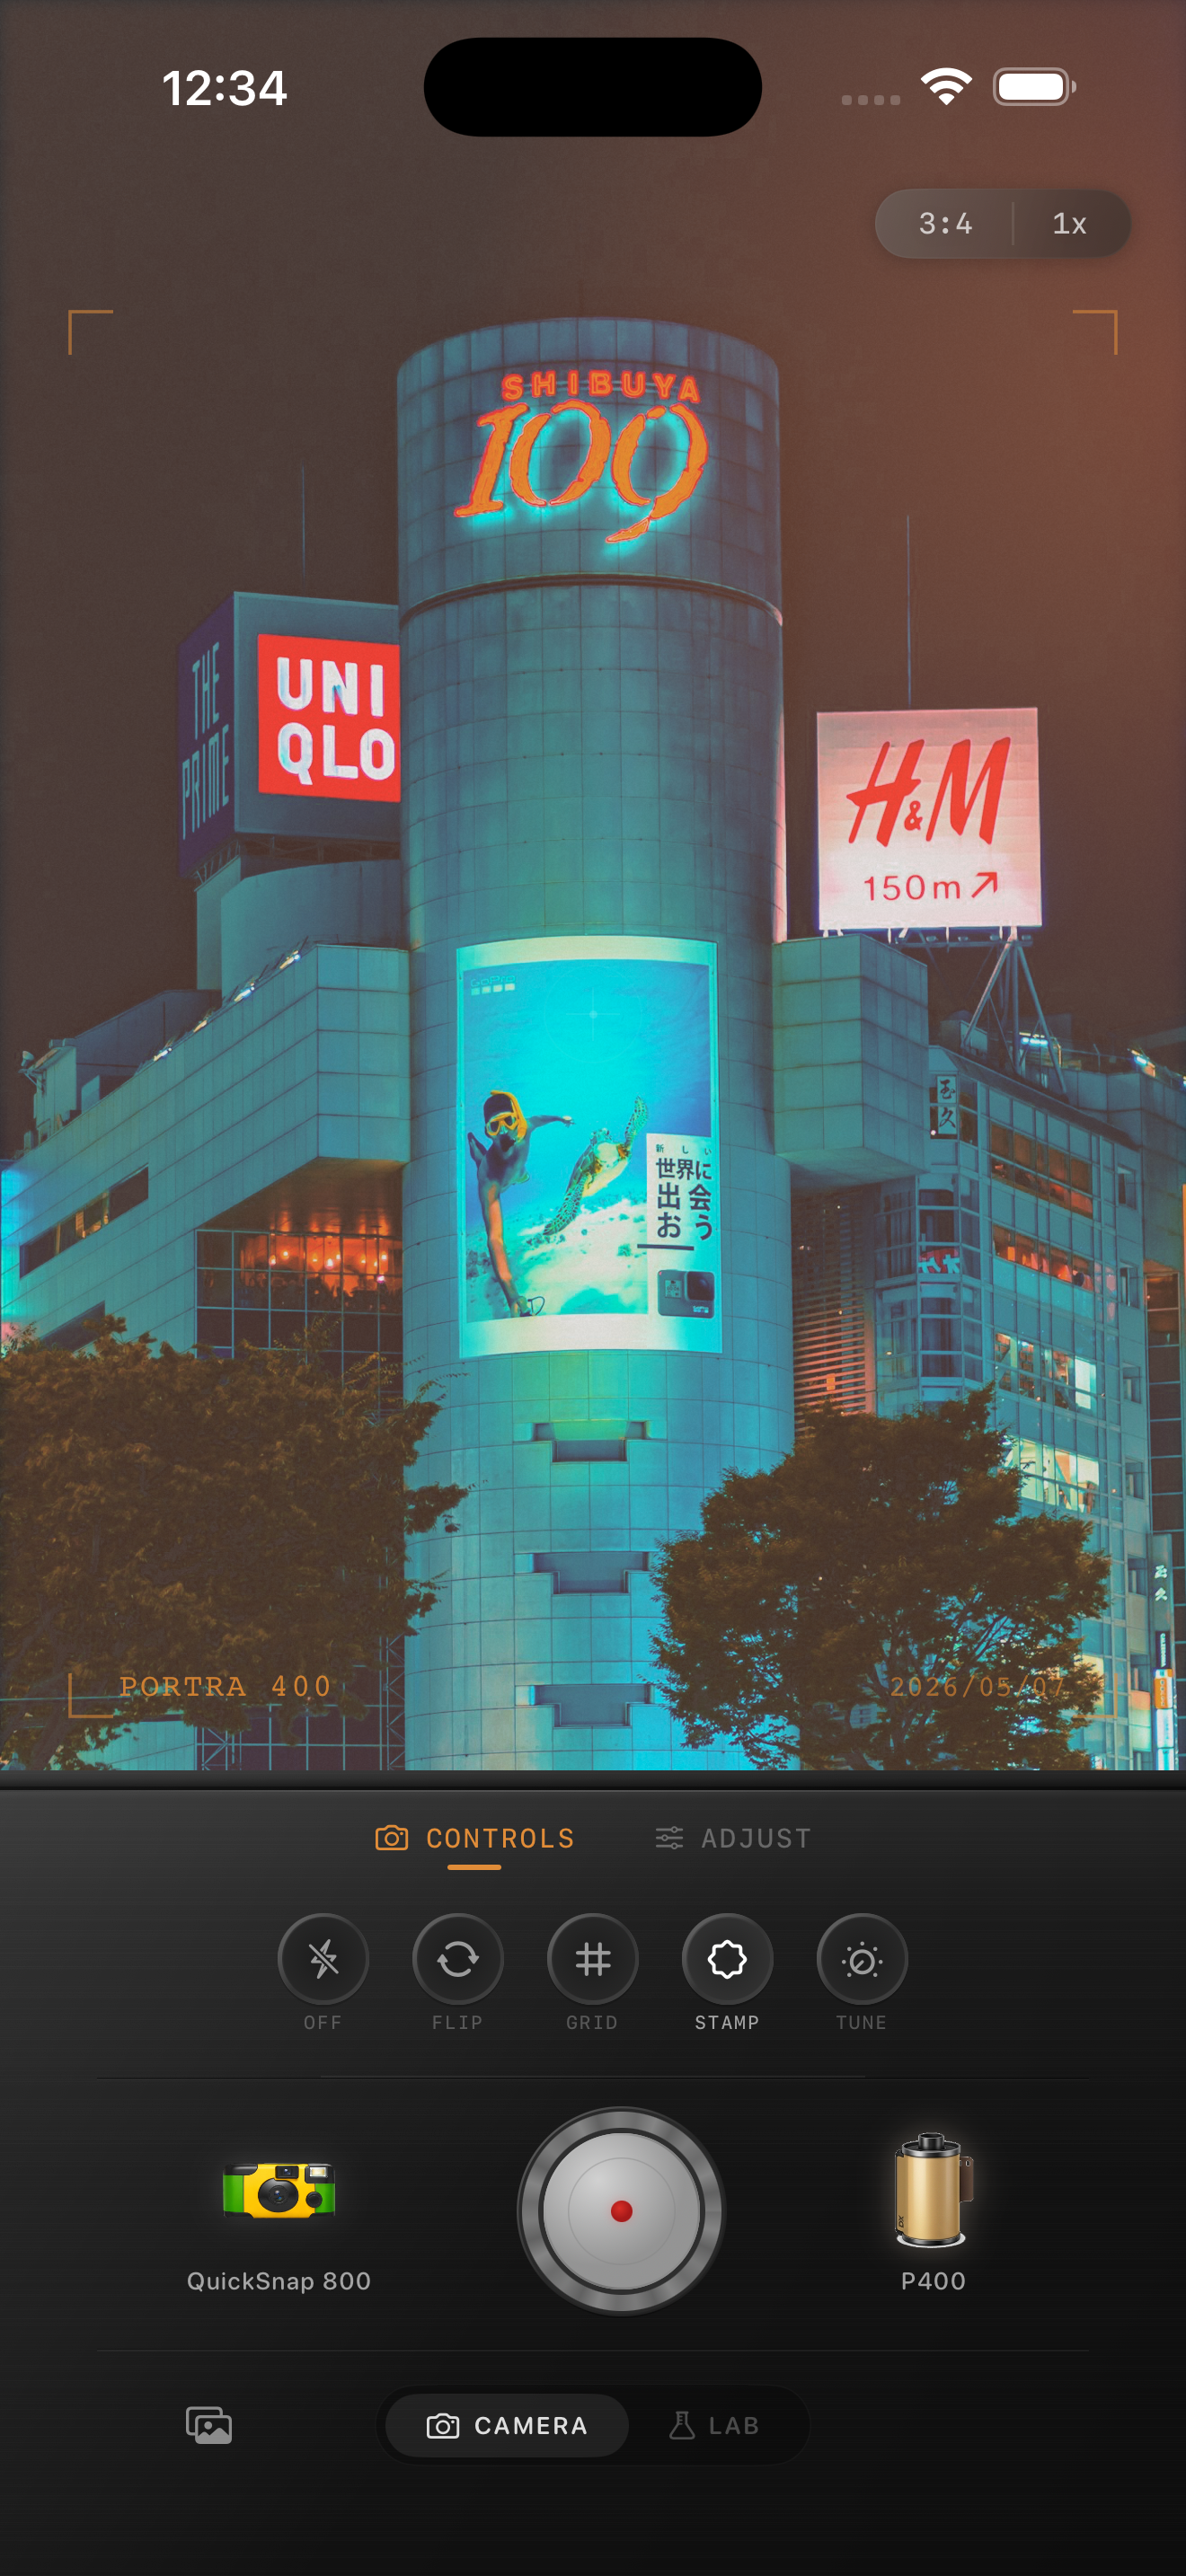
Night photos need depth in the dark areas
City night photos already have the ingredients that make film-inspired edits work: bright signs, windows, headlights, wet pavement, and deep pockets of darkness. What usually breaks the image is when the edit crushes every dark area into the same black slab.
Real film night photos can feel deep without losing all information. You should still sense the shape of a coat, the edge of a curb, or the separation between a shadowed wall and the street. If those details disappear, the photo stops feeling photographic and starts feeling overprocessed.
A reliable city-night settings baseline
Start around film intensity 74-88%, grain 28-40%, warmth +1 to +6, fade 3-6%, and vignette 5-10%. That range usually softens the digital finish and helps the lights bloom slightly without burying the lower half of the frame in black.
If the scene already has strong neon or colored LED light, stay lower on warmth and lower on fade. The better win is preserving tonal steps in the shadows while calming the brightest signs and reflections.
- Check the darkest jacket, doorway, or pavement area before calling the edit finished.
- Keep grain moderate so the shadows feel textured, not muddy.
- Protect sign edges and headlights so highlights stay shaped.
- Use fade as a small lift, not as a way to flatten the whole scene.
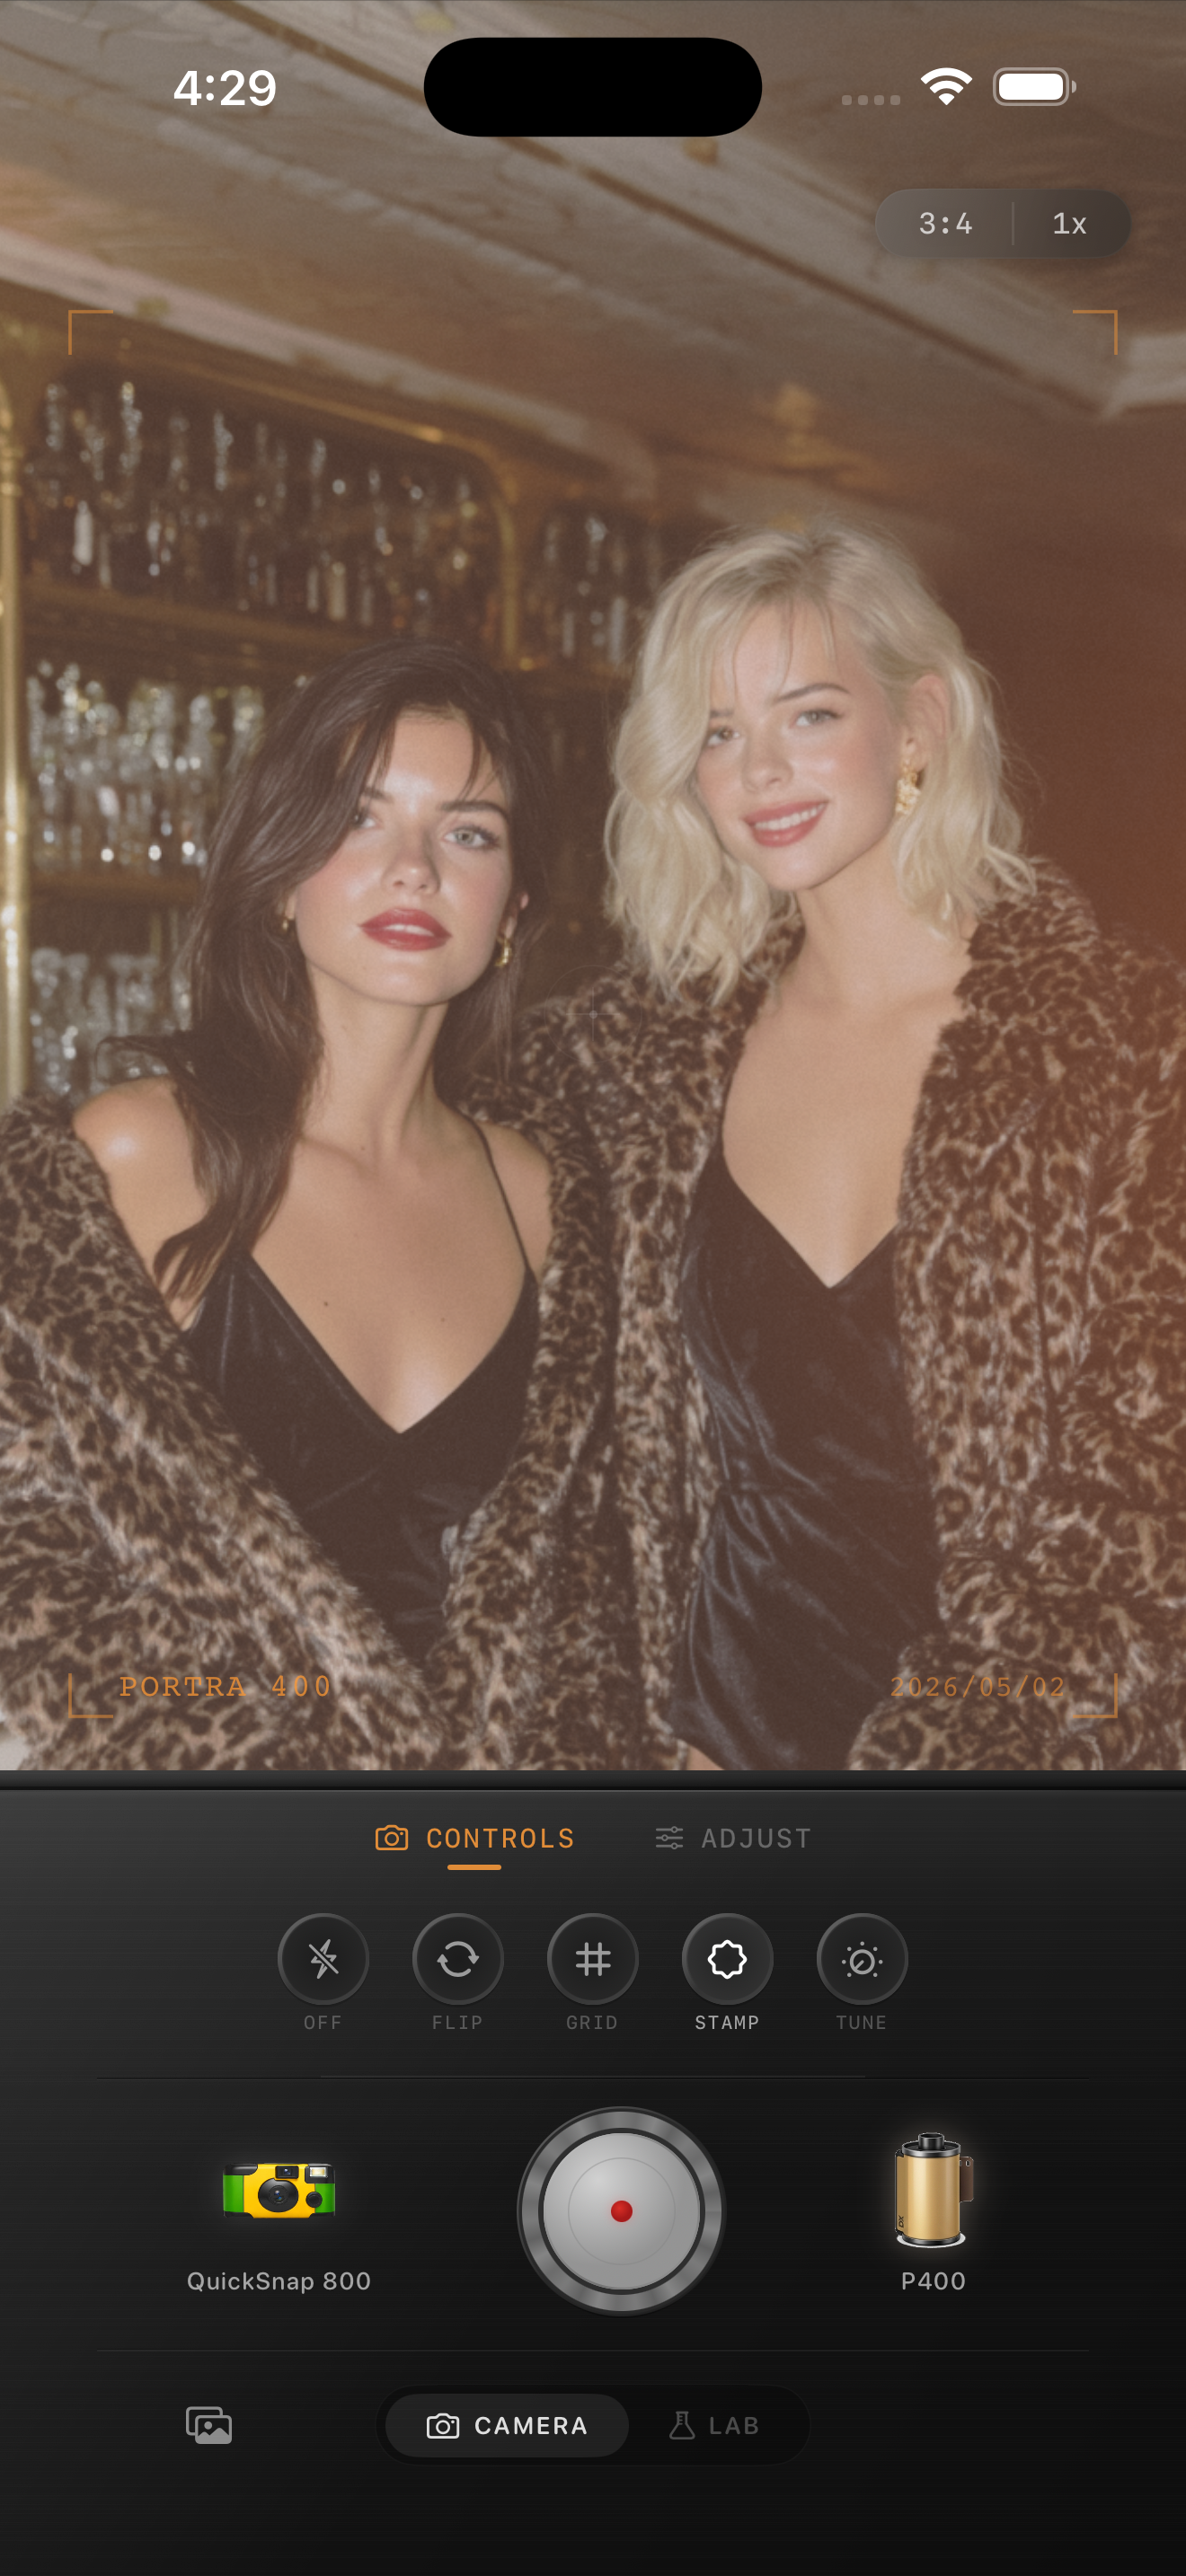
Crushed blacks usually come from stacking the wrong moves
Most crushed-black edits happen because several aggressive choices pile up at once: too much contrast, too much vignette, too much grain, and a scene that already started dark. Each move might look dramatic by itself, but together they erase the small details that create depth.
If the photo looks muddy or blocked up, reduce one thing at a time. Lower the overall intensity or vignette first, then check whether the shadows open up naturally. It is usually better to keep the night moody with visible layers than to force a stark black-and-neon graphic look on every frame.
Match the camera mood to the street scene
A rougher disposable-style body can work for flash snapshots, crowded sidewalks, or quick nightlife moments. Cleaner 35mm-inspired bodies usually work better for reflective streets, storefronts, transit scenes, and solitary city walks where you want the light to feel cinematic instead of chaotic.
In Nostalgia Cam, start with the body that fits the scene, then fine-tune grain, warmth, fade, and vignette until the image feels like a night print with atmosphere and depth, not a phone edit trying too hard to look dramatic.
Keep the city dark, not dead
Use Nostalgia Cam to shoot or import city night photos, then tune camera body, grain, warmth, fade, and vignette so signs glow, shadows hold detail, and the whole frame feels naturally film-inspired.
FAQ
Why do city night edits get crushed blacks so easily?
Because night scenes already start with deep shadows. Extra contrast, grain, vignette, and heavy intensity can quickly merge all dark areas into one muddy block.
Should film-style city night photos be very warm?
Usually no. Many city night scenes already have strong color from neon, LEDs, or sodium light, so a small warmth shift is often enough.