
Editing guide
How to Choose iPhone Photos for a Film Edit
Choose photos worth editing with a simple checklist for expression, light, focus, and framing, then test a gentle film look before finishing your favorites.
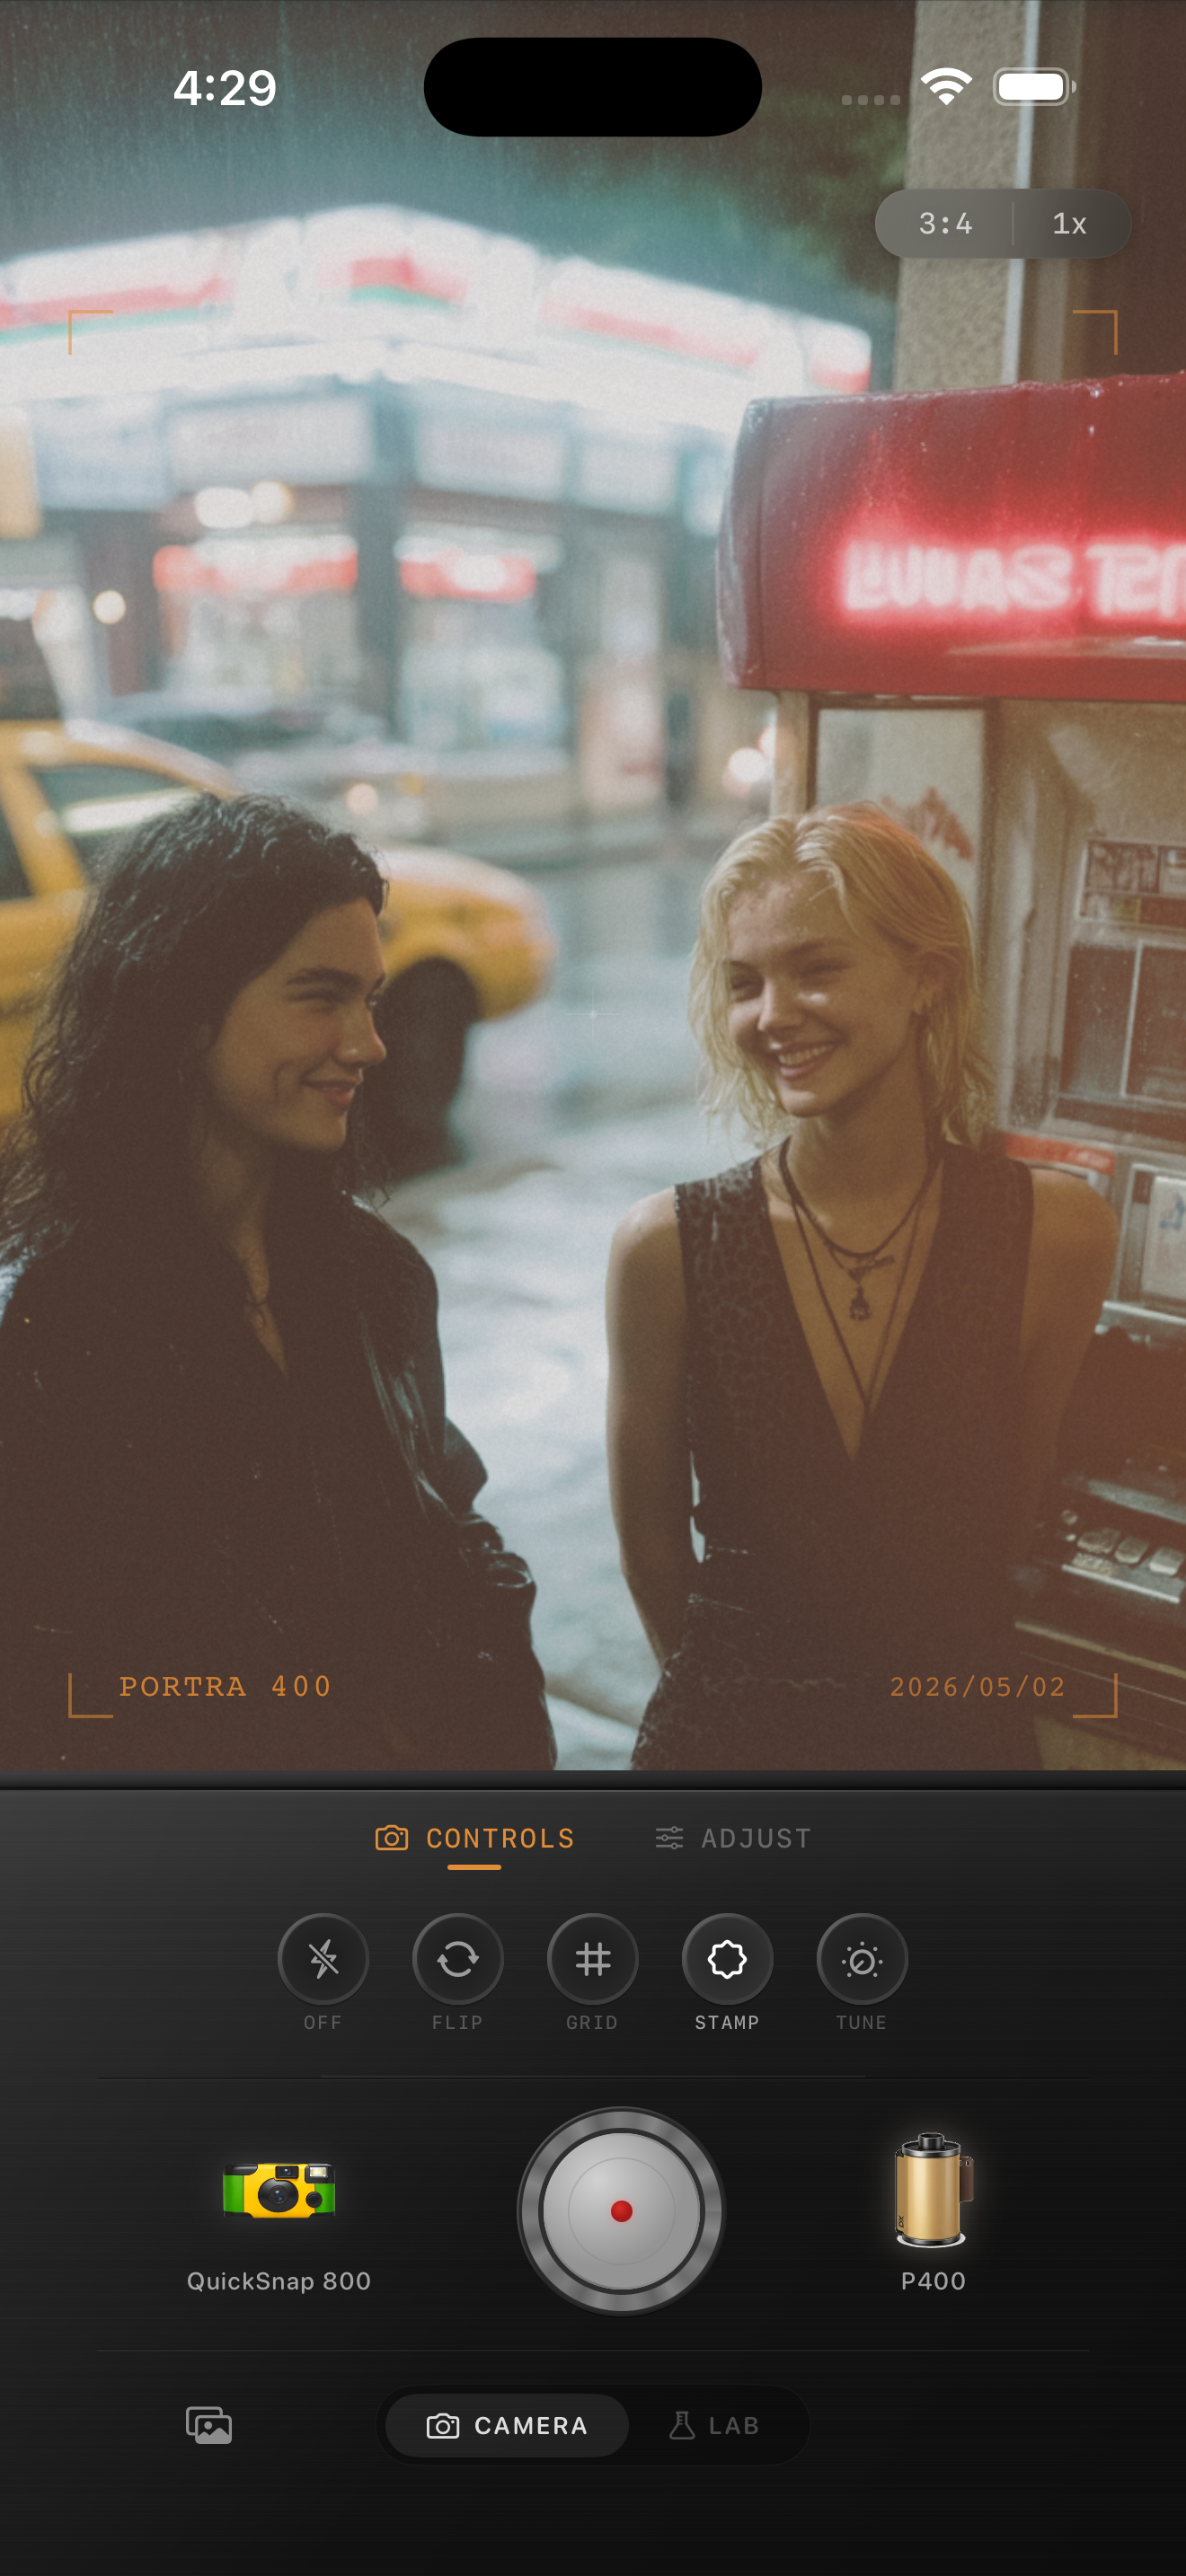
Choose the moment before choosing the look
A useful way to choose iPhone photos for a film edit is to make a small shortlist before opening any filters. Look for a readable expression, an interesting gesture, or a detail that reminds you why you took the picture. Color and grain can support that moment; they do not need to be the reason the photo is worth keeping.
Start with three to five candidates from one scene. If you took several similar frames, compare them at the same size. A relaxed face or a hand in a better position may matter more than a slightly tidier background. Keep the originals while you decide; a shortlist does not require deleting anything.
Check the part of the photo that matters most
Open each candidate large enough to inspect the subject. For a portrait, check the eyes and expression. For a dinner detail, check the food or the glass you meant to feature. Decide whether that area is clear enough for the way you plan to share the photo.
A little movement can suit a candid picture. The question is whether the motion helps you read the moment or makes the subject hard to recognize. Do not choose a frame on the assumption that adding grain will restore missing facial detail. If two pictures tell the same story, try the clearer one first.
- Keep: a clear subject with a small amount of background movement.
- Compare: a lively expression with slight blur against a sharper but less engaging frame.
- Set aside for now: a photo whose important detail is too unclear for your intended use.
Look for usable light on the subject
Judge the face or main object before judging the atmosphere around it. A glowing lamp behind someone can look inviting, but check whether you can also see the person comfortably. For a daylight portrait, look for visible shape in bright cheeks and pale clothing rather than choosing only by the color of the sky.
You do not need perfect exposure everywhere. A small bright reflection or a dark background may be fine. Prioritize the areas that carry the photograph. If one candidate needs extensive rescue just to make the subject readable, finish an easier frame first and return to the difficult one separately.
Preview the framing you will actually use
Imagine the final picture as a phone portrait, a square post, or a wider album image. Check whether that framing leaves room around faces and hands. A picture with an attractive background may become awkward when the intended crop cuts through the gesture you liked.
Try a crop on a working copy before committing to the film finish. Choose the candidate that holds together in your intended shape. Keep a wider version when the surroundings explain the story, such as a friend standing beside an old diner payphone. There is no need to force every photograph into the same crop.
Use one gentle preview to compare your finalists
Bring your two strongest candidates into the Nostalgia Cam Lab and try the same camera body and film look on each. Keep grain, fade, and vignette restrained for this first comparison. The aim is to see which image supports the color treatment without letting a heavy effect distract from the subject.
For example, one diner frame might have better neon color while another has a more natural expression. Compare the faces after the preview, then look at the whole picture at its likely viewing size. If the expression still wins your attention, finish that frame. If the treatment makes both pictures less appealing, try another look before rejecting the photos.
Finish a small set and leave room for different moods
Give your chosen frame its final warmth and texture adjustments, then decide whether the scene needs a second image. A close detail can add something to a wider portrait; several nearly identical poses may not. This keeps the editing session focused on pictures that contribute a different moment.
Keep the unselected originals available. A photograph that does not suit today's warm film treatment may work with a quieter finish later. Your selection is a decision about this small set and this intended use, not a verdict on every image in your camera roll.
Try your shortlist in Nostalgia Cam
Import a favorite into the Lab, compare camera bodies and film looks, then refine warmth, grain, fade, and vignette. Start with a gentle preview and finish the photo whose moment you want to keep.
FAQ
Do photos need to be perfectly sharp for a film edit?
No. Slight movement can fit a candid scene if the important subject remains readable. Check the image at its intended viewing size, and choose blur deliberately rather than expecting grain to repair it.
Should I choose a filter before selecting my photos?
Make a small shortlist based on the moment, light, and framing first. Then use a gentle preview of the same look on your finalists to help choose which ones to finish.
Do only old-looking scenes work with film filters?
No. Everyday portraits, meals, and travel details can suit a film-inspired finish. Choose a moment you care about and a treatment that supports its light and color; vintage props are optional.