
Editing guide
Can You Apply a Film Filter to an Already Edited iPhone Photo?
Learn when to reuse an edited iPhone photo, when to start from the original, and how to avoid doubled grain, heavy color, and dark corners in a second film edit.
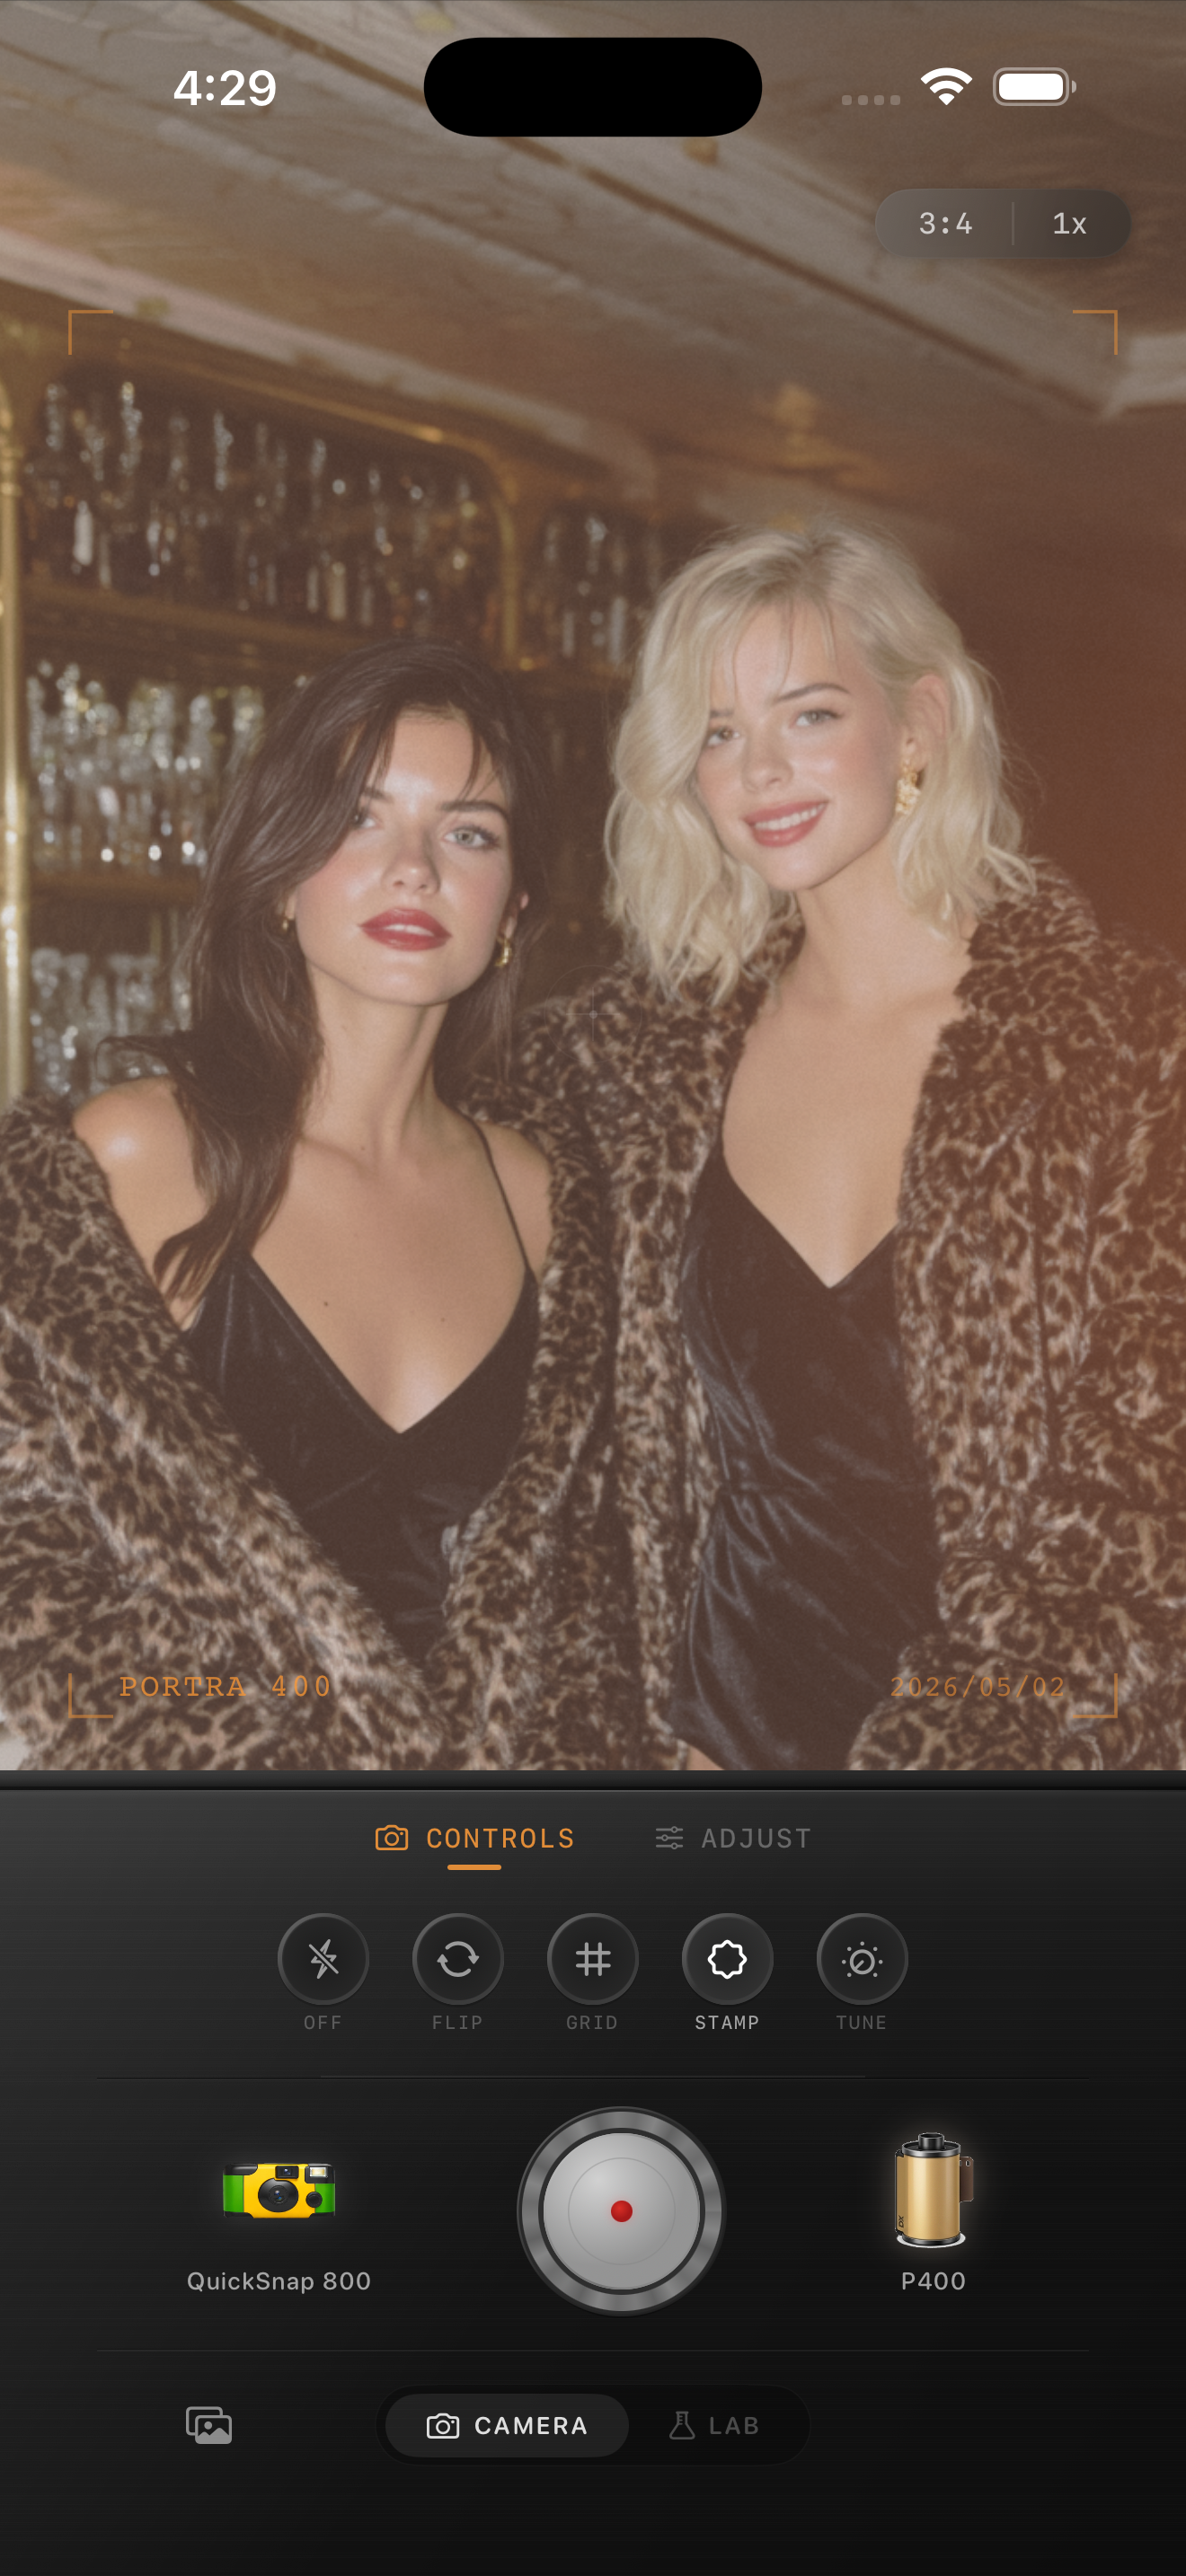
Yes, but check what is already in the picture
You can apply a film look to an already edited iPhone photo. The useful question is whether the first edit gives you a good starting point. A small crop or a gentle brightness correction may work well. Strong orange color, visible grain, faded blacks, or dark corners leave less room for another full look.
Treat the existing photo as your source, with its own color and texture. A second filter does not know which parts came from the camera and which came from an earlier edit. Start gently, then decide whether the new finish improves the photograph at the size you plan to share.
Choose between the original and the edited copy
Keep both files if you have them. Use the original when you want to replace the mood completely, such as turning a heavily warm disposable-style image into a quieter daylight look. Use the edited copy when you like its foundation and only want a modest change.
Compare a face, a dark piece of clothing, and a pale surface in both versions. If the first edit has hidden fabric folds or changed skin more than you like, return to the original. Do not spend the second edit trying to cancel every decision in the first.
- Crop or slight brightness adjustment: try the edited copy first.
- Strong grain, fade, or vignette: compare against a fresh edit of the original.
- Only a saved finished image available: make a copy and aim for small improvements.
Keep the first layer of texture in mind
Before adding more grain, inspect the source with your new grain control at its lowest setting. Grain already visible in a finished export remains part of that picture. Setting a new grain slider to zero does not remove texture applied by another app.
For a bar portrait, check cheeks and the dark background separately. If both already look textured, let the new film color do most of the work. Increase grain only if the complete image benefits, and stop before texture competes with expressions. Similarly, existing dark corners rarely need a second strong vignette.
Change one part of the finish at a time
In the Lab, compare film looks at restrained intensity before making additional adjustments. If the source is already warm, first see whether the new look makes skin too orange. Lower intensity or try another look before adding warmth out of habit.
Next, assess brightness and fade. If black clothing has become gray and flat, adding more fade is unlikely to help. If a face is comfortably bright but the corners are heavy, avoid raising the whole image simply to compensate for the border. Work on the effect causing the problem, or return to the cleaner source.
Use grain and vignette as finishing decisions. There is no useful universal percentage for a second edit because the first file may already contain a little or a lot of each effect.
Compare a fresh edit with your second pass
When the original is available, make one version from it and another from the edited copy. Keep their crop and displayed size the same. The fresh version gives you a reference for how much color, texture, and shadow detail the earlier edit is contributing.
Choose the version with more believable faces and a clearer subject, even if its effect is quieter. For a casual portrait, inspect the eyes, cheeks, and clothing before the background. Save the preferred finish as a separate file so you can revisit the source without rebuilding the entire chain.
If you only have the finished image, compare your new version with that file instead. A small improvement can be enough; another full-strength filter is not a requirement.
The example preview uses film-inspired names to describe style. Nostalgia Cam is not affiliated with or endorsed by Kodak or Fujifilm.
Build a deliberate film finish in Nostalgia Cam
Import your chosen source into the Lab, compare camera bodies and film looks, then refine intensity, warmth, grain, fade, and vignette. Start gently when your photo already has a finished look, and keep the version that makes the subject feel best.
FAQ
Should I remove my first filter before adding a film look?
Start from the original if you want to replace a strong filter. If the first edit only improves the crop or brightness and you still like it, try a gentle film finish on a copy and compare the result.
Why does applying two film filters make my photo look rough?
The first finished image may already contain grain, strong color, fade, and corner shading. A second look can add to those effects. Reduce the new effects individually, or start from the original for more control.
Can I undo an old filter by importing the photo into another editor?
A finished export contains the old filter in its pixels. Another editor does not automatically recover the earlier settings or the original image. Use the original or an editable project when available; otherwise make modest adjustments to a copy.