Editing guide
Best Film Settings for Snowy Cabin Porch Photos on iPhone
A practical snowy-cabin-porch film recipe for iPhone: neutral snow, warm wood tones, restrained grain, and soft contrast that keeps winter photos cozy instead of blue or beige.
Snow and wood have to stay in balance
Snowy cabin porch photos usually work because they hold two temperatures at once: cool snow outside and warm wood, lamps, or windows around the cabin. A film-style edit should keep that contrast alive instead of pushing the whole frame blue or warming everything into beige.
The most common mistake is treating porch photos like generic snow scenes. Cabin porches have texture in boards, railings, boots, blankets, smoke, and window light, so the edit needs more subtlety than a one-tap winter preset.
- Keep snow close to neutral with only a slight cool cast.
- Let wood and windows provide most of the warmth.
- Use moderate grain so boards and snow texture stay clean.
- Lift shadows carefully so porch details stay visible.
- Avoid strong vignette if the cabin shape already frames the scene.
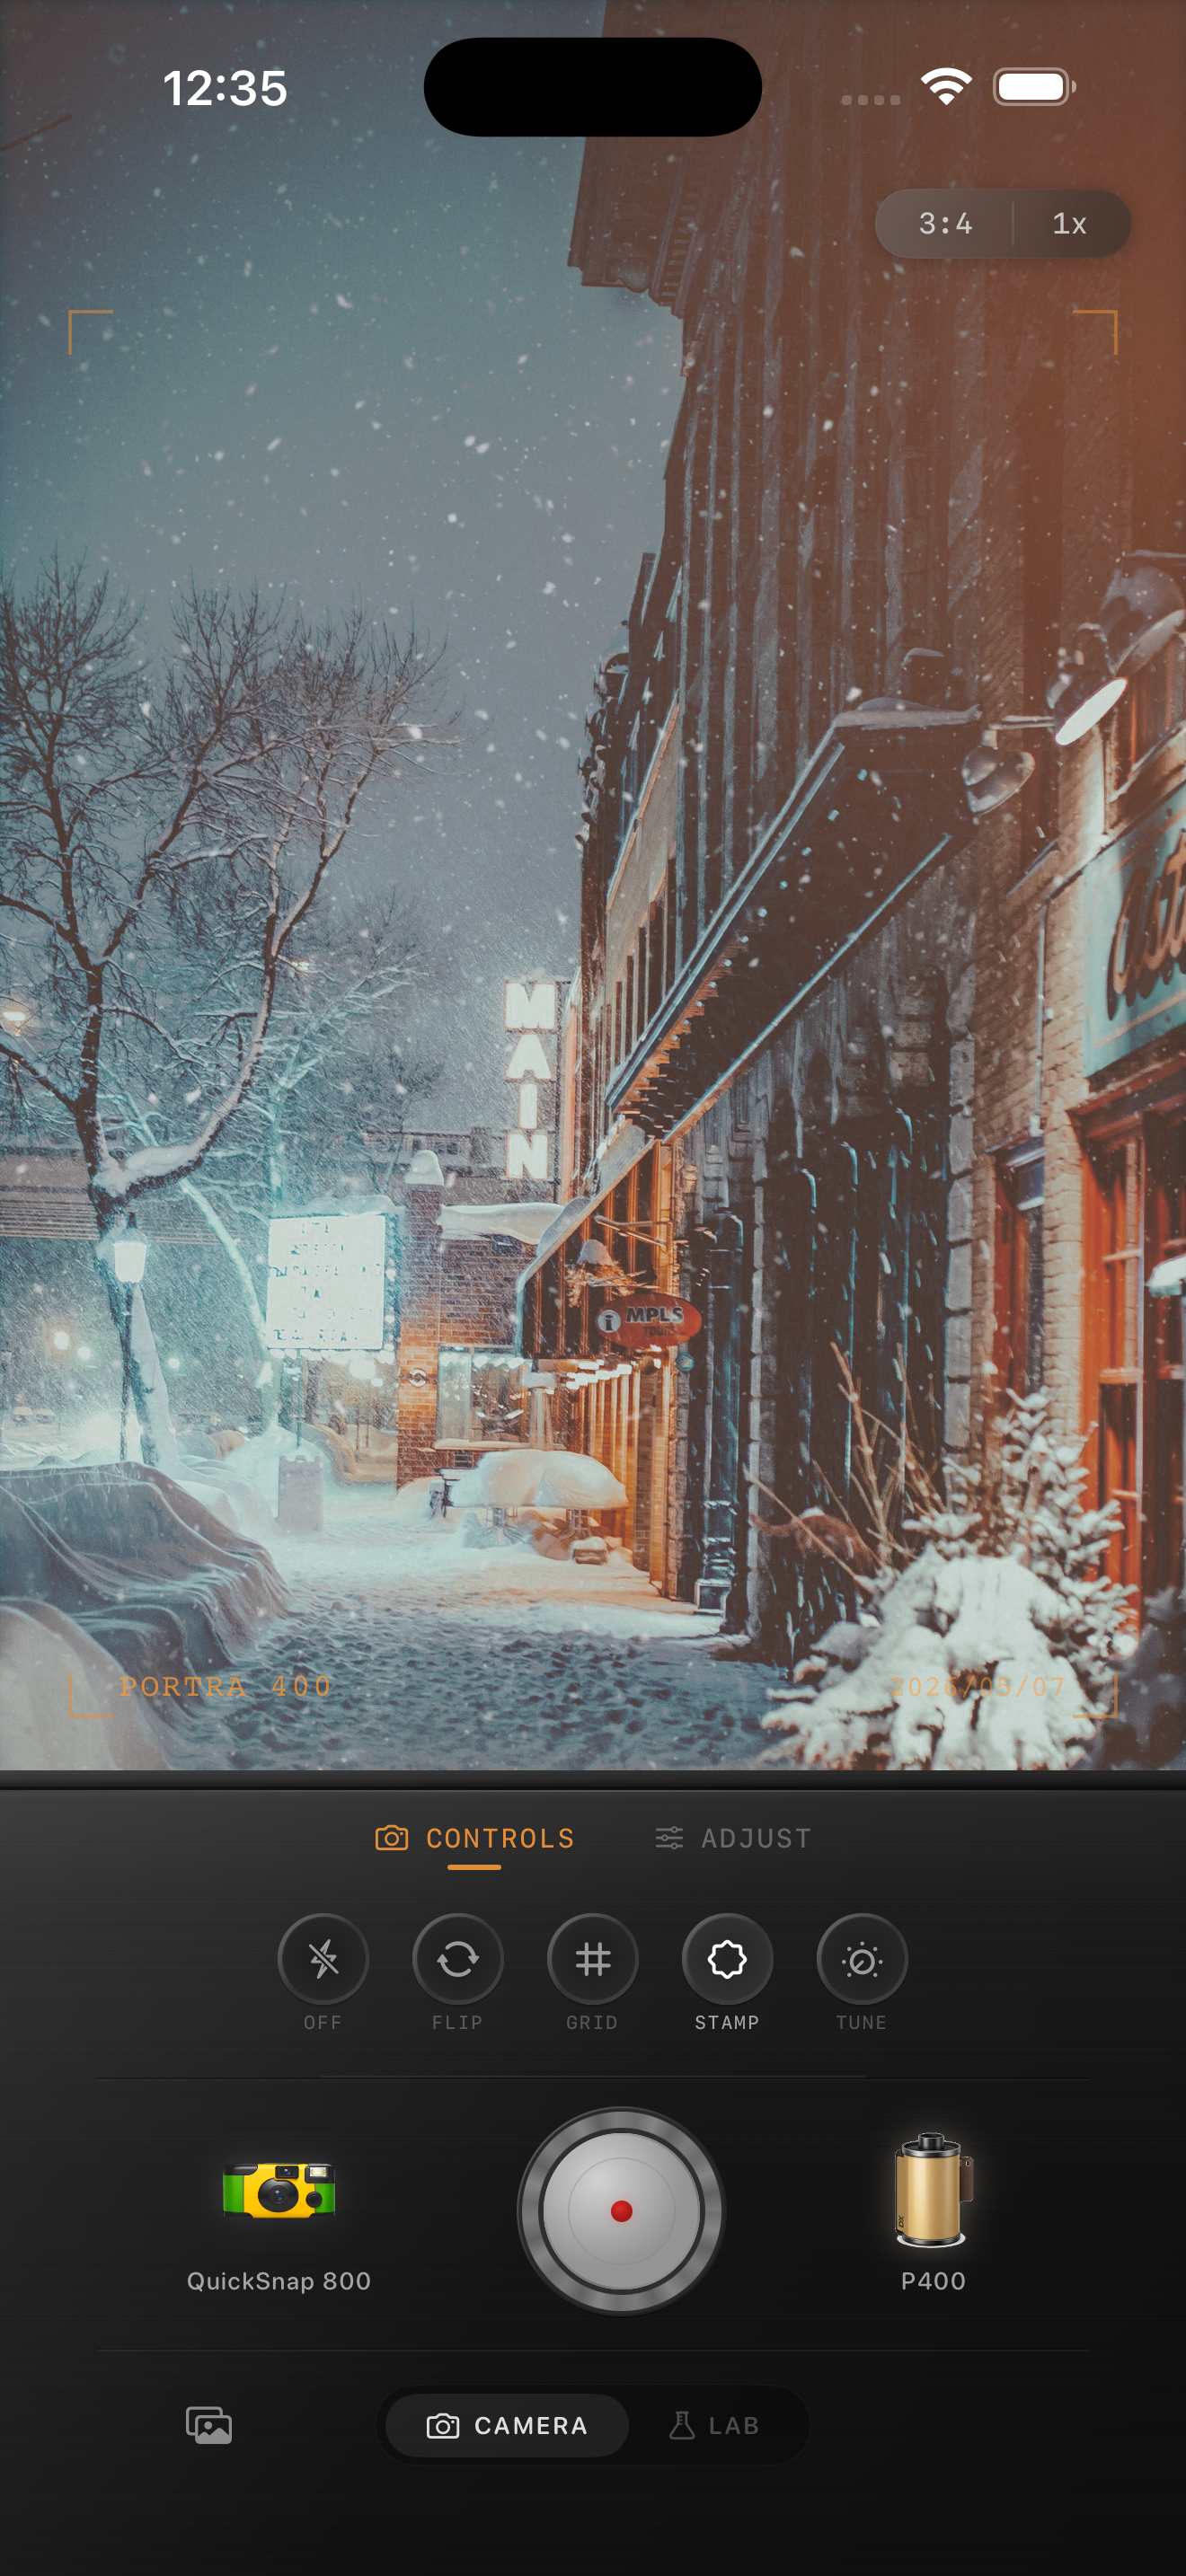
A reliable snowy-porch settings baseline
Start around film intensity 70-84%, grain 22-34%, warmth +3 to +8, fade 4-8%, and vignette 3-6%. That range usually gives enough analog texture to calm the iPhone file while keeping the snow bright and the cabin inviting.
If the photo was taken at blue hour, stay lower on warmth and let the windows or porch light do the cozy work. If the frame was shot in daytime snow with very pale light, a small warmth move can keep the porch from looking sterile.
Judge the edit from snow edges, wood grain, and windows
Snowy porch edits usually break in predictable places: snow goes gray, window glow turns orange, or dark wood loses all detail. Those three reference points tell you whether the image still feels like a real place instead of a preset.
Once those anchors look believable, add only enough grain and fade to make the scene feel like a small winter print from a cabin weekend.
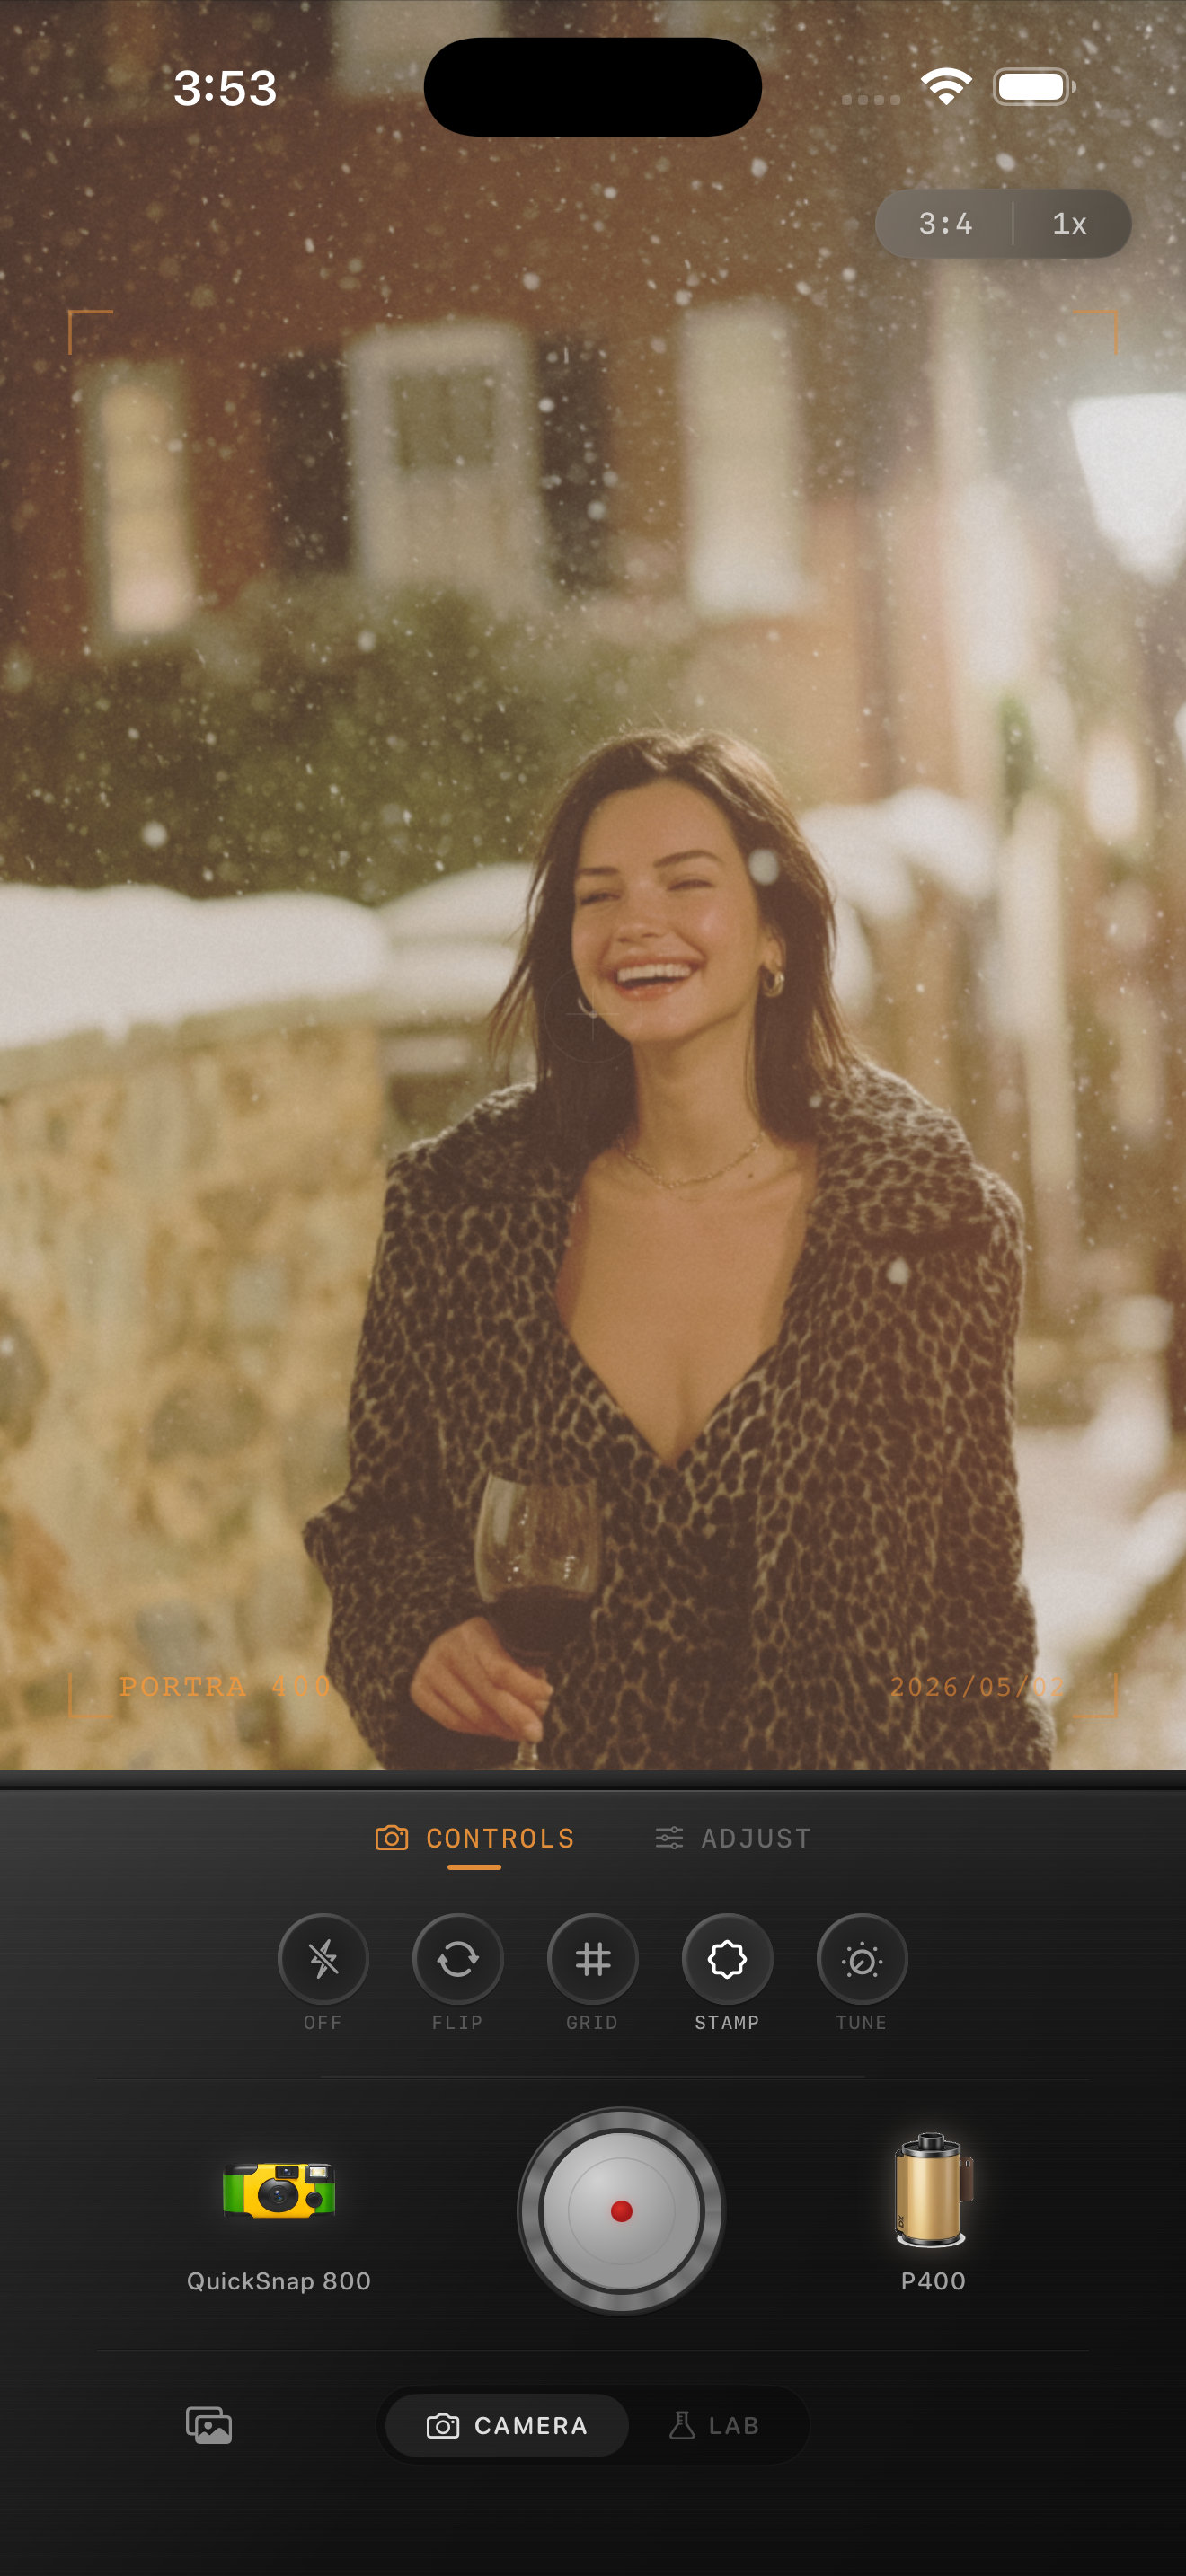
Choose a calmer camera body for still winter scenes
Most snowy cabin porch photos work better with a cleaner 35mm-inspired or compact-film body than with a rough disposable treatment. Porch scenes are often quiet and architectural, so a gentler camera mood usually keeps the winter atmosphere intact.
In Nostalgia Cam, choose the cleaner body first, then tune grain, warmth, fade, and vignette until the porch feels crisp, cozy, and naturally film-inspired.
Make snowy porch photos feel crisp and cozy
Use Nostalgia Cam to shoot or import winter porch photos, then balance camera body, grain, warmth, fade, and vignette so cabin scenes keep their clean snow, warm wood, and printed-memory feeling.
FAQ
Should snowy cabin porch photos be edited warm or cool?
Usually both. Keep the snow fairly neutral to cool, then let wood, lamps, and windows provide the warmth so the contrast feels believable.
Why do winter porch edits turn beige so fast?
Because too much overall warmth removes the contrast between snow and cabin materials. A better film edit keeps warmth local and uses grain plus softer contrast for mood.