Editing guide
Best Film Settings for Overcast Travel Photos on iPhone
A practical overcast-travel film recipe for iPhone: softer contrast, calm color, restrained grain, and enough warmth to keep cloudy-day memories from looking flat or muddy.
Cloudy travel photos need shape before nostalgia
Overcast travel photos already have one thing film edits usually want: gentle light. The problem is that cloudy skies can also flatten streets, coats, stone, and skin tones if the edit leans too gray or too faded.
A good film-style treatment keeps the softness of the weather while bringing back just enough warmth, grain, and tonal separation to make the frame feel printed instead of drained.
- Use moderate warmth, not an orange cast.
- Keep grain fine so buildings and faces stay readable.
- Add softness through contrast control before raising fade.
- Let pale skies stay quiet instead of forcing dramatic color.
- Judge the edit from skin, pavement, and stone rather than the clouds alone.
A dependable overcast travel settings range
Start around film intensity 68-82%, grain 20-32%, warmth +4 to +10, fade 4-8%, and vignette 3-7%. That range usually adds enough analog character to a cloudy travel photo without turning coats, sidewalks, or pale buildings muddy.
If the location already has warm café light or beige stone, stay lower on warmth and let the scene carry the color. If the frame is mostly cool pavement and gray sky, a slightly warmer film look can stop the image from feeling lifeless.
Protect the travel feeling, not just the palette
Travel photos stop feeling real when every cloudy frame gets the same heavy moody preset. Some scenes want more openness: station platforms, plazas, museums, riversides, and broad streets often look better with cleaner grain and lighter fade than alleyways or rainy sidewalks.
The easiest check is to zoom out. If the image feels like a small travel print before the grain becomes obvious, the settings are close.
Use a cleaner film body than a party-photo look
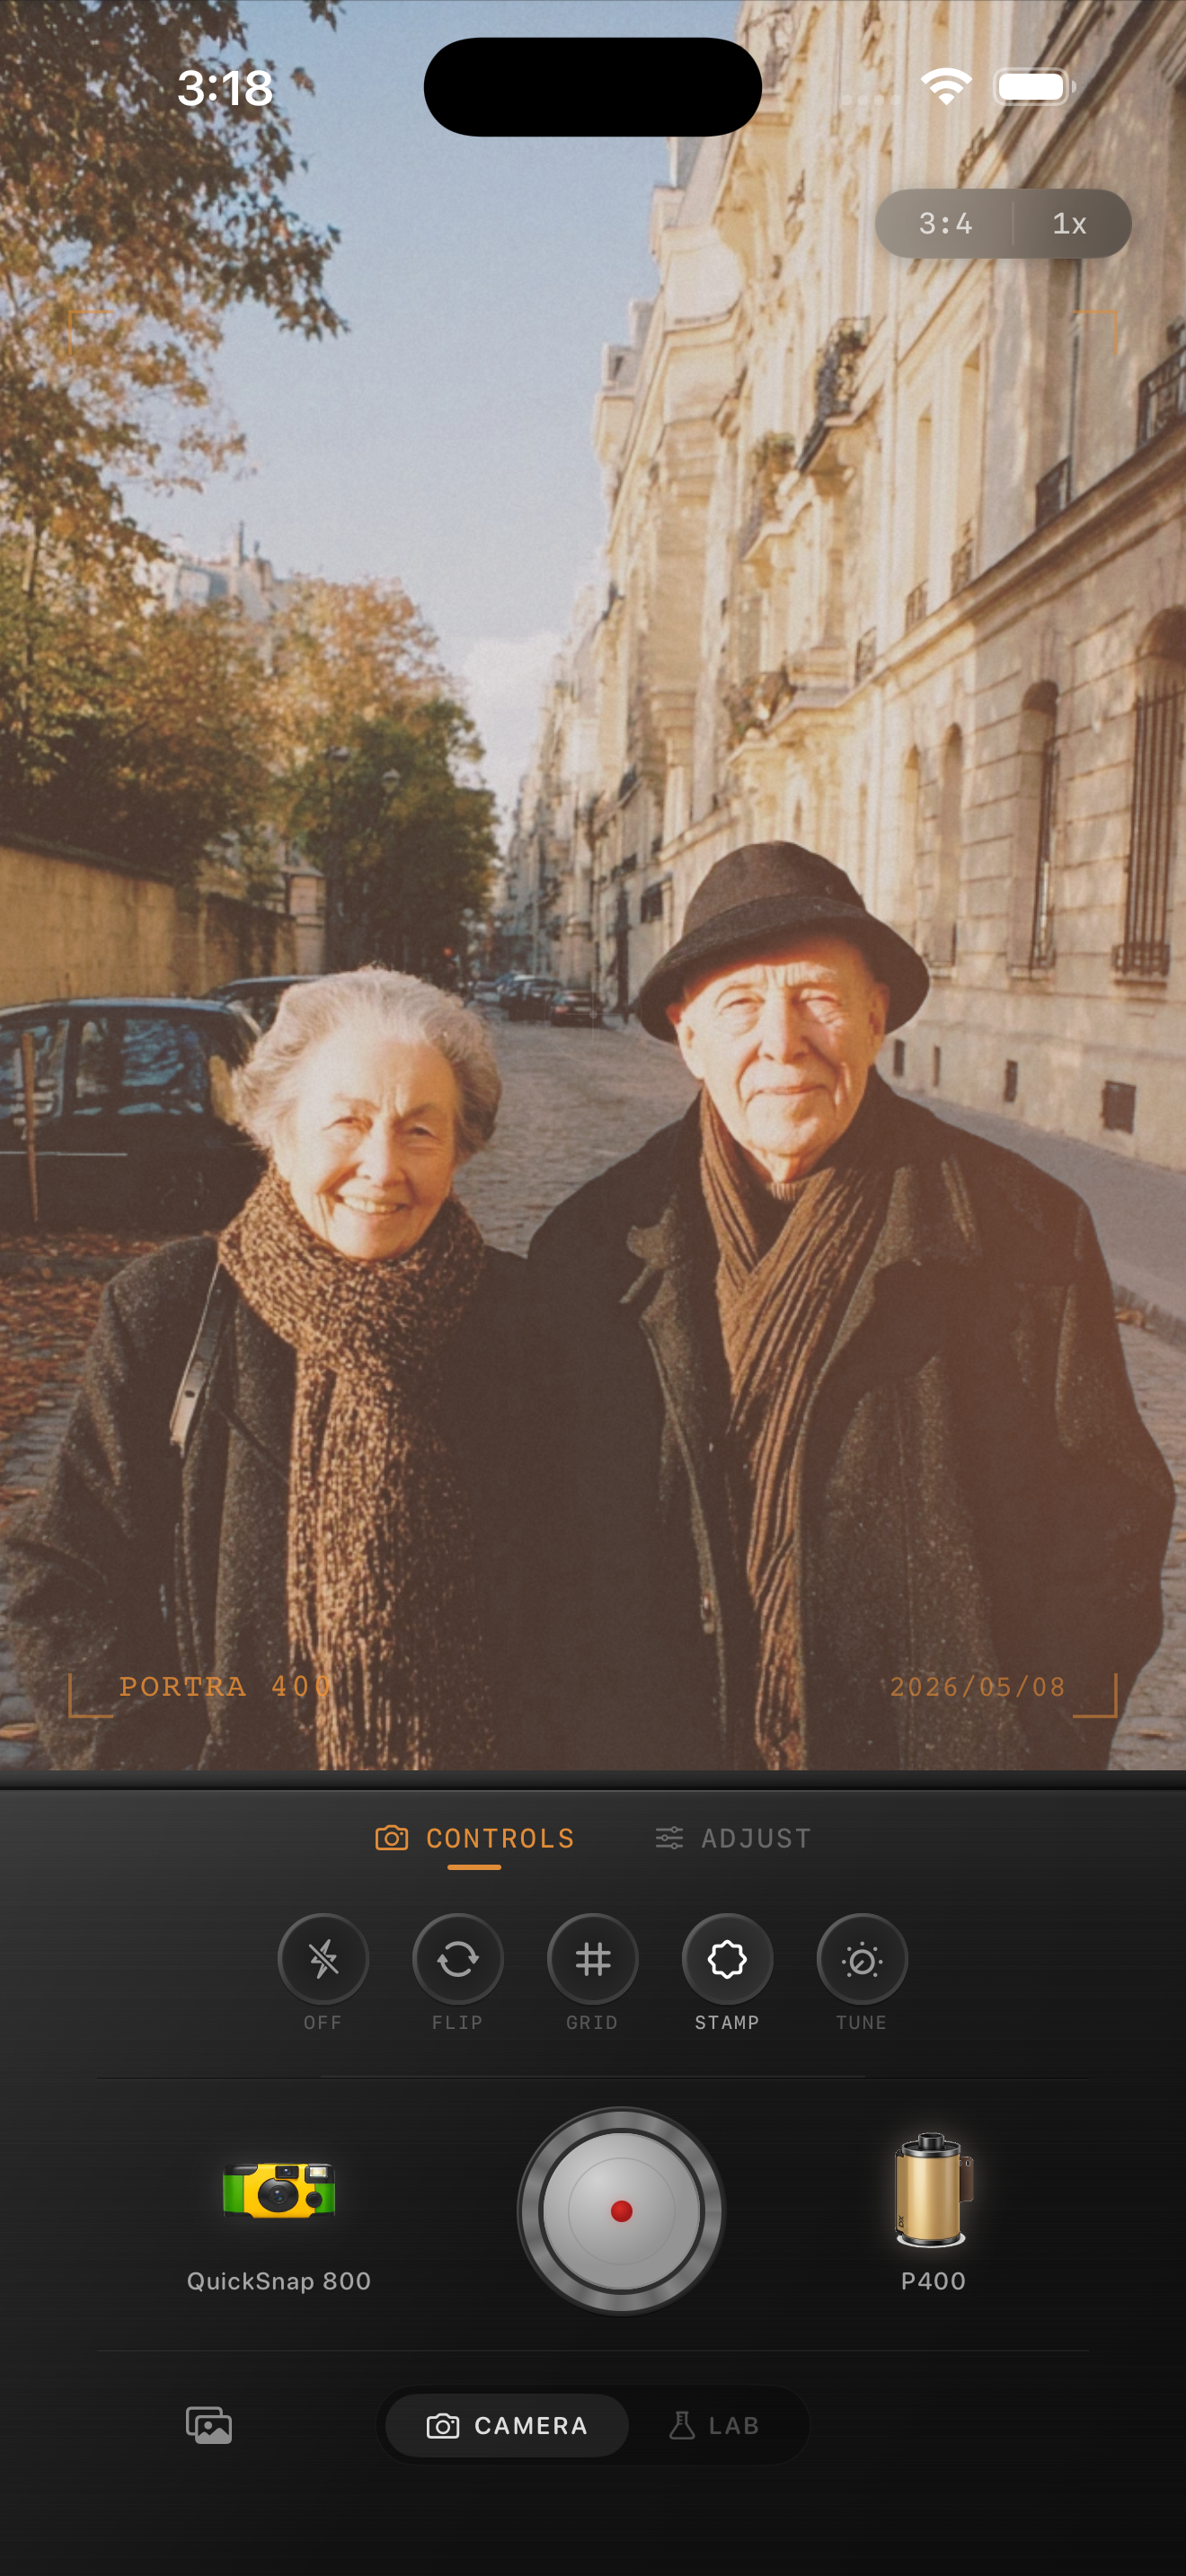
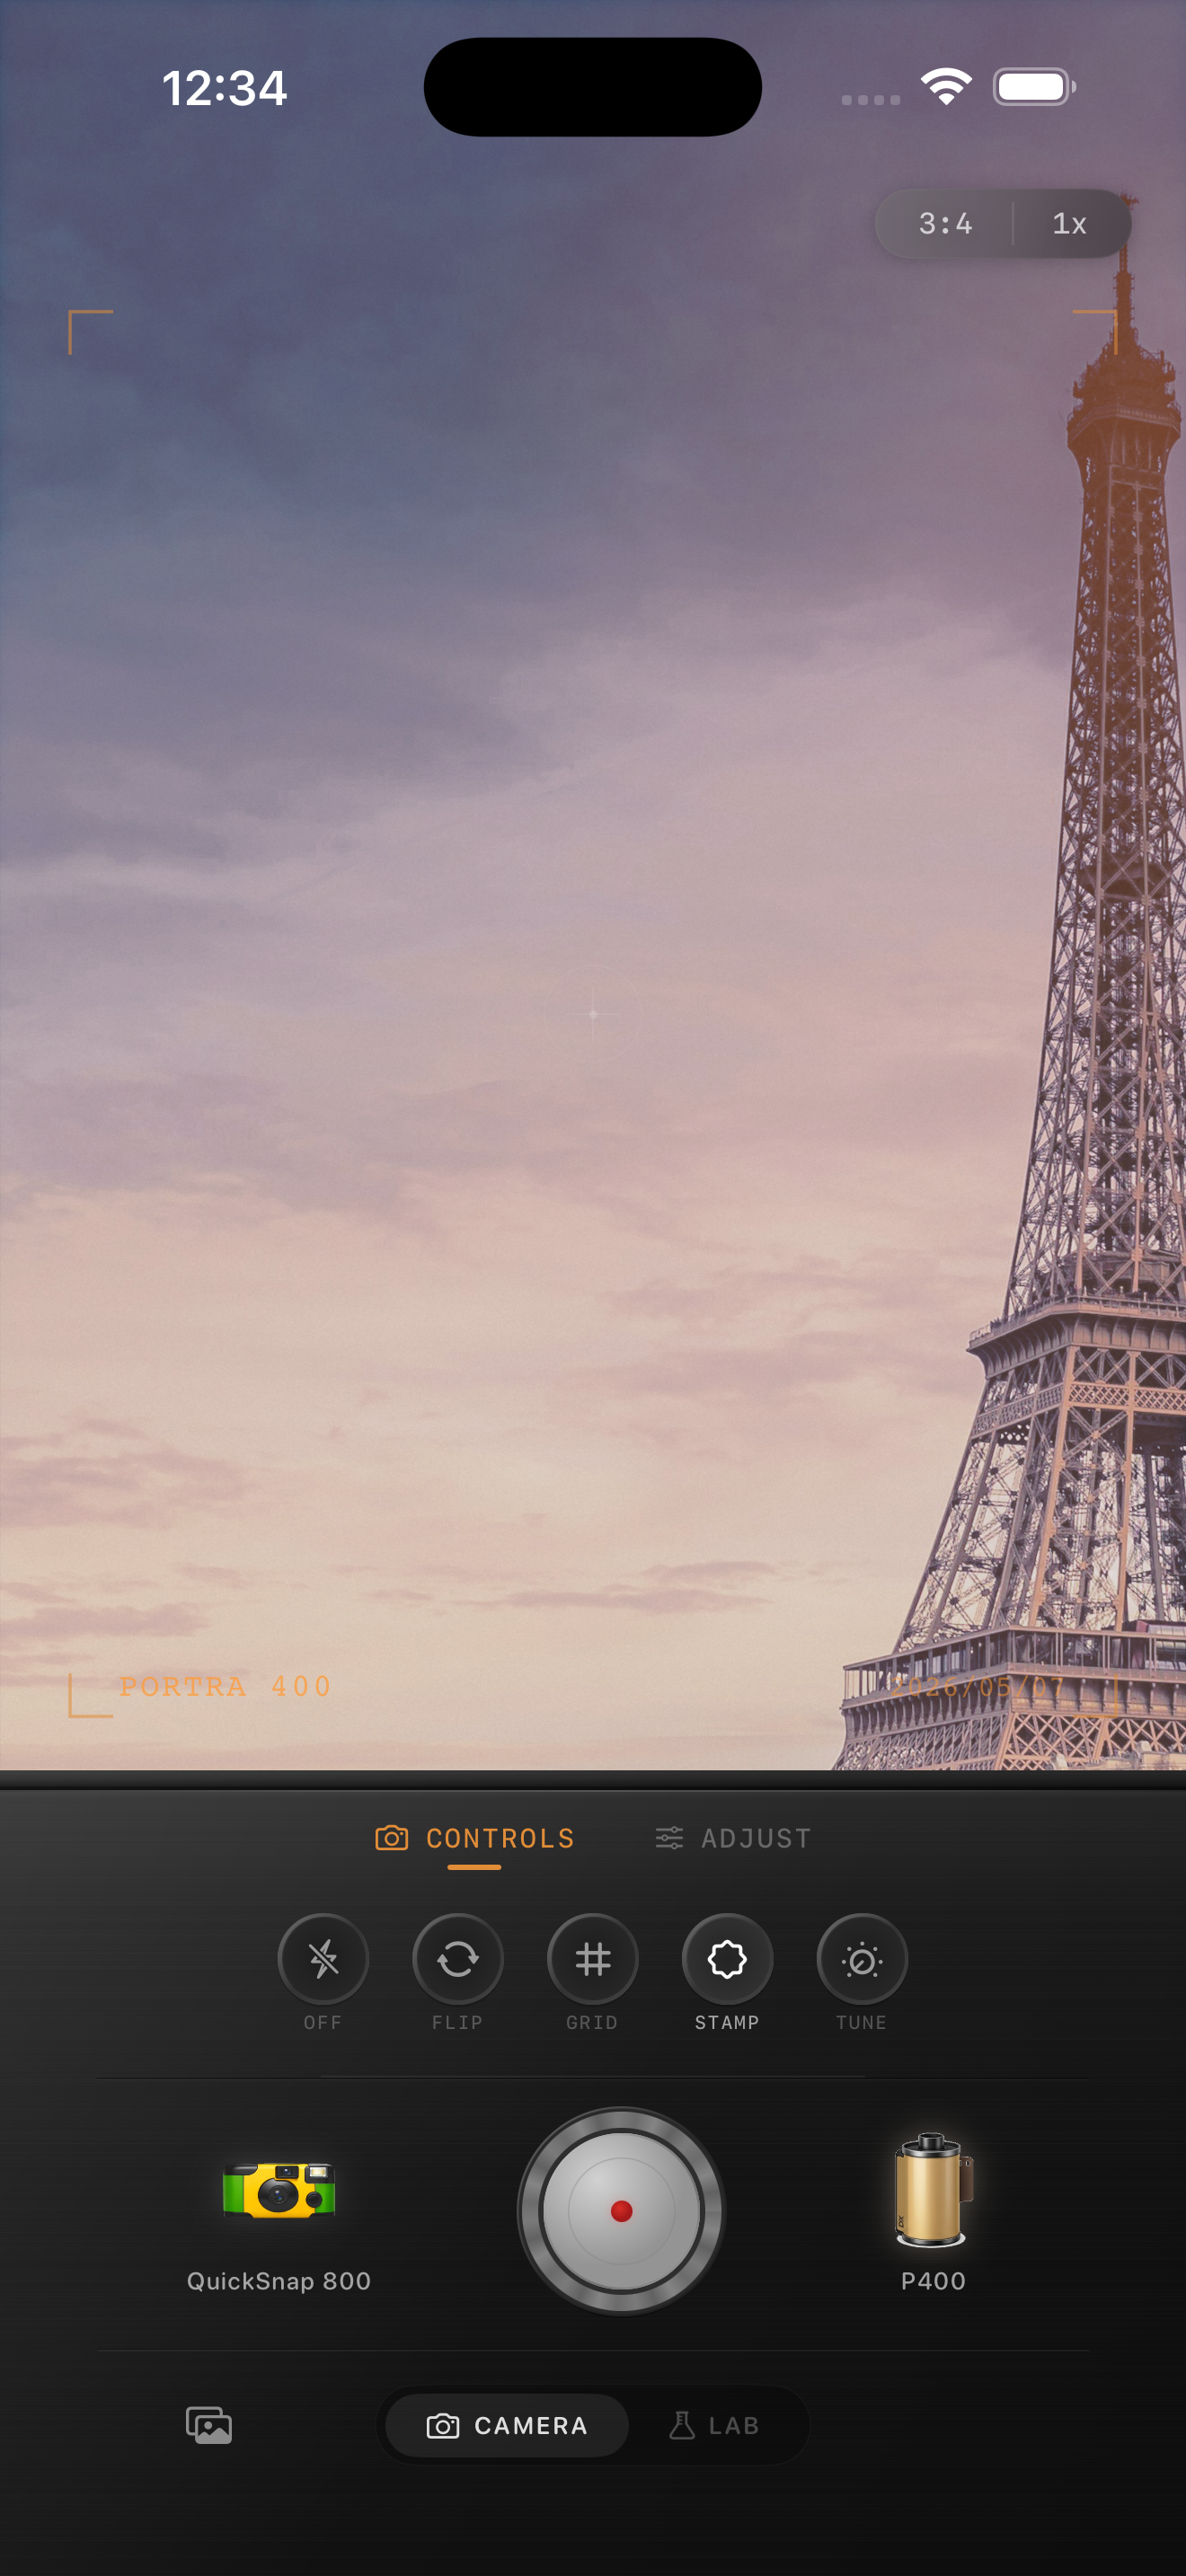
Most overcast travel photos work better with a balanced 35mm-inspired or compact-film body than with a rough disposable style. Cloudy daylight already removes some contrast, so a heavy-handed camera personality can make the frame feel tired instead of nostalgic.
In Nostalgia Cam, start with the cleaner camera body, then tune grain, warmth, fade, and vignette until the photo feels calm, documentary, and naturally film-inspired.
Keep cloudy travel photos soft and believable
Use Nostalgia Cam to shoot or import travel photos, then balance camera body, grain, warmth, fade, and vignette so overcast streets and landmarks feel printed, calm, and naturally analog.
FAQ
How much grain should overcast travel photos use?
Usually fine-to-medium grain works best. Start around 20-32% so the image gains texture without making pale skies, stone, or coats look dirty.
Why do cloudy travel edits turn muddy so easily?
Because too much warmth, fade, or rough grain removes the little separation the scene already has. A better film edit usually keeps color calm and lets softness come from tonal control first.