
Editing guide
Best Film Settings for Rooftop Night Photos on iPhone
A practical rooftop-night film recipe for iPhone: cleaner skyline highlights, natural skin, restrained grain, and enough analog softness to keep city views moody instead of noisy.
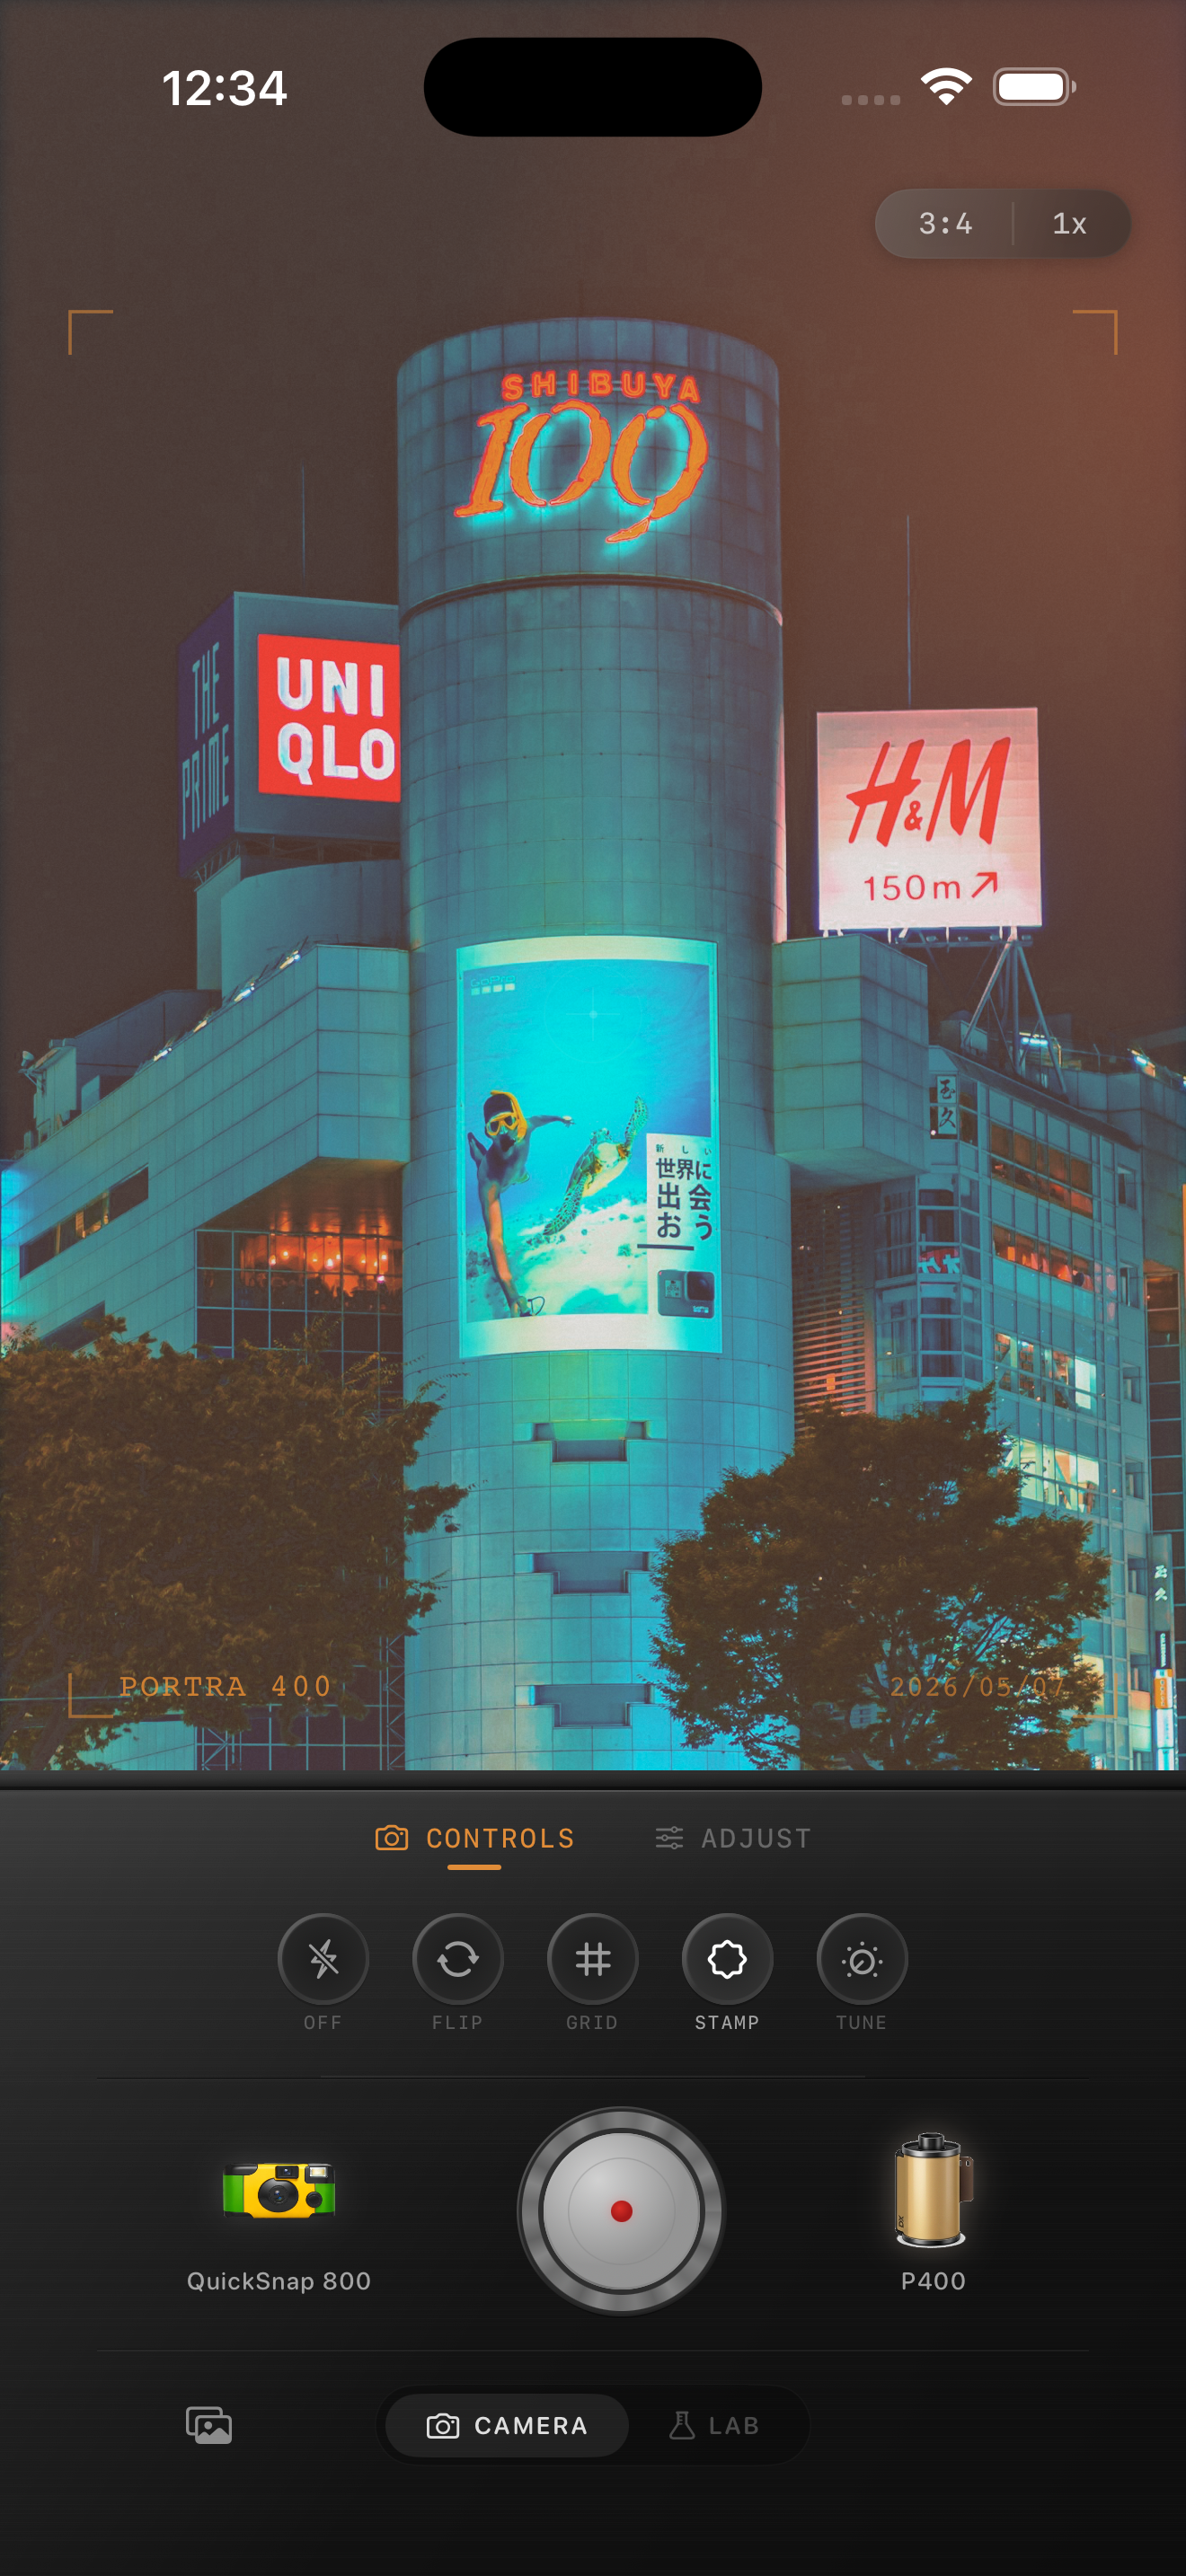
Rooftop photos fail when the skyline gets harsh
Rooftop night photos usually already have the mood people want from a film look: glowing windows, dark sky, small pools of light on faces, and a little distance between the subject and the city. The problem is that iPhone processing can make those lights look brittle long before the photo feels nostalgic.
A believable rooftop edit starts by calming the skyline and any practical lights around the subject. Once those bright edges stop feeling digital, the rest of the frame usually needs only moderate grain and softer contrast.
- Keep the skyline readable before adding more warmth.
- Use moderate grain so faces and building lights stay distinct.
- Let the sky stay dark without crushing it into one flat block.
- Use vignette lightly because rooftops already have natural falloff.
- Pick a cleaner film body before reaching for rough disposable texture.
A dependable rooftop-night baseline
Start around film intensity 74-87%, grain 26-38%, warmth +3 to +8, fade 2-6%, and vignette 3-7%. That range usually softens the clinical iPhone finish while preserving enough separation between the skyline, skin, and rooftop surfaces.
If the city lights are very colorful, lower warmth before lowering film intensity. Rooftop scenes often turn muddy because the edit stacks an extra warm cast on top of neon, sodium vapor, and LED light that were already doing different jobs.
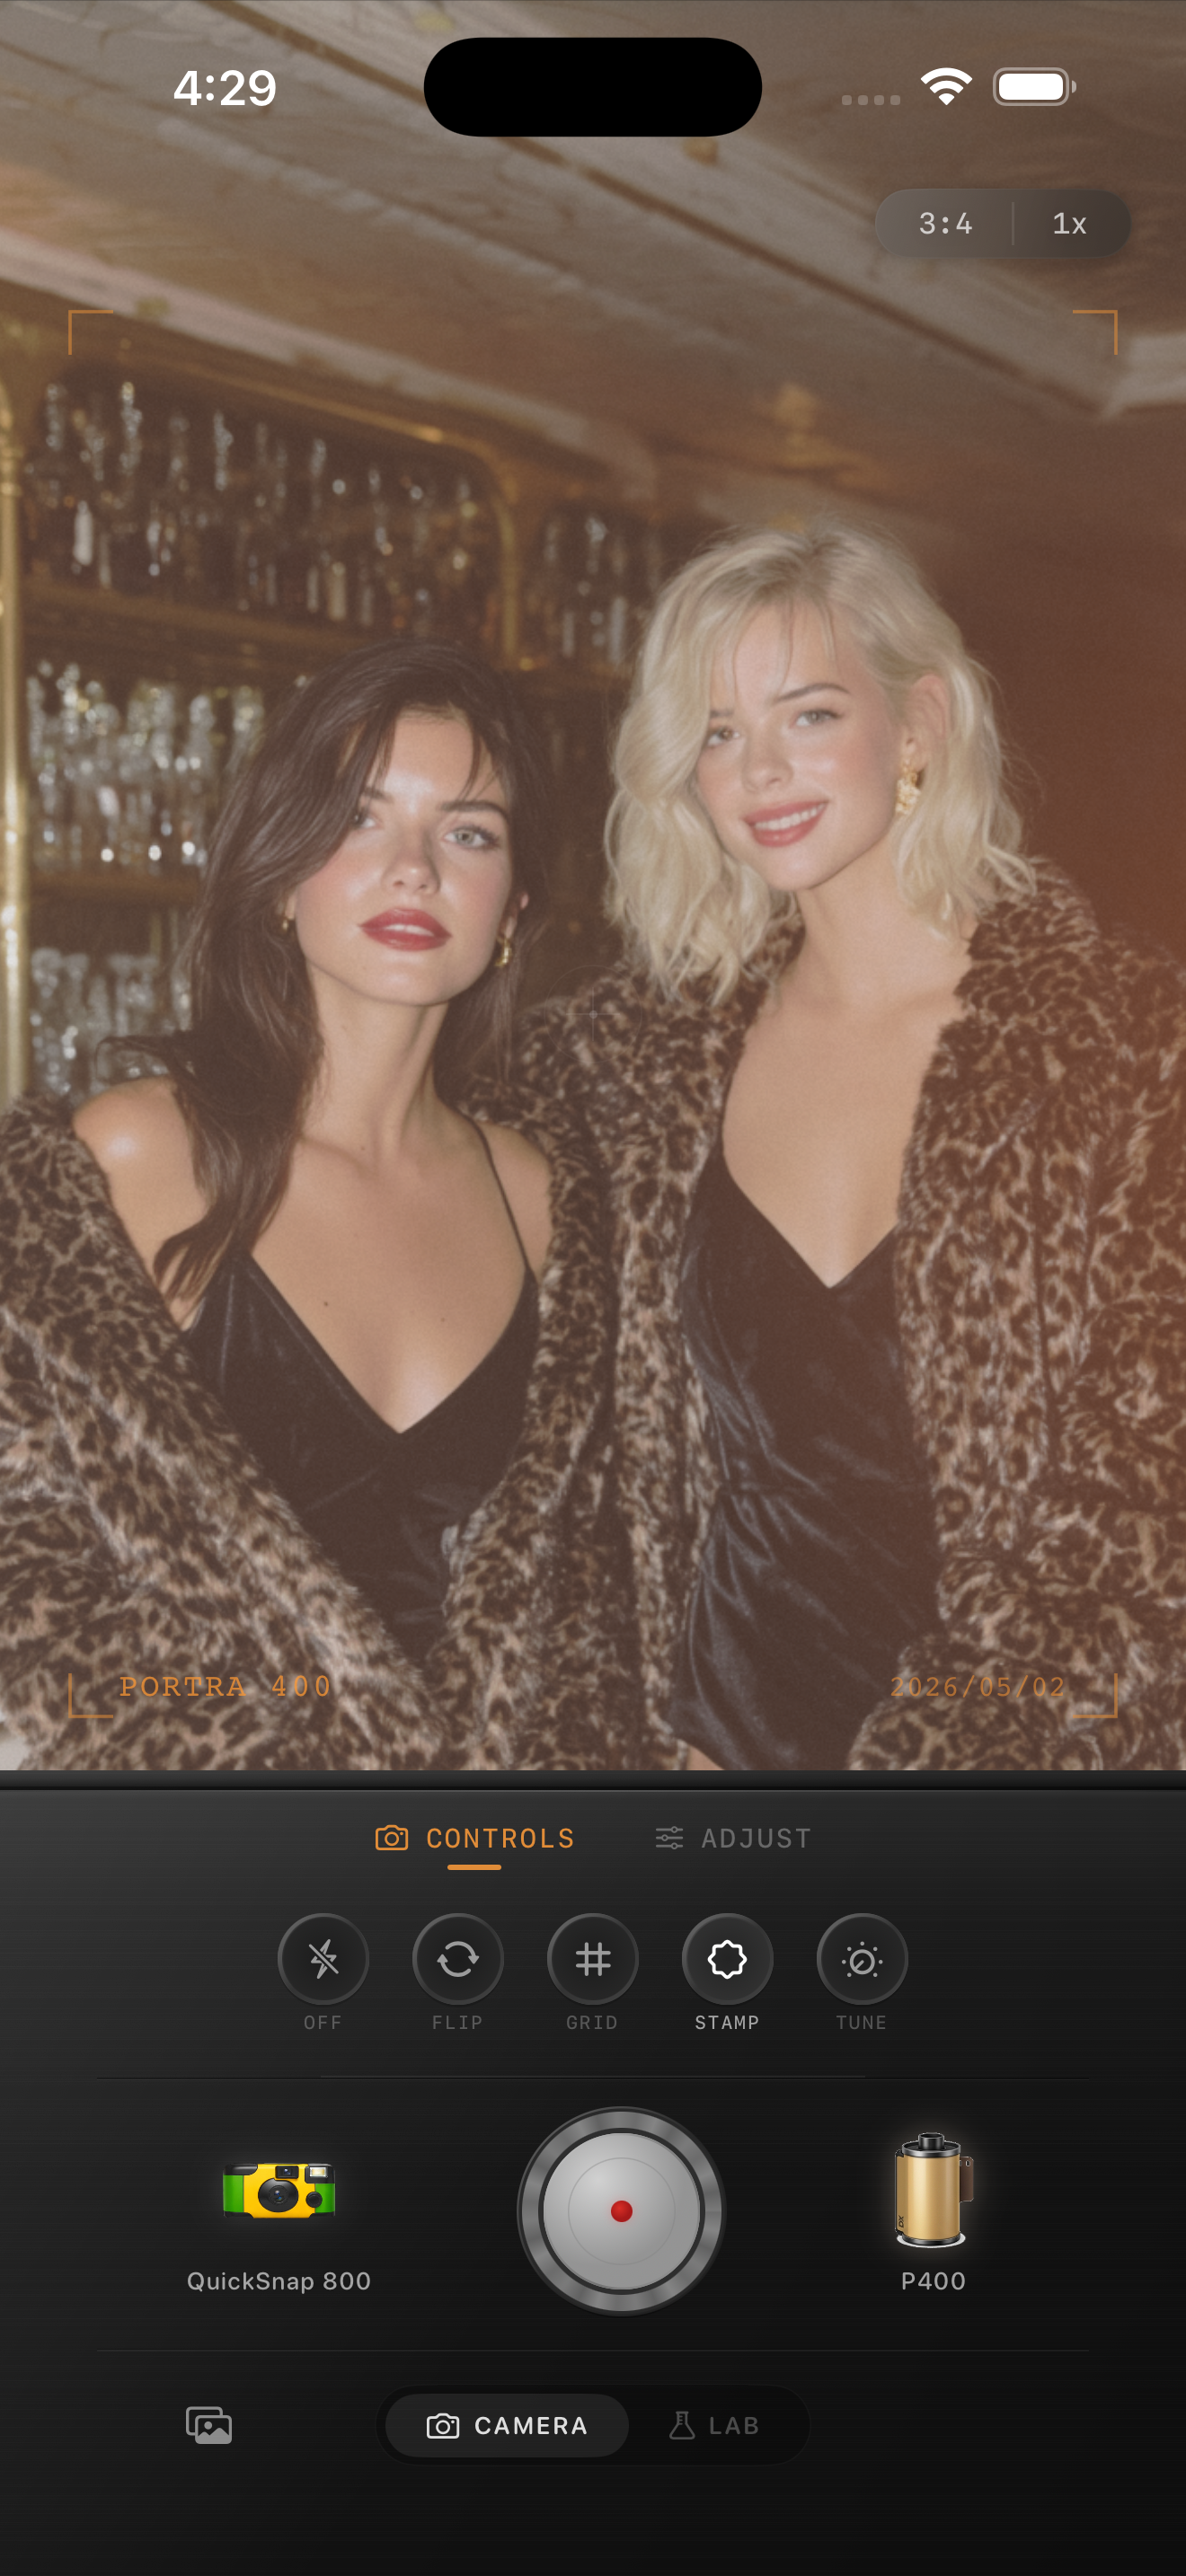
Balance the people against the city
If the frame includes people, check faces and skyline at the same time. Skin usually warms up too fast, while distant windows and signs lose detail if the grain or fade goes too far. The edit works when both feel part of the same night instead of fighting each other.
That usually means leaving some clean space in the highlights and letting the grain live more in jackets, concrete, railings, and darker corners of the roof than directly across every bright light.
Let the rooftop atmosphere do the storytelling
Good rooftop photos already have atmosphere through wind, spacing, reflections on tables, jackets catching light, and the scale of the city behind the subject. You do not need to manufacture nostalgia with heavy scratches or exaggerated fade.
In Nostalgia Cam, start with a balanced compact-film or 35mm-inspired body, then add just enough grain, warmth, and fade to make the frame feel like a printed night memory rather than a filtered screenshot.
Keep rooftop city light cinematic in Nostalgia Cam
Use Nostalgia Cam to balance camera body, grain, warmth, fade, and vignette so rooftop night photos keep their skyline mood without turning faces or city lights muddy.
FAQ
Should rooftop night photos use heavy grain to look like film?
Usually no. Moderate grain works better because rooftop scenes already contain lots of tiny lights and dark gaps. Too much grain makes the skyline and skin lose separation.
Why do rooftop night edits look noisy so quickly on iPhone?
They usually get noisy when grain, warmth, and fade are all pushed before the skyline highlights are controlled. Keep the city lights readable first, then add texture carefully.