
Editing guide
Best Film Settings for Brunch Photos on iPhone
A practical brunch-photo film recipe for iPhone: clean plate highlights, natural skin, soft grain, and warm daylight settings that keep weekend table photos nostalgic instead of yellow.
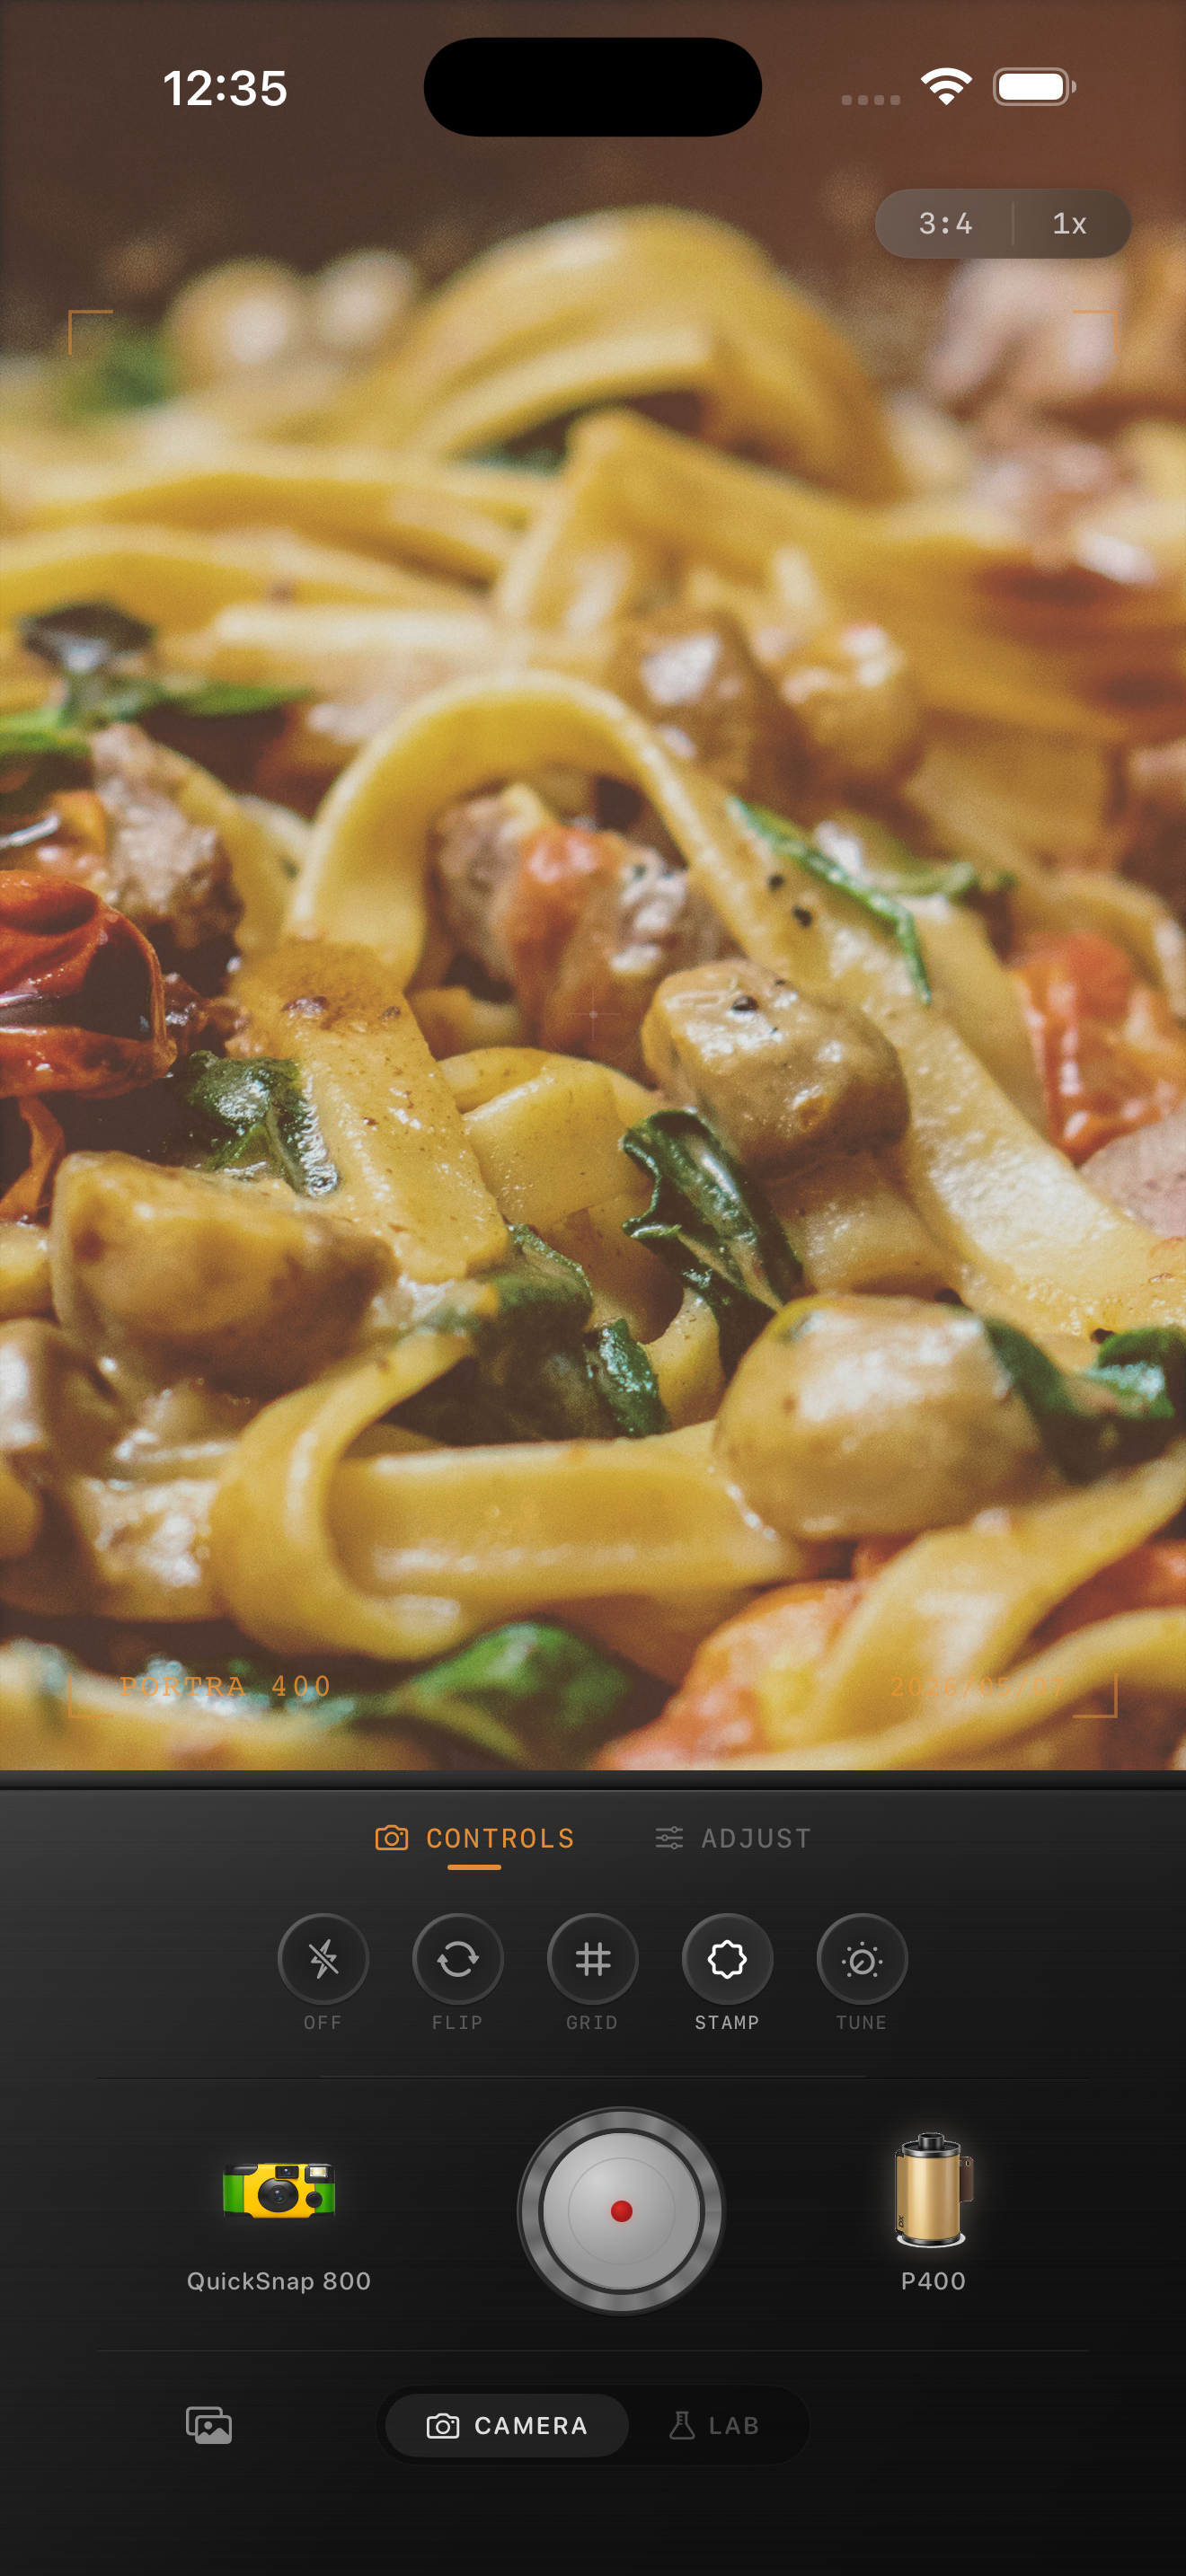
Brunch photos need warmth without yellow plates
Brunch photos often start with the exact kind of light that should make a film edit easy: windows, pale tables, coffee cups, pastries, glassware, and relaxed weekend faces. The problem is that one heavy warm preset can flatten all of those surfaces into the same beige tone.
A film-inspired brunch edit should feel soft and inviting while keeping whites, skin, and food color separate. The goal is to make the table feel printed, not to hide it under a vintage wash.
- Keep plates and napkins closer to neutral than the wood table.
- Use lighter grain than you would for dinners or flash scenes.
- Warm skin gently instead of warming the whole frame equally.
- Protect reflective cutlery and glass from turning chalky.
- Favor a cleaner camera mood over heavy disposable damage.
A dependable brunch-film baseline
Start around film intensity 70-84%, grain 18-30%, warmth +4 to +10, fade 3-6%, and vignette 2-6%. That range usually adds enough analog softness for a brunch table without making eggs, cream, plates, or skin tones look overcooked.
If the cafe already has warm wood and direct sun, lower warmth before lowering grain. Daylight meal photos usually break because the color gets too amber long before the texture gets too strong.
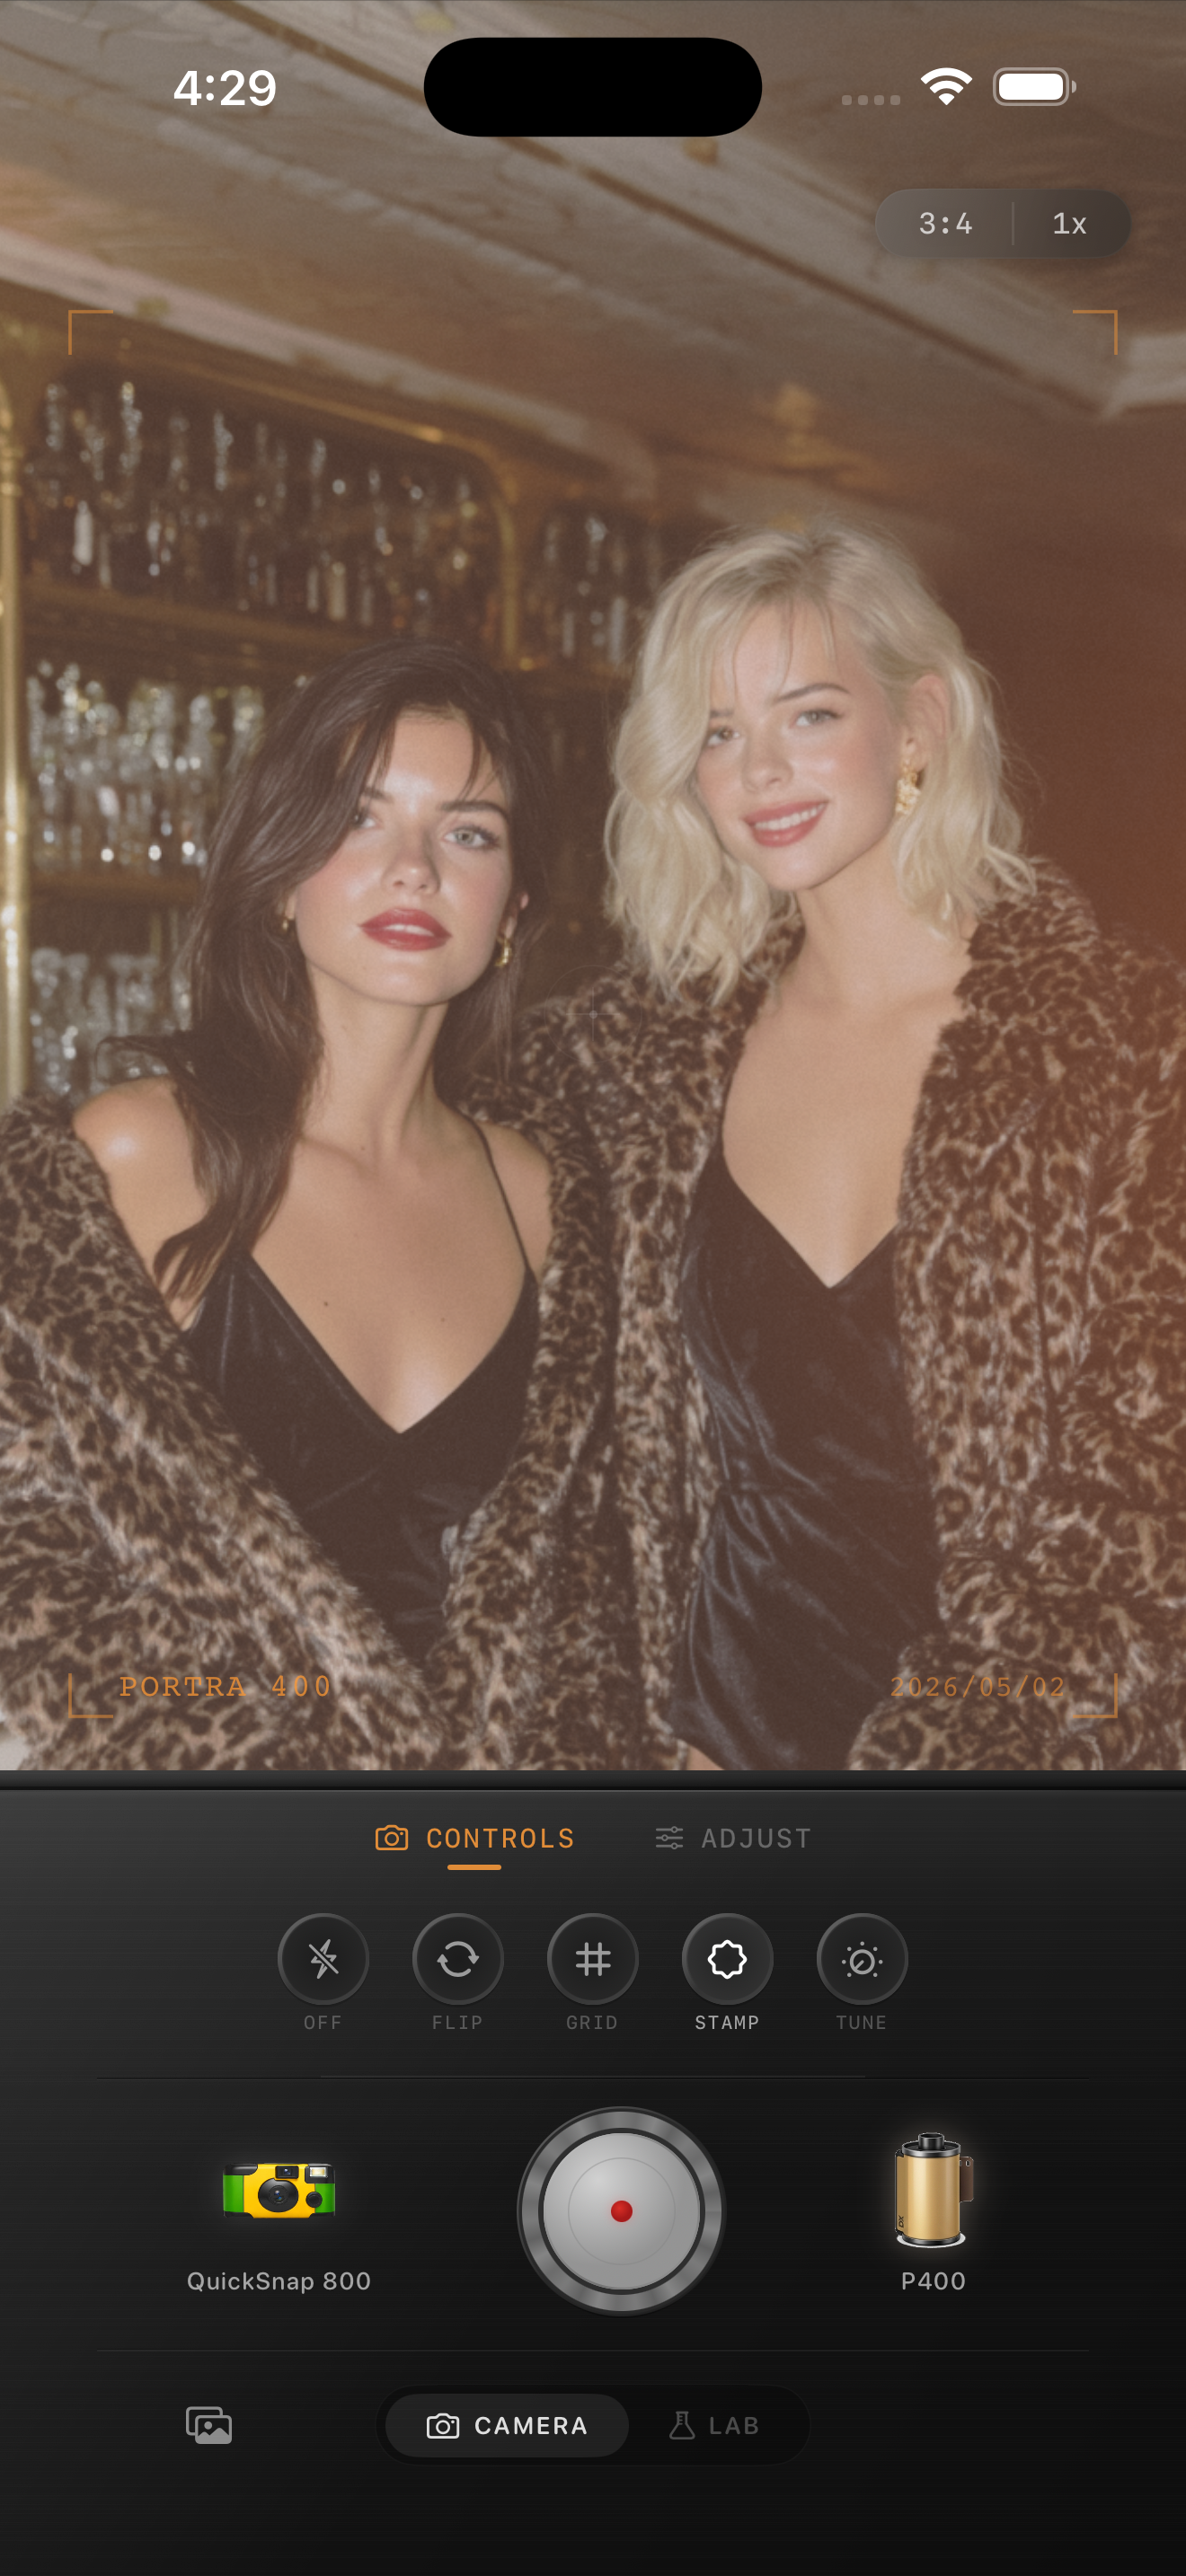
Edit from the food out, then check the people
Food is usually the easiest truth test in a brunch photo. If fruit, eggs, pastries, or coffee lose their specific color, the whole edit starts feeling fake. Start there, then check whether the people around the table still look healthy and relaxed.
This order matters because brunch scenes often mix human skin, white ceramics, shiny utensils, and warm tabletops. If you only judge the overall mood, you can miss the moment where everything has quietly turned yellow.
Let the table details carry the nostalgia
Good brunch photos usually become memorable because of the small details: menus, hands, a coffee ring, window shadows, jam jars, and sunlight falling across the plate. You do not need to force that nostalgia with excessive dust, scratches, or fade.
In Nostalgia Cam, start with a balanced compact-film or clean 35mm-inspired body, then add just enough grain and warmth to make the scene feel like a weekend print you would keep. The calmer you stay, the more expensive the result usually looks.
Keep brunch light soft in Nostalgia Cam
Use Nostalgia Cam to tune camera body, grain, warmth, fade, and vignette so brunch photos keep their daylight freshness while still feeling warm, tactile, and film-inspired.
FAQ
Should brunch photos use as much grain as dinner photos?
Usually no. Brunch scenes tend to look better with lighter grain because the daylight and pale surfaces get dirty fast if the texture is too strong.
Why do brunch photos turn yellow with film filters?
Because many brunch scenes already have warm wood, warm food, and sunlight. If the edit adds too much extra warmth, white plates, skin, and pastry tones all collapse into the same color.