
Editing guide
Best Film Settings for Rainy Cafe Photos on iPhone
A practical rainy-cafe film recipe for iPhone: cleaner window highlights, calmer table warmth, restrained grain, and enough analog softness to keep coffee-shop photos cozy instead of muddy.
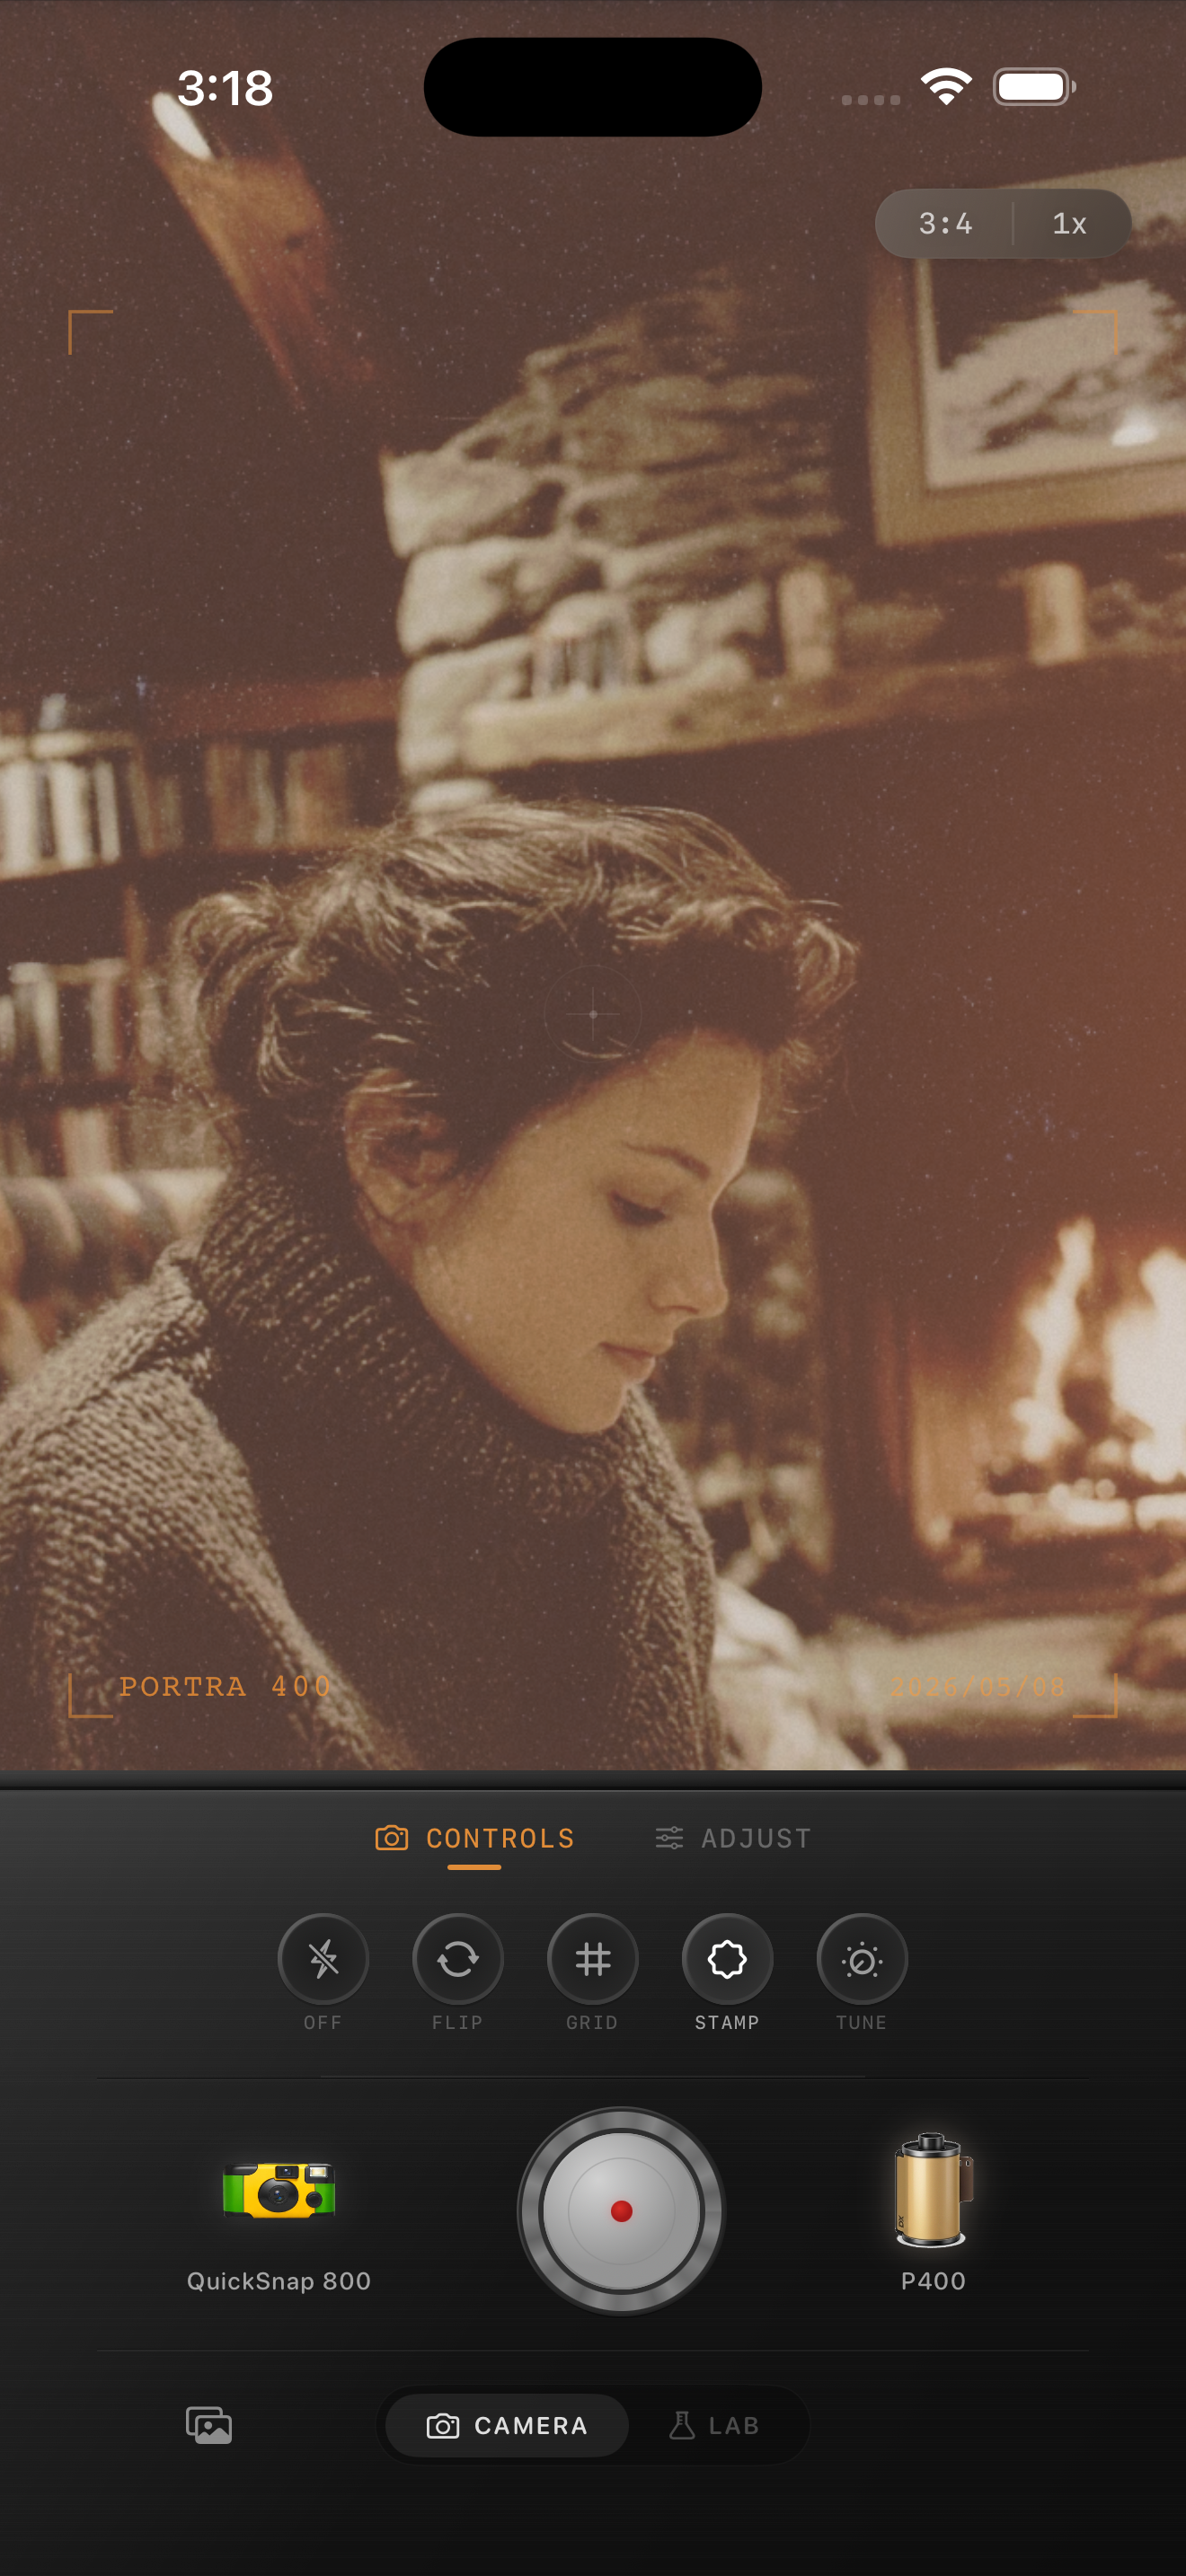
Rainy cafe photos already have most of the mood
Rain outside a cafe already gives you the ingredients people usually want from a film look: softer daylight, reflective windows, dimmer corners, steam from drinks, and a room that feels quieter than the street outside. The edit should support that atmosphere instead of trying to manufacture it with a heavy preset.
Most rainy cafe photos go wrong when warmth, fade, and grain all get pushed together. That can make windows turn gray, cups turn yellow, and skin lose separation from walls or wood tables. A believable film-inspired edit keeps the room cozy while still feeling like real weather and real light.
- Let the window stay brighter than the tables and walls.
- Use moderate grain so glass, mugs, and knit textures stay readable.
- Warm the interior gently instead of turning the whole frame amber.
- Keep rain reflections soft without letting them go flat.
- Use less vignette than you would for bars or direct-flash scenes.
A dependable rainy-cafe starting recipe
Start around film intensity 72-84%, grain 22-34%, warmth +4 to +9, fade 3-7%, and vignette 3-6%. That range usually softens the default iPhone finish enough to feel printed while keeping rainy daylight and tabletop color distinct.
If the window is very bright, lower highlights before you add more grain. If the room already has amber lamps, keep warmth lower than you expect. Rainy cafe photos usually break because the inside gets too orange or the outside turns into one dull gray patch.
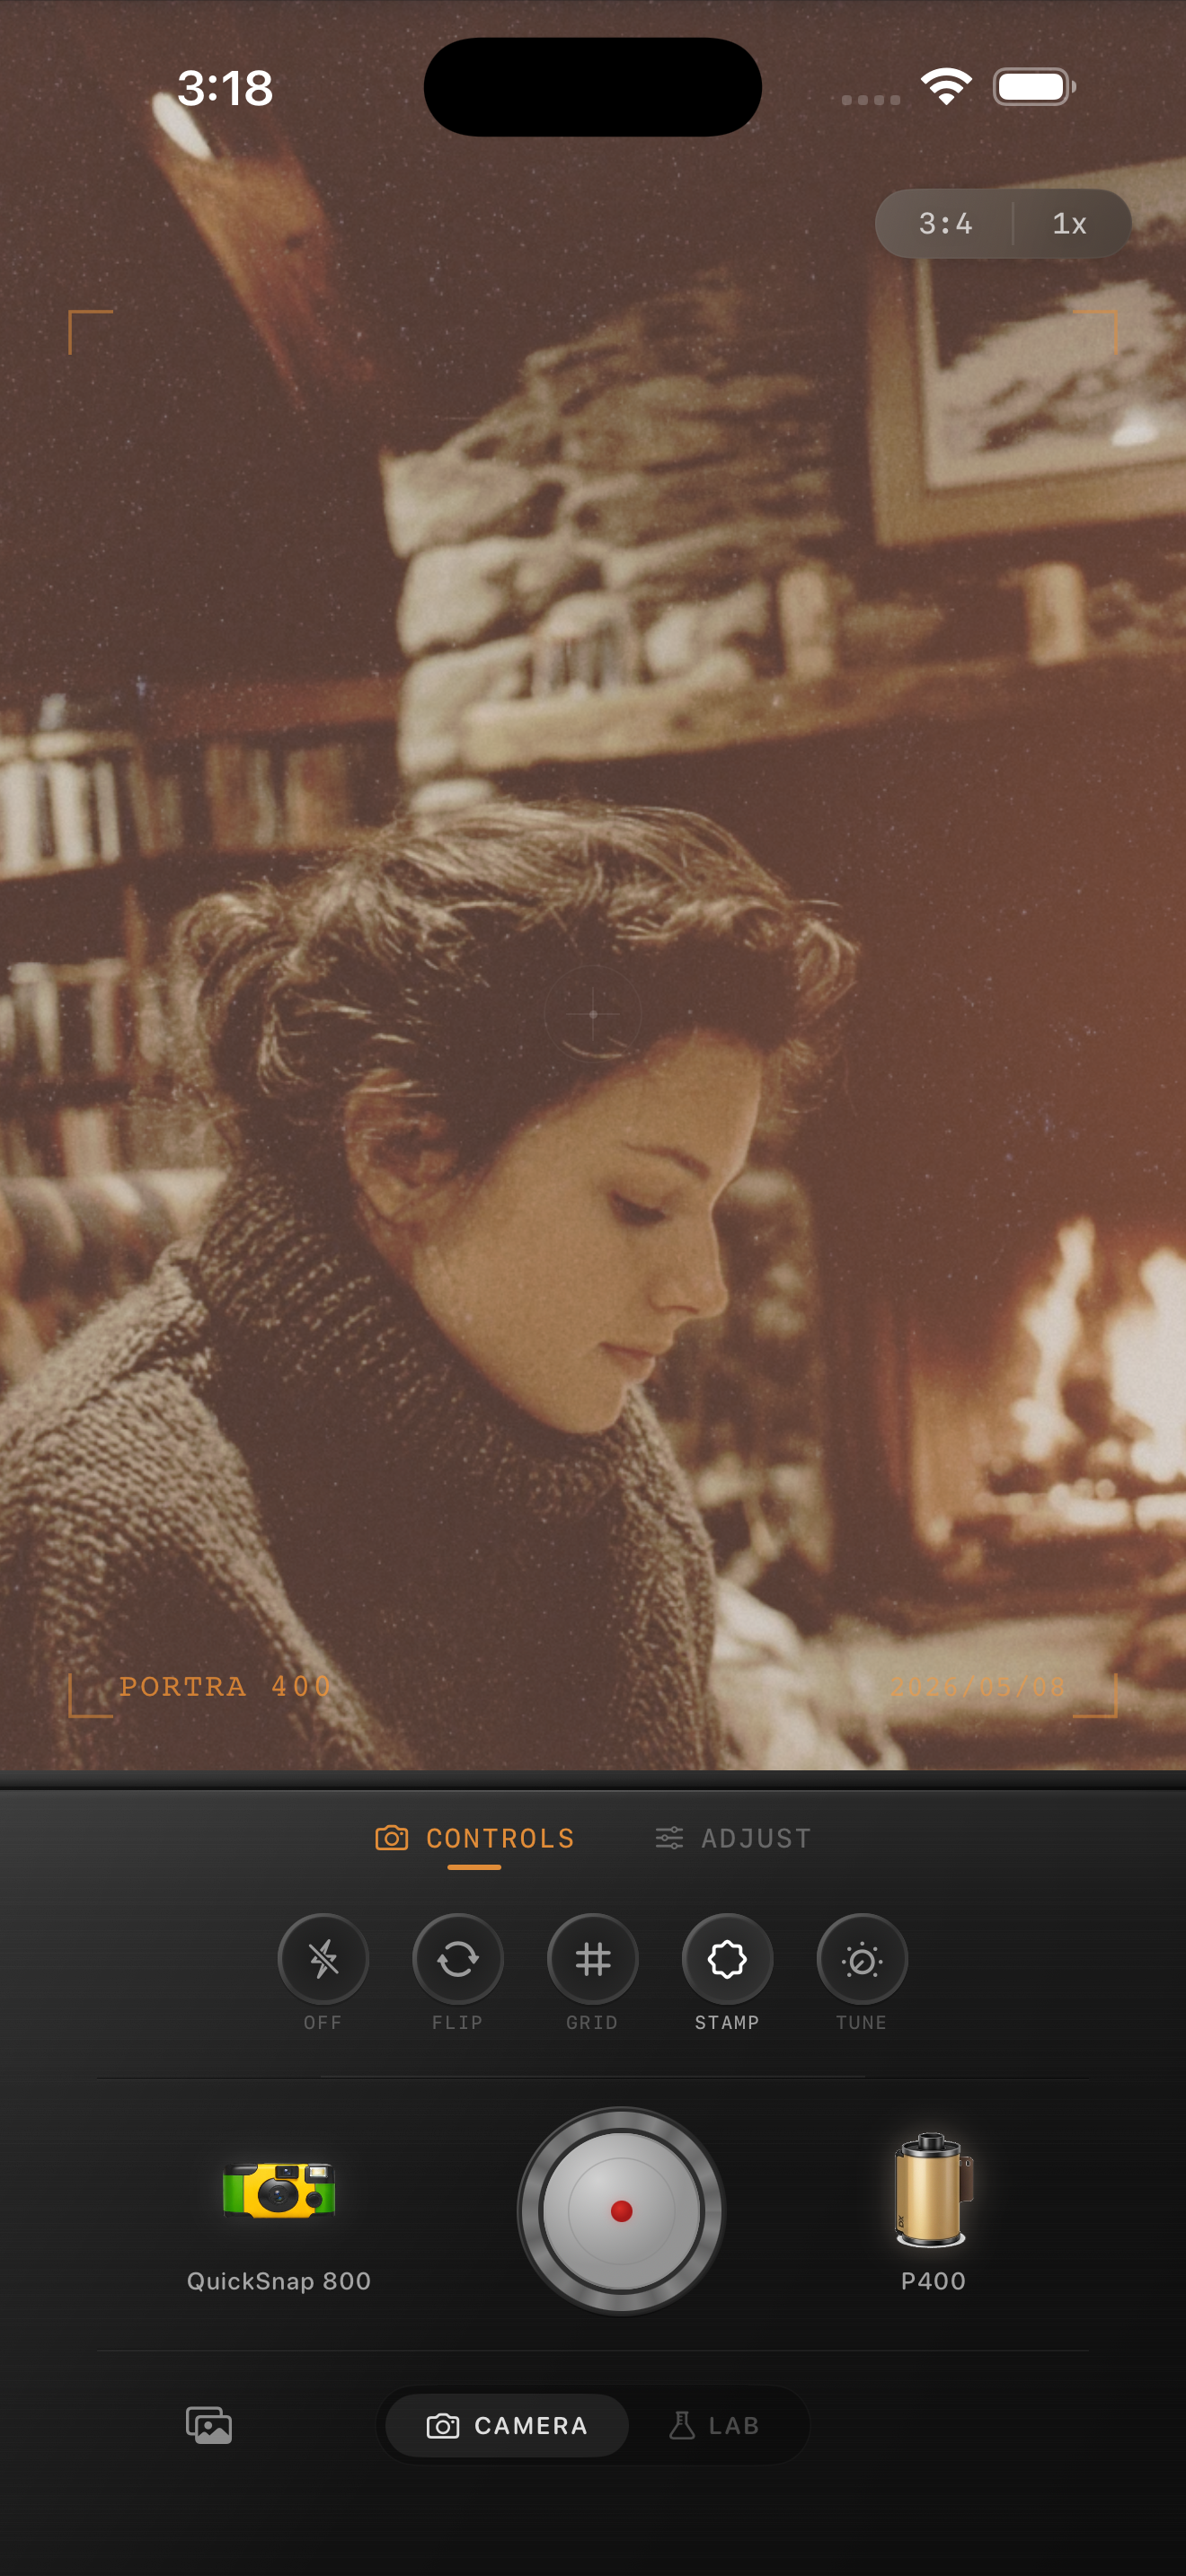
Judge the window, the table, and the face separately
A good rainy cafe edit usually passes three quick checks. The window should still feel like weather, not a blank white shape. The table should still show real material differences between ceramic, wood, paper, and metal. Faces or hands should still look alive instead of coated in warm haze.
If one of those areas collapses, the whole image starts feeling filtered instead of photographic. Fix the brightest zone first, then the skin, then the tabletop details. That order keeps the edit grounded in the actual scene.
Choose a cleaner camera mood than a rough one
Rainy cafe photos usually work better with a cleaner compact-film or 35mm-inspired body than with a rough disposable look. The nostalgia is already coming from the weather, reflections, and quiet indoor light. Heavy damage, coarse grain, or aggressive vignetting usually fights that softness.
In Nostalgia Cam, start with the calmer camera body first, then add just enough grain, warmth, and fade to make the frame feel like a small print from a slow afternoon inside while the rain passed outside.
Keep rainy cafe light soft in Nostalgia Cam
Use Nostalgia Cam to tune camera body, grain, warmth, fade, and vignette so rainy cafe photos keep their window glow, tabletop texture, and quiet indoor mood without turning muddy or orange.
FAQ
Should rainy cafe photos use heavy grain to look like film?
Usually no. Moderate grain works better because the mood is already coming from rain, glass, and soft daylight. Too much grain makes cups, windows, and skin look dirty instead of nostalgic.
Why do rainy cafe edits turn gray or orange so quickly?
They usually fail when the editor pushes fade, warmth, and grain before balancing the bright window and the warmer interior. Keep those two zones distinct first, then add texture carefully.