
Editing guide
Best Film Settings for Night Market Photos on iPhone
A practical night-market film guide for iPhone: controlled stall lights, cleaner skin, moderate grain, and enough analog texture to keep crowded evening photos lively instead of muddy.
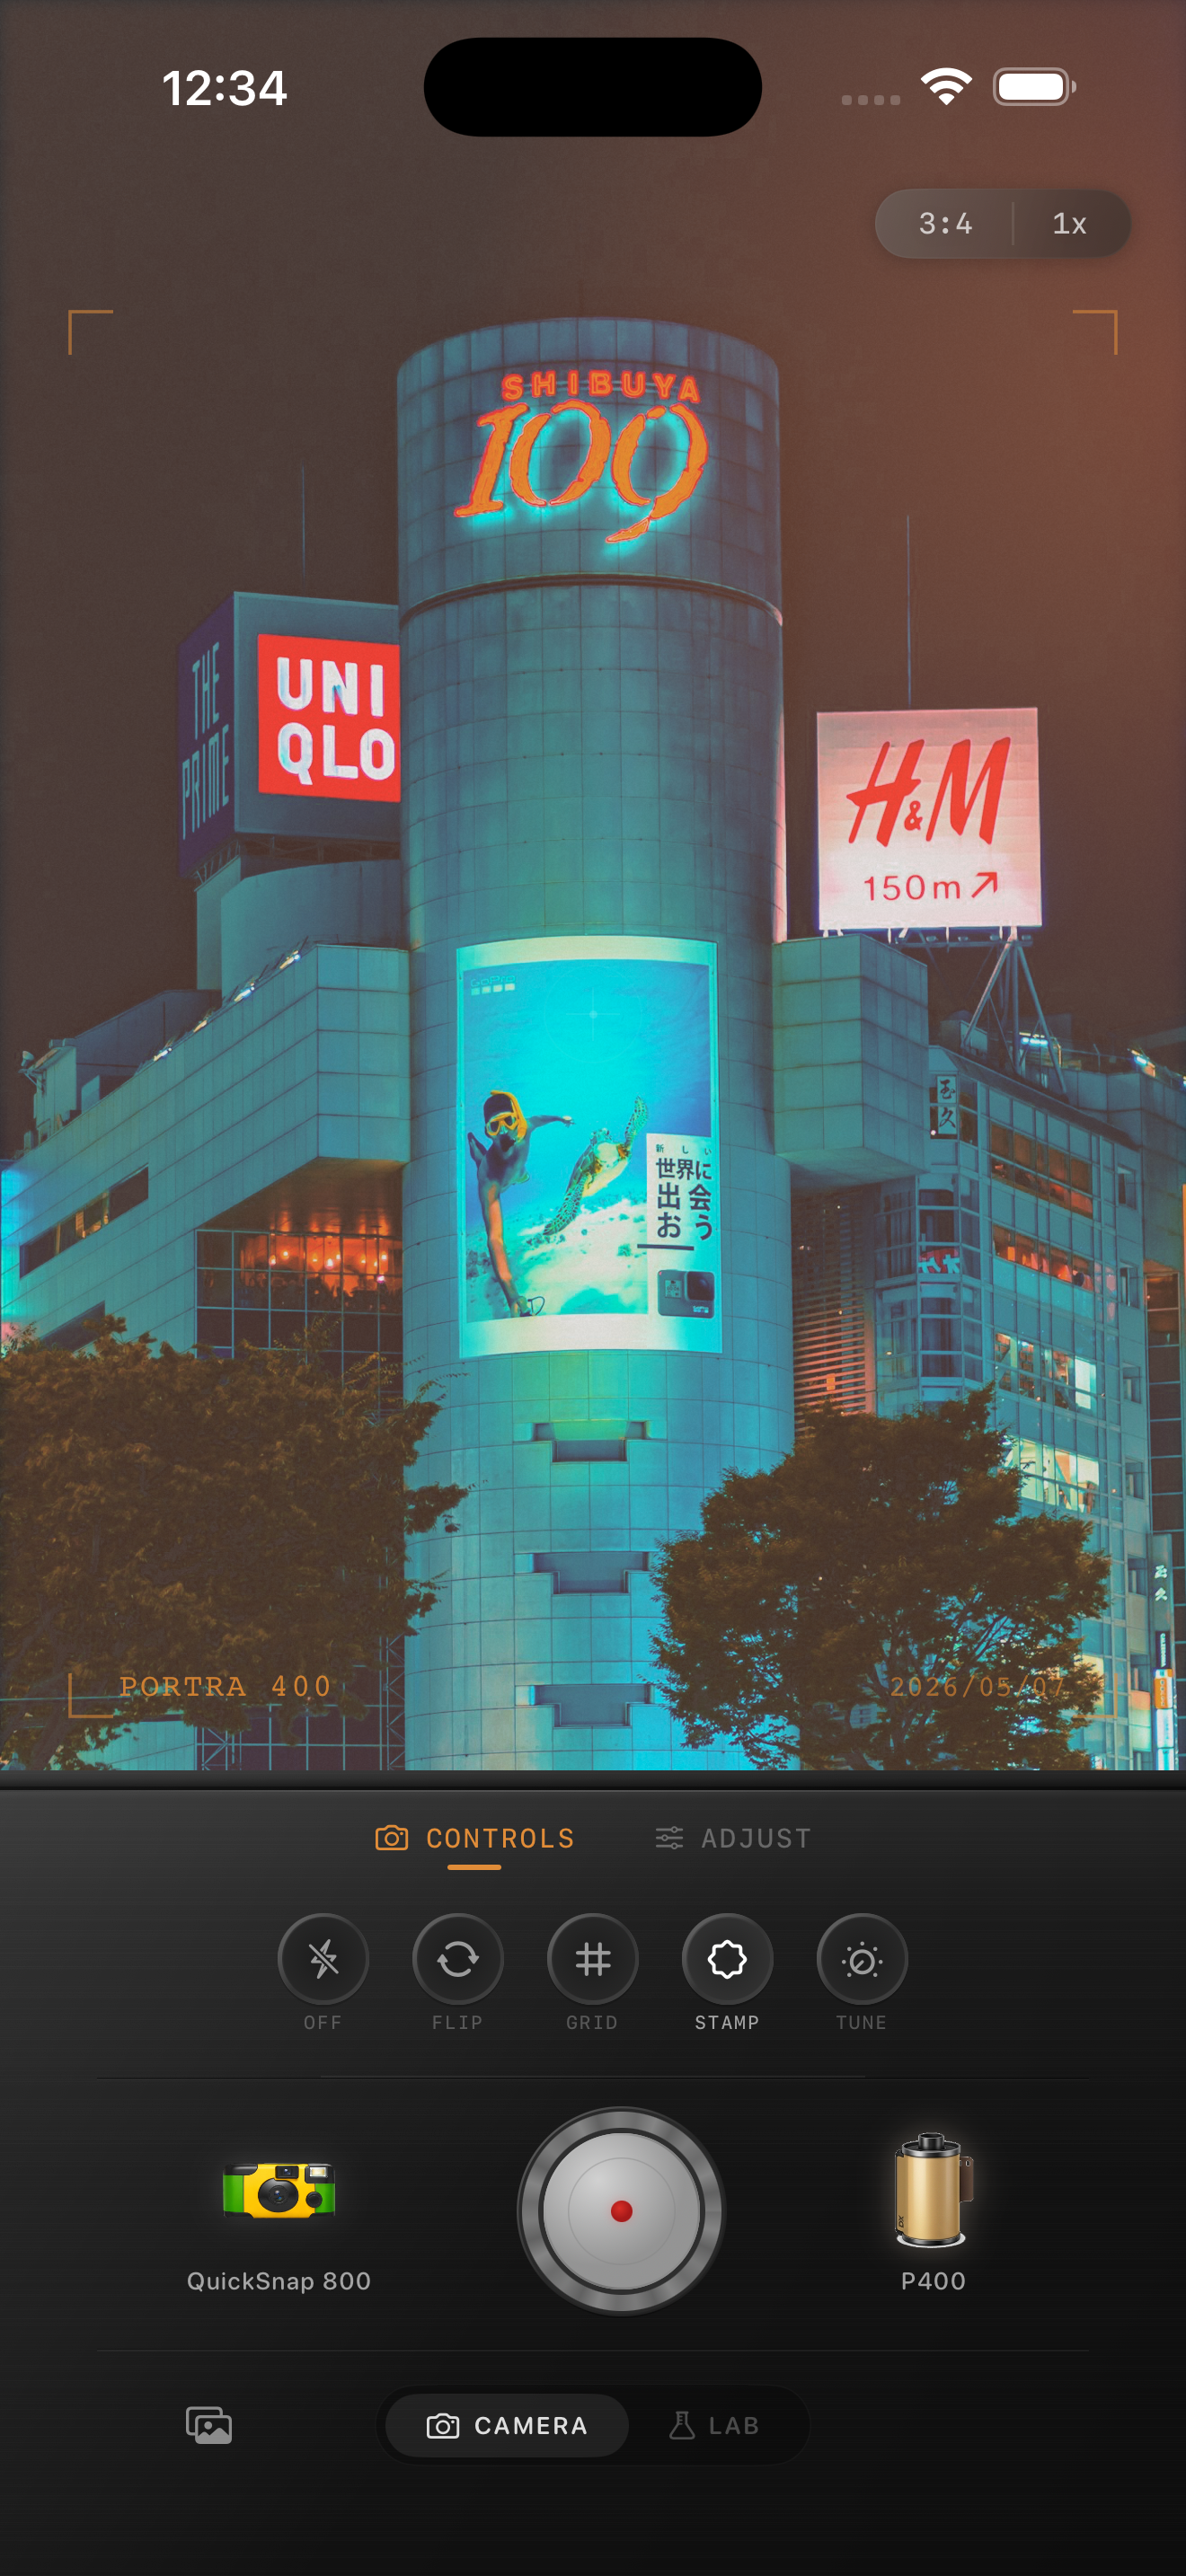
Night markets need separation more than stronger effects
Night market photos already come with the ingredients people usually chase in a film edit: bright stall lights, mixed color, steam, motion, reflective tables, and a little chaos in the background. The edit should keep that energy readable instead of turning it into one warm blur.
The usual mistake is pushing warmth, fade, and grain together because the scene feels nostalgic already. That often makes signs, faces, and food merge into the same muddy color. A better film-inspired edit starts by preserving separation.
- Keep the brightest stall light from clipping flat white.
- Let faces stay cleaner than the background shadows.
- Use moderate grain so signs and menus stay legible.
- Warm the scene gently instead of making every surface orange.
- Choose a cleaner camera body before trying rougher texture.
A reliable night-market settings baseline
Start around film intensity 74-88%, grain 26-40%, warmth +4 to +10, fade 3-7%, and vignette 4-8%. That range usually softens the digital edge without collapsing all the mixed evening light into one color cast.
If the photo has strong red lanterns, yellow bulbs, or bright LED signs, lower warmth before lowering film intensity. Night market photos usually fail from stacked color rather than from too little mood.
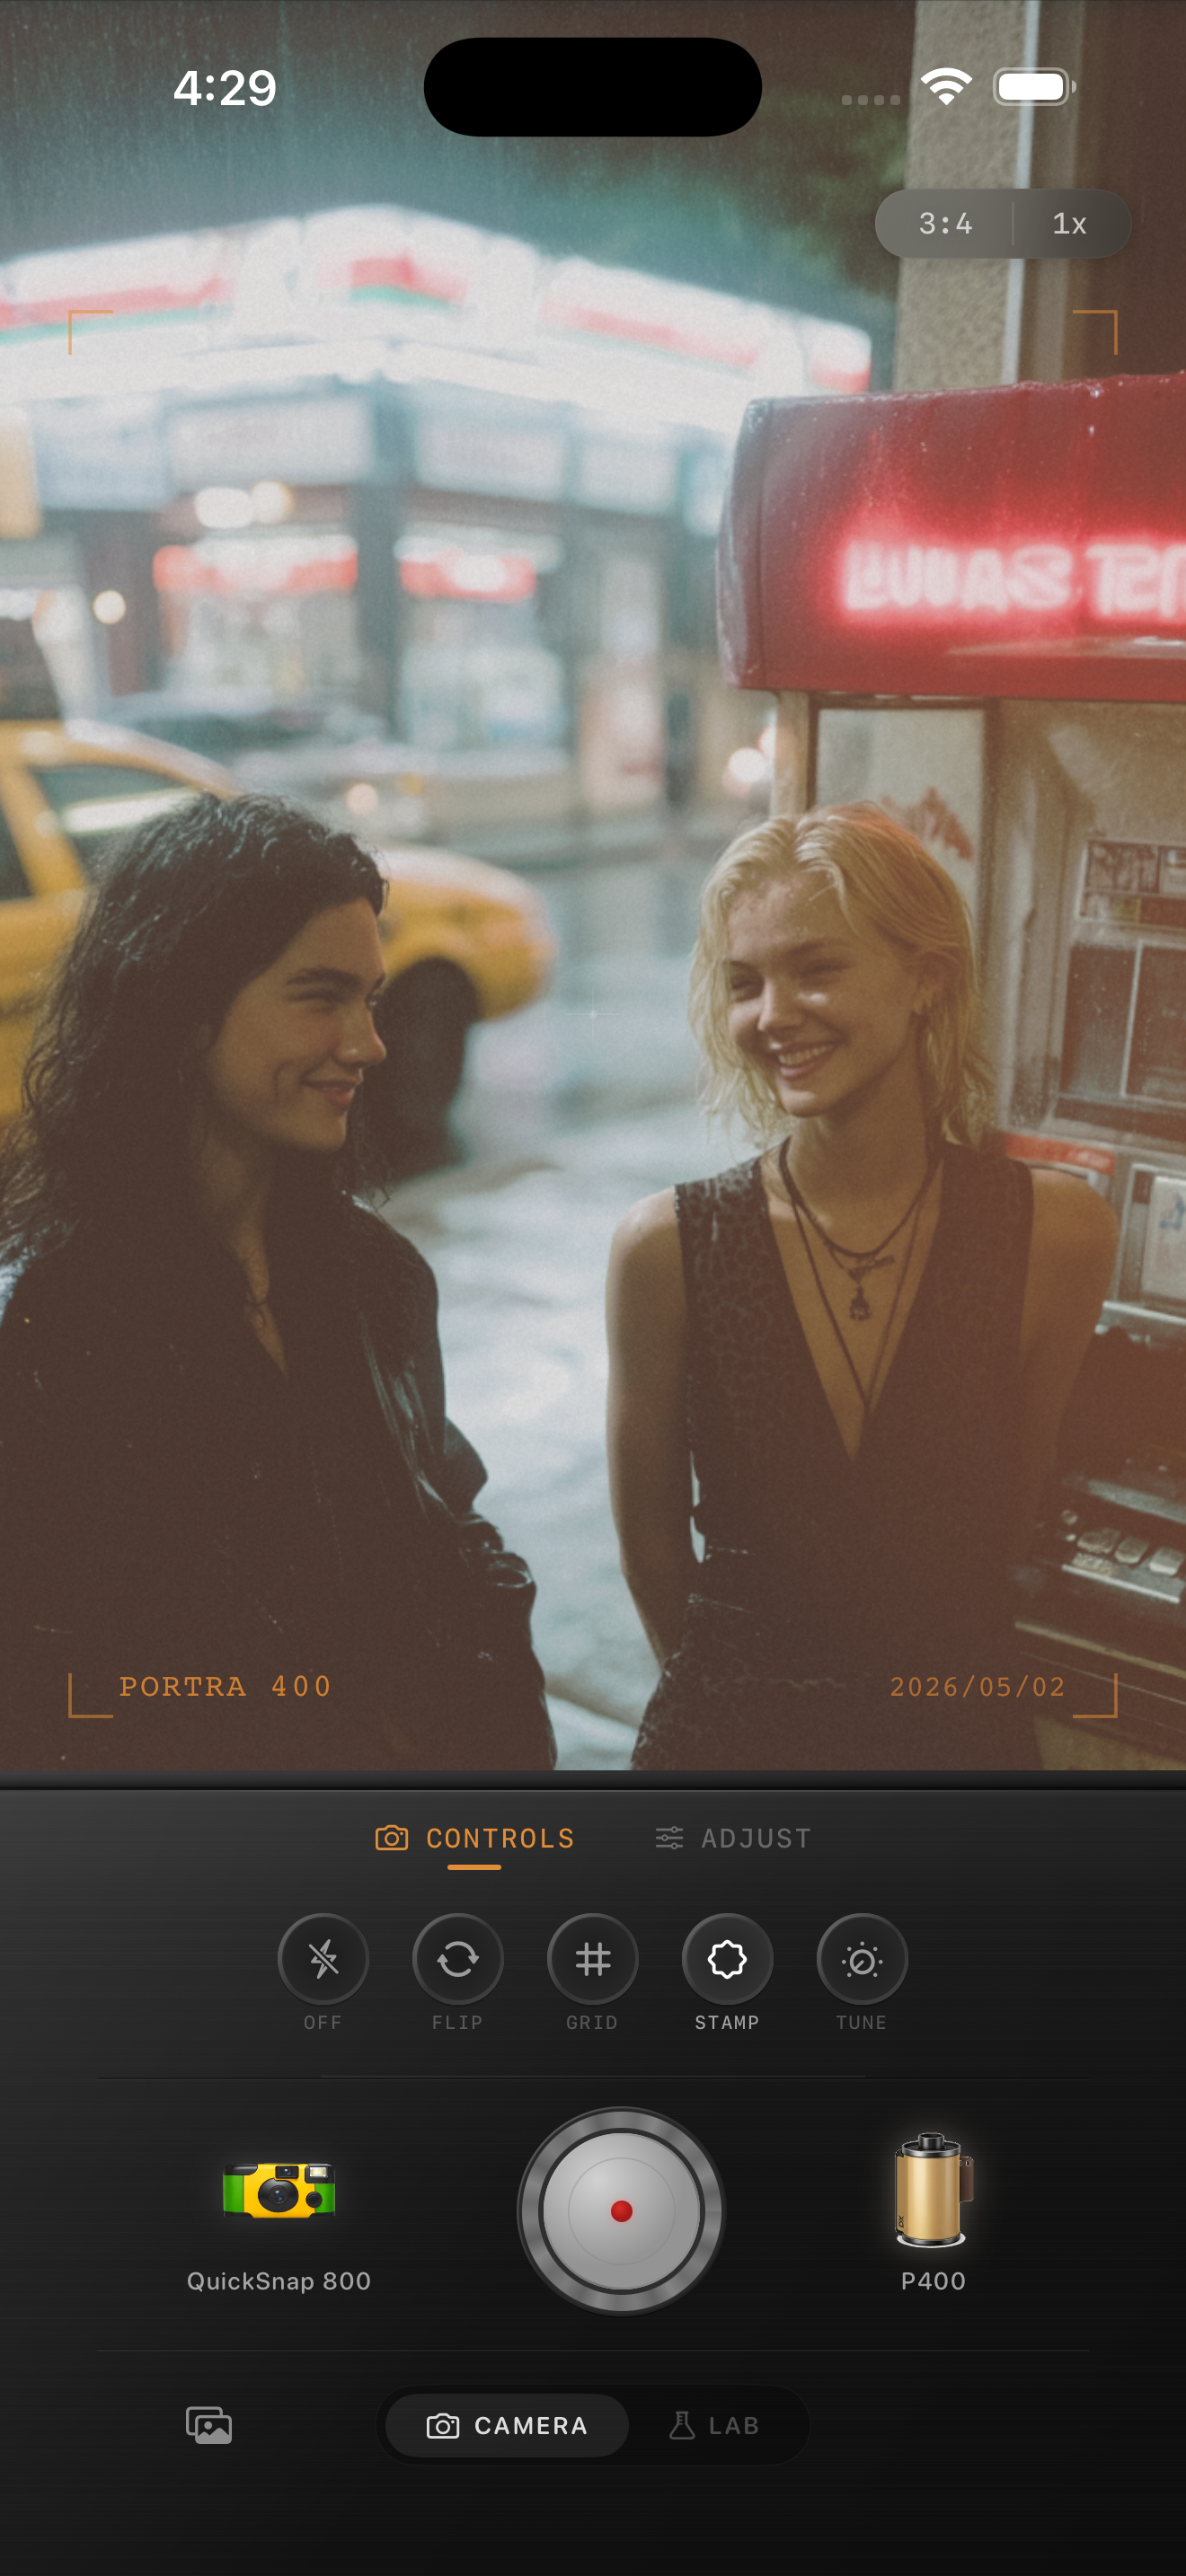
Judge skin, food, and signage separately
A good night-market edit usually passes three quick tests. Skin should still look alive, food should still look specific instead of brown, and signs should still keep some lettering or shape. If one of those breaks, the whole frame starts feeling artificial.
Check those details before you worry about the overall vibe. Night market photos are busy by nature, so a believable film look usually comes from cleaner priorities rather than heavier styling.
Let the crowd stay imperfect
Do not over-clean the frame. Slight motion, uneven spacing, a hand reaching into the shot, and a little darkness between stalls help the image feel like a real evening memory. The film look should support that documentary quality.
In Nostalgia Cam, start with a balanced compact-film or 35mm-inspired body, then add only enough grain, warmth, and fade to make the scene feel printed. If you use Fuji-style or Kodak-style language, keep it framed as inspiration only and not as any affiliation claim.
Keep market nights lively in Nostalgia Cam
Use Nostalgia Cam to balance camera body, grain, warmth, fade, and vignette so night market photos keep their stall light, street color, and crowd energy without turning muddy.
FAQ
Should night market photos use heavy grain to look like film?
Usually no. Moderate grain works better because the scene already has a lot of texture from lights, steam, and movement. Too much grain makes faces, menus, and food look dirty.
Why do night market film edits turn orange so quickly?
Because market scenes already have warm bulbs and colorful signs. If the edit adds too much extra warmth, skin, food, and background lights start collapsing into the same cast.